I though that was standard?His boobs err sorry "bust" are uneven


To advertise here, call 13TORANA

Posted 04 January 2007 - 08:09 PM
I though that was standard?His boobs err sorry "bust" are uneven

Posted 06 January 2007 - 10:18 PM

To advertise here, call 13TORANA
Posted 07 January 2007 - 01:04 AM
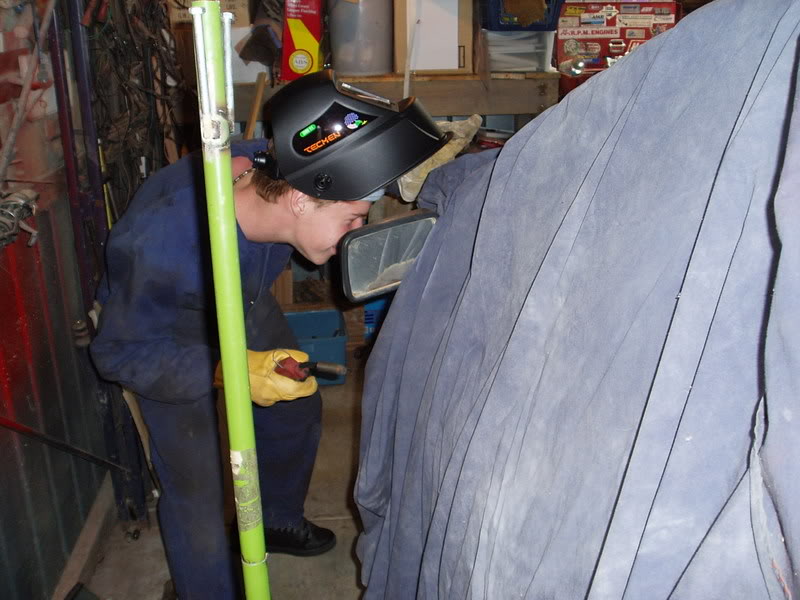
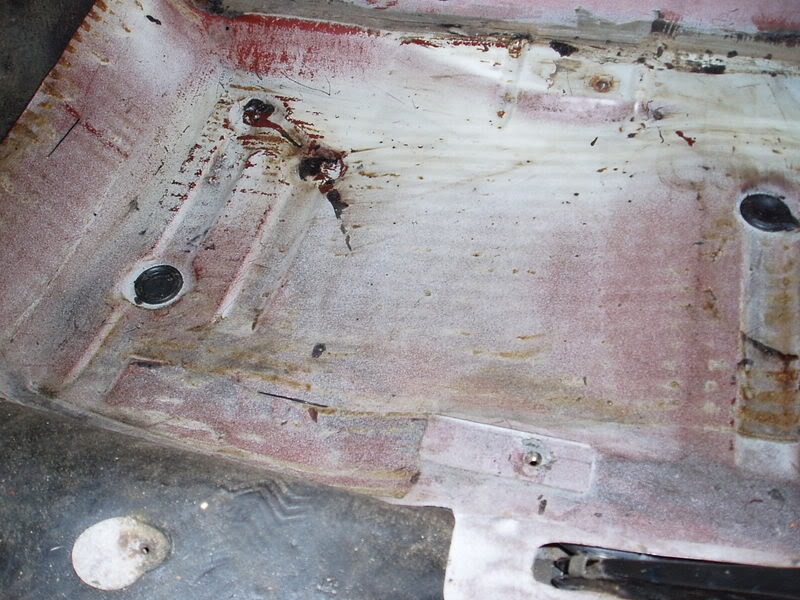
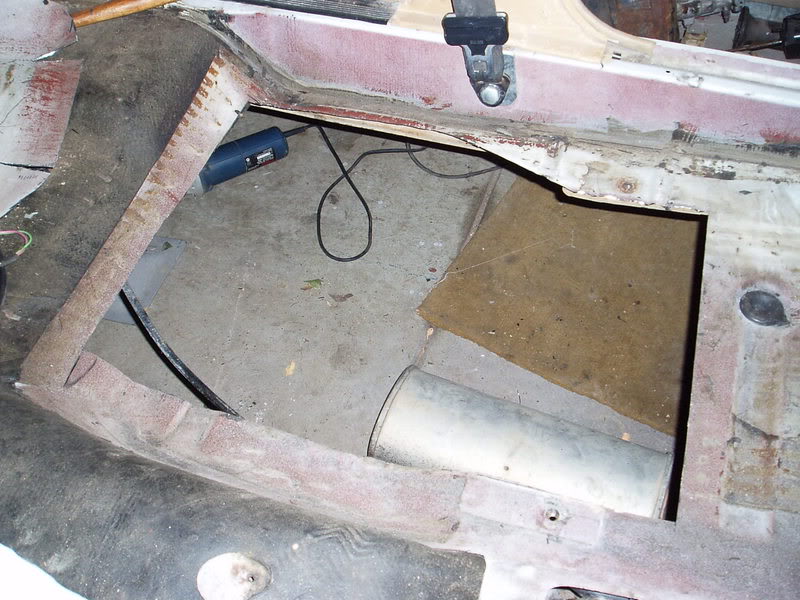
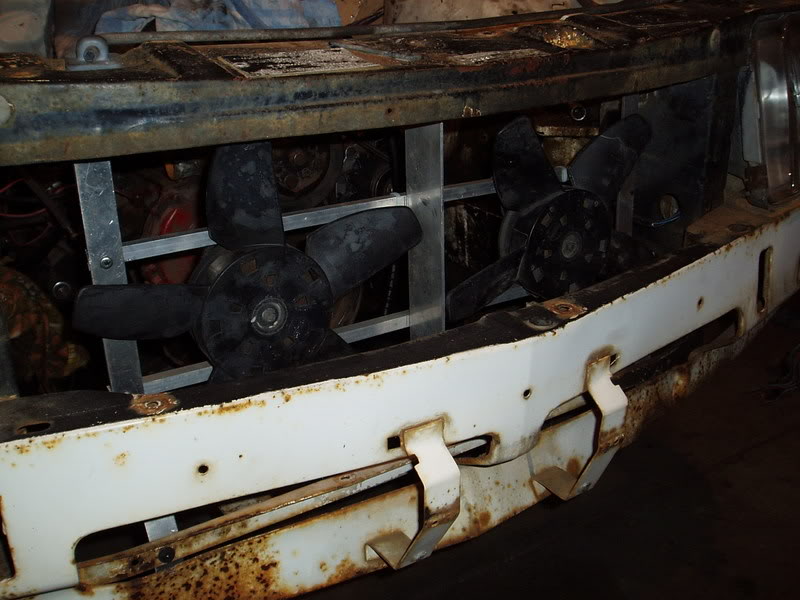
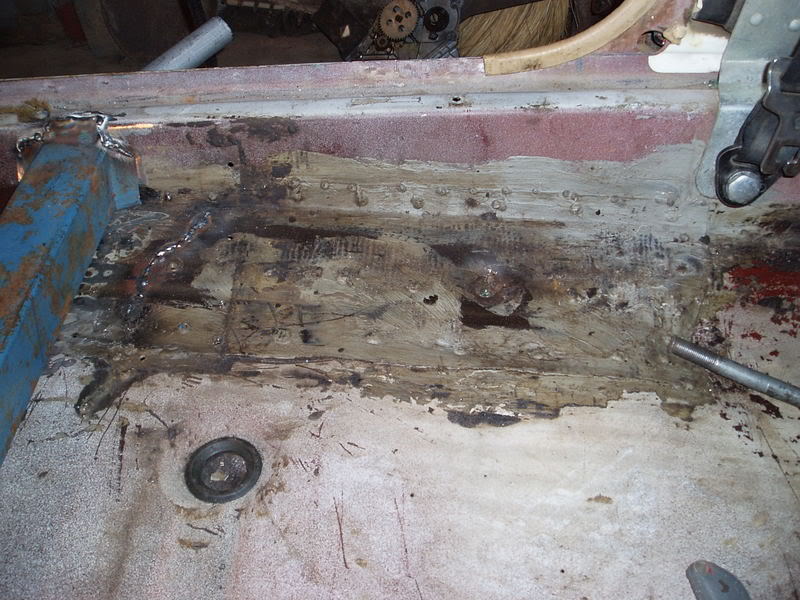
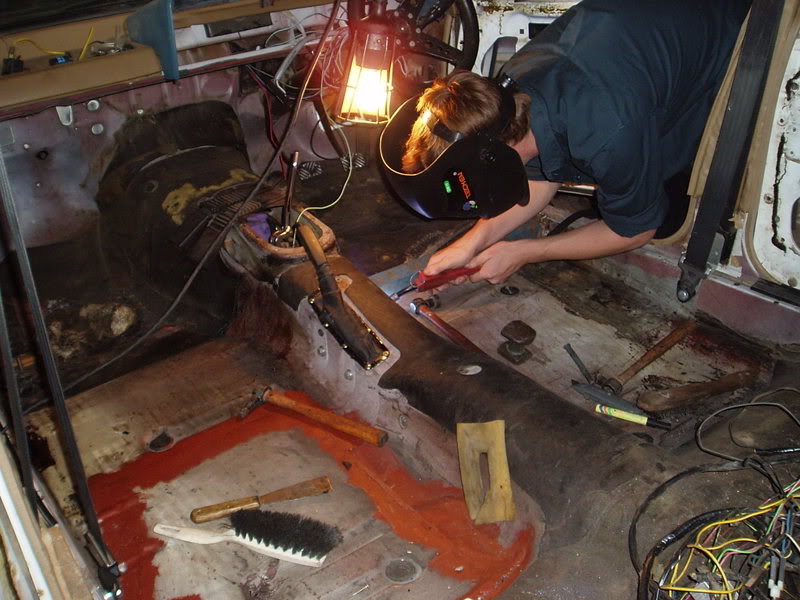
 I am also leaving the SL/E bumper overiders on to push Galants out of the way . Heath is coming over to start his welding tutorial so pics soon of the exhaust mods.
I like cars.

 View Garage
Posted 07 January 2007 - 10:31 AM
BWAHAHAHHHAH, subtlebefore it hits the track so I can blow the doors off gas powered LJ's

To advertise here, call 13TORANA
Posted 09 January 2007 - 12:27 AM
Edited by rodomo, 09 January 2007 - 12:30 AM.
I like cars.
View Garage
Posted 09 January 2007 - 09:30 AM
To advertise here, call 13TORANA
Posted 14 January 2007 - 10:02 PM
 28th Jan.
Edited by rodomo, 14 January 2007 - 10:06 PM.
I like cars.
View Garage
Posted 15 January 2007 - 09:03 AM
The Render Garage

Posted 15 January 2007 - 11:49 AM
DAMN RIGHT!!! hahahaw000 cool pics! lol
I'm sure Matty and Cohen will be pleased with you.
Edited by 253ToranaSS, 15 January 2007 - 11:51 AM.
Posted 15 January 2007 - 12:58 PM
Admin
Posted 15 January 2007 - 01:05 PM
Couldnt be bunnings, those dont last a day on our site.This is one strong bucket too! Where did u get it from? Bunnings? lol
Admin
Posted 15 January 2007 - 01:17 PM

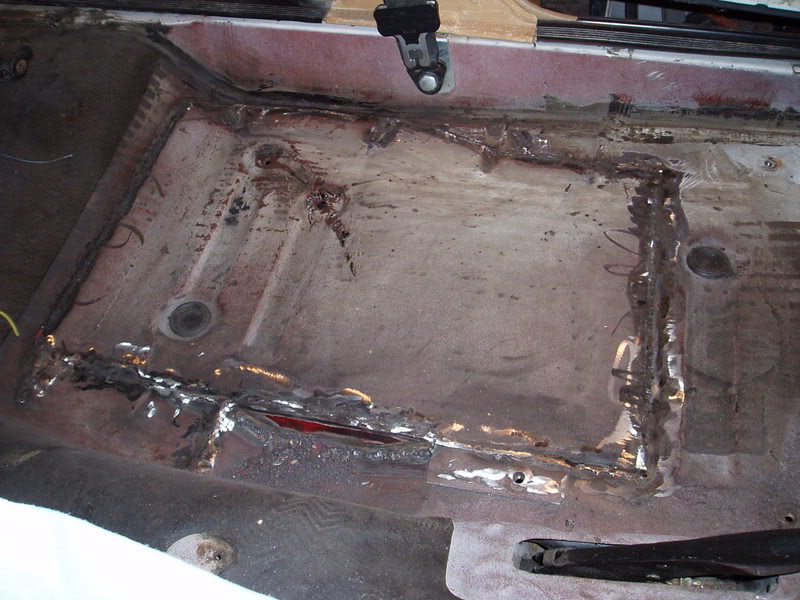
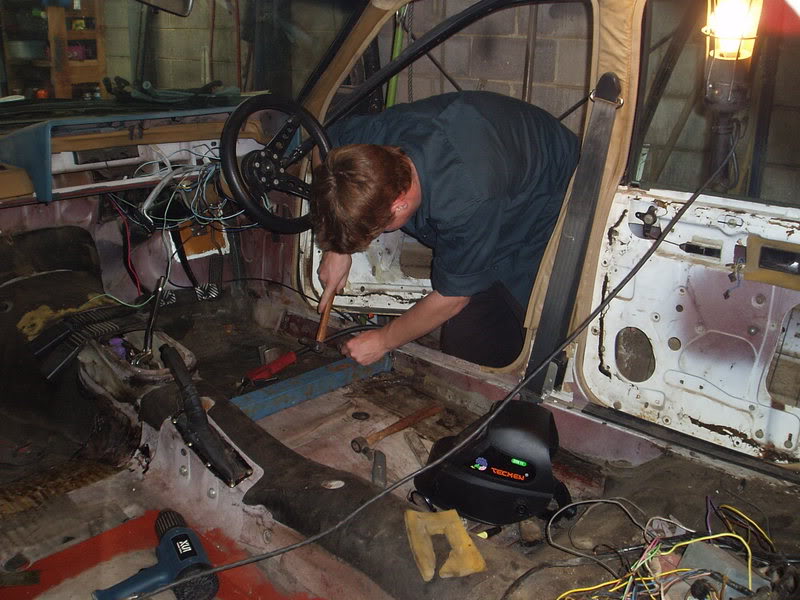
It's not every day that you get people willing to help you learn (and sometimes screw up) on their own vehicles.
Cheers mate!
To advertise here, call 13TORANA
Posted 15 January 2007 - 02:32 PM
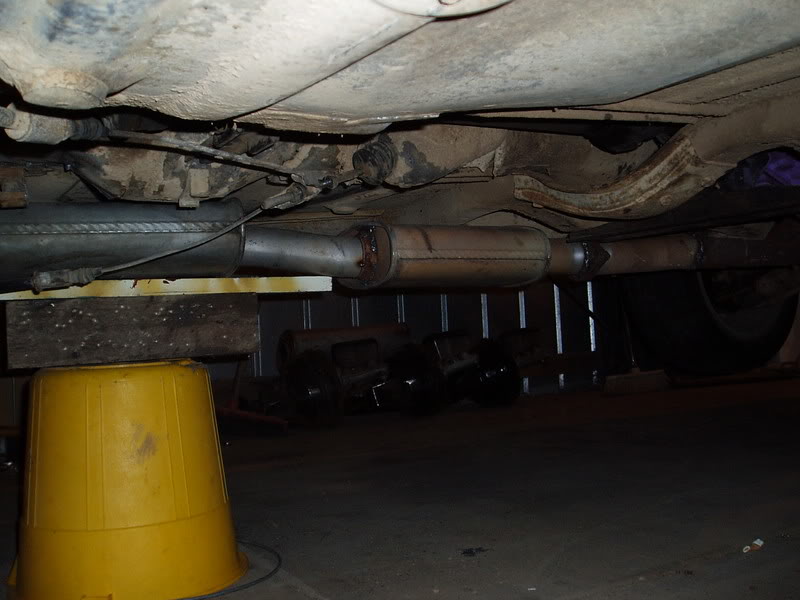
Um, same here, what bucket? Some dill let the car down off the jack before moving the bucket.Couldnt be bunnings, those dont last a day on our site.This is one strong bucket too! Where did u get it from? Bunnings? lol
To advertise here, call 13TORANA
Posted 15 January 2007 - 02:38 PM
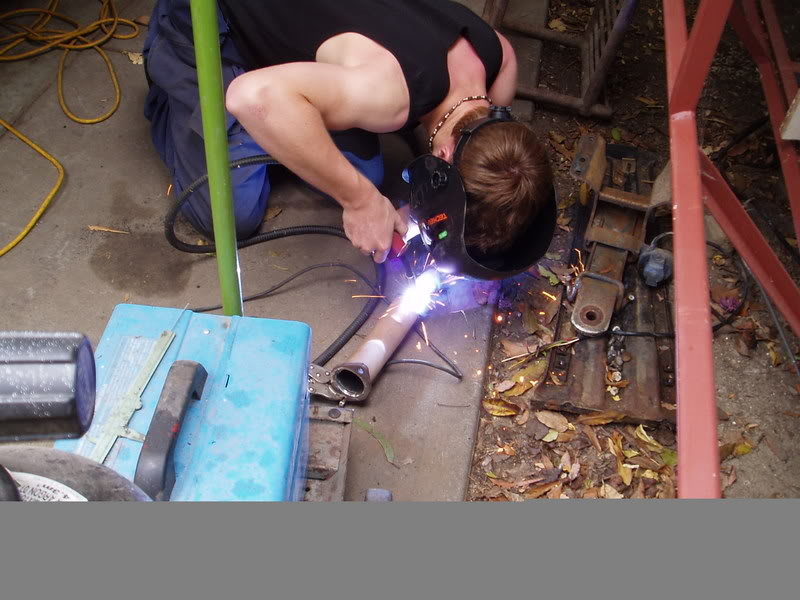
Bunnings about 5 years ago. Its a Cigweld Transmig 130 twin. It was around $700.romodo whered u get the mig from mate ???
i desperately need one before i can start both of my monaros!!
To advertise here, call 13TORANA
Posted 15 January 2007 - 02:40 PM
Yes still out the side about 8" (200mm) in front of the wheel.Where does the exhaust exit? Because you just said "tail" pipe... (I hope it's still side exhaust!)
Edited by rodomo, 15 January 2007 - 02:41 PM.
Posted 15 January 2007 - 02:41 PM
Nice work rodomo,very interesting stuff!
To advertise here, call 13TORANA
Posted 16 January 2007 - 12:02 AM

Edited by rodomo, 16 January 2007 - 12:04 AM.
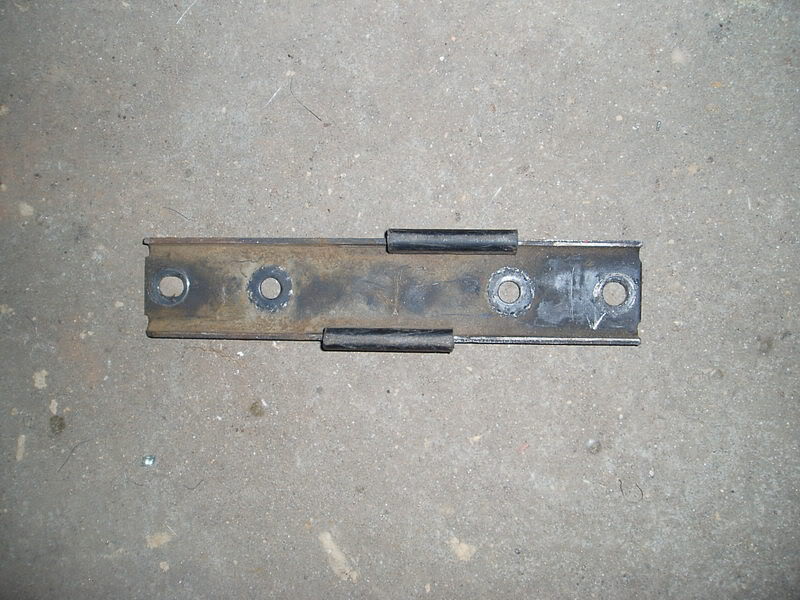
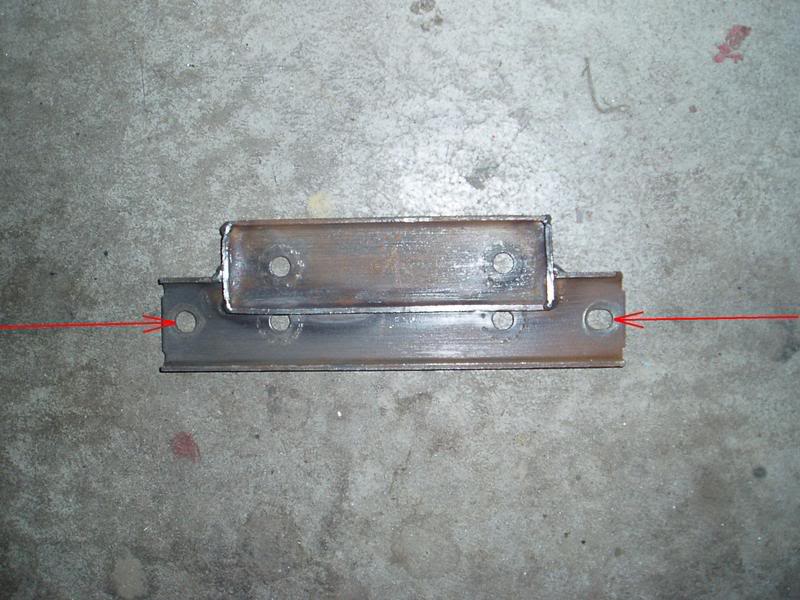
Fulcrum Fixture

Posted 16 January 2007 - 12:54 AM
LOL you mean 350Kw.With all the mods I've done I'm expecting 350HP as a reality?
Tommorow: How to turn your rollcage into a 50 litre nitros reservoir
Forum Fixture
Posted 16 January 2007 - 09:07 AM
Posted 16 January 2007 - 08:53 PM
To advertise here, call 13TORANA
Posted 17 January 2007 - 12:29 AM
From what I have seen of injected heads, they are blank where the air pump manifold screws in. If my memory serves me correctly, VC blue (pre air pump) were also blank but had the bosses. Maybe you have seen a VK carb head adapted?I believe the VK injected motors had bungs to fill up the air pump so you should go to the wreckers and grab the bungs out of an injected VK, or were you already doing that.
and not enough action.
Edited by rodomo, 17 January 2007 - 12:30 AM.
To advertise here, call 13TORANA
Posted 19 January 2007 - 12:22 AM

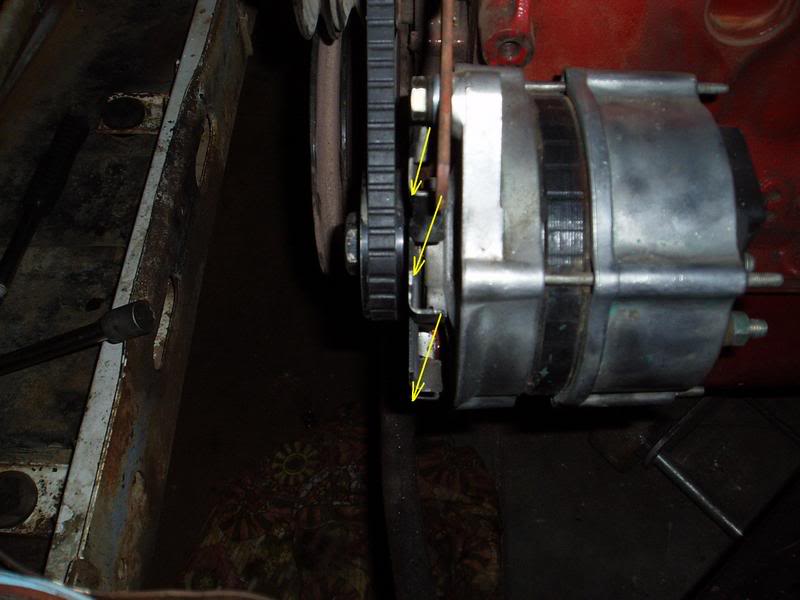
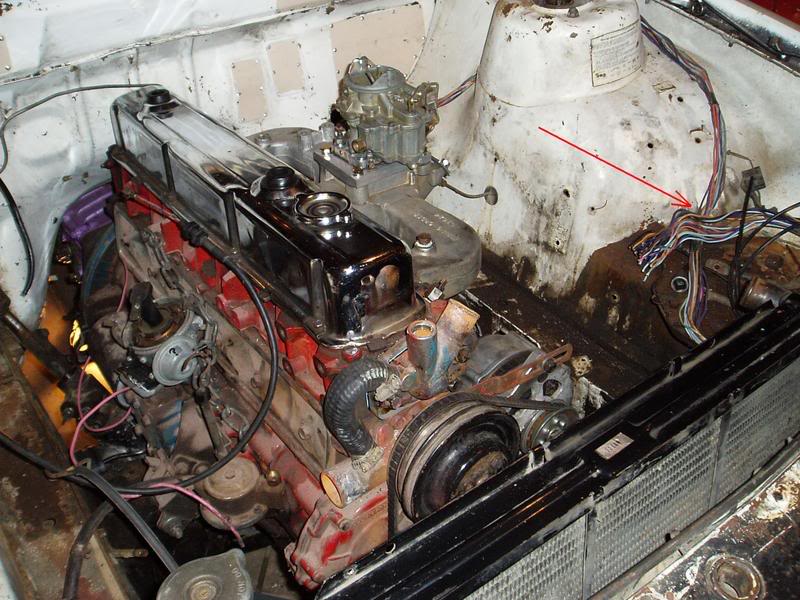 After the Rangie rewire this should be a piece of cake? Shouldn't it? I don't really need a wiring diagram, do I?
I like cars.
View Garage
Posted 19 January 2007 - 08:49 AM
To advertise here, call 13TORANA
Posted 19 January 2007 - 02:26 PM
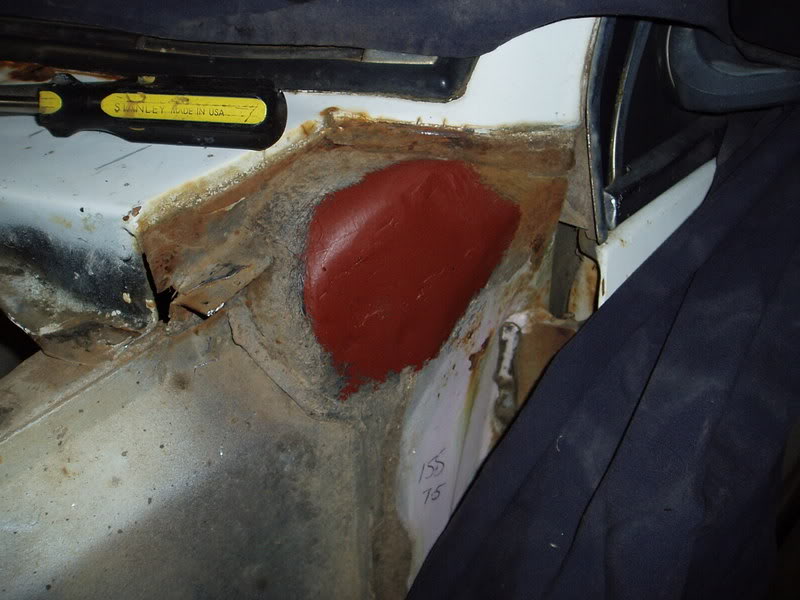
Correct! Someone has to weld the seat adapters in?It's all coming together nicely Rob, but there's still plenty of work to do
To advertise here, call 13TORANA
Posted 21 January 2007 - 11:48 PM
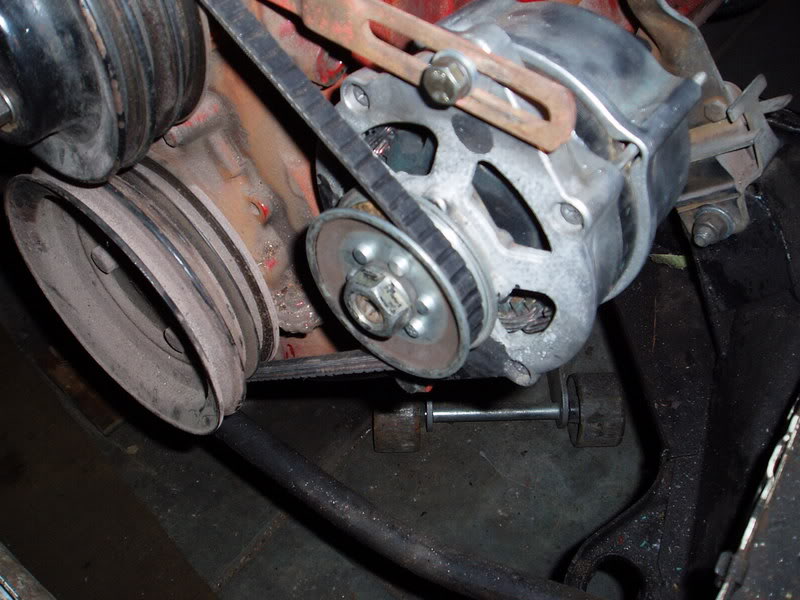
with no diagram this is taking a bit of time.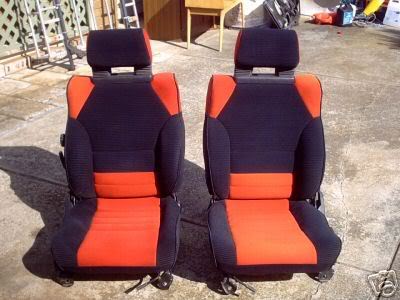
Edited by rodomo, 21 January 2007 - 11:57 PM.


0 members, 0 guests, 0 anonymous users

