"The Cyan LJ 2dr" .... gtr look-a-like......
#1 _MYLJ_
Posted 30 March 2007 - 03:21 PM
"surfmaster" enquired as to what my intentions were for the white LJ 2 dr that I purchased last year I intended on giving it a respray, sell it as a roller and put the funds toward the new toy.
a few PM's later a deal was done and the LJ 2dr is now his
it will be getting a major make over, before and after it leaves my place, surfmaster has comissioned me to paint it up as a GTR look a like in CYAN blue
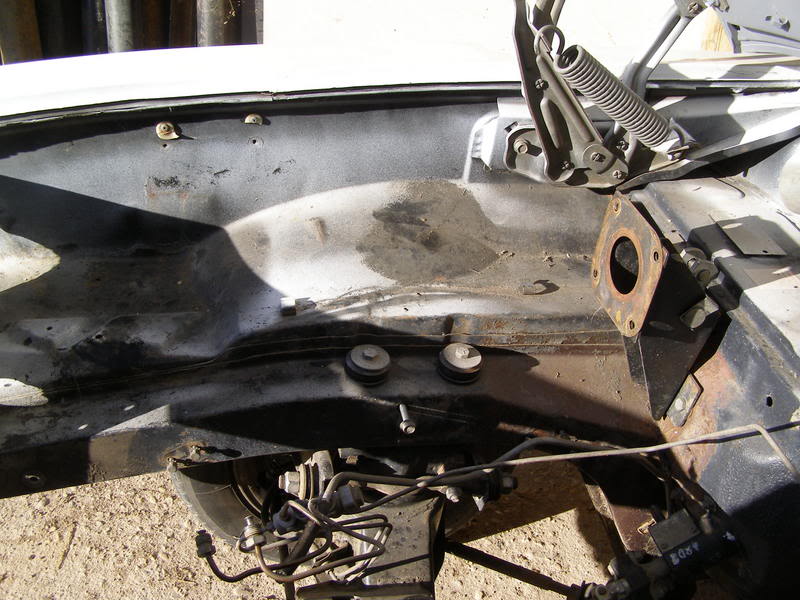
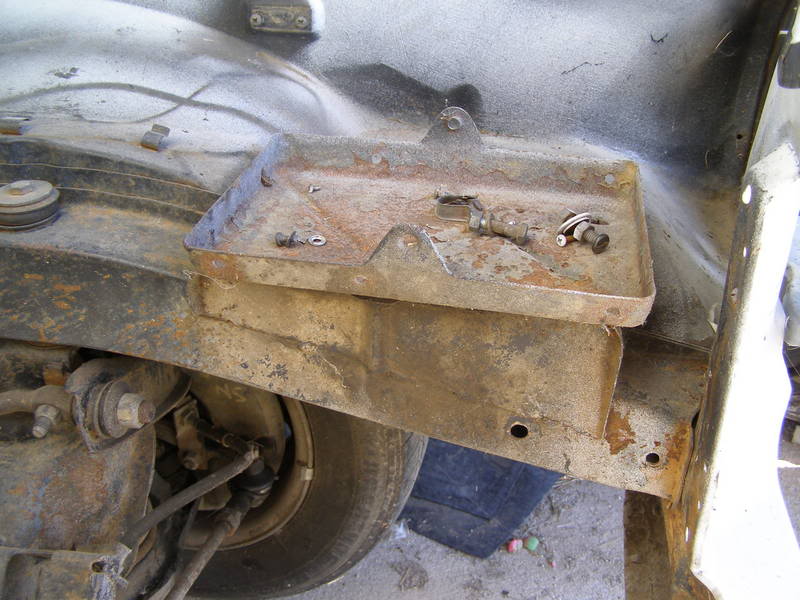
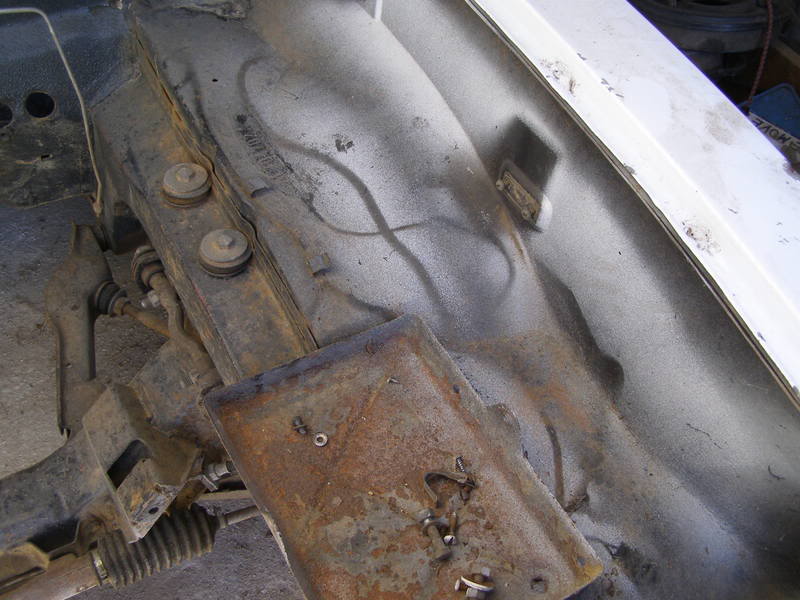
we thought you might all enjoy watching the rebuild process so I will be taking pics along the way for you all to see my end of the production
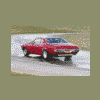
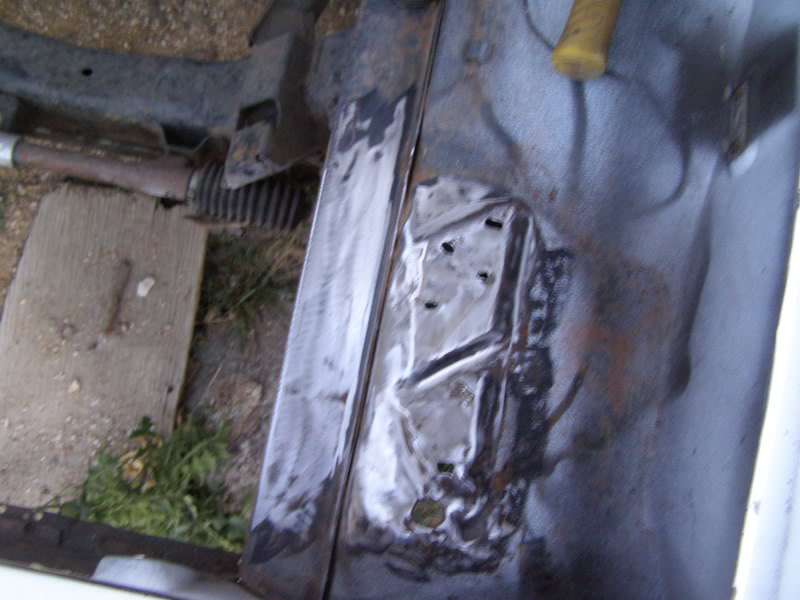
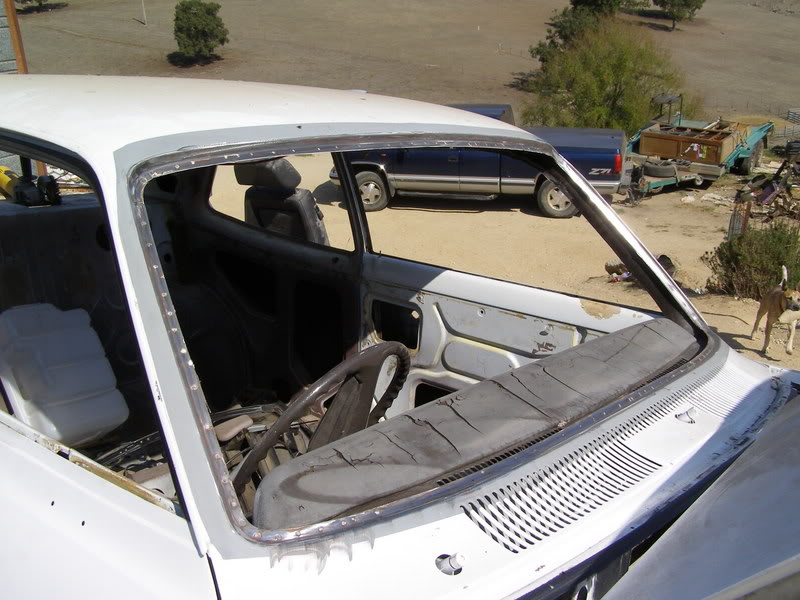
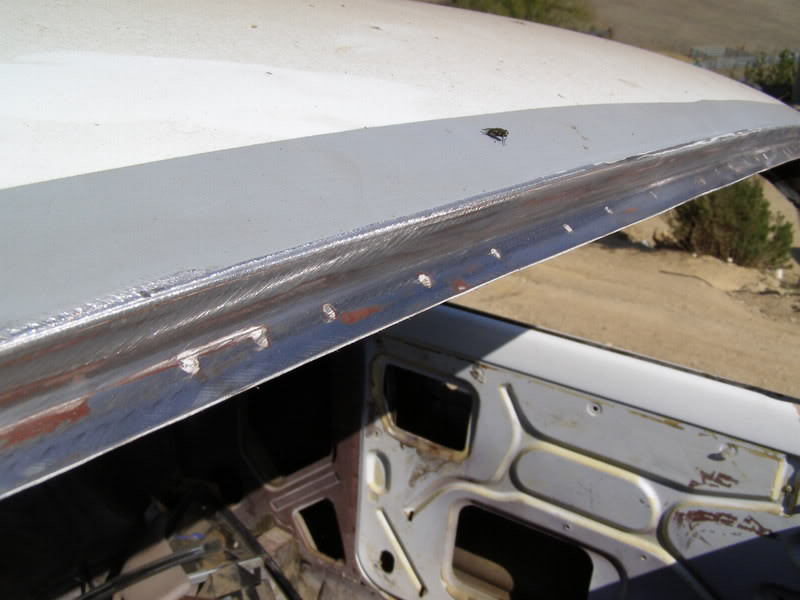
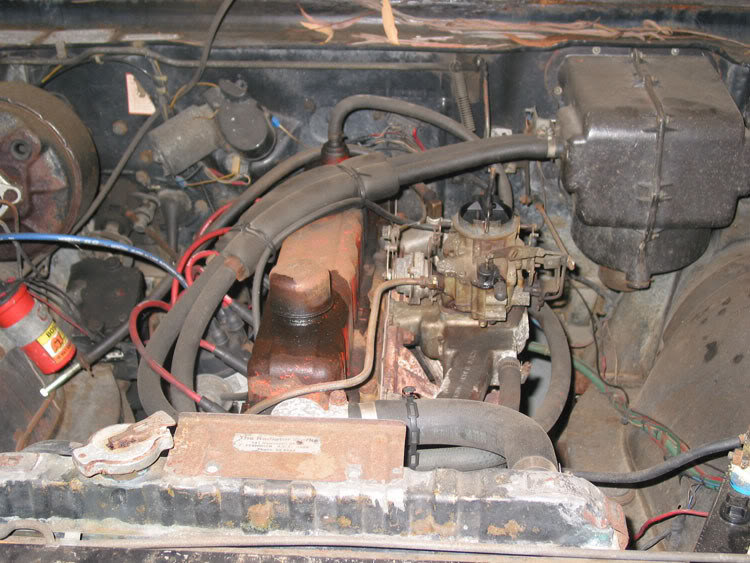
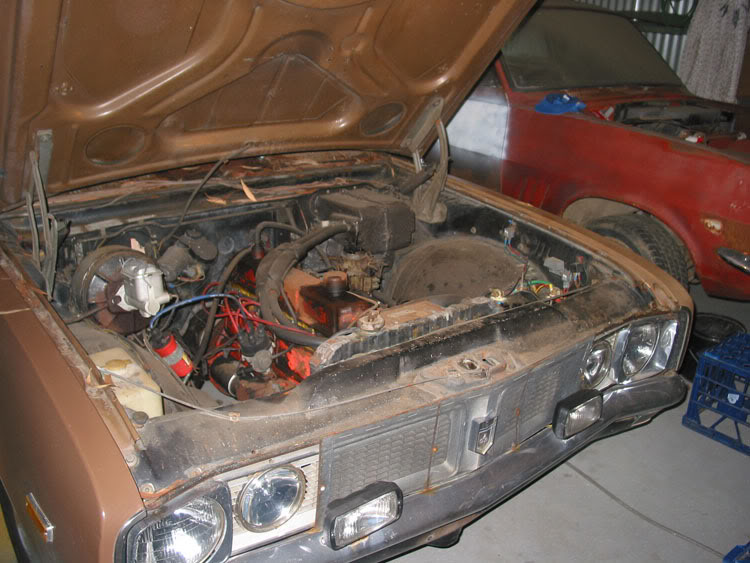
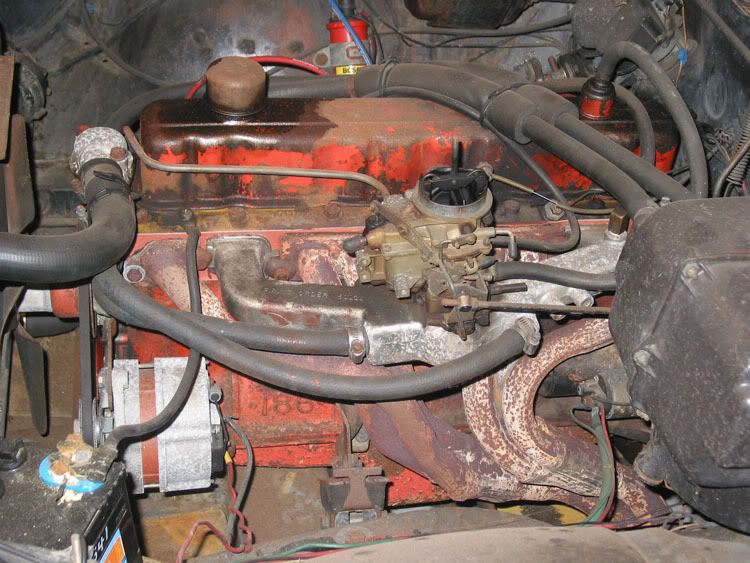
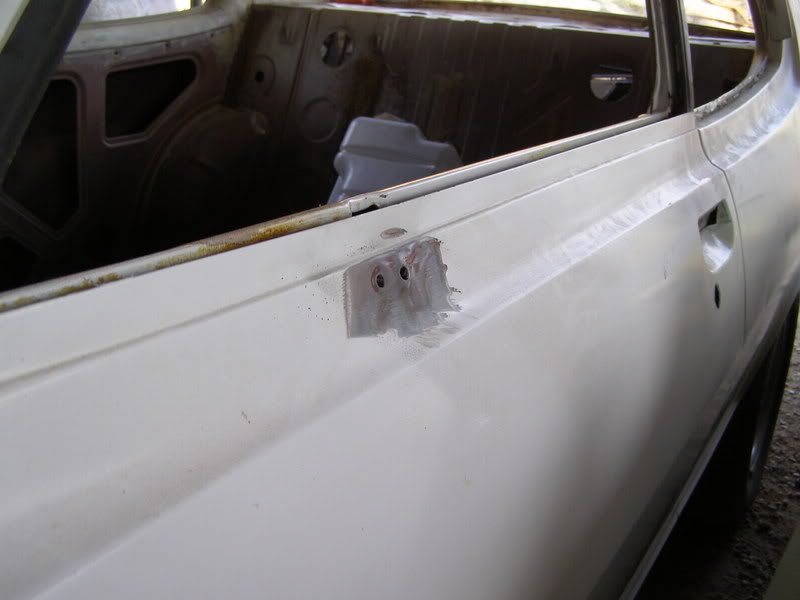
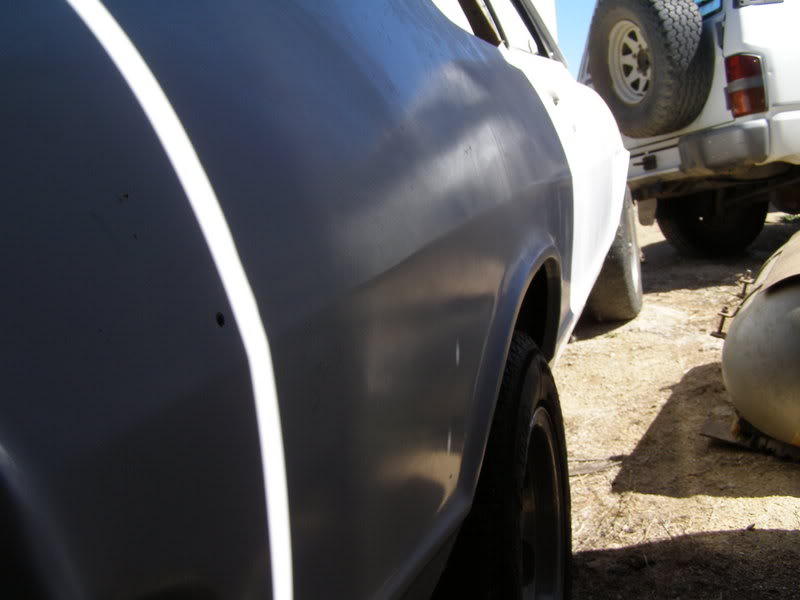
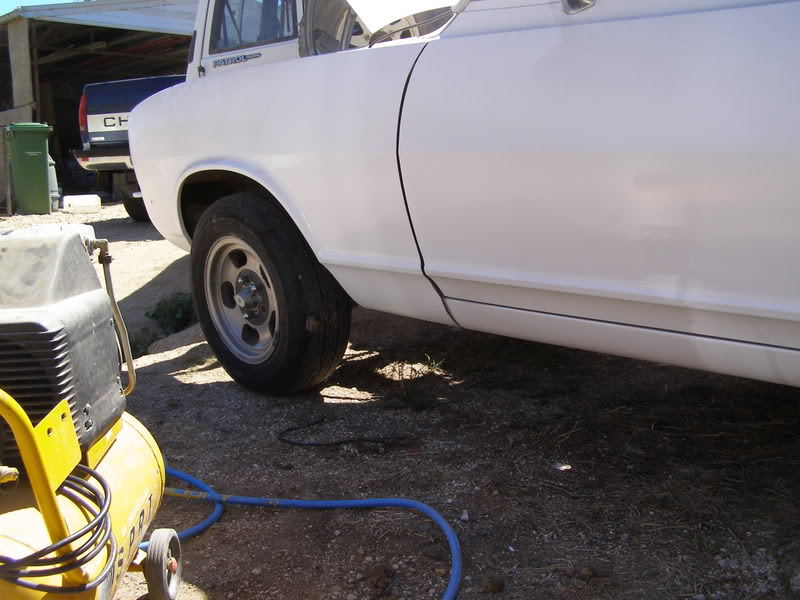
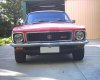
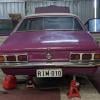
here's a pic of the car as it was when I picked it up last year, it is a very clean rust free LJ 2dr rolling shell, hope you all enjoy the ride as this little beast gets a new lease on life
I'll post some more pics of the little monster tonight.............
#2
Posted 30 March 2007 - 03:34 PM
#3 _MYLJ_
Posted 30 March 2007 - 09:51 PM
I needs some good pics of a Cyan blue LJ GTR if someone can post some up that would be very much appreciated
#4
Posted 30 March 2007 - 10:31 PM
If you run a nice line of tape along the top of it and then sand the bottom, then vice versa, the line will come out perfect
The tape stops you sanding the wrong side of the line, if you know what I mean
just make sure your tape line is perfect
Cheers
loui
#5
Posted 30 March 2007 - 10:34 PM
Looks like a pretty good base, can't wait to see it in some colour!
Tim
#6 _TJ253_
Posted 30 March 2007 - 10:35 PM
#7
Posted 01 April 2007 - 01:28 PM
should make a pretty nice mock up.
#8 _Monkey_
Posted 01 April 2007 - 01:35 PM
I needs some good pics of a Cyan blue LJ GTR if someone can post some up that would be very much appreciated
#9
Posted 01 April 2007 - 05:37 PM
yeah you allow for the swervethe line down the side of the car actually "swerves" slightly around the rear wheel arch, its not perfectly straight. im not sure if thats what you meant or if you were reffering to the fact that the line isnt as smooth as it could be (has some "corners" as it moves around the arch)
should make a pretty nice mock up.
Get rid of the corners
Cheers
Loui
#10
Posted 01 April 2007 - 08:13 PM
#11 _MediuM16A2_
Posted 01 April 2007 - 08:51 PM
#12
Posted 04 April 2007 - 06:55 PM
#13 _MYLJ_
Posted 11 April 2007 - 05:06 PM
the car has at some stage been fitted with an uderdash A/C unit(the holes are all that remain of it )
, the holes will be staying as I'm donating an underdash A/C system (out of one of my many wrecks ) to the project which will get fitted at some stage in the future
here's some pics of the engine bay, the battery tray will be getting the boot to allow for the fitment of triple carbs
anything else we need to do to make a GTR engine bay out of it? any holes that need welding up?
and is that body beadener on the firewall/tunnel original or should it go?
#14 _MY-V6-OK_
Posted 11 April 2007 - 05:33 PM
#15 _MYLJ_
Posted 16 April 2007 - 06:16 PM
the rust in the battery tray made it interesting to find the spot welds holding it down , rust had also formed around some of the spotweld under the battery tray so I've drilled 5 of them out to get rid of it, I'll use the hole to attach the new tray (if they are in the right places ) or I'll weld them up if they are not
making room for triple carbs
could someone post a pic of an XU1 battery tray area, I've got a 4cyl battery tray coming soon and want to make sure it goes in correctly
#16 _JBird_
Posted 16 April 2007 - 11:38 PM
Some nice progress there!
#17
Posted 17 April 2007 - 12:17 AM
I have a few pictures with measurements that I took for a mate. Send me your email addy and I will forward them to you.
Bazza
#18
Posted 17 April 2007 - 04:41 AM
There is not a lot of room with the bigger fuel tank in there and I don't want problems with long battery leads.Why don't you just put it in the boot? ( the Battery)
Some nice progress there!
#19 _MYLJ_
Posted 17 April 2007 - 01:06 PM
thanks Bazza, got your pics and they are exactly what I was afterHi MYLJ
I have a few pictures with measurements that I took for a mate. Send me your email addy and I will forward them to you.
Bazza
>
>
>
>
>
finished stripping the car out this morning,
the doors still had the original cloth backings glued to them , had to remove that to get the door glass and mechanisms out. Got a bit of a shock when I saw what colour the material was when I turned it over anybody care to identify the trim colour on the left
#20 _MediuM16A2_
Posted 17 April 2007 - 02:08 PM
#21
Posted 17 April 2007 - 07:52 PM
#22 _MYLJ_
Posted 17 April 2007 - 11:27 PM
I'll post the trim and paint codes off the tags tomorrowYep, definitely pink, what is the colour code on the tag?
>
>
>
>
>
>
>
>
stripped the front windscreen frame area , nothing but shiny clean metal to be found I like it when there's no rust
well the fly thinks it looks good anyway
#23
Posted 18 April 2007 - 08:28 PM
Total cost of HG and motor - $1.00. Total cost of carbs - $0.00. Cost of mechanicals so far - $1.00. However I expect I will be spending a few hard earned sheckels getting them to a standard that matches MYLJ's paintjob however.
Pics of the donor and carbs:
Mods if these pics don't display can you adjust please, I promise I will give myself the mandatory uppercut.
Edited by dattoman, 20 April 2007 - 10:32 PM.
#24 _MYLJ_
Posted 20 April 2007 - 04:39 PM
okay so I forgot all about it last night (ie, I fell asleep on the couch )I'll post the trim and paint codes off the tags tomorrow
the trim/paint codes are ,
trim 1821-4I E
paint 568-13134
there are a couple of holes to weld where the trim clips have been bogged up along the sides, and two where an aftermarket passenger mirror was once fitted, plus 2 other tiny little none standard holes to fill in the parcel shelf .
#25
Posted 20 April 2007 - 09:44 PM
0 user(s) are reading this topic
0 members, 0 guests, 0 anonymous users