Jump to content


Photo

SL/R 5000 stencil application Video


  • Please log in to reply
14 replies to this topic

#1 slar

slar

    Forum Fan

  • Members
  • PipPipPipPip
  • 498 posts
  • Name:AL
  • Location:Newcastle
  • Car:Rusty the Torana......Nearly complete
  • Joined: 14-September 09
Garage View Garage

Posted 15 February 2015 - 06:47 PM

Hi all, done a vid on the SL/R 5000 stencil application just for reference as its very hard to find any info on this subject.


They turned out well on my car so I thought I would put this up to share.


Enjoy 

Al


#2 _LS1 Taxi_

_LS1 Taxi_
  • Guests

Posted 15 February 2015 - 11:05 PM

Superb.

#3 eyepeeler

eyepeeler

    Forum Fixture

  • Members
  • PipPipPipPipPip
  • 1,958 posts
  • Location:Perth
  • Car:77 SL Hatchback, Chrome Yellow L34, LX IPRA Race Car the White Ghost
  • Joined: 16-August 08

Posted 15 February 2015 - 11:44 PM

Well done, that's a top effort.
Was worried for you when you started to peel it off. Moment of truth alright.

#4 _victor_

_victor_
  • Guests

Posted 16 February 2015 - 12:09 AM

Great job there Al

Just a couple of questions.

How long did you wait before you removed the stencil ?

How could you tell when it was ready to be removed ?

Victor

#5 slar

slar

    Forum Fan

  • Members
  • PipPipPipPip
  • 498 posts
  • Name:AL
  • Location:Newcastle
  • Car:Rusty the Torana......Nearly complete
  • Joined: 14-September 09
Garage View Garage

Posted 16 February 2015 - 09:09 AM

Great job there Al
Just a couple of questions.
How long did you wait before you removed the stencil ?
How could you tell when it was ready to be removed ?
Victor


Hi Victor....waited 45 min after last coat of paint and to check if the paint is ready for the stencil removal I place my finger on an over sprayed are and see how tacky the paint is....its usually right when your finger only just leaves a slight finger print that disappears soon after removing your finger....if your finger sticks or theres paint on your finger its not ready.....it needs to be set enough so as not to be sticky but soft enough that the stencil edge can cut the paint during removal.
Cheers
Al

#6 ollie

ollie

    Forum Fan

  • Members
  • PipPipPipPip
  • 318 posts
  • Location:Eastern Melbourne
  • Joined: 17-June 07
Garage View Garage

Posted 16 February 2015 - 12:40 PM

Nicely done, looks very clean.
I'm assuming the rear is done or done soon..

#7 slar

slar

    Forum Fan

  • Members
  • PipPipPipPip
  • 498 posts
  • Name:AL
  • Location:Newcastle
  • Car:Rusty the Torana......Nearly complete
  • Joined: 14-September 09
Garage View Garage

Posted 16 February 2015 - 01:01 PM

Nicely done, looks very clean.
I'm assuming the rear is done or done soon..


Not quite Ollie...thats this weekends job.

#8 BIG KEV

BIG KEV

    Forum Fixture

  • Members
  • PipPipPipPipPip
  • 1,202 posts
  • Name:Kevin
  • Location:SYDNEY
  • Car:LHSLR5000 and The 6LT Project
  • Joined: 02-January 12

Posted 16 February 2015 - 03:19 PM

Top job Al ....just like the pro's only better

#9 Ice

Ice

    Cool

  • Members
  • PipPipPipPipPipPipPip
  • 15,122 posts
  • Name:Gene
  • Location:Galaxy's away from Ipswich
  • Car:77 HZ Sandman Van
  • Joined: 03-January 07

Posted 16 February 2015 - 03:31 PM

Love your work and build Al
this will be a great looking Torana when finished

#10 RallyRed

RallyRed

    Oh My, Don't you post alot

  • Members
  • PipPipPipPipPipPipPip
  • 7,840 posts
  • Name:Col
  • Location:NSW
  • Car:LC GTR etc
  • Joined: 02-October 11

Posted 16 February 2015 - 09:29 PM

nice one.

Don't have a BIG Torana...but that is a great addition to this forum, for other people to learn from.


#11 _Waldorf_

_Waldorf_
  • Guests

Posted 16 February 2015 - 10:48 PM

Hi Al


Great job m8........couple of things I can suggest to make it easier.


1. When squeegeeing the water out don't go left to right or follow the lettering around,start in the middle (ie:centre door gap) and push squeegee from centre to top and then centre to bottom with a slight overlap.Angle the squeegee slightly in the direction your are heading.To the front of vehicle or rear of.


2.When finished and are ready to remove backing paper,with a spray bottle apply water to it and rub gently with your hand until paper changes colour slightly.

    This will release the paper a lot easier.


3. When you are pushing the excess water from the stencil after paper has been removed,put a piece of painters tape or masking tape over the edge of your squeegee,it removes any sharp edges from the squeegee that may be there.


4. This one is not a needed thing it can be done without it as you have shown,but a quick going over each letter before remove each letter with a hair dryer will help release the glue and make peeling a bit easier.


All of these things are just some of the things I have done over the few years of signwriting I have done..........hope I have helped.


Cheers


Dorf


#12 slar

slar

    Forum Fan

  • Members
  • PipPipPipPip
  • 498 posts
  • Name:AL
  • Location:Newcastle
  • Car:Rusty the Torana......Nearly complete
  • Joined: 14-September 09
Garage View Garage

Posted 17 February 2015 - 12:26 PM

Excellent....thats the sort of info we need and being a signwriter your the man that knows.
I still have the rear spoiler stencil to go so I will take your advice and try it out...thanks for the info.
Cheers
Al

#13 roxiedog

roxiedog

    Forum Participant

  • Members
  • PipPip
  • 20 posts
  • Name:terry
  • Location:melbourne
  • Car:LX
  • Joined: 22-May 14

Posted 04 March 2015 - 01:45 PM

Al your a bloody legend. thanks for sharing this video. im not as worried about doing it now . thanks mate


#14 _crozy_

_crozy_
  • Guests

Posted 08 February 2016 - 07:34 PM

hi al where do you get the measurements to place stencil on the car


#15 StephenSLR

StephenSLR

    Oh My, Don't you post alot

  • Members
  • PipPipPipPipPipPipPip
  • 6,707 posts
  • Name:Stephen
  • Location:Sydney
  • Car:1976 LX SL/R
  • Joined: 12-November 05

Posted 11 February 2016 - 10:08 AM

hi al where do you get the measurements to place stencil on the car


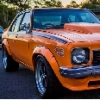
Does anyone know if these were properly measured out at factory or just applied by eye?


Here's a brochure pic from back in the day.
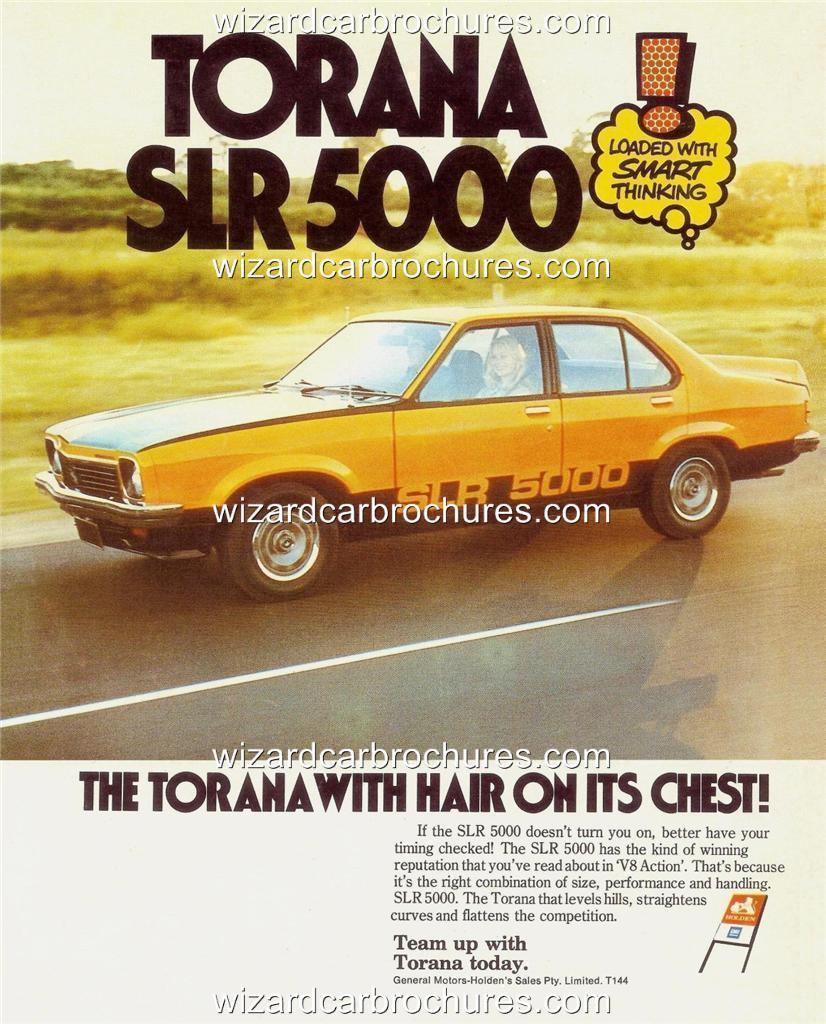
 

631142085_o.jpg


s


0 user(s) are reading this topic

0 members, 0 guests, 0 anonymous users