Gemini Coupe Rebuild!!!
#1 _Viper_
Posted 07 January 2008 - 11:18 PM
Probly easier to just link to my existing thread on my clubs page for now, If I dont get flamed to hell Ill post updates on here haha
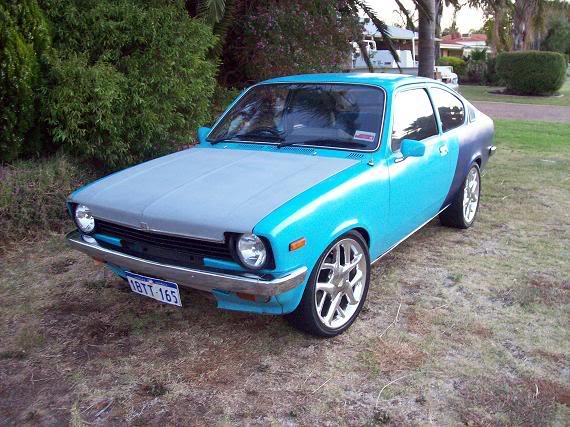
Gems WA - Clints Coupe
Enjoy
#2 _studricho_
Posted 08 January 2008 - 05:35 AM
#3
Posted 08 January 2008 - 07:47 AM
#4 _Leakey_
Posted 08 January 2008 - 08:05 AM
for very short periods of time!
A surprise surprise.... yellow coupe, with blue stripes down the side,
ah-lah Sandman - Piper or Beach Comber? and an aquarius Blue SLE.
That was a beaut. Very well spec'd. Both coupes.
Great little cars. With sticky tyres, and lowering they have a great p2weight
with the larger engine.
Look forward to your build. Rover V8 eh?!!
- Leakey
#5 _j7723_
Posted 08 January 2008 - 09:21 AM
Jeremy
#6 _Viper_
Posted 08 January 2008 - 09:47 AM
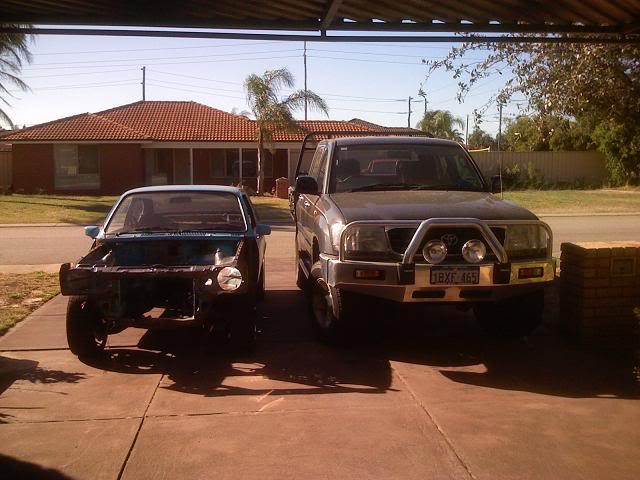
Been playing around with the rover v8 and it fits in the bay nicely only problem is f*ckall room for exhaust, Will have to go for custom extractors for sure, all up would be around 6k to get it in and running so its been put off for awhile.
The turbo 4 should give it enough mumbo to be respectable well off I go to do some more work on it....
#7
Posted 08 January 2008 - 07:55 PM
hope the build goes well and easy (cheaply would be good to)
gump
#8
Posted 08 January 2008 - 08:11 PM
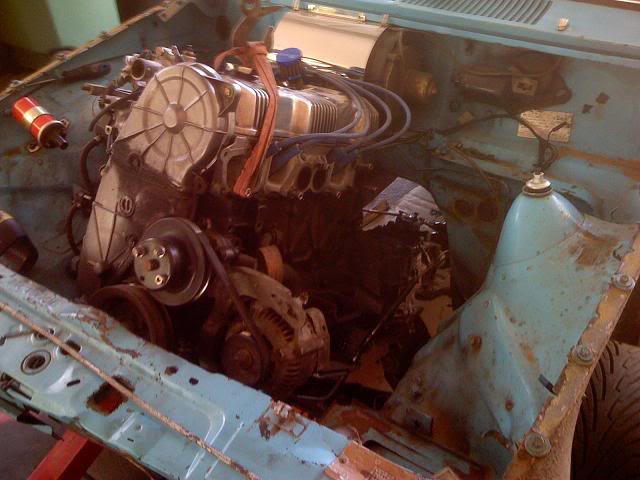
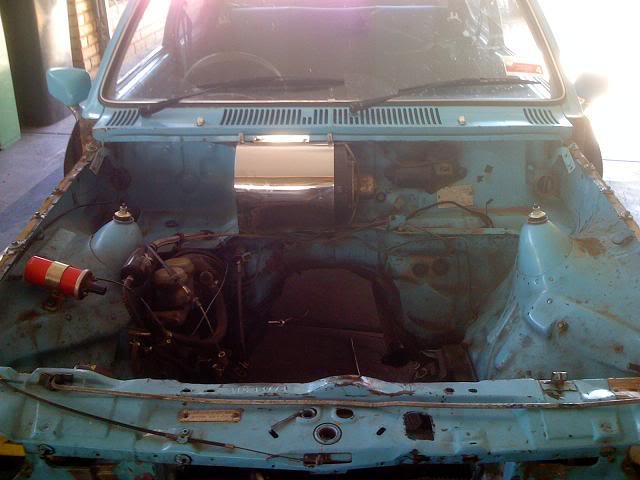
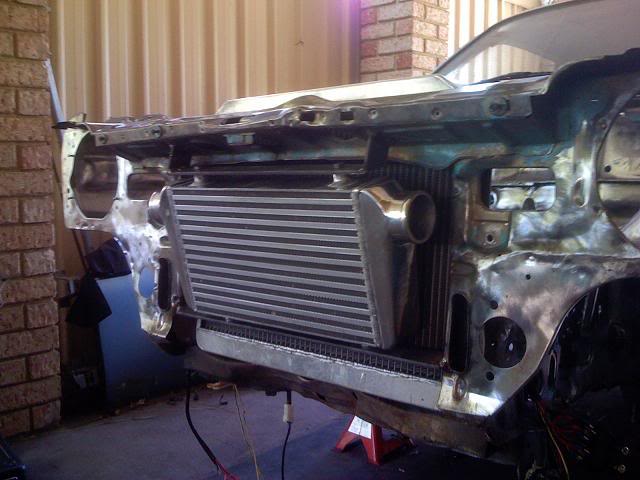
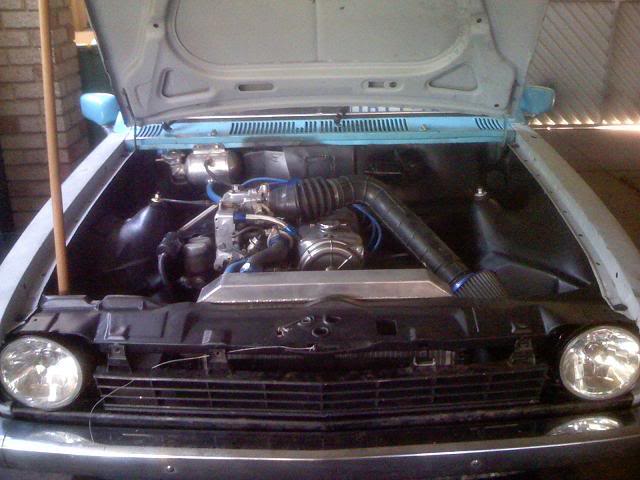
The cast iron manifolds didn't fit?Been playing around with the rover v8 and it fits in the bay nicely only problem is f*ckall room for exhaust, Will have to go for custom extractors for sure, all up would be around 6k to get it in and running so its been put off for awhile.
#9 _Viper_
Posted 08 January 2008 - 11:07 PM
I need to get hold of a dellow bellhousing so I can see how much I can lift the motor before the bellhousing hits the tunnel.. The higher I can have the motor the better in reguards to the exhaust
Actually I need to pm you about something
#10
Posted 08 January 2008 - 11:34 PM
Range Rover go straight down but SD1 are different. They have an extension on them that goes backwards.
#11 _Viper_
Posted 10 January 2008 - 01:46 AM
PLANS:
-Replace Ignition with Pushbutton Start
-Smoothed Lock holes, Aerial Hole & Engine Bay
-Hide Wiring & Move Battery To The Boot
-Flared Guards
-Front Spoiler
-Bonnet Struts
-Smooth Body Seams
-Diff Work (Possible Plans are Full spool, 28 Spline Axels, Strenghtened Torque Tube and H/Dute TT Mount But still researching)
-Hopper Stoppers Brakes on the Front and VN commodore Discs on the Rear
-2.3L GT28BB Turbo, FMIC, Gemracing Intake & Exhaust Manifolds -Full specs Later-
-Oh yea painting it too! Either that new Holden Green or Mazda Winning Blue
-Retrim Interior, Undecided on what im doing there yet
-Oh and most importantly going to investigate in fitting Cup Holders in the dash! ones that like retract into the dash and mount flush
In all her glory before I hit a pole
Just after I hit the pole :(
How she was just before I stripped her
Engine bay before I started
Getting started on hiding the wiring... At this point I was wondering what I got myself into!
Turbo Dummy fit
Cancer starting to attack my floor pan!
Retaliated with Grinder and wire wheel
Well Ive all but finished hidding the wiring from the engine bay, Routed it through the chassis rails and out under the guards... Turned out pretty neat I reakon
Where I entered the chassis rail through the floor pan on the passenger side:
And where it exited the chassis under the guard. (sorry bad pic) Relocated the horn to here and mounted the headlight relays there too...
Pretty much exactly the same on the drivers side just didnt get pics... Just need to route the EFI wiring and then I can move onto smoothing the engine bay and filling all the un-needed holes
Edited by Viper, 10 January 2008 - 02:00 AM.
#12
Posted 10 January 2008 - 02:11 AM
#13 _Viper_
Posted 24 January 2008 - 10:39 PM
Engine Being Evicted
My Canvas
Battery In the boot (dw the mount for the battery is being replaced with a propper oddysee weld in battery mount, made specifically for this battery)
Front Apron removed and bay stripped of peripherals
Half way there (this part was not fun!)
Hah Landcruiser dwarfs the Gemi!
My new motor! Barely 1Manpower and runs on Pure hungry jacks!
Front end out, lookin abit dirty after about 6months in service since rebuild
Pretty much all stripped!
Intercooler mounted
Holes all welded up
And thats about where Im up to atm... All the welds have been ground back and ready for primer and a little bit of filler!
#14
Posted 24 January 2008 - 11:03 PM
#15 _cal-a-kid_
Posted 25 January 2008 - 08:56 AM
Dean
#16 _Viper_
Posted 25 January 2008 - 08:29 PM
My new remote shifter arrived today also 
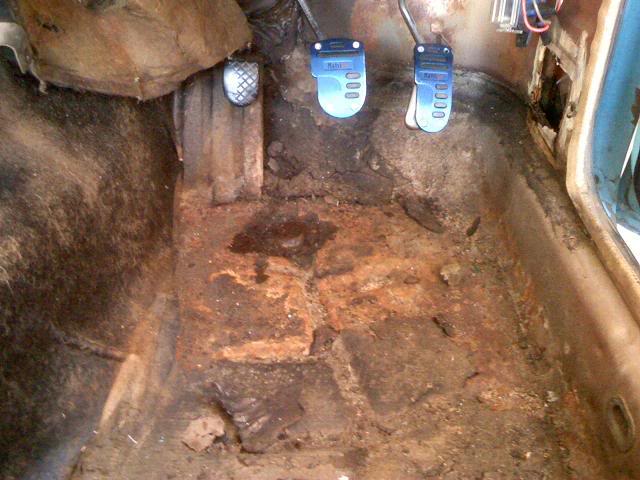
looks like it will work well, anyone who's familular with Gemini's will know they got an awful shifter position and a huge throw.. this brings the shifter to a better position and shortens the throw considerably
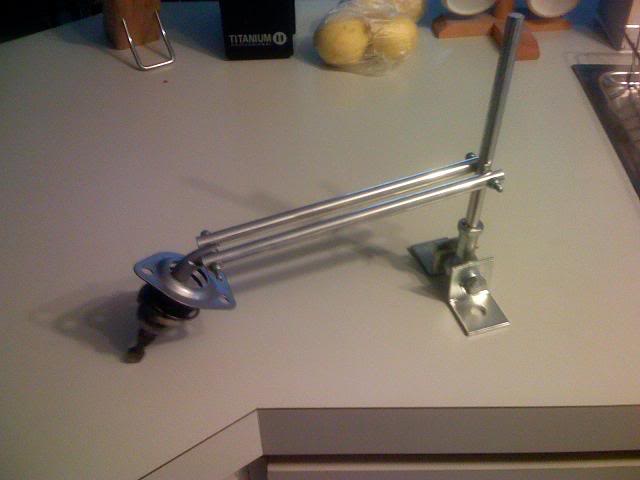
#17
Posted 25 January 2008 - 09:30 PM
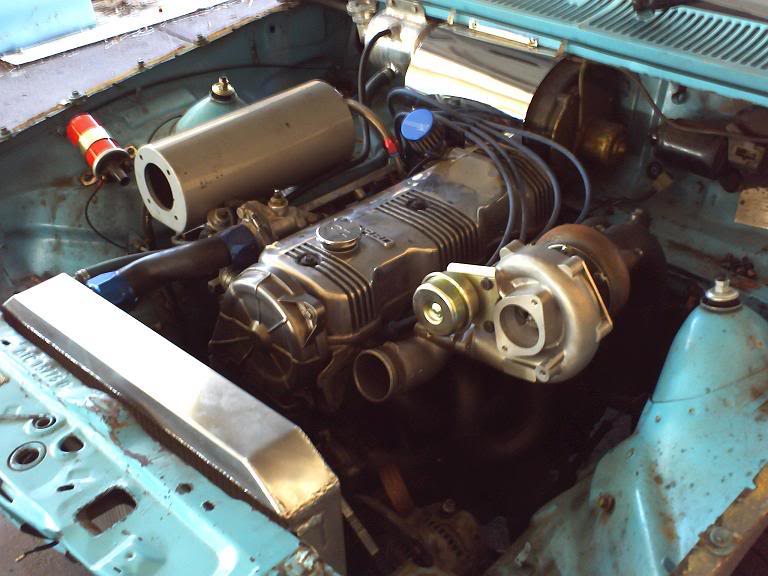
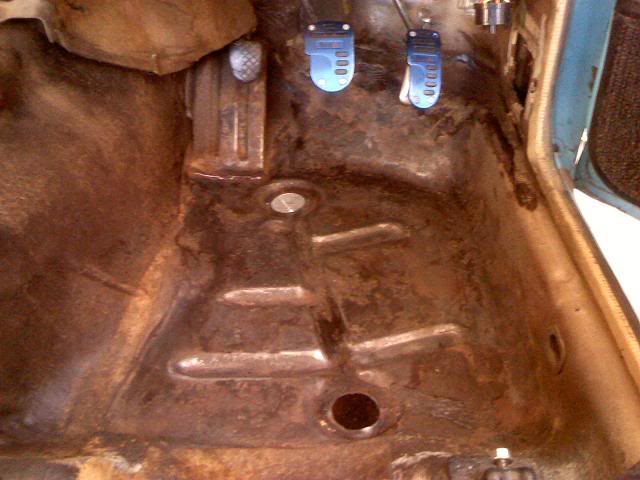
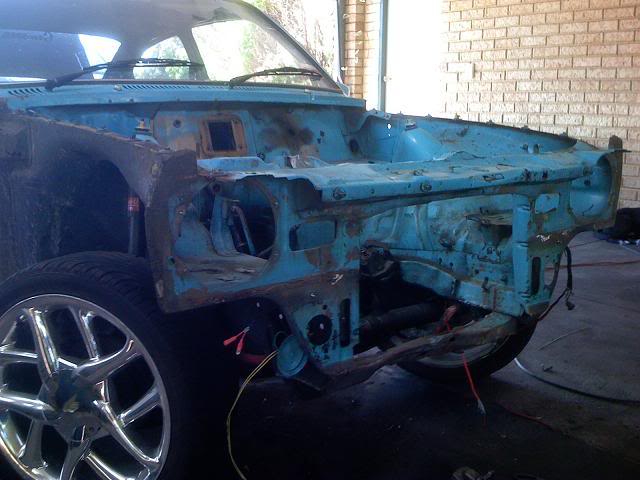
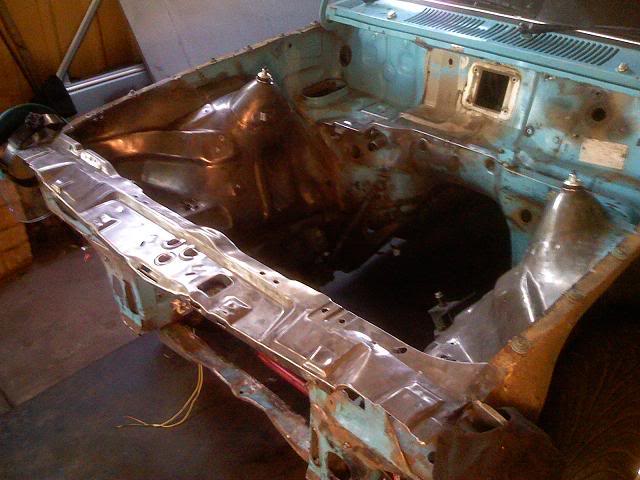
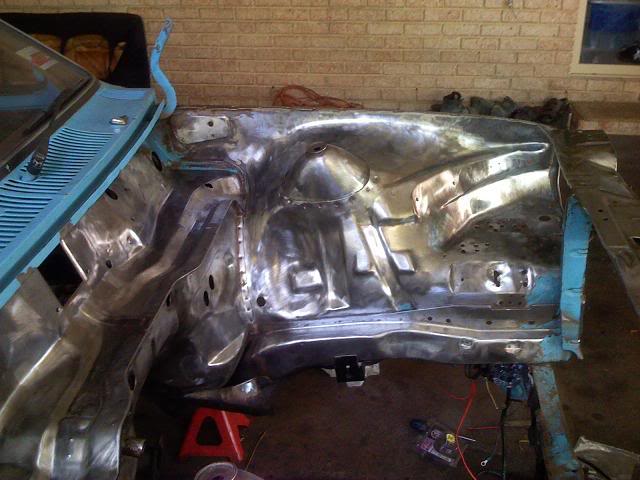
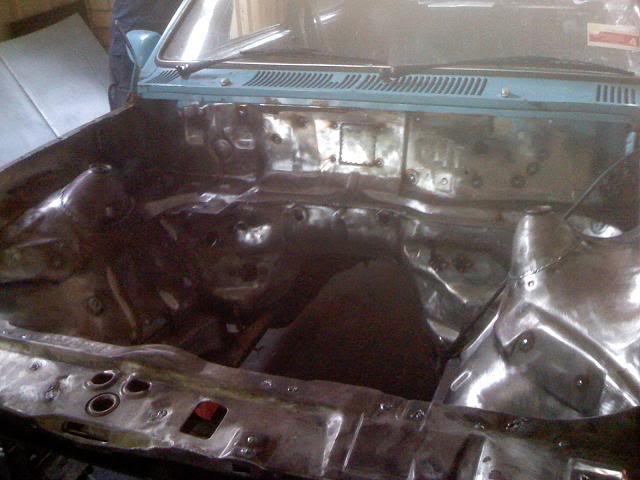
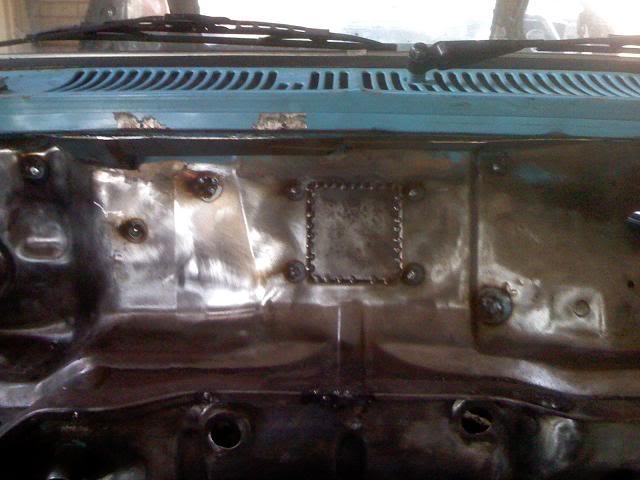
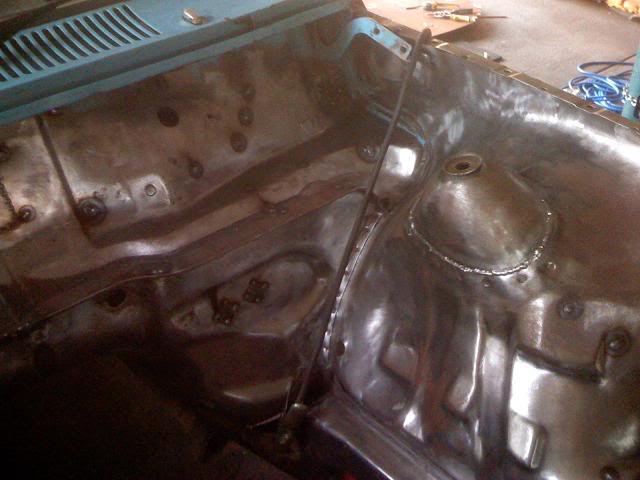
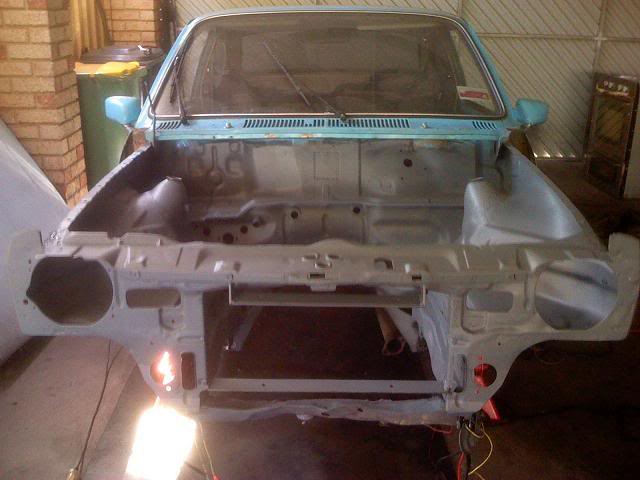
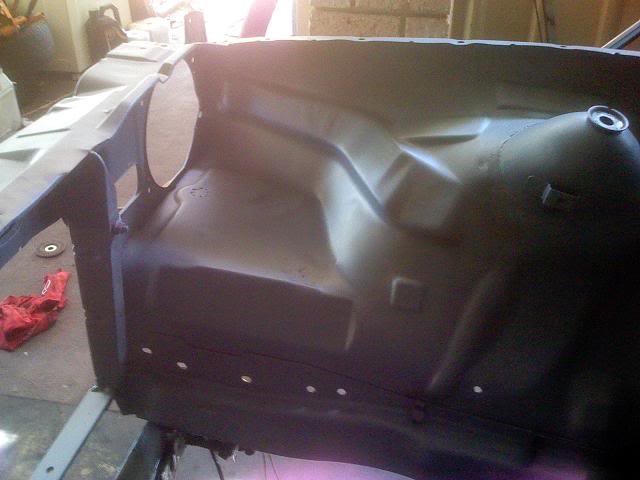
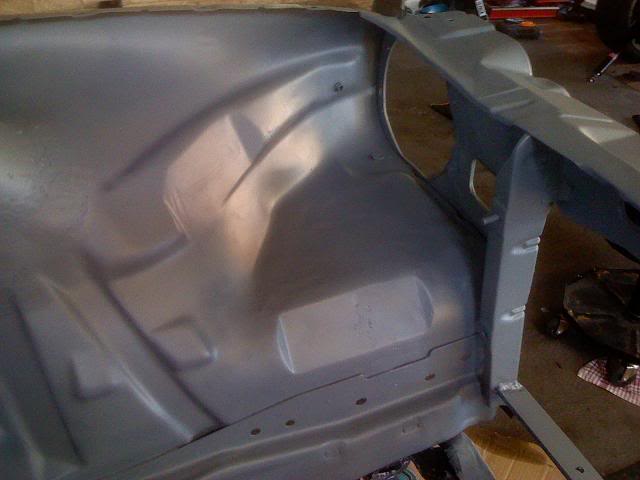
engine bay looks great! what did you use to rust proof it? also, i noticed in a previous photo you filled a square hole? did you weld all around it and grind it back or do you just plan to seam fill it?rust proofed it all and got it in primer, yay!
cheers
#18 _Viper_
Posted 25 January 2008 - 09:55 PM
RE the square hole, just did the spot welds that you can see in the pic, grinded the welds flush and will use filler to make it all smooth, The POR15 actually has excellent build properties and when I applied it from the inside it filled the small gaps that was left..
This is the first time Ive done anything like this, I donno if its the best way but Hopefully works.... Its what I was told to do anyway
#19 _Viper_
Posted 16 February 2008 - 10:21 PM
Here's that remote shifter installed, Much better then the stocker... about 1/3rd less travel and alot better position
And couple pics of the engine bay with just the N/A Motor fitted.
Thats pretty much all that goes in the bay, The header tank will be relocated to the rear left corner of the bay (mounted on the guard) and another polished alloy tank will be mounted on the opposite side for the windscreen squirters... Oh and the Turbo and cooler pipes of course
The wiring for the motor comes out of the firewall at the rear of the motor (barely visable) and a couple wires at the very front for the headlights...
Still abit of filling left to get it all perfect, and Gas struts to be fitted... but im pretty happy with it
#20 _studricho_
Posted 17 February 2008 - 09:59 PM
I remember doing crazy stuff like that, your a legend. Keep posting pictures.
#21 _Viper_
Posted 17 February 2008 - 10:02 PM
Will continue on the body work at nights and just seal it with matt black, so slowly the whole car will be matt black... And the turbo will be setup as well and once the whole cars running perfect, will strip it back to a shell and lay some paint down and re-assemble... Then just enjoy it I hope!
#22
Posted 17 February 2008 - 10:47 PM
But hey your doing a good job. Put some picks up of how much work has been done on the torry
#23 _TUFF_
Posted 18 February 2008 - 05:48 PM
Cheers
Josh
#24
Posted 25 February 2008 - 12:38 AM
Just couldn't do that to my LJ.
cheers
Scott
Location: Gladstone, Queensland
#25 _Brewster_
Posted 26 February 2008 - 09:18 PM
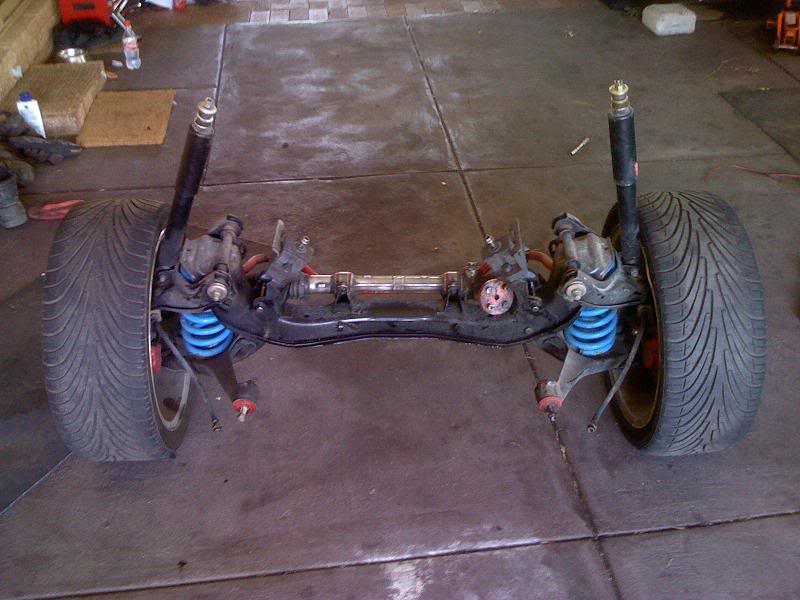
My mate took the springs out of his gemini, and the car sat on the bump stops. It was a stock auto and at the time, we lived in Mount Dandenong VIC. I kid you not, this car kept up with 2 RGV 250's up the mountain hwy, foot flat to the floor, no brakes and my fat arse in it, tje car handled like an F1! It was awesome!Great little cars. With sticky tyres, and lowering they have a great p2weight
with the larger engine.
0 user(s) are reading this topic
0 members, 0 guests, 0 anonymous users