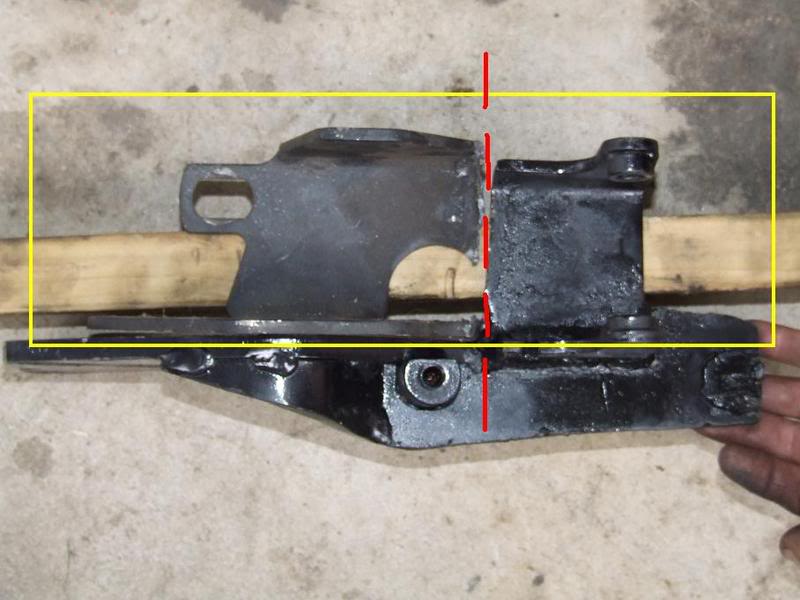
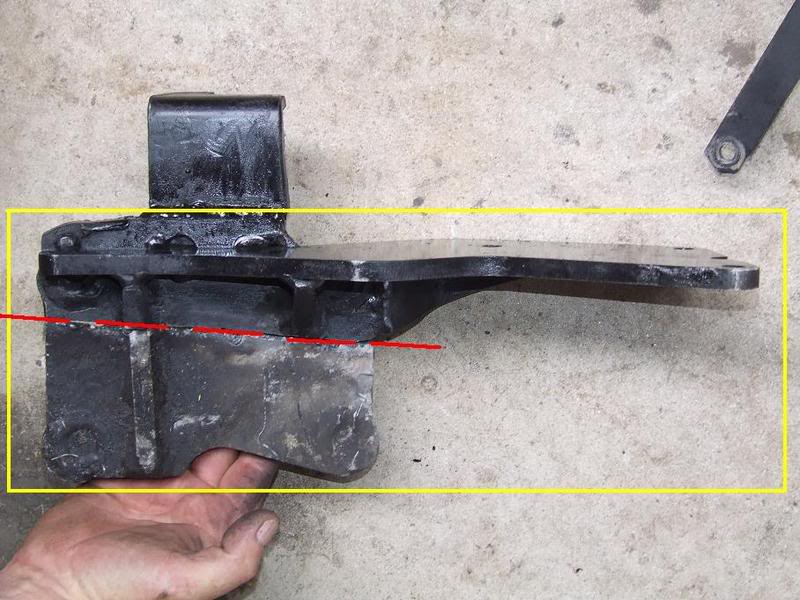
Inside the yellow box shows the original LS1 alternator bracket and the red dotted line shows what was cut off.
An oxy was used in the absence of angle grinder cut off wheels in Colac on the day.

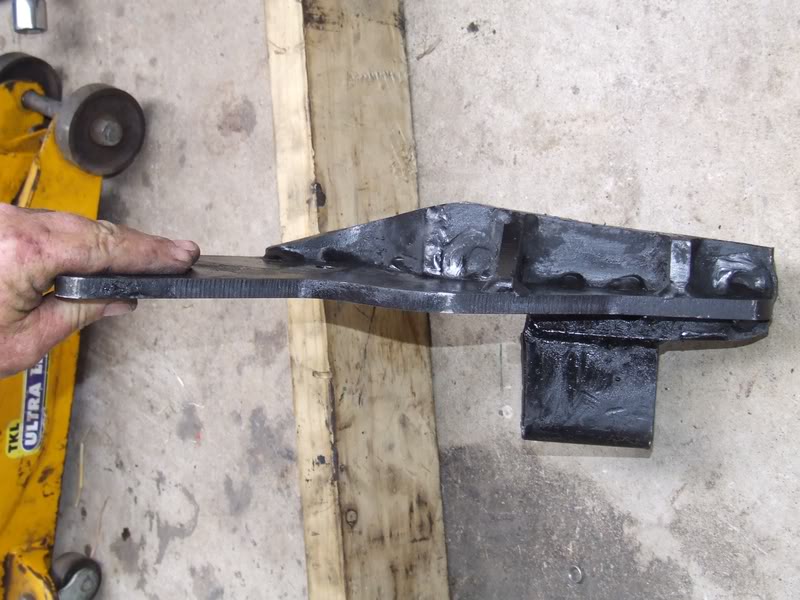
This pic shows the original LS1 A/C compressor braket and what was cut off
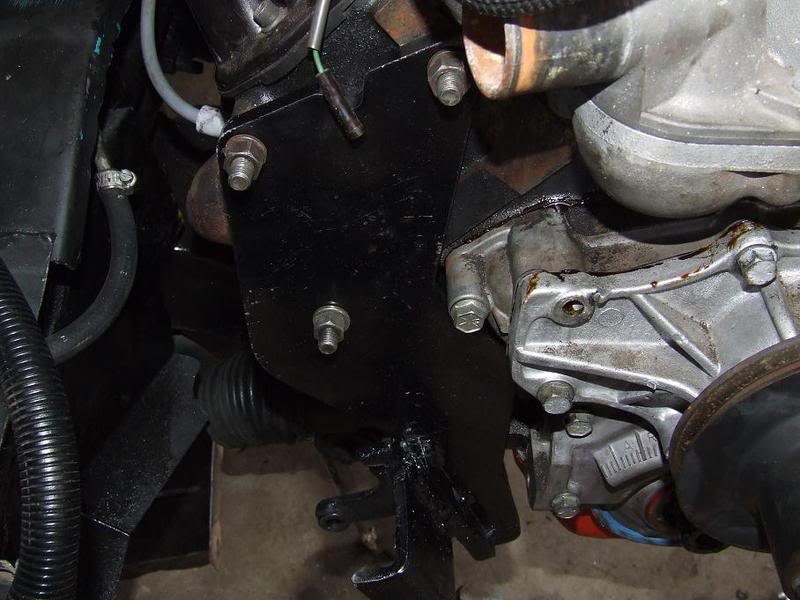
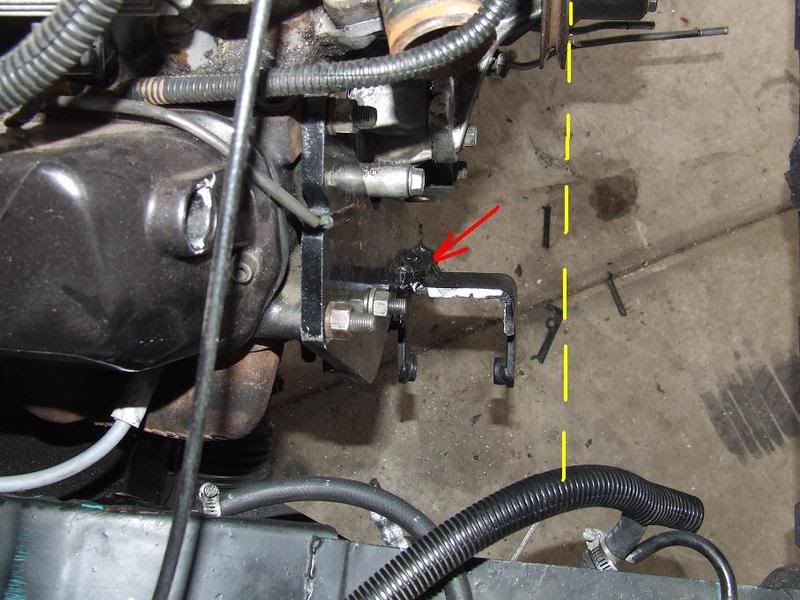
The A/C bracket was then bolted to the R/H (driver's side) head and the alternator bracket was clamped to the A/C bracket with vice grips (red arrow).
The alternator was fitted (not shown in pic) and a straight edge used to align the alternator pulley to the water pump and harmonic balancer pulley.
A few taps here and there on the bracket to align and was then tacked in place with the arc.
The bracket was removed and fully welded where the alternator braket touched the A/C bracket.
The "overlap" is about 20-25mm where the brackets meet each other but we ended up with about 200mm of weld around the overlap.
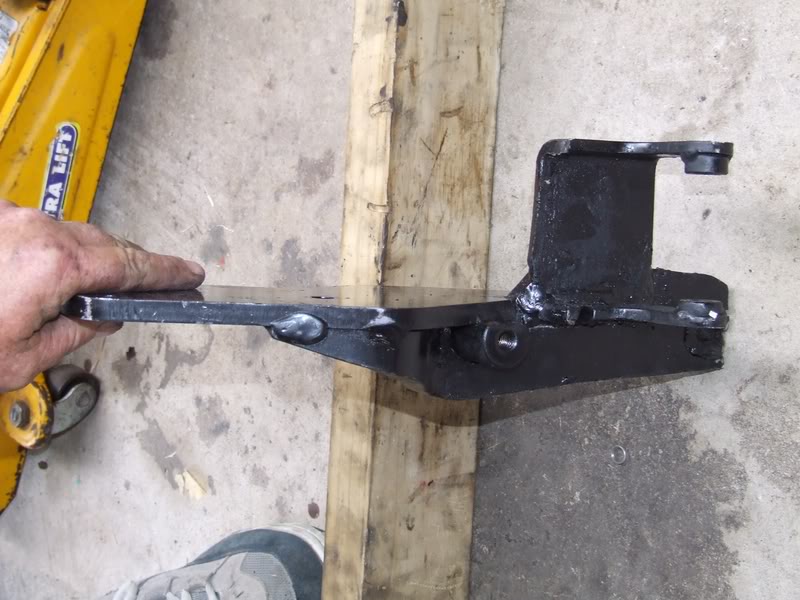
The result: