Jump to content


Repairing front LH/X guards


  • Please log in to reply
12 replies to this topic

#1 _Squarepants_

_Squarepants_
  • Guests

Posted 15 June 2009 - 07:41 PM

I did this a couple years ago now, and didn't get as many pics as I should have, but here goes anyway...

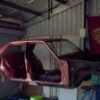
All LH/X (UC???) owners will know that the front guards, behind the front wheel, is a notorious spot for rust. My guards were no different. (many nights [of my youth] spent in grassy paddocks and school ovals chuckin' capers didn't help!!!)

I bought some Rares rust repair panels, measured and marked my guards and cut the offending areas off:

Posted Image

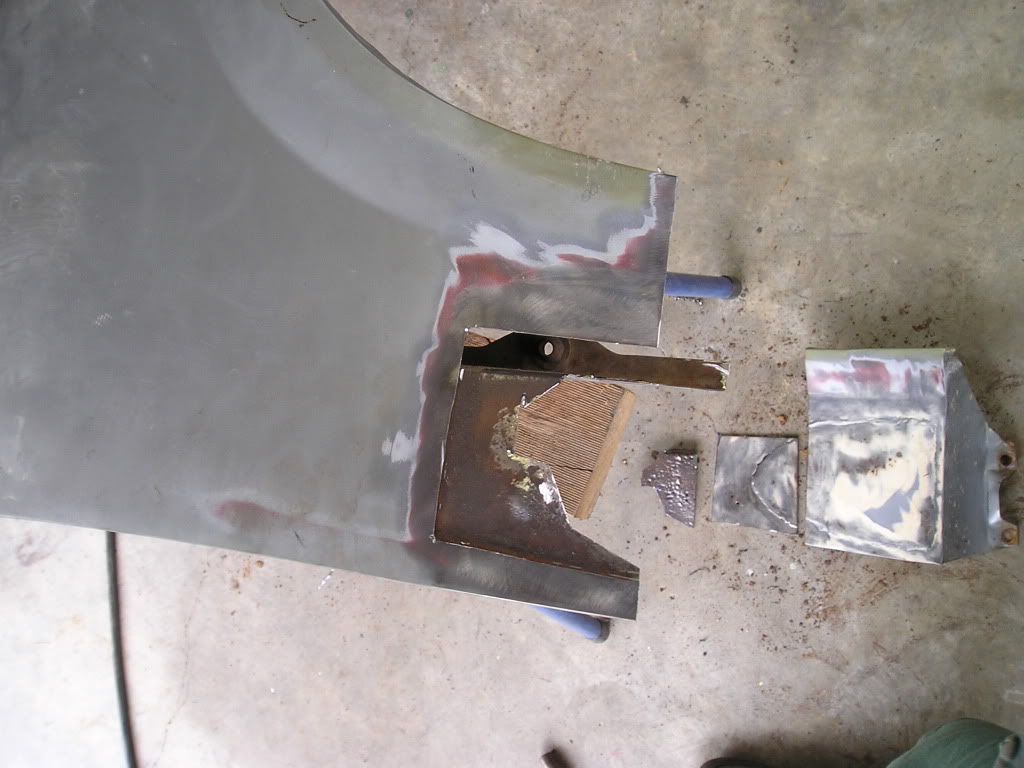
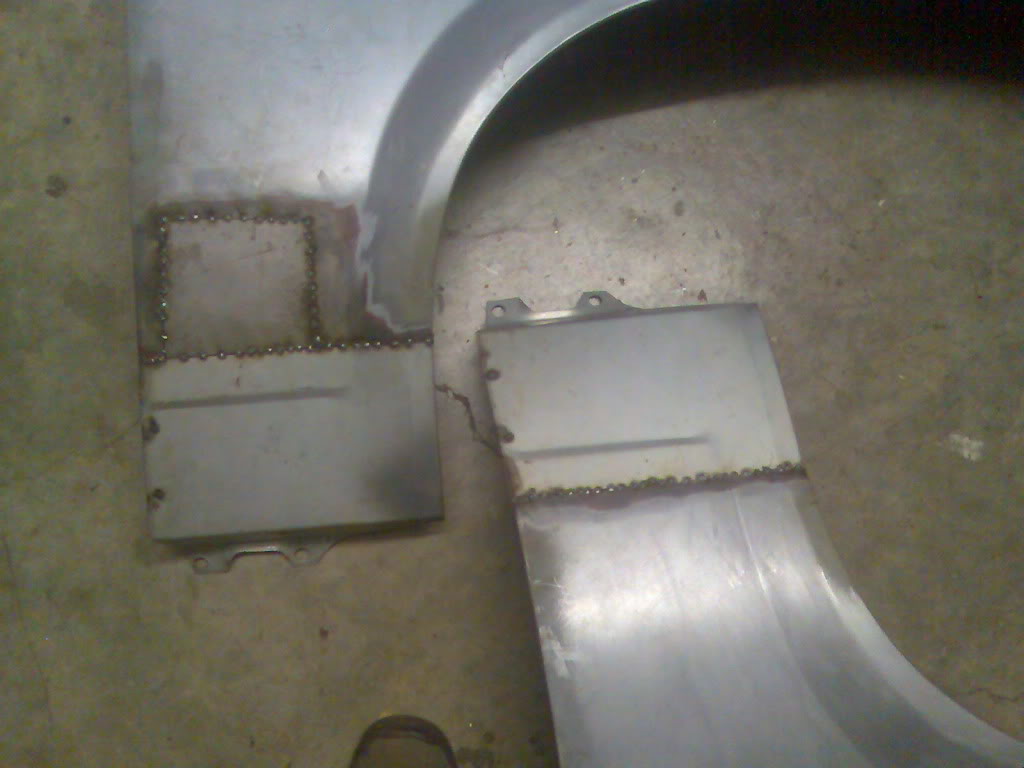
You can see the bits that I've cut off laying on the floor, including some previous owners dodgy repair work.

Posted Image

This was the worst one, I don't seem to have any pics of the other one at this stage.

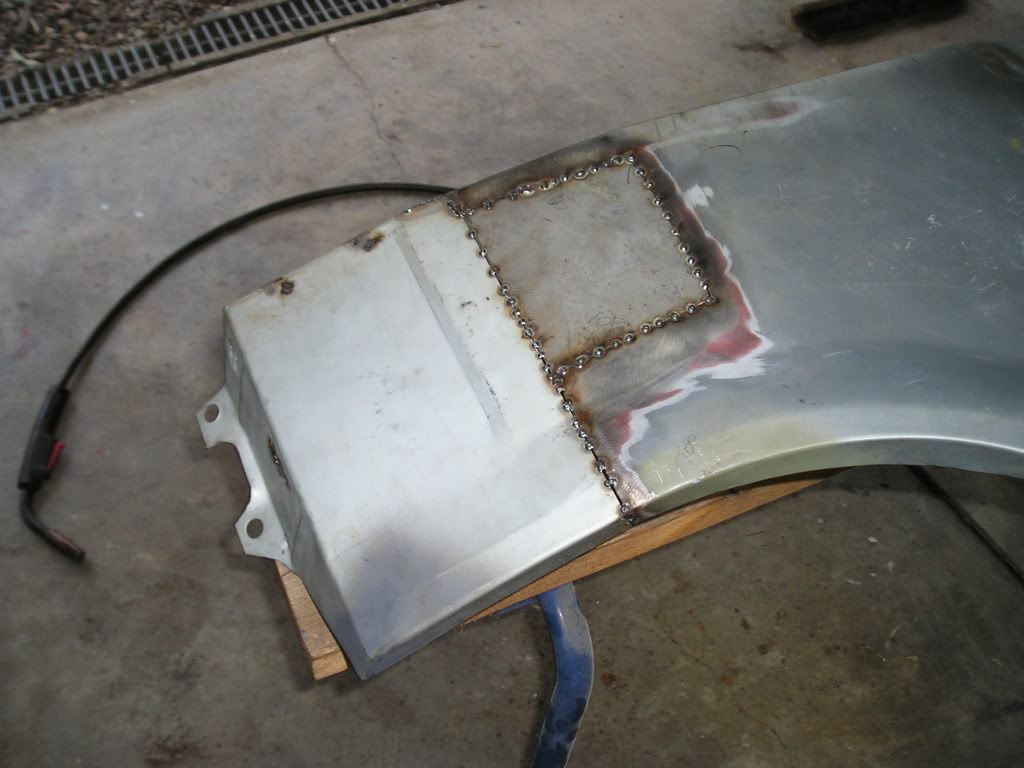
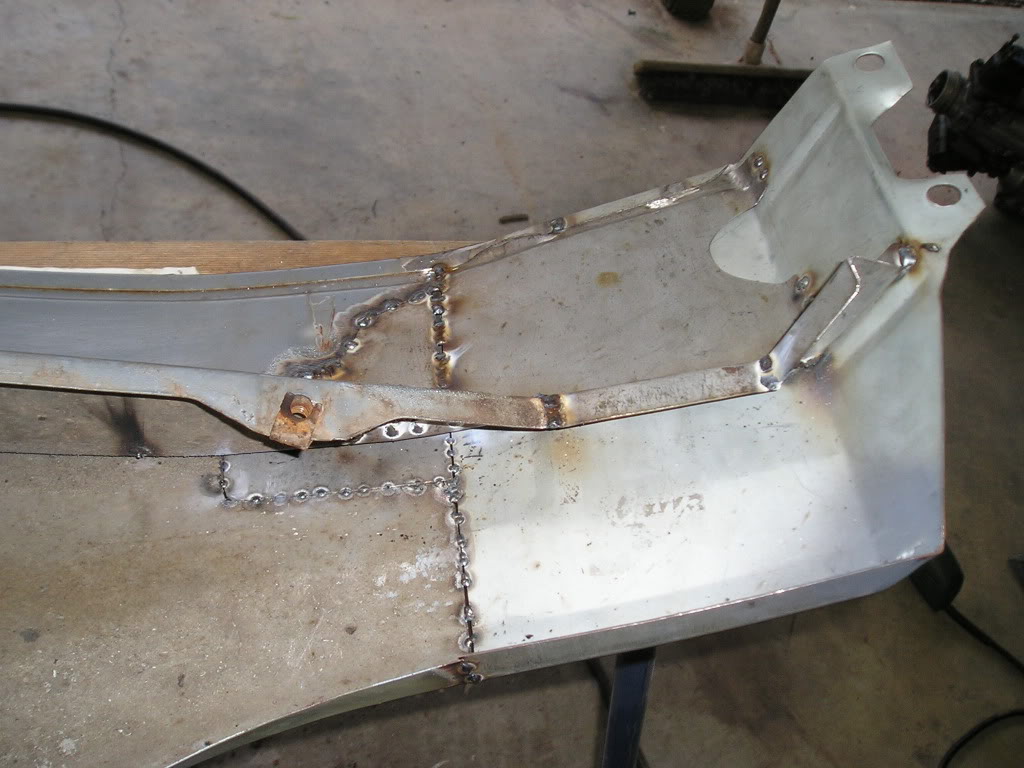
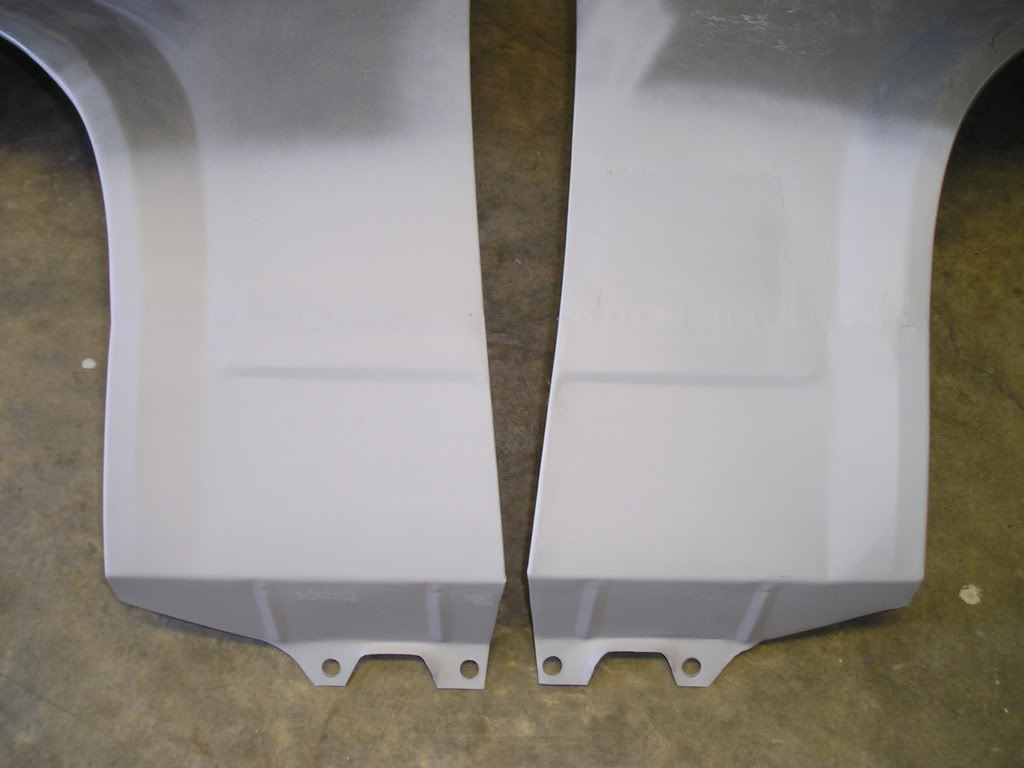
The new panels went on ok, plus a little extra where the rust had crept up the steel:

Posted Image
Posted Image

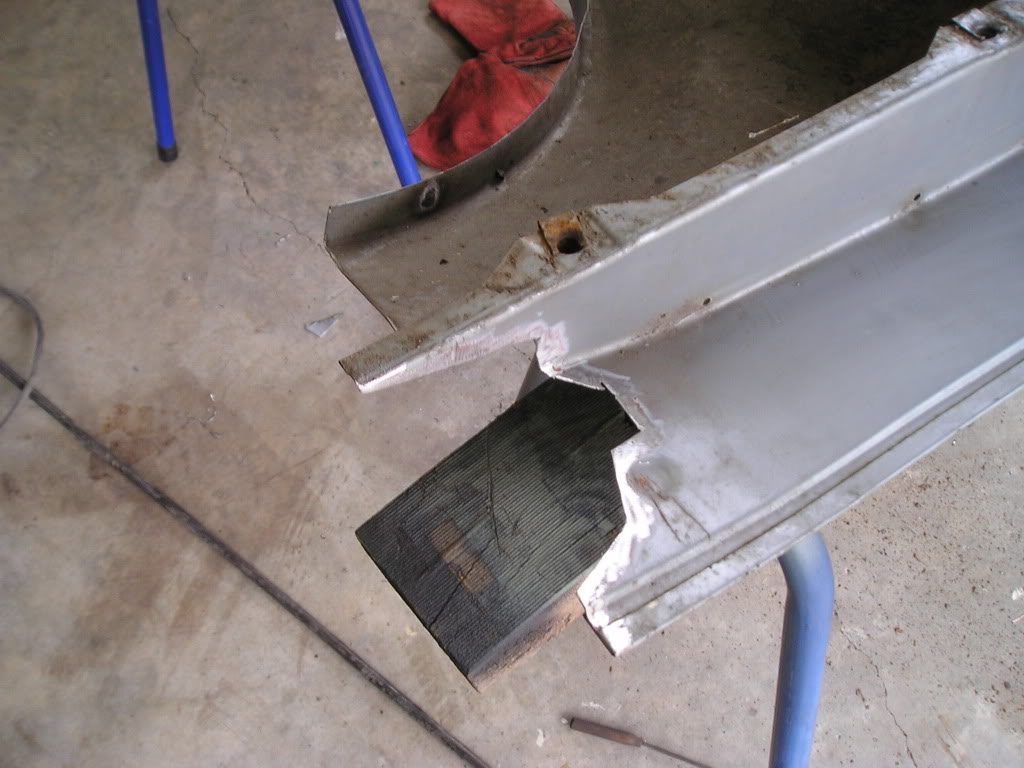
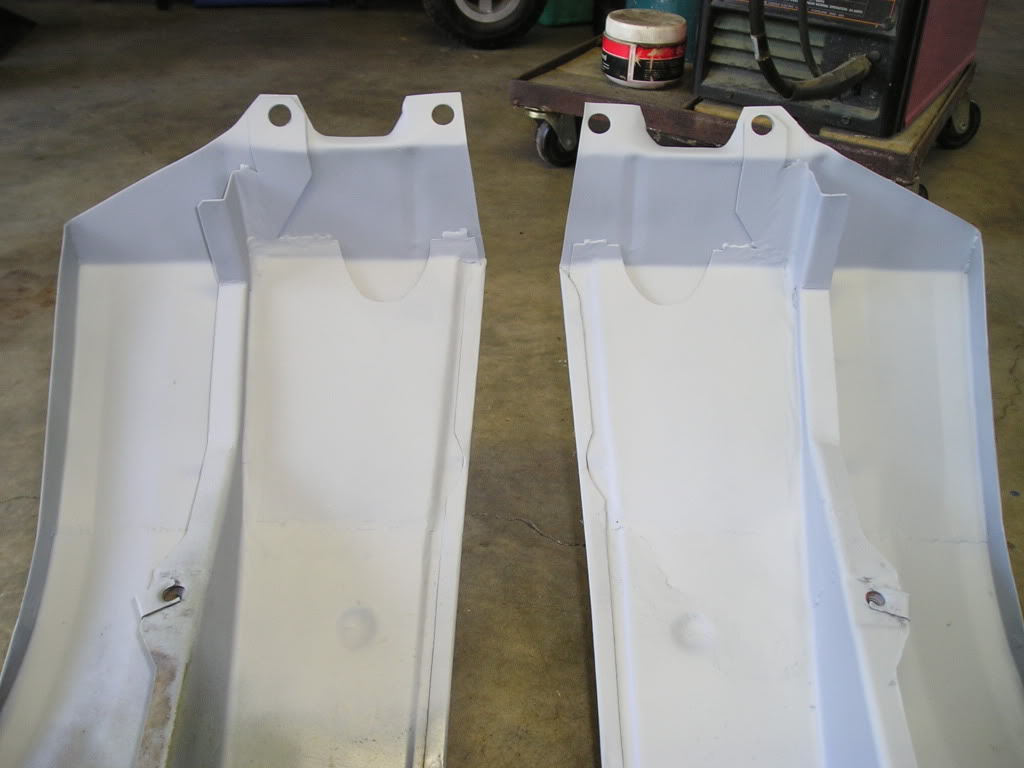
I had to refabricate the inner guards/supports as well (you have to fold the edges of the Rares panels over the inner panels):

Posted Image
Posted Image
Posted Image
Posted Image

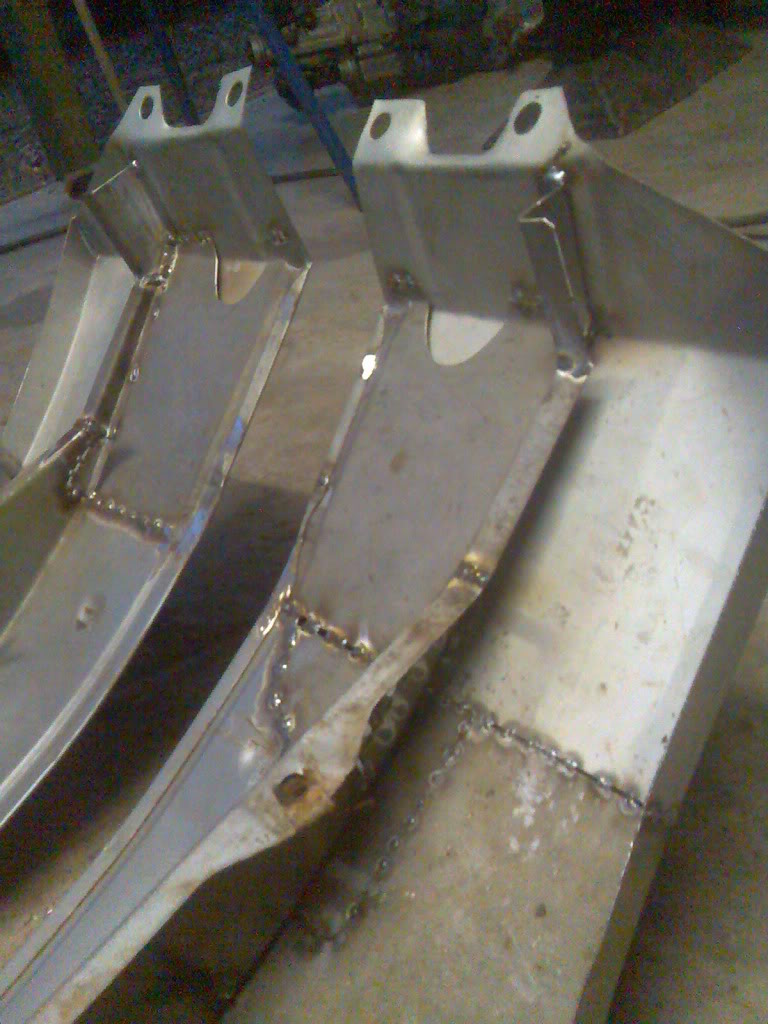
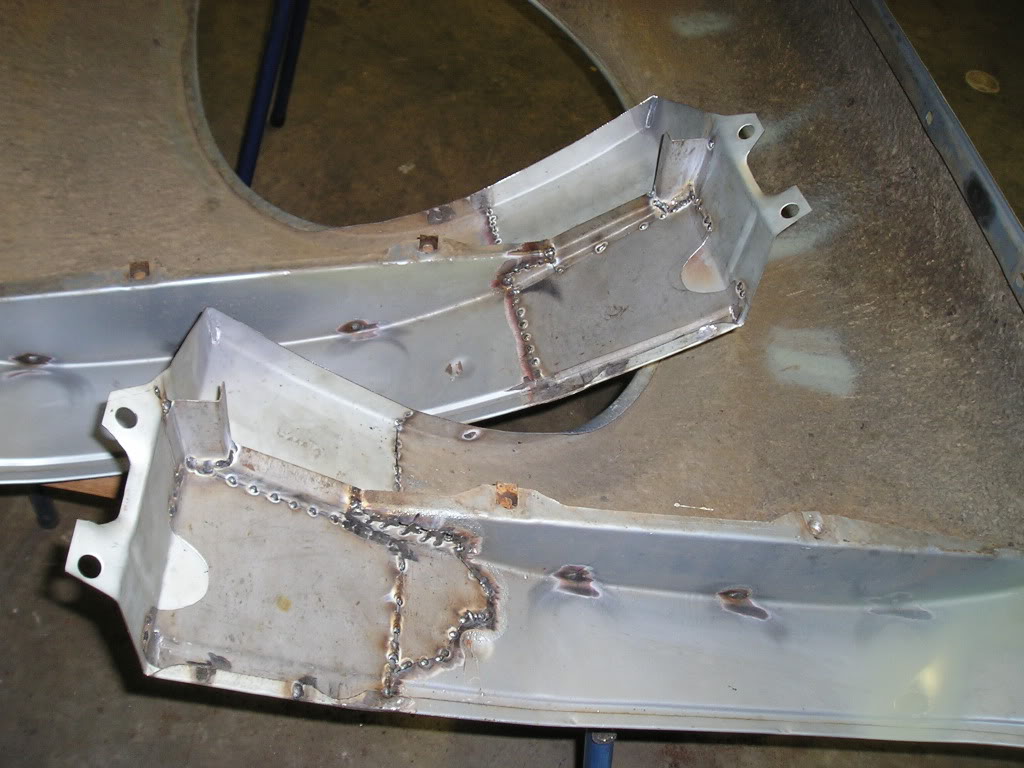
After welding them fully, grinding back and a bit of etch prime:

Posted Image
Posted Image

A skim of bog to smooth them out and Uncle Bob!

Please ask any questions you may have if I haven't explained anything properly.

If you think you have a better way of doing it, then post the pics and "how to" in this thread.

Enjoy.

Edited by Squarepants, 15 June 2009 - 07:47 PM.


#2 _torana_umunga74_

_torana_umunga74_
  • Guests

Posted 15 June 2009 - 07:45 PM

those rare spares panels are real good, i did it on my 808 without a repair panel just doing one patch at a time.

#3 _darrenmark1_

_darrenmark1_
  • Guests

Posted 15 June 2009 - 08:35 PM

Top Job mate well done and thanks for showing, i have to do the same next week, and i was wondering about the inside repair.


Well done.

Daz

#4 Ruts

Ruts

    How Fast!?

  • Moderators
  • PipPipPipPipPip
  • 1,118 posts
  • Location:Bargo, NSW
  • Car:Blown A9X replica, Black SS hatchback, LH SLR5000
  • Joined: 23-December 06

Posted 15 June 2009 - 09:19 PM

Great stuff.

#5 _berro59_

_berro59_
  • Guests

Posted 15 June 2009 - 10:20 PM

Sick Job mate! The finish looks perfect. You have nailed the tidying up of the welds and grinding process. I am converting a UC hatch to a A9X copy and the welder is about to become my best friend. Any tips would be appreciated.

#6 _Squarepants_

_Squarepants_
  • Guests

Posted 15 June 2009 - 10:39 PM

Welding is 50% theory and 50% practice. You can't learn how to weld well without doing it.

#7 _mello92_

_mello92_
  • Guests

Posted 17 June 2009 - 10:51 AM

^ True.
Thanks for posting this 'how to' Spongy, its just what I wanted to see as mine also need to be replaced, so many thanks for putting this up!
Good to see that they fit like they are supposed to as well.

Cheers.

#8 racean69

racean69

    Forum Fixture

  • Members
  • PipPipPipPipPip
  • 781 posts
  • Name:Rod
  • Location:Central QLD
  • Car:LH sedan
  • Joined: 07-November 05

Posted 17 June 2009 - 11:02 AM

nice work mate

#9 Statler

Statler

    Heckler Extraordinaire

  • Administrators
  • PipPipPipPipPipPipPip
  • 6,282 posts
  • Name:Col
  • Location:Mackay Qld. Whitsundays for all you back packers!
  • Joined: 20-May 06

Posted 17 June 2009 - 04:47 PM

Nice work m8.

I put a line of masking tape along the side of the door, & onto the guard. That is my cut line.
That way i dont need to replace any more of the section than is required. In a lot of cases, the cutline is below the crease.

I simply cut the tape between the door/guard, remove guard & cut off the rusted piece. Then bolt the new lower section on, use a steel ruler to transfer the cut line from the tape, then trim the new lower section to suit.

Cheers, Col.

#10 _mello92_

_mello92_
  • Guests

Posted 25 November 2009 - 10:48 AM

Anyone know how the current Rare Spares replacement sections fit?

#11 TerrA LX

TerrA LX

    Fulcrum Fixture

  • Members
  • PipPipPipPipPipPipPip
  • 14,241 posts
  • Location:Sid 'n' knee
  • Joined: 31-May 06

Posted 25 November 2009 - 12:47 PM

Hardest bit is lining them up, if the pressings are out a bit then it is a bastard to get the body line.

#12 _HatchmanSS76_

_HatchmanSS76_
  • Guests

Posted 15 December 2009 - 08:19 PM

Anyone know how the current Rare Spares replacement sections fit?


Short answer not that good.
In the process of fixing one up with the repair section and it just didn't want to line up without some massarging and lots of swearing.
The gards been on that many times checking the fit now, we wisttle and it hops on by itself.

#13 _big chris_

_big chris_
  • Guests

Posted 16 March 2010 - 07:59 AM

Nice work,
the repair section we got from Rares was so far off the mark we could not even use it,
took it back and got a refund.


0 user(s) are reading this topic

0 members, 0 guests, 0 anonymous users