Fixing my brothers HZ Tonner/s
#1 _mello92_
Posted 26 May 2010 - 12:07 PM
Younger brother is starting a Diesel Fitter apprenticeship next year, and can also get his red P's next July. So, wanting a ute to carry tools/parts etc, but not a newish one (simply cause he doesnt have the $$), he (with some encouragement 
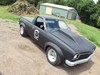
) decided on a Tonner. This one popped up in the paper: (yes I know the chasers shouldnt be on there )
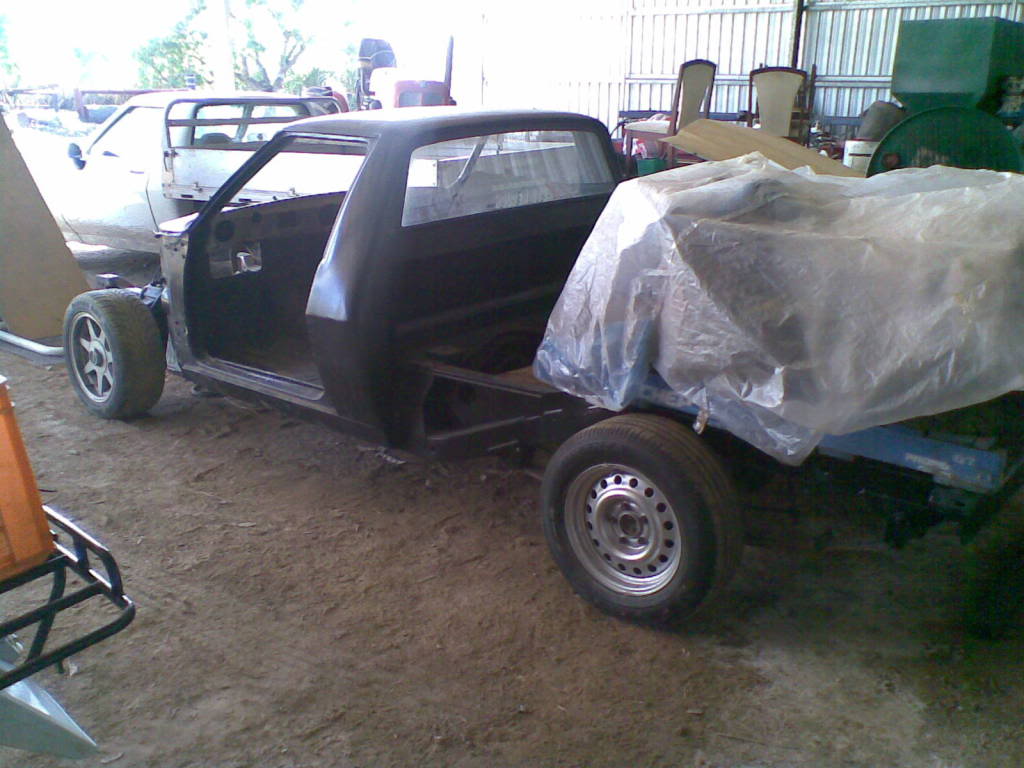
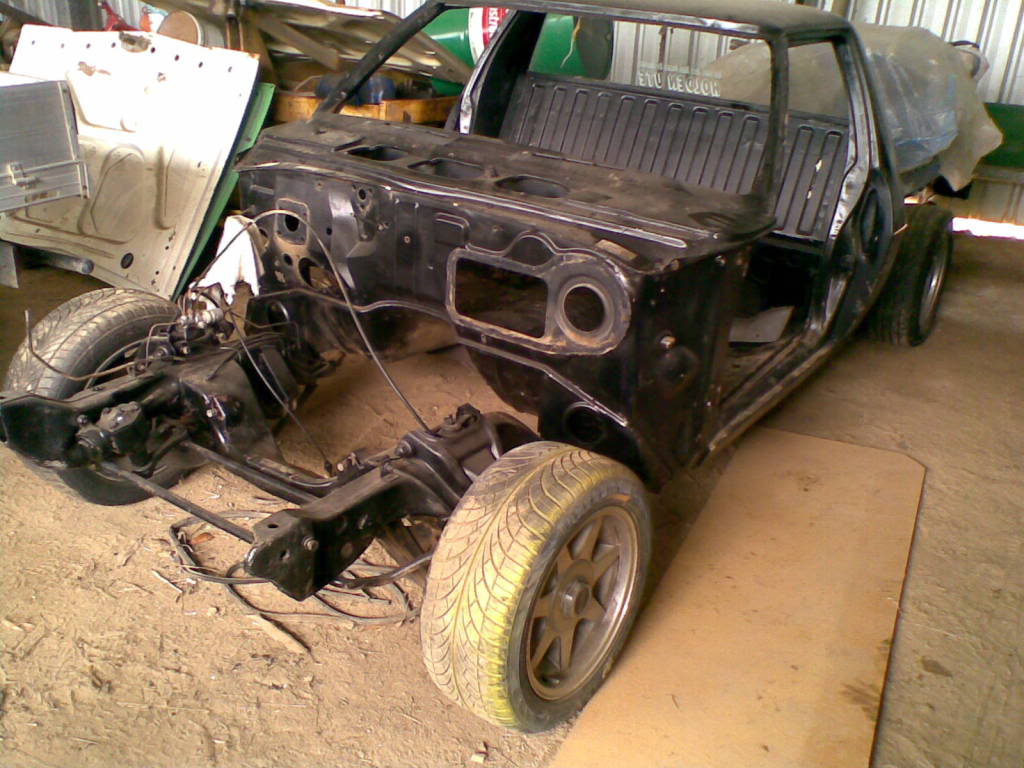
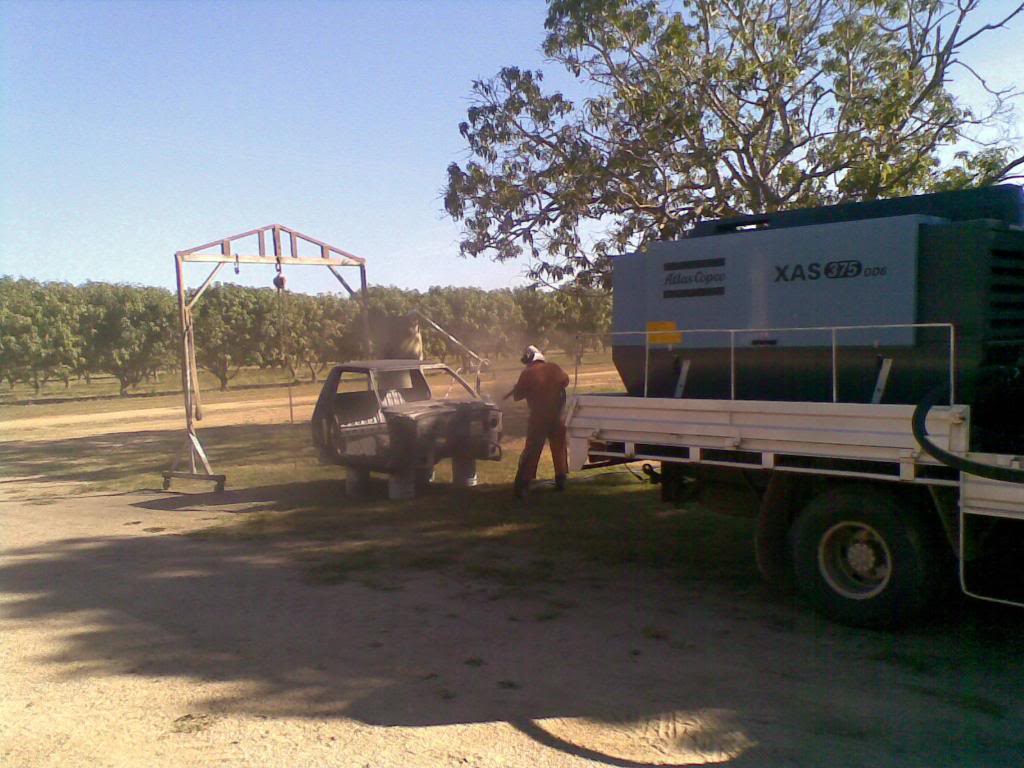
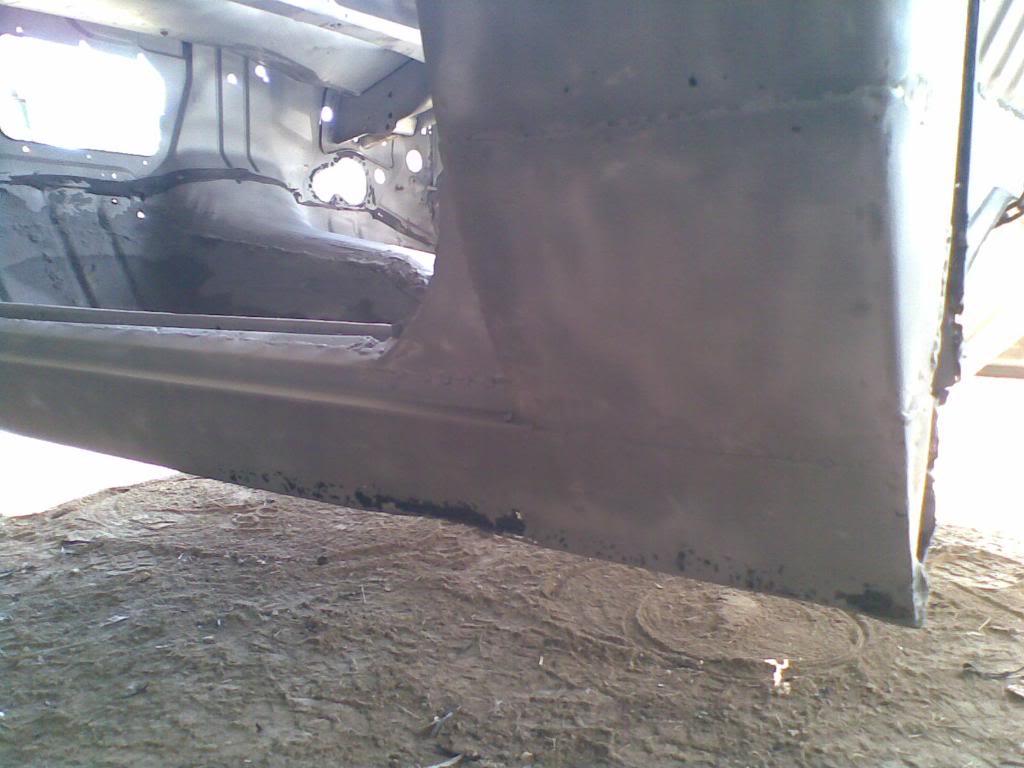
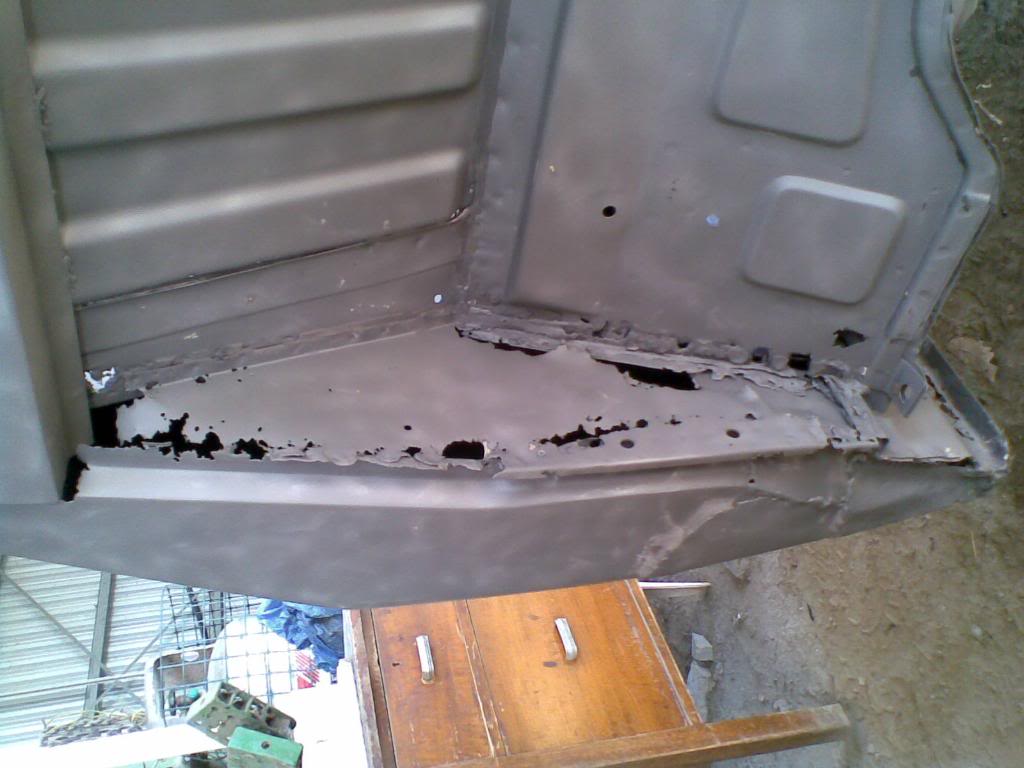
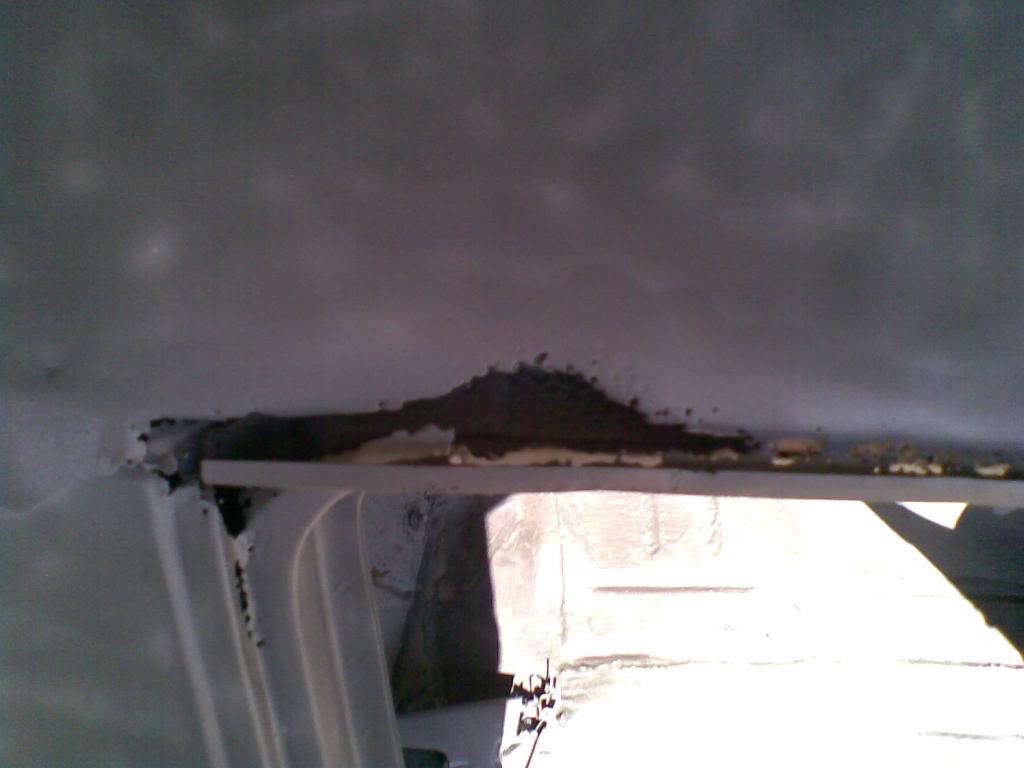
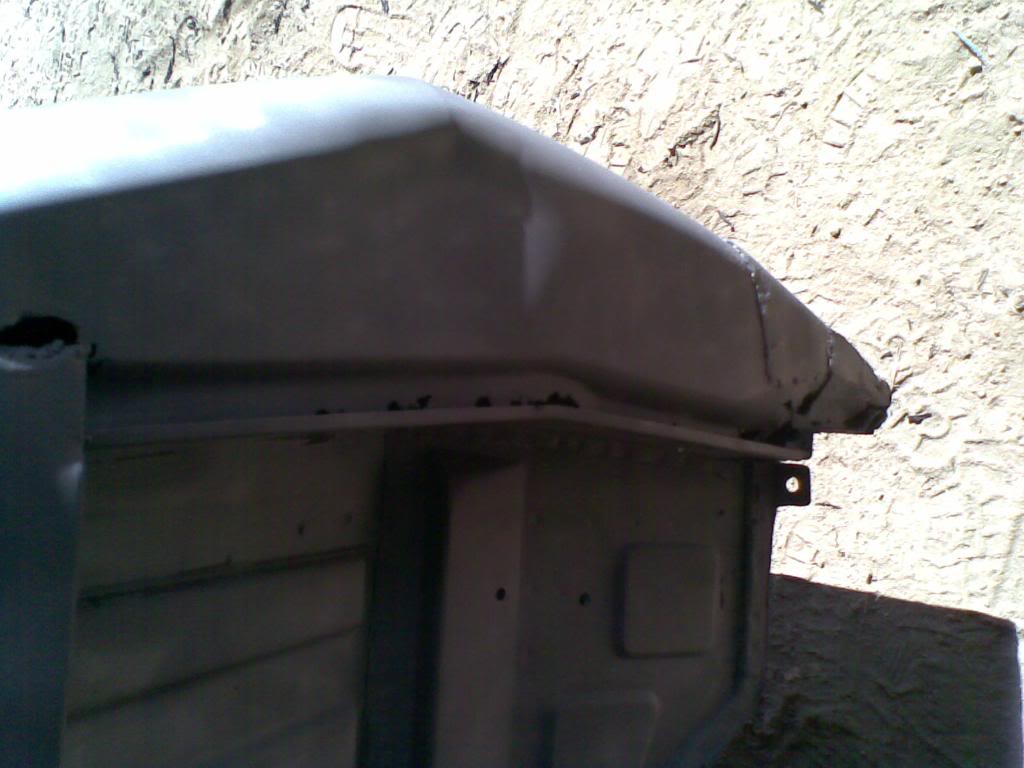
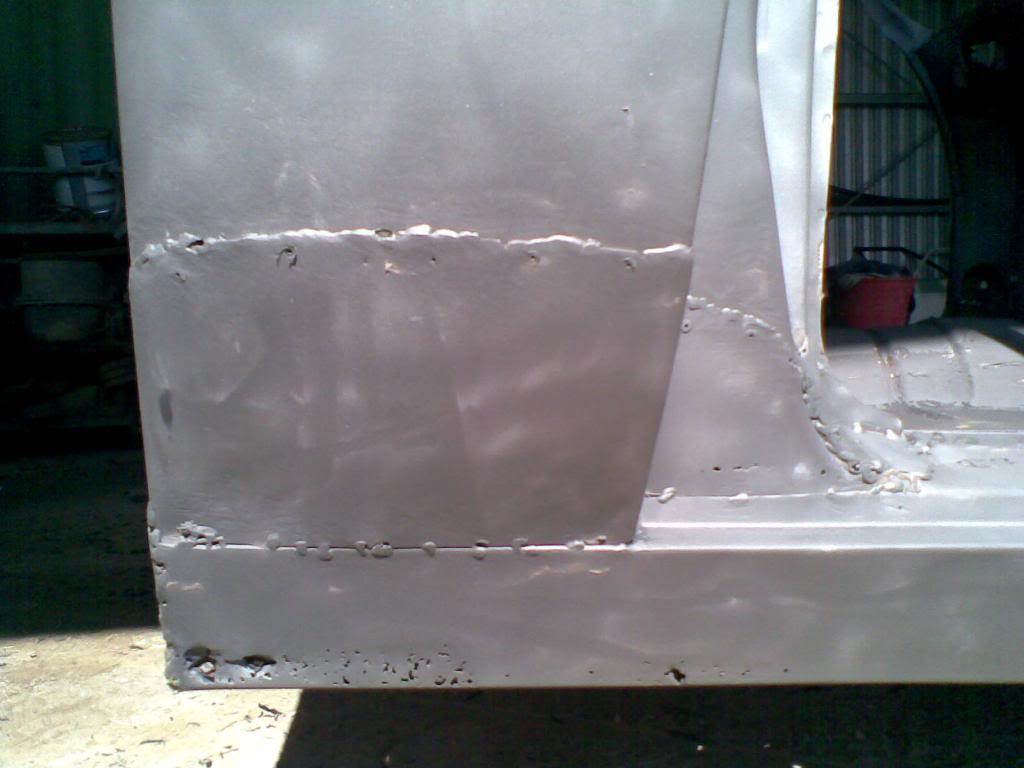
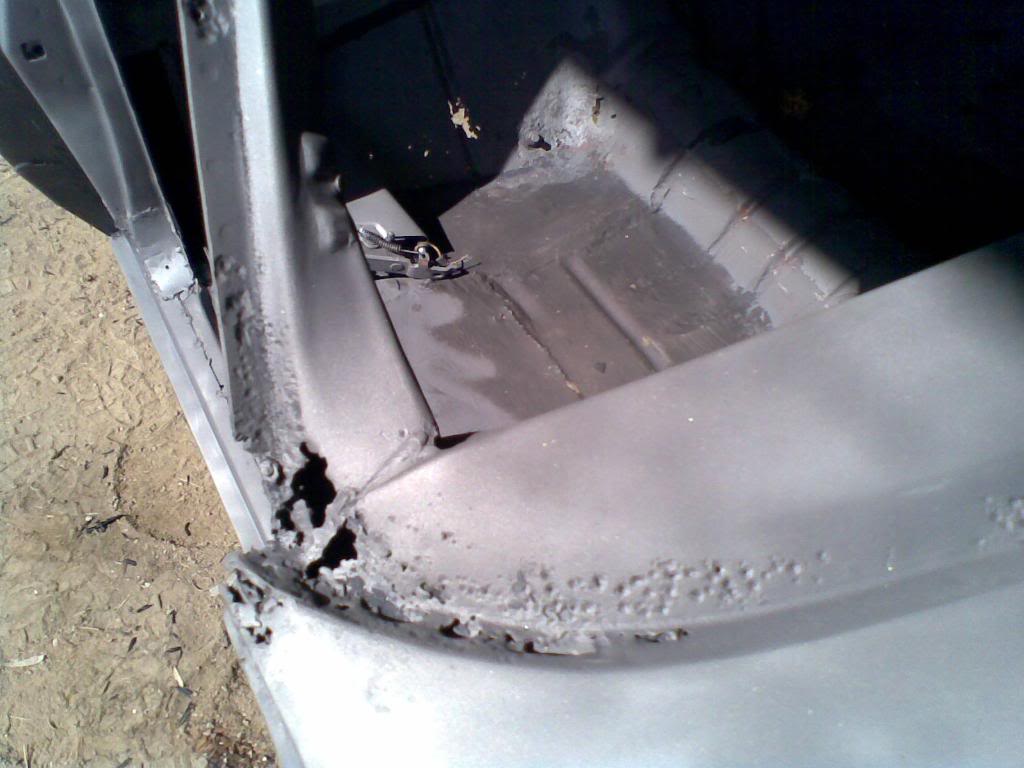
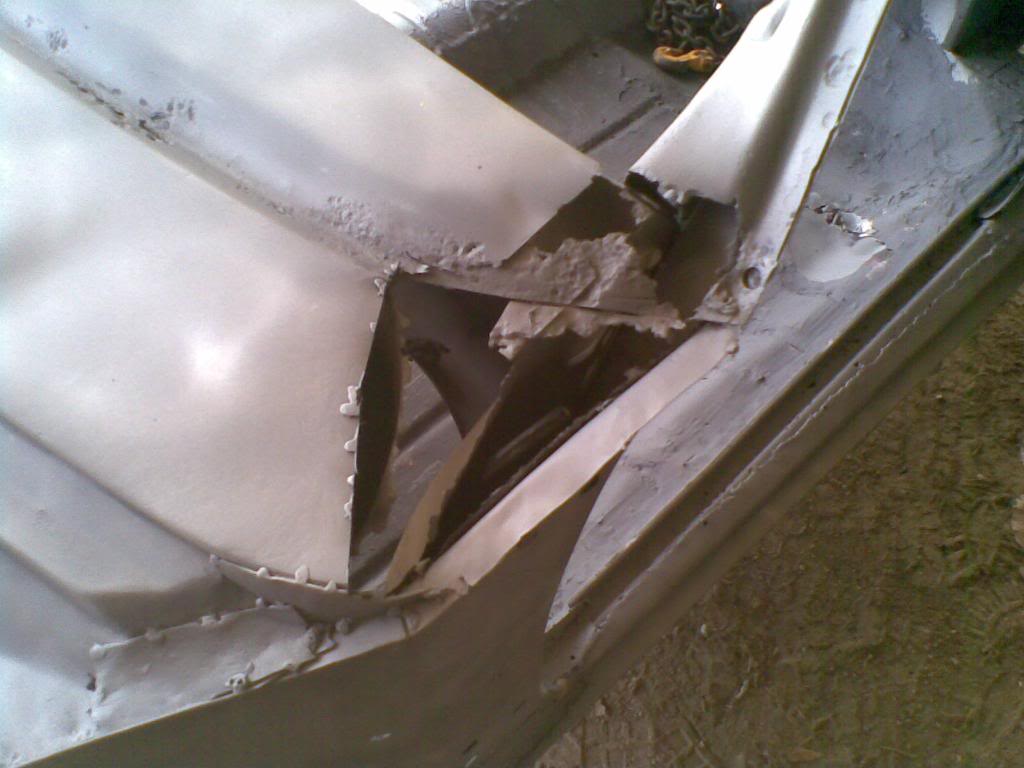
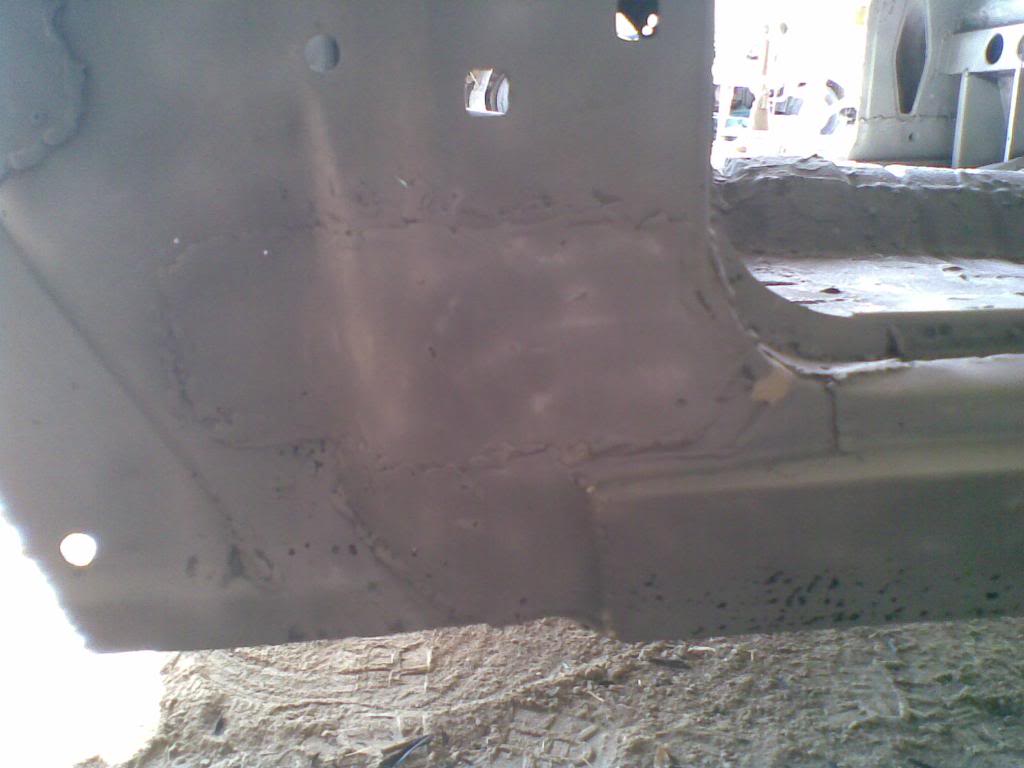
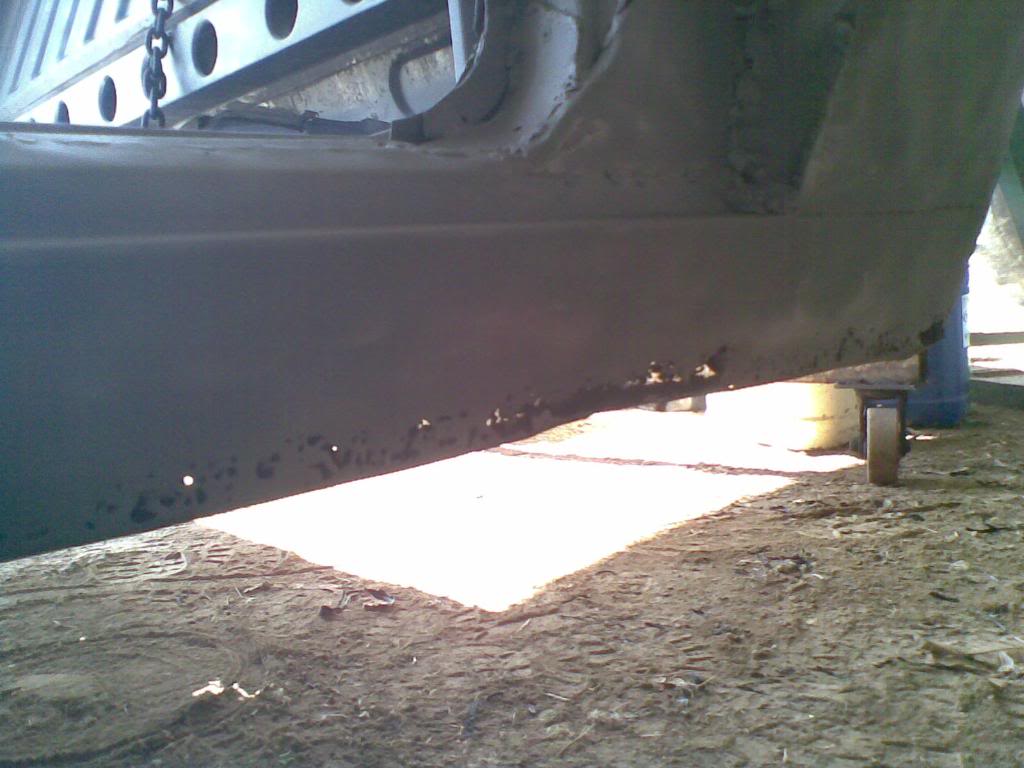
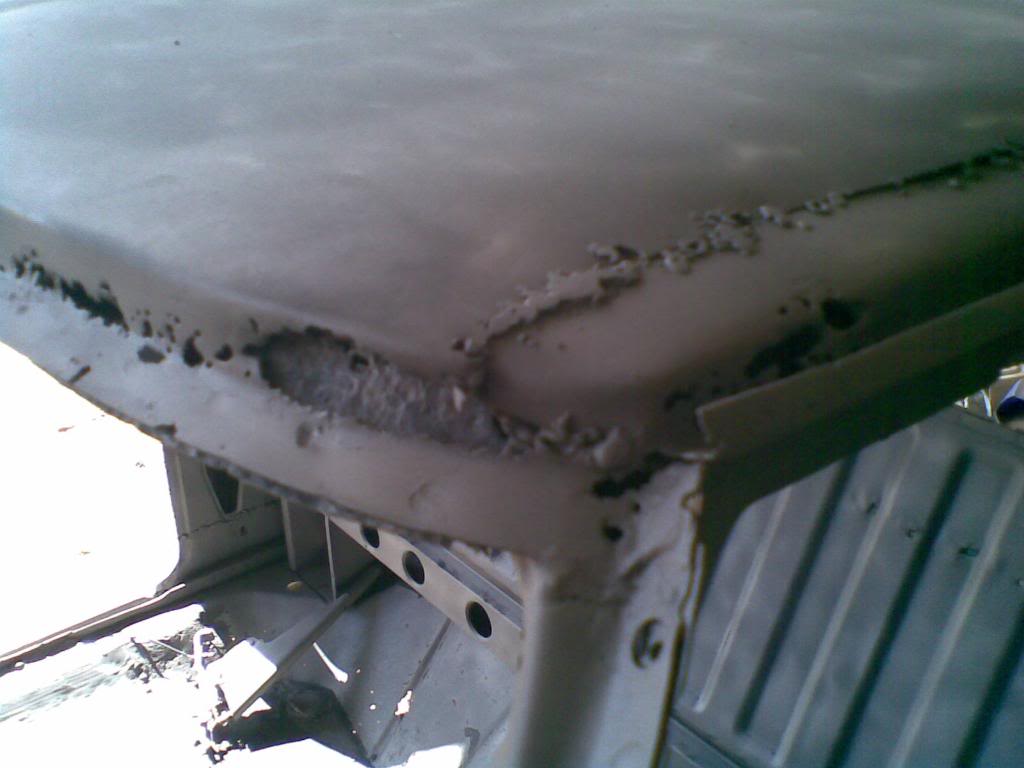
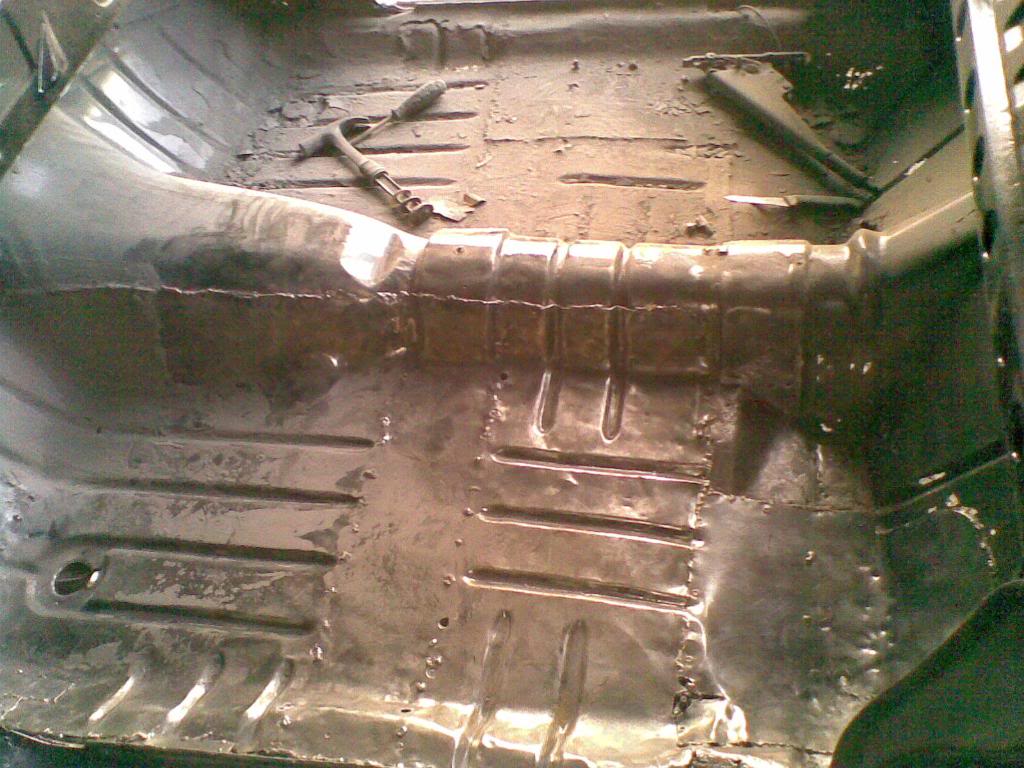
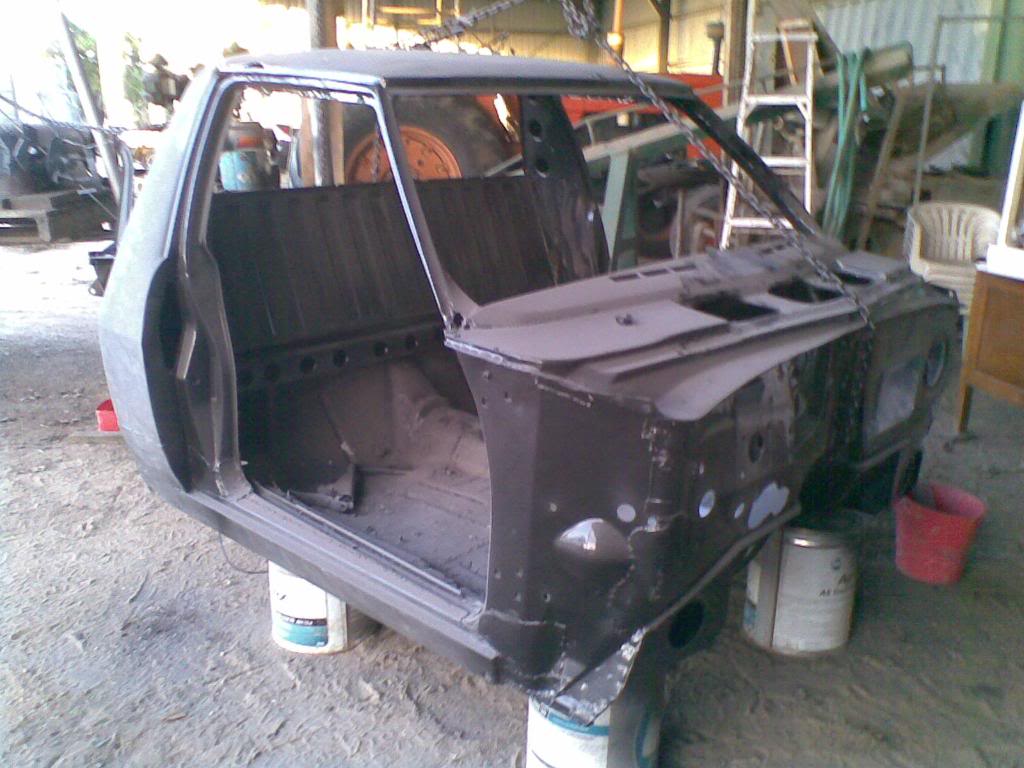
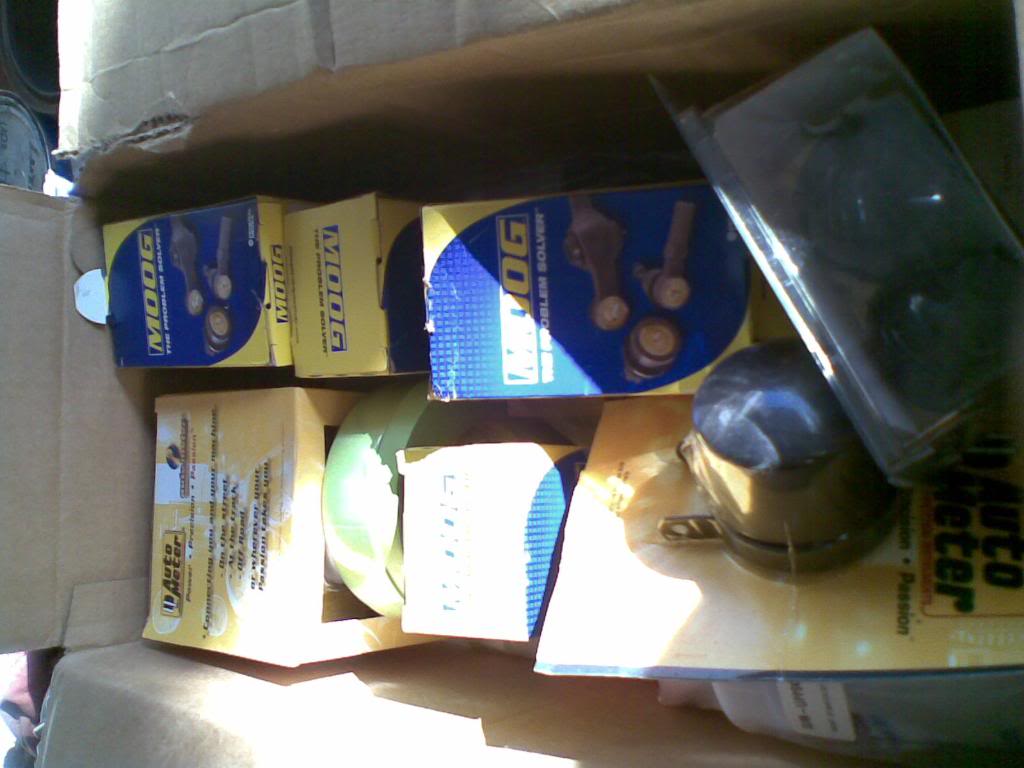
Its a HZ, originally 202 trimatic - but came as a rolling chassis/shell. Rust isnt too bad, nothing we cant fix - some around the bottom coners of the windscreen, front corners of the cab, plenum infront o the windscreen is rusted out a bit near the edges, floorpans have been replaced, sills have been replaced (rust behind though), rear outer corner on passenger side is a bit rusty too. Chassis is 100% rust free. Came with a bucket load of parts, spare panels etc - and that 308 we want to sell along with 2 trimatics and a sludged up 253 in pieces.
Then little brother put me on the hunt for a HJ-Z Twin headlight front, and the closest one I could find was on another complete ute. Soo, hire out the car trailer again, bring this one home:
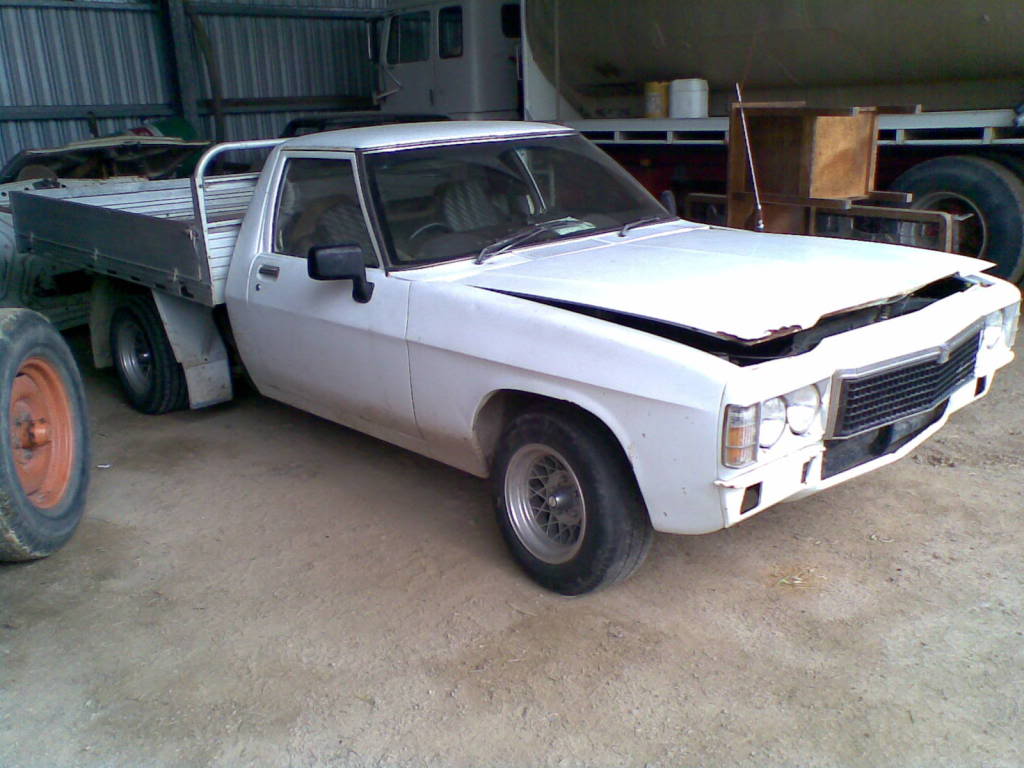
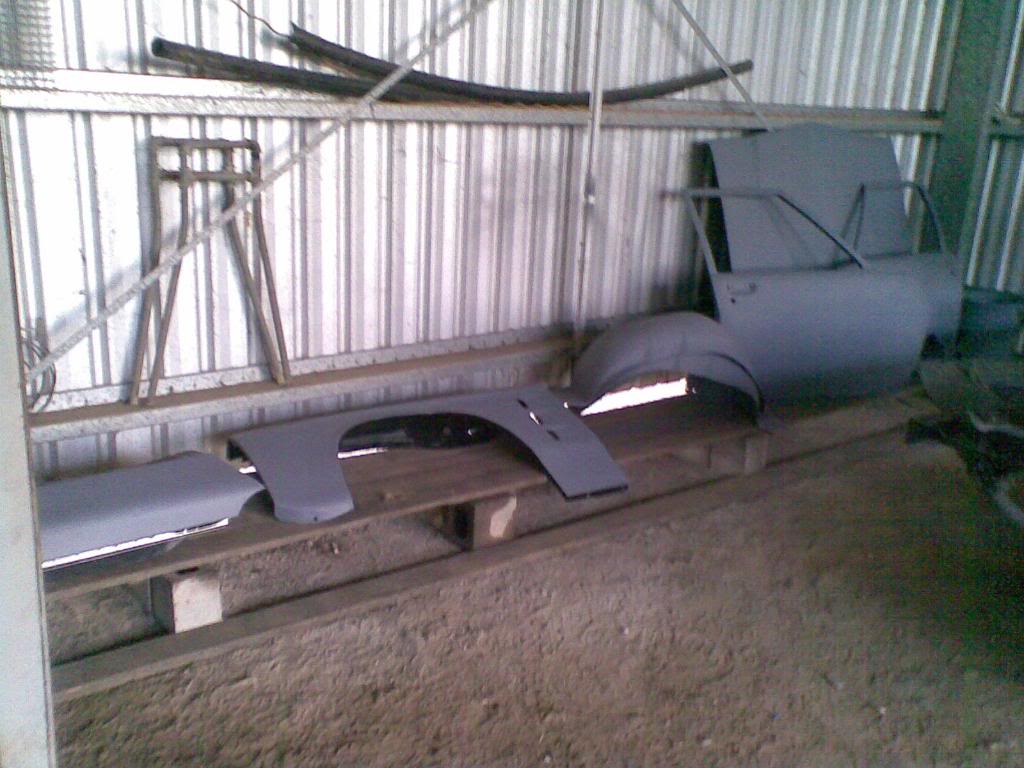
Its another HZ, has an average 202, but a fully rebuilt 4 speed (done <500kms since). Also has a 4 or 5 (cant remember) post aluminum bullbar, alloy tray, the front end we wanted, came with a straight set of GTS (weld in) guards, complete white needle GTS dash, 4x 14"x8" Hotwires, spare bonnet, parts parts parts etc.
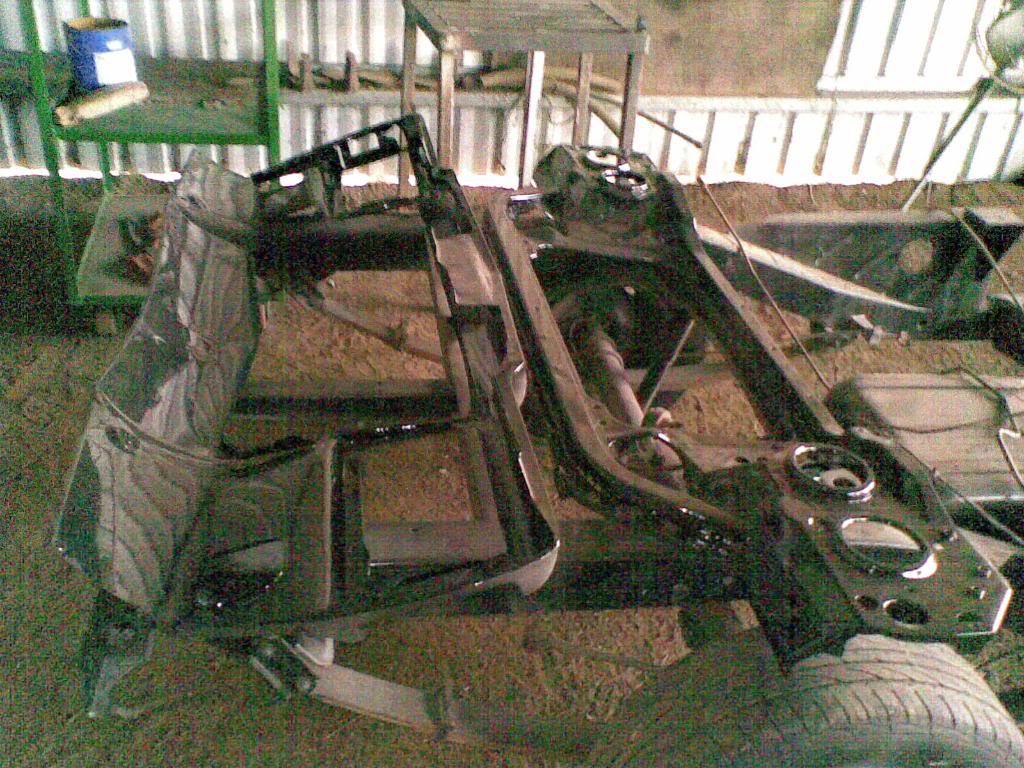
After a couple weekends sorting out parts and finding the best bits, here is the pile to be sandblasted:
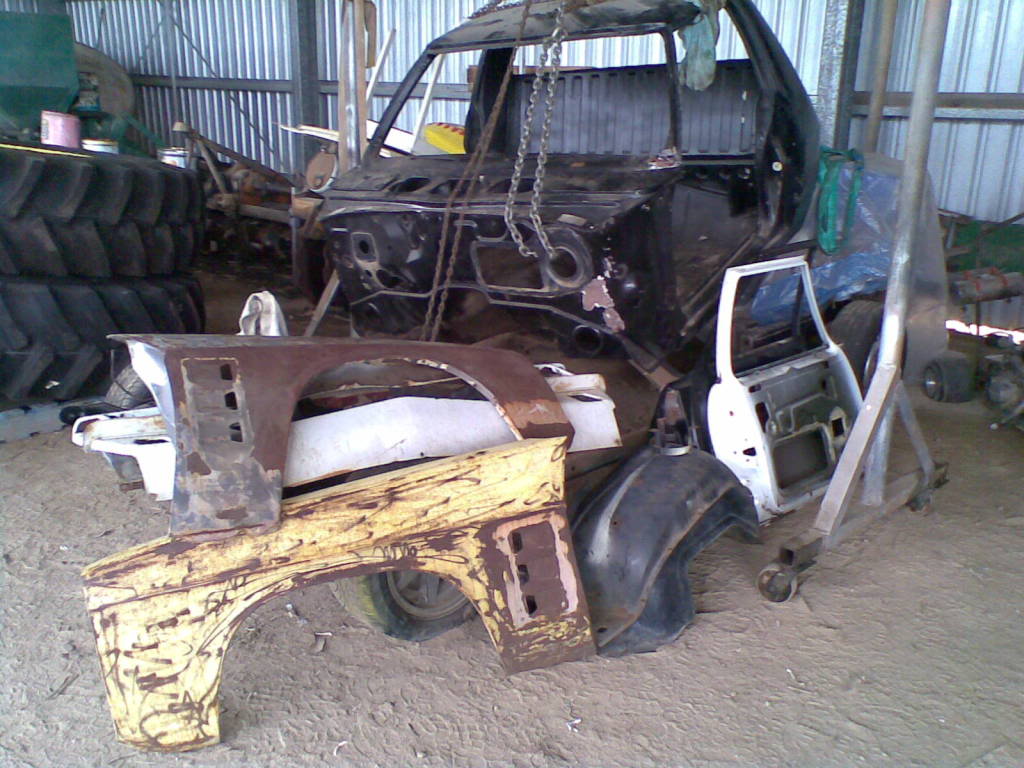
Cab, GTS weld in guards, twin headlight front and radiator support, best 2 doors we've got, inner guards, bonnet latch and catch, best battery tray, plus a few other small brackets. Oh, theres a bonnet hidden in the backround too.
Going to use the alloy tray and bullbar, and maybe a spot of polishing on both. Going to use the GTS dash, along with the bench seat from the white ute.
Since the only work we need to outsource is the sand blasting (and maybe the top coats), we plan to spend $6000 tops. Selling the 308 for a decent amount would be a plus.
If you have any comments/suggestions on the project, please feel free to add. Afterall, this is mine and his first project so we will need help, but after reading/following many projects on here Ive got a fair idea of how to go about it.
Cheers.
#2
Posted 26 May 2010 - 12:42 PM
#3
Posted 26 May 2010 - 01:55 PM
what are your plans for the second ute? just putting it back together with the left overs and selling it on?
Did the black ute come with interior/dash bits??
Only thing Id reccomend is putting a tray with sides on the ute, I never understood the flat top tonner thing, It just makes it a bit useless for the most part (without tying everything down all the time)
#4 _mello92_
Posted 26 May 2010 - 05:09 PM
Yeah, the black one came with everything to put it back together, plus extras. Might get a photo of all the parts/spares if I can - basically a 40ft shipping container full.
And yeah, we are using that alloy tray, with sides. I agree, unless its a dedicated show ute, there isnt much point in flat top trays. Besides, this ute is going to be used as it should.
#5 _mello92_
Posted 26 May 2010 - 05:37 PM
The bonnet it toast, brakes require attention, rust around the bottom of the windscreen, the 202 leaks from head to toe, front tyres require replacement .
It had a bullbar on it, we took it off before that photo was taken.
And yes you are right, we could shortcut it with the white one and get it regoed (I have thought about it), but you know as well as I do that it wont last long.
We (and no offence intended here) prefer to do things right and do them once. Plus, Im considering this practice for my car. hehe
Edited by mello92, 26 May 2010 - 05:38 PM.
#6
Posted 26 May 2010 - 06:03 PM
As for the bullbar - dig a big hole, insert bullbar, fill hole : )
#7 _Squarepants_
Posted 26 May 2010 - 07:05 PM
Looks like you'll be busy in the next few months, good luck with it/them.
#8 _mello92_
Posted 27 May 2010 - 01:00 AM
Someone put a box of cams and lifters and springs in my room today???
Whoo, thaaa? What??
And Tim, there are too many wallabys around here to not be using it.
Sorry to disappoint but it'd be plain dumb not too.
And yeah, Ive got 5 weeks holiday coming up. Gettin stuck into it then.
#9
Posted 27 May 2010 - 12:31 PM
Id say that 6k on the project is ample to do what they need to
The best bit is simply building it the way you want, picking all the good bits from the parts etc etc.
Its all just part of the experience!
#10 _mello92_
Posted 27 May 2010 - 01:30 PM
Yeah Chris..like I said..practice. haha, nah, I actually want this to turn out good.
#11 _mick74lh_
Posted 27 May 2010 - 01:59 PM
I'd highly recommend painting it yourself in acrylic. If you spend your time prepping it carefully I think you'll be surprised with how well it can come up. And its so cheap, especially if you're painting it a solid colour.
#12
Posted 27 May 2010 - 02:00 PM
The white ute will be on the road for less than 5k at this stage, and look what we started with!
And over 12 months! HAHA!
#13
Posted 27 May 2010 - 02:08 PM
If I had the 5 grand in my hand it would have been done quicker! lol.
but bills got in the way! stupid bloody councils actually expect you to pay them money for things called "rates" and I still have NFI why we get power, phone and water bills... Im sure mum and Ray never had to pay them! hahaha. Joys of growing up I suppose! lol.
It will be so nice to get the shop back together and have somewhere to do work!
#14 _mello92_
Posted 27 May 2010 - 03:39 PM
And as for paint, this is where I will need help. 2-pack or acrylic?
It will be a work ute, out in the weather.
Im leaning more towards 2-pack..just do all the prep work and my cousin can do the topcoats at his work (Like your ute Chris..?)
#15 _Quagmire_
Posted 27 May 2010 - 03:58 PM
any chips etc can be done at home with miniamal ppe and equipment
i mean you don't want the nasty epa/council poking it's nose around your shed not to mension dying lol
you keeping the hotwires or you going with some other rims?
be good to see your colour choice as well
Edited by Quagmire, 27 May 2010 - 04:00 PM.
#16 _doogs_
Posted 27 May 2010 - 05:11 PM
it's a work ute go acyrlic
any chips etc can be done at home with miniamal ppe and equipment
i mean you don't want the nasty epa/council poking it's nose around your shed not to mension dying lol
This is quite an advantage. Whilst acrylic is not as durable as 2 pack, it is pretty easy to do little fix up tasks when needed.
#17
Posted 28 May 2010 - 08:12 AM
Cheers Mick, and yeah, plenty of room to move, but you know what shed are like..never big enough.
And as for paint, this is where I will need help. 2-pack or acrylic?
It will be a work ute, out in the weather.
Im leaning more towards 2-pack..just do all the prep work and my cousin can do the topcoats at his work (Like your ute Chris..?)
Id go 2p.
If you have access to a booth to paint the whole ute (in your case just the cab) then go for it!
If you get it done early enough (before it starts getting driven) it wont chip or scratch easily once it hits the road (lots of time to harden!)
Acrylic is great when you cant get access to facilities to paint 2p... well actually, I may just paint 2p in the yard or driveway..... sometimes.... well maybe more than sometimes... ummmm....
But yeah, I say go 2 pack, if its going to be getting dirty, not being polished all the time, copping a few kays etc.
#18 _mello92_
Posted 28 May 2010 - 08:31 AM
You just confirmed what I was thinking Chris, and yeah, the bodywork will be done first, so there should be atleast 6 months of hardening time.
#19 _mello92_
Posted 24 June 2010 - 10:25 PM
Everyone likes pics: ..............unless you got dial-up??
Mr sandblaster did a great job:
And here is the results:
This bit I had cut out beforehand:
The floorpans had this coating slapped on them, its like a resin or something that was supposed to stop rust. Where its been applied properly, its worked, but in most areas it hasnt adhered properly and rusted underneath. Nevertheless, most of the floor is solid. Though repairs are everywhere, and dodgy! I had only done the LHS pan at the time of this photo:
And here what the cab is like now...POR15 over most of it seeing as its best to apply to sandblasted surfaces. Rust I can cut out and fix and whatnot later. The dust is from me cleaning up the floors:
POR15 on the radiaiator support and back of the apron:
POR15 on the inside of the front guards, the inner guards will be POR15'ed top and bottom tomorrow if its not windy, the underside of the bonnet and inside of the doors will be also POR15'ed:
Plus I order a lot of parts from Summit 8 days ago and here they are:
Moogys for the tonner and my LX, gauge for my LX with cup, painting kit, Devilbiss StartingLine gun kit and gaurd covers.
No, POR15 wont be going through the good guns...thats what the SuperCheap gun is for.
The doors are pretty straight, same for the outer guards; Im happy with how they are, simple fixes. The bonnet and inner guards are immaculate! Cant believe how straight this bonnet is, blaster took his time on it and it payed off. Other bits like cab mounts, bonnet hinges, bonnet catch upper and lower, and battery tray were also blasted and will probably be POR15'ed too. Also got a set of
Radiator support needs some work.
But thats progress for now.
#20
Posted 24 June 2010 - 10:43 PM
You are a keener man than me to attack one that rough,but I wish you the best of luck anyway.
Keep the pics coming when you get time away from the grinder and speedfile.
#21 _yldlj_
Posted 24 June 2010 - 10:50 PM
#22
Posted 25 June 2010 - 12:14 AM
Nice tonner Clinton. Glad you swapped the dukes of hazzard wheels. The GTS rims are a good call
#23 _Woodsy_
Posted 25 June 2010 - 09:10 AM
#24 _Bomber Watson_
Posted 25 June 2010 - 02:12 PM
Indoer Mello Fello.
#25
Posted 25 June 2010 - 06:13 PM
0 user(s) are reading this topic
0 members, 0 guests, 0 anonymous users