Jump to content


Fabricating A-Pillar base


  • Please log in to reply
5 replies to this topic

#1 _Liam_

_Liam_
  • Guests

Posted 05 September 2011 - 05:22 PM

Hey boys. I'm in the process of fabricating my own A-pillar bases, and thought I'd share with you the way I found easiest. I don't have the skill base or the tools to form with dolly, heat and planish so here's how I did it.

Material required:
*Template cardboard (A3 cardboard from newsagents)
*Sheet metal
*MIG Welder.

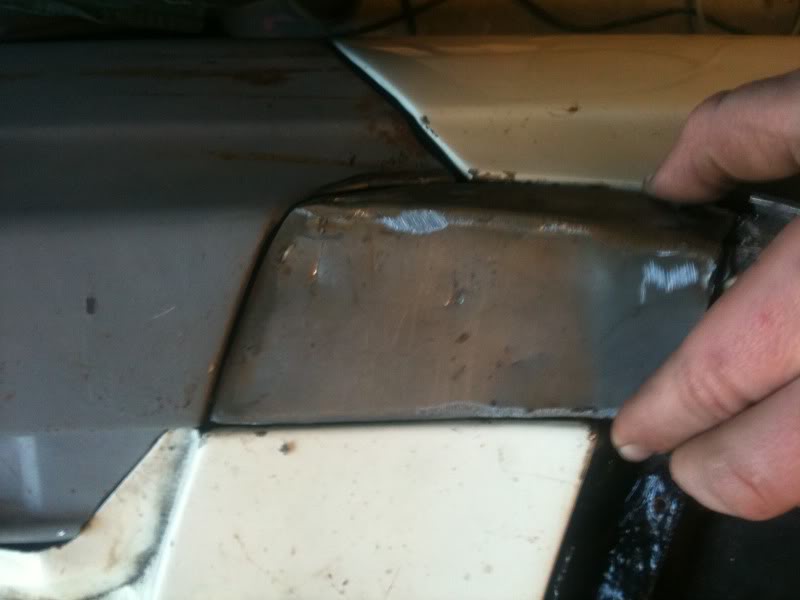
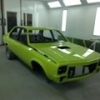
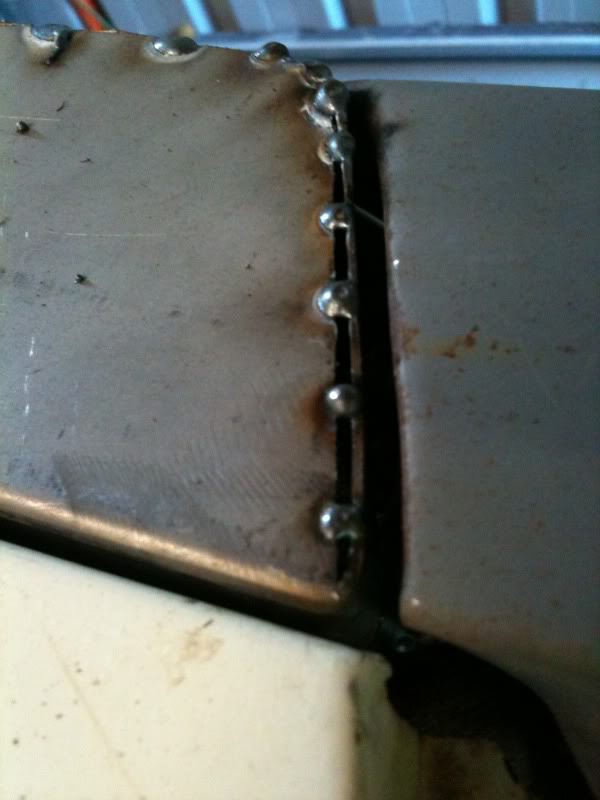
This is what I was trying to replicate...

Posted Image

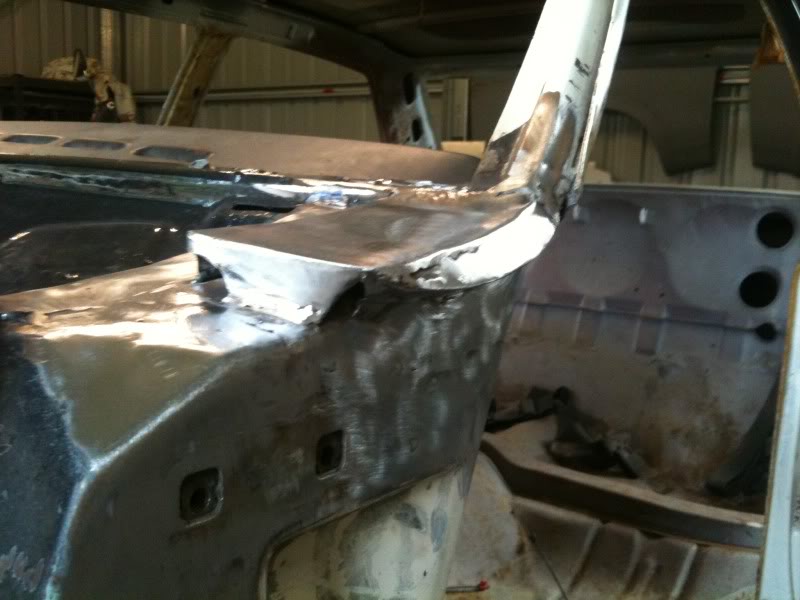
Ok first up I had to make a template for the top face.

Posted Image

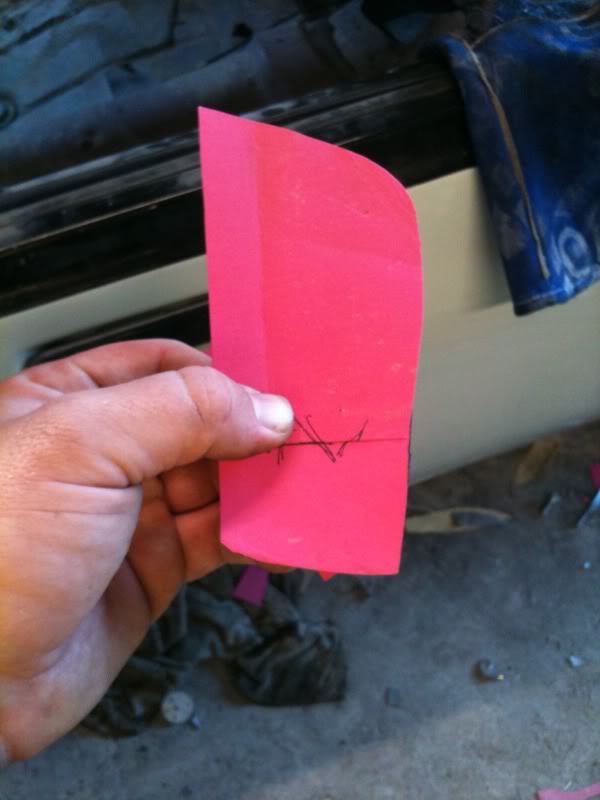
I didnt bother putting a side on it because both my sides are different from me fabricating the pillar itself. BUT put this section on, so the once cut out of the metal you can just run it as a sharp joint, the gentky radius it around til you get the shape you want, hopefully same shape as guard. (I had already tacked mine up before pics sorry)

Posted Image
Posted Image
Posted Image

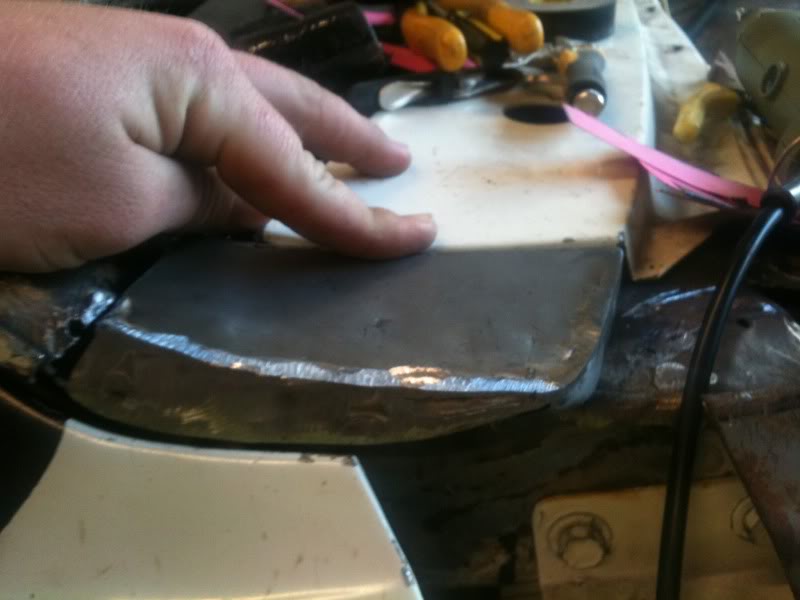
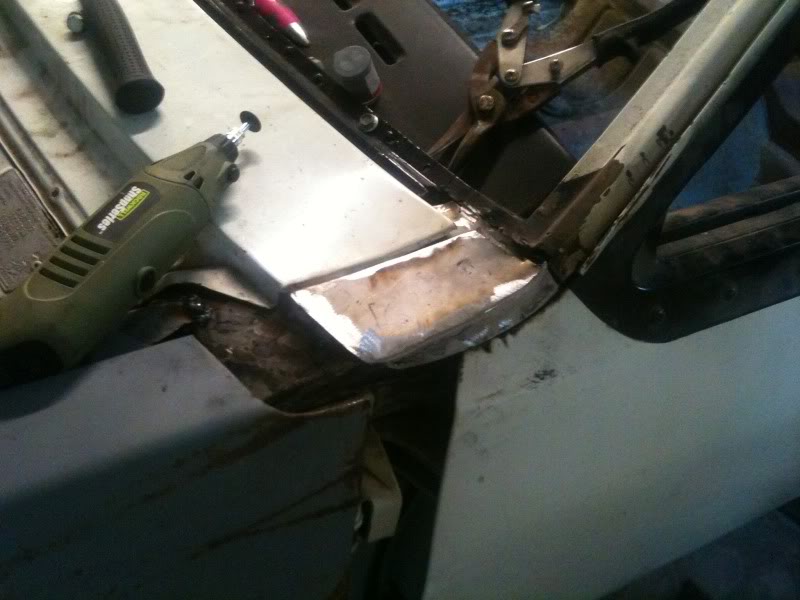
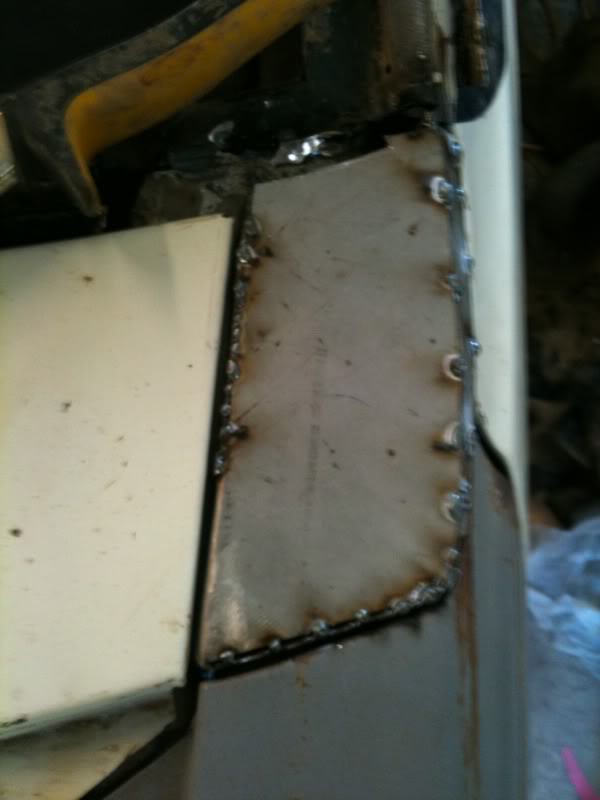
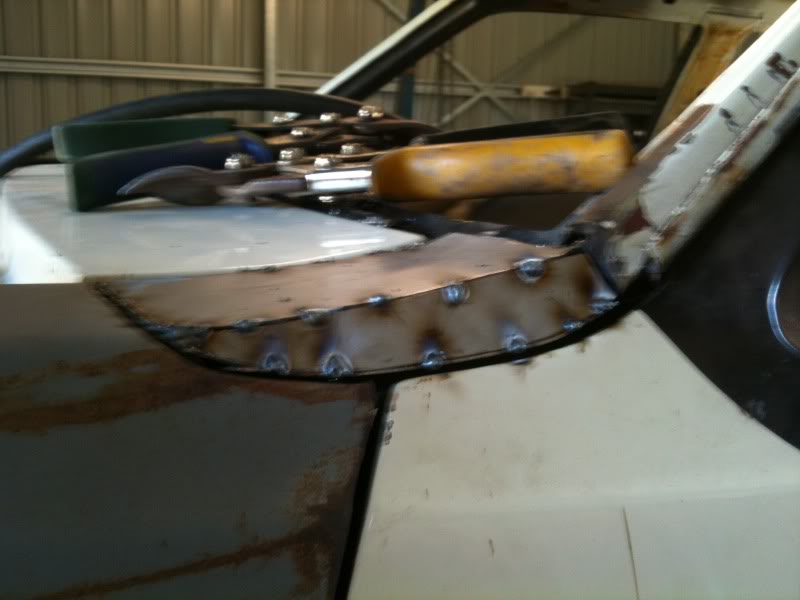
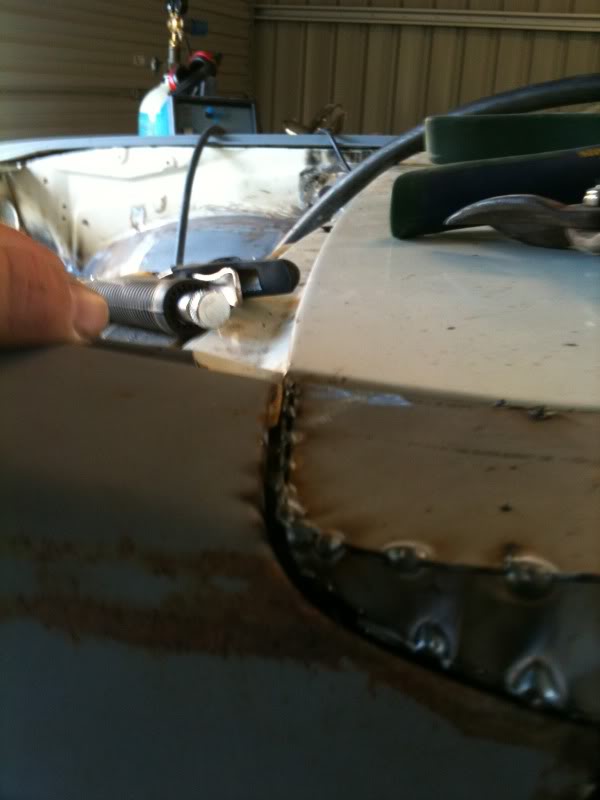
Tacked on. Notice the gap is pretty constant.

Posted Image

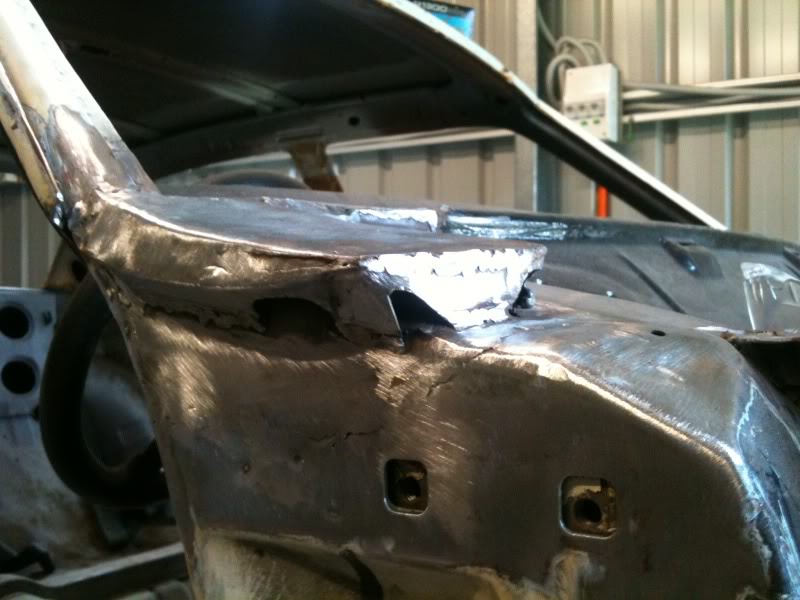
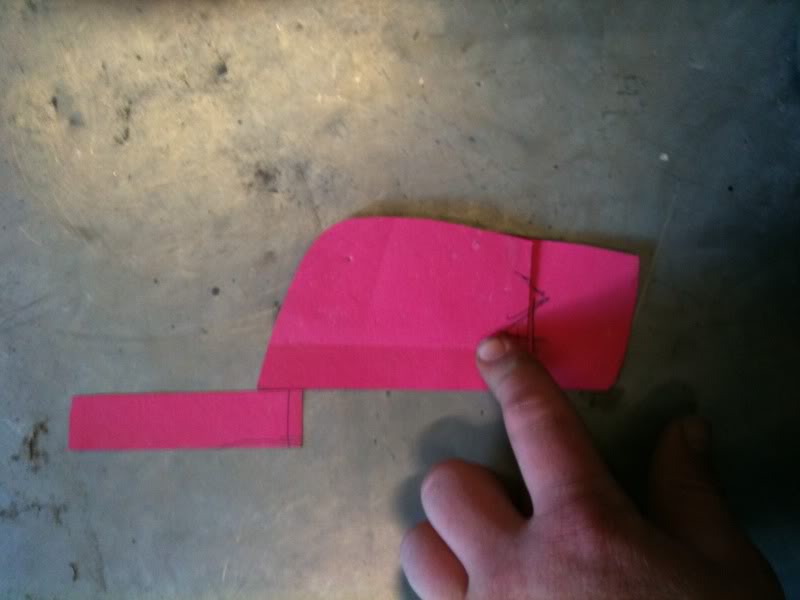
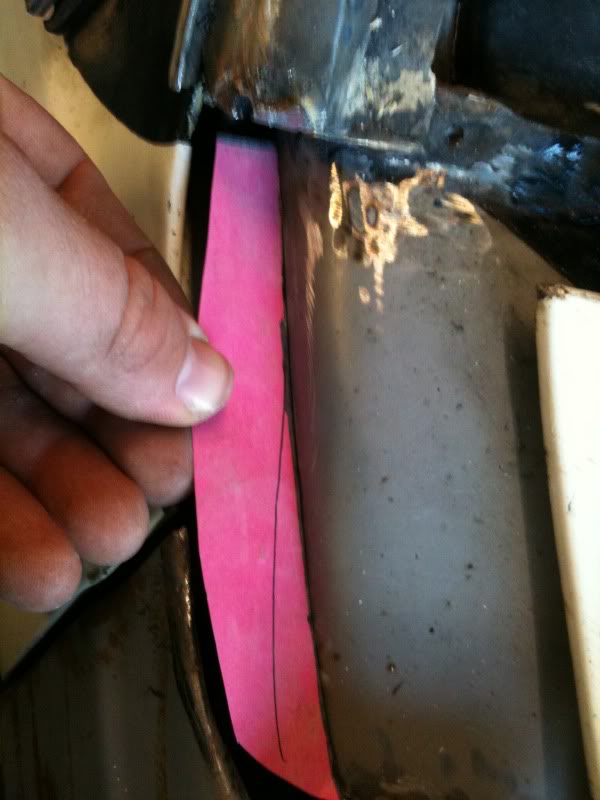
Now cut out a little template to run along one side by holding cardboard flat on pillar and marking the contour of the plenum cover, cut out of metal and tack it on.

Posted Image
Posted Image
Posted Image

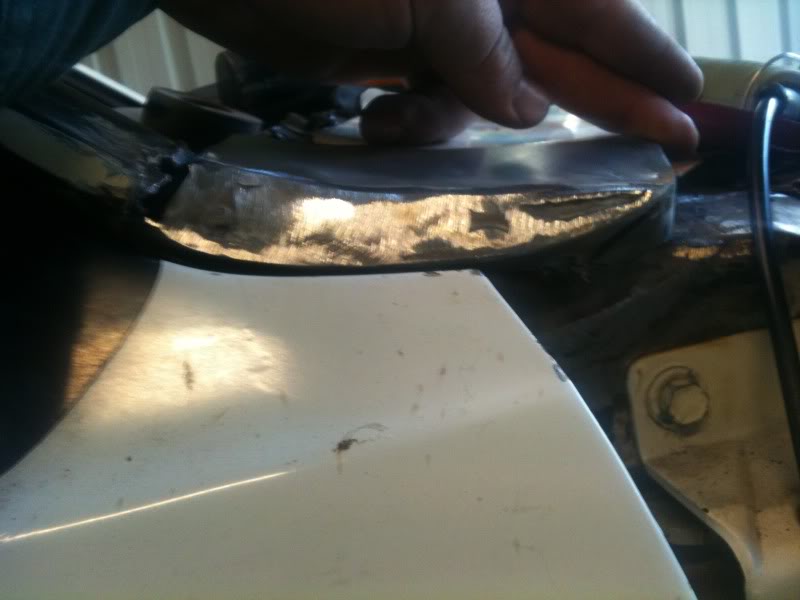
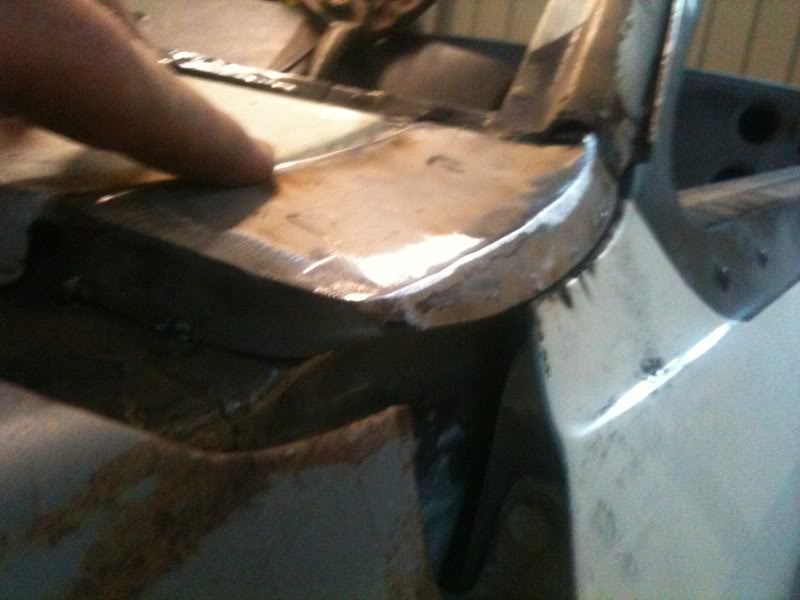
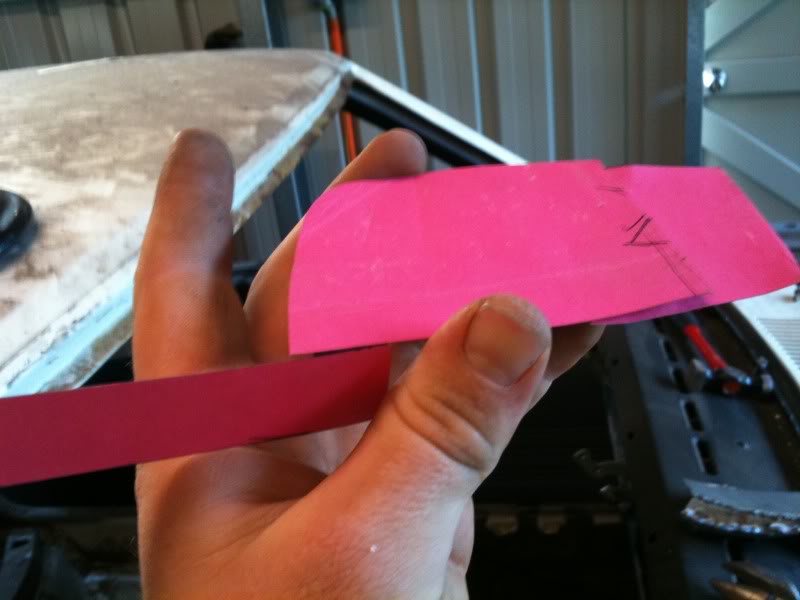
Now once that is done you can form the top piece how you want and tack it place (temporarily).

Posted Image

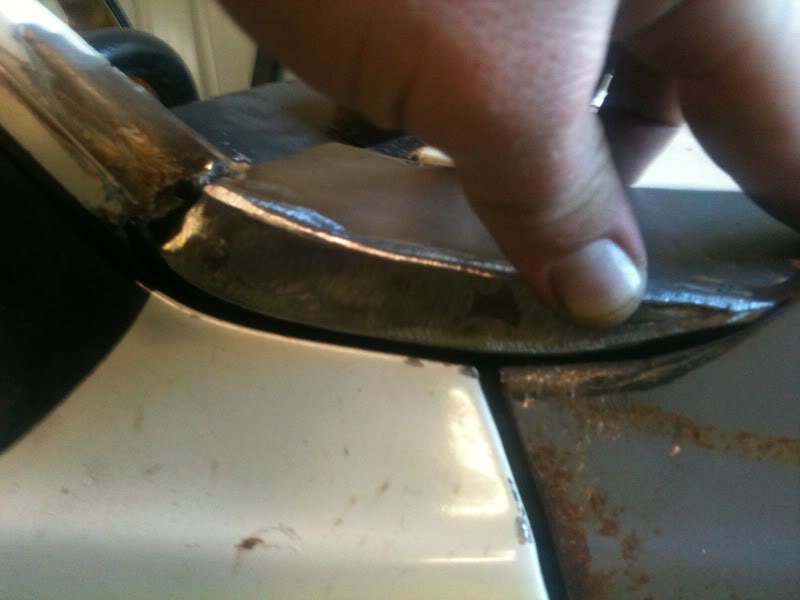
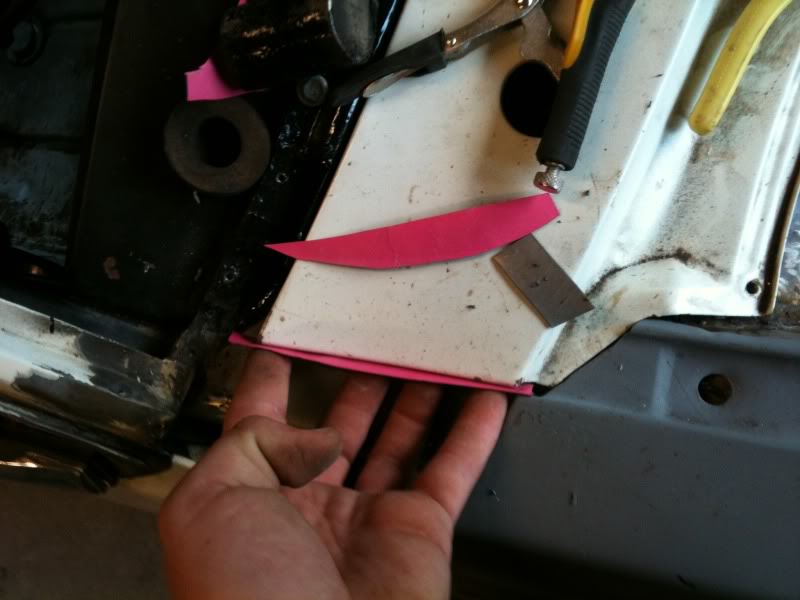
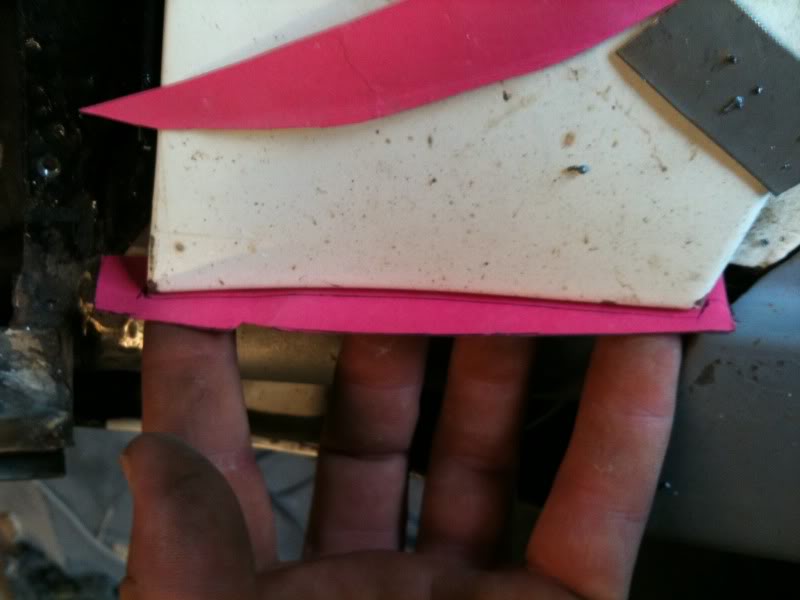
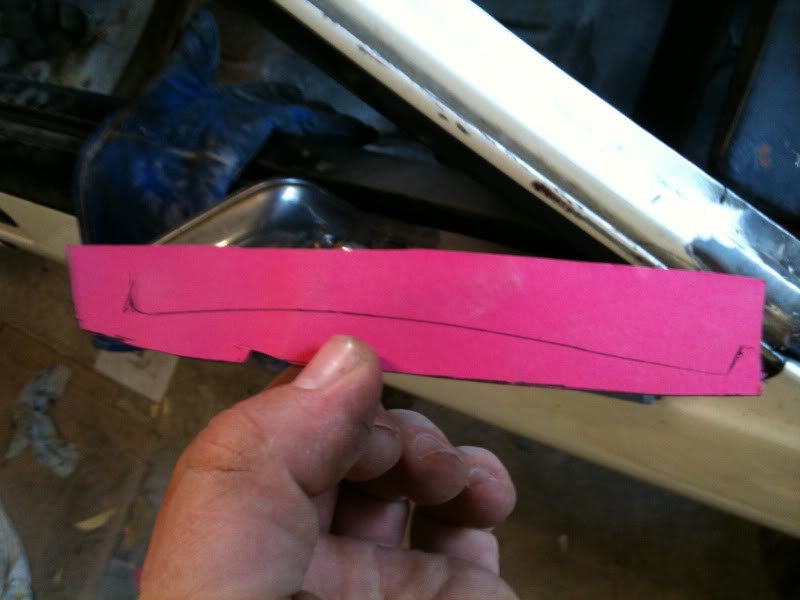
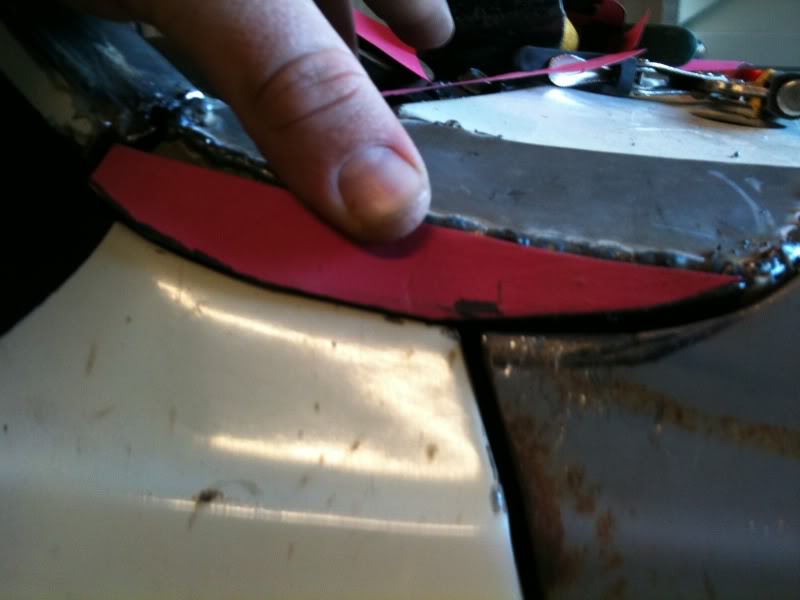
Make a template for the outward facing side making sure you have an even gap all the way. Cut it out, tack it on again.

Posted Image
Posted Image

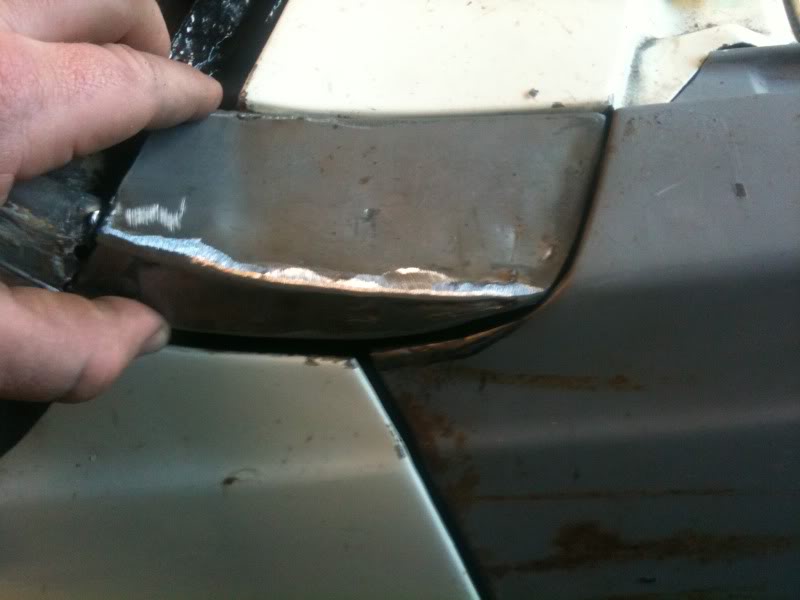
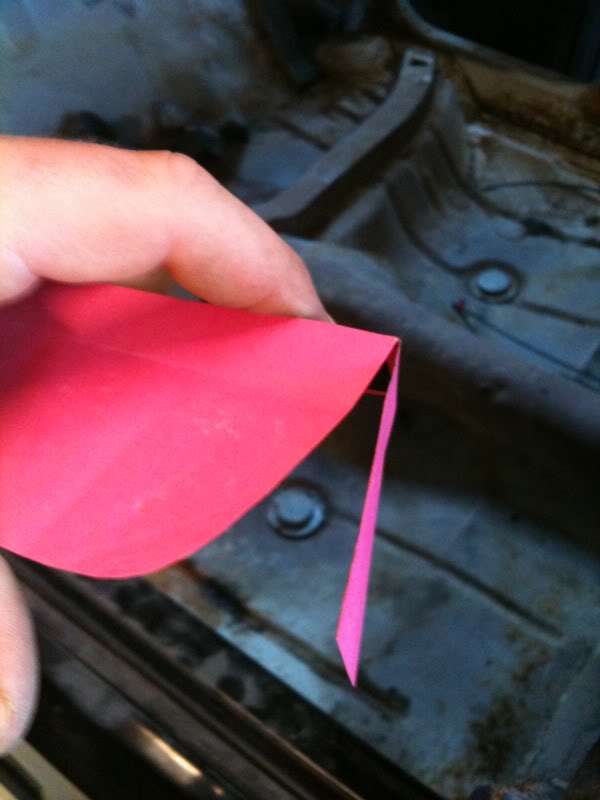
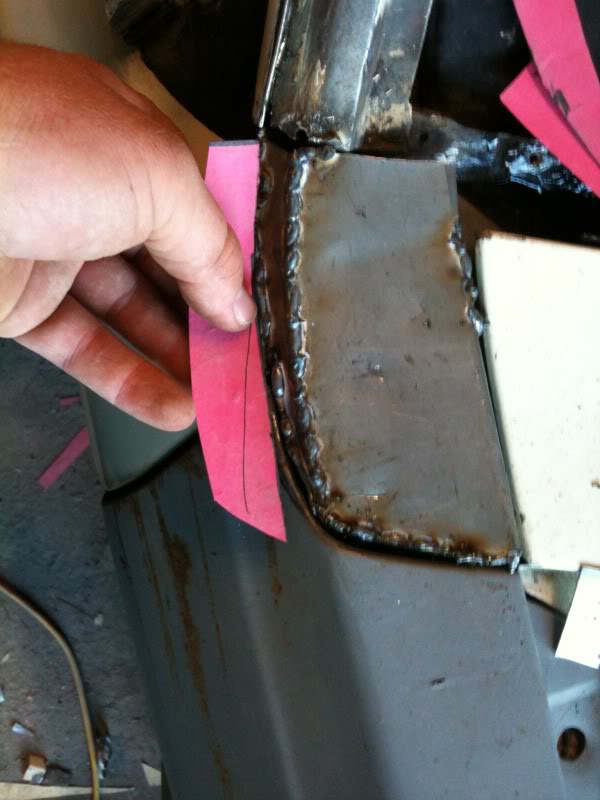
Last piece is basically piece of cardboard shoved underneath and marked and the cut out and tacked on making sure shape is as close as possible to guard and door.

Posted Image
Posted Image
Posted Image

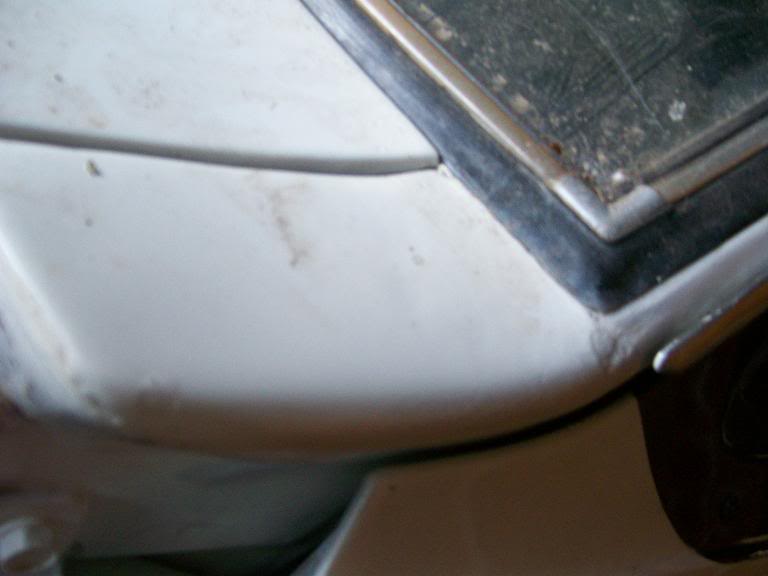
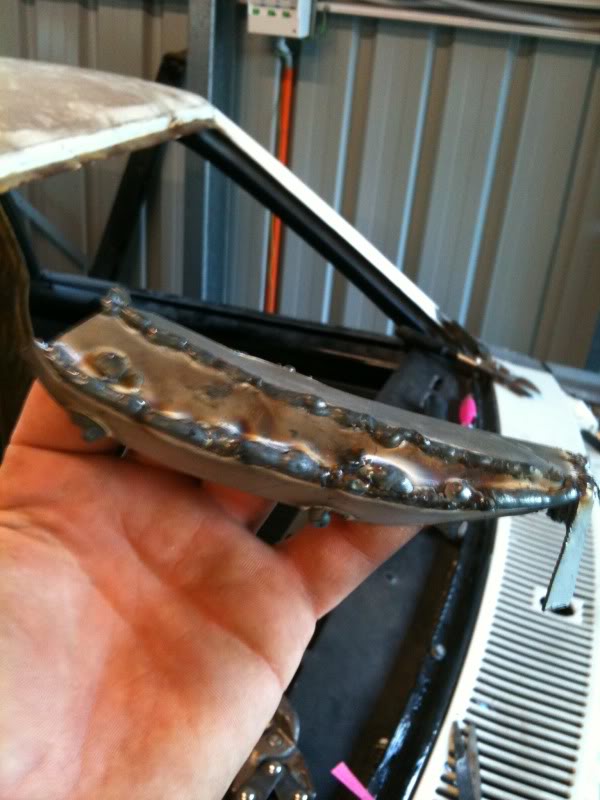
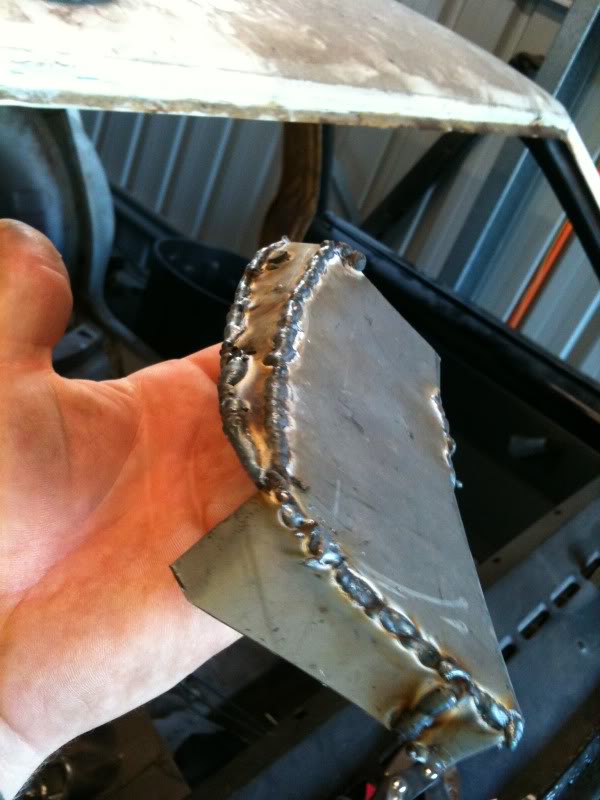
Now once thats done, weld it all up.

Posted Image
Posted Image

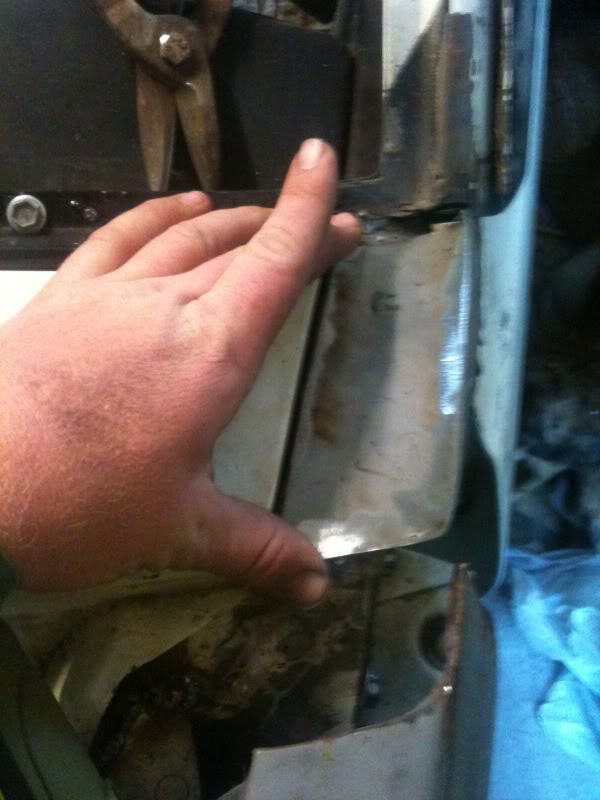
Grind it smooth and cut out the water drains (which I havn't done yet, will post up picture of completed product in the next couple days.

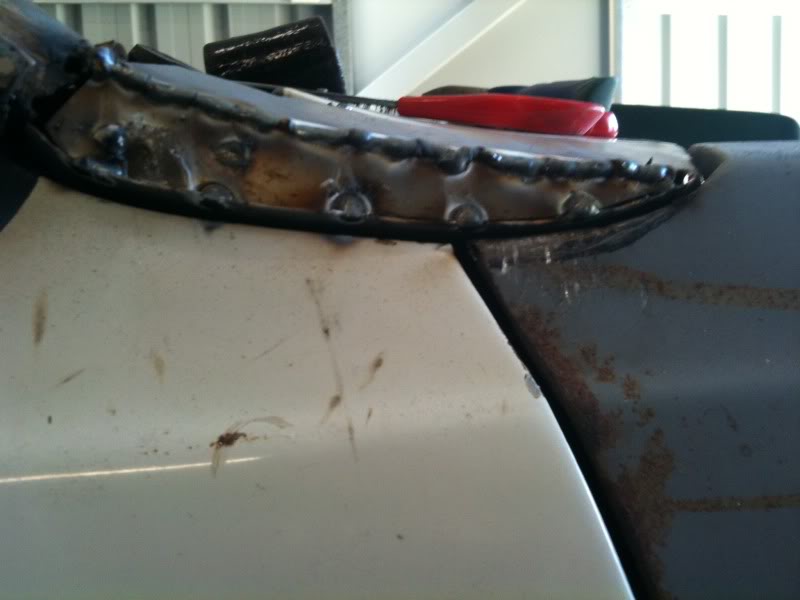
Here's a couple of pictures with it all tacked up ready to weld.

Posted Image
Posted Image
Posted Image

But that's basically all there is to it... I'll put some more pics up when I'm done but you get the picture... I hope.

#2 _Leakey_

_Leakey_
  • Guests

Posted 05 September 2011 - 06:10 PM

Thanks a heap for going to the trouble of all this.

I'm in exactly the same situation with my panel ALL bog, right up to the windscreen. [what were they thinking?!]

Hmmm, now all I need is a bloody welder! LOL But you've given me enough courage to tackle it.

#3 _Liam_

_Liam_
  • Guests

Posted 05 September 2011 - 06:19 PM

Thanks a heap for going to the trouble of all this.

I'm in exactly the same situation with my panel ALL bog, right up to the windscreen. [what were they thinking?!]

Hmmm, now all I need is a bloody welder! LOL But you've given me enough courage to tackle it.


No dramas mate, would have been smarter to do it while I made it instead of after lol.

Will post up finished product soon.

Get your welder mate! You'll never look back!

#4 _Liam_

_Liam_
  • Guests

Posted 06 September 2011 - 06:39 PM

Hey boys. Tidied up the welds today and is looking good.

Posted Image
Posted Image
Posted Image
Posted Image
Posted Image

Posted Image
Posted Image
Posted Image
Posted Image

Looks pretty good, will require a touch of filler for a dip in the steel... But easy as.

Edited by LX Torry Freak, 06 September 2011 - 06:40 PM.


#5 torana_nick

torana_nick

    Forum Fixture

  • Members
  • PipPipPipPipPip
  • 759 posts
  • Name:Nick
  • Location:victoria
  • Car:LH Torana Project
  • Joined: 11-December 11

Posted 22 March 2012 - 04:47 PM

Good work there mate, you make a scary repair look easy.


#6 _Liam_

_Liam_
  • Guests

Posted 22 March 2012 - 05:01 PM

Haha cheers mate, I think that was my second go. Like most repairs, piece by piece and it all just falls into place. Here is the finished product.

Posted Image
Posted Image
Posted Image

Bit of smoothing and filler will make it look factory.


1 user(s) are reading this topic

0 members, 1 guests, 0 anonymous users