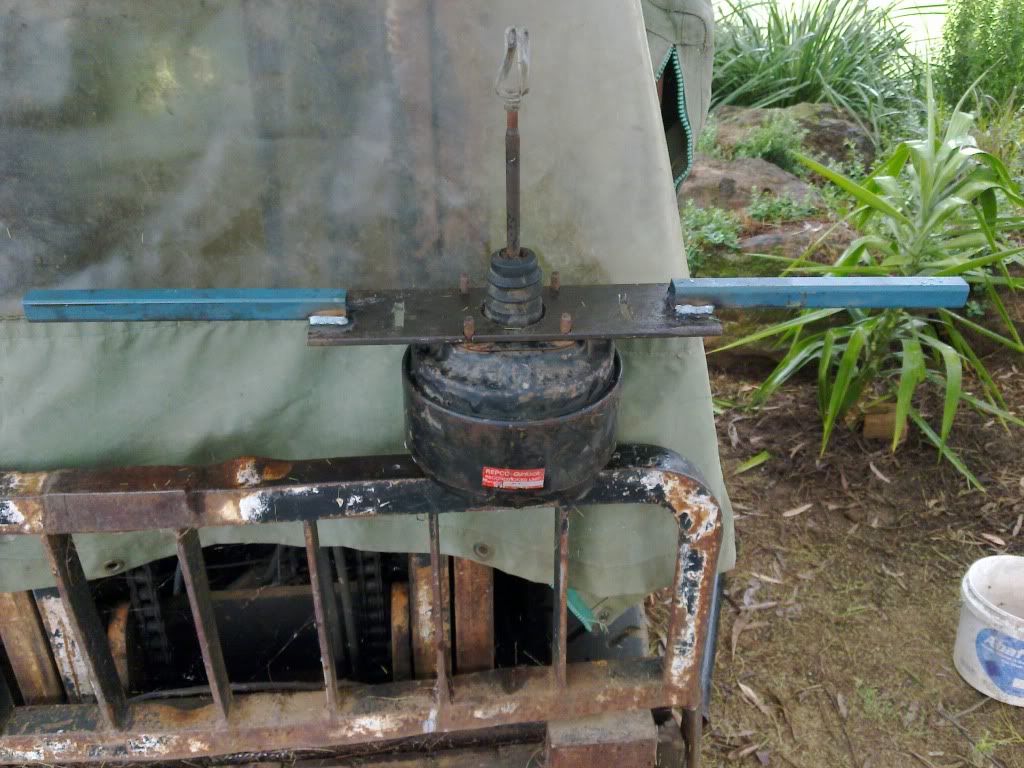
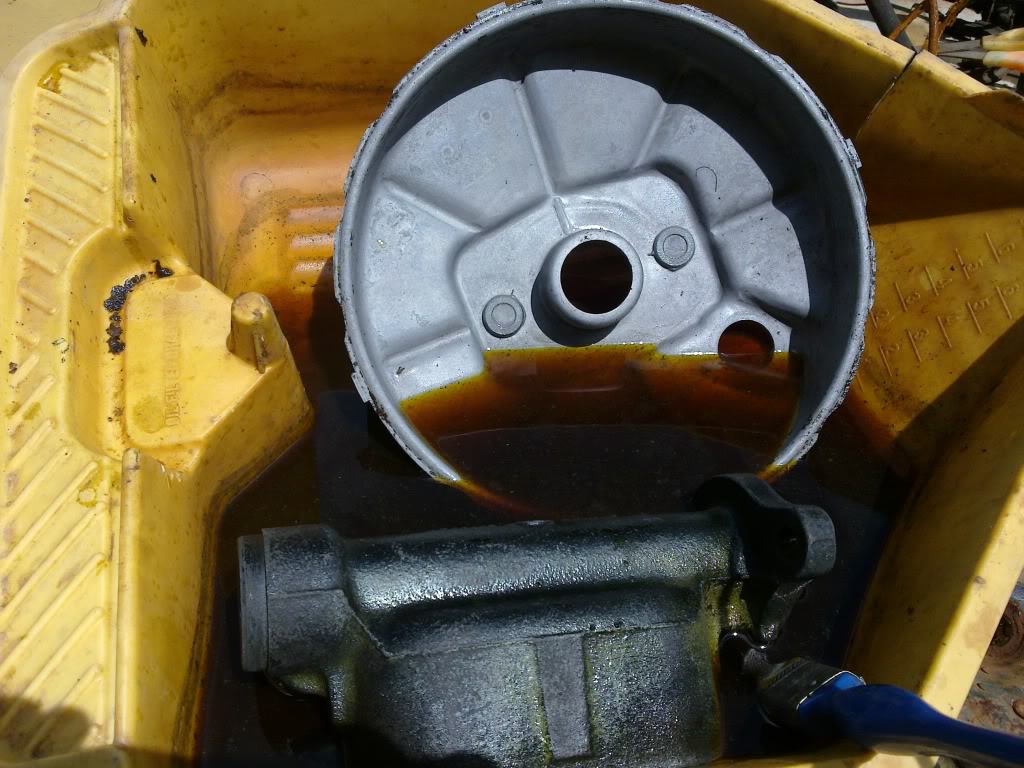
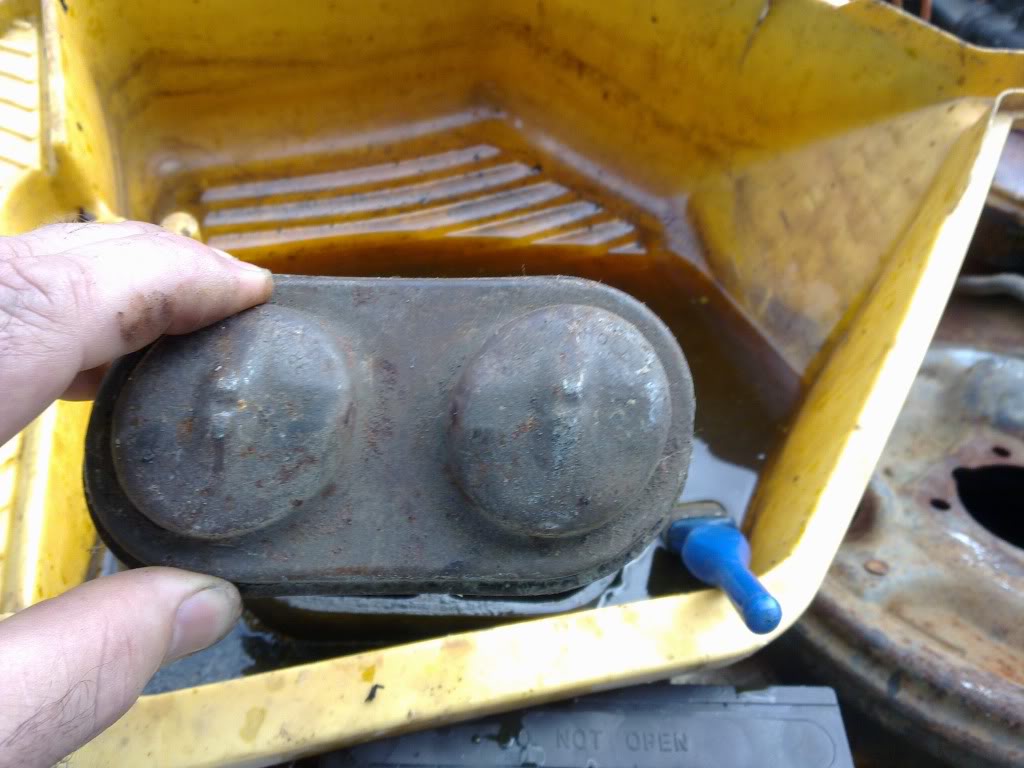
Is that molasses in the oil drain tray? I've heard it works very well.
Cheers Dave
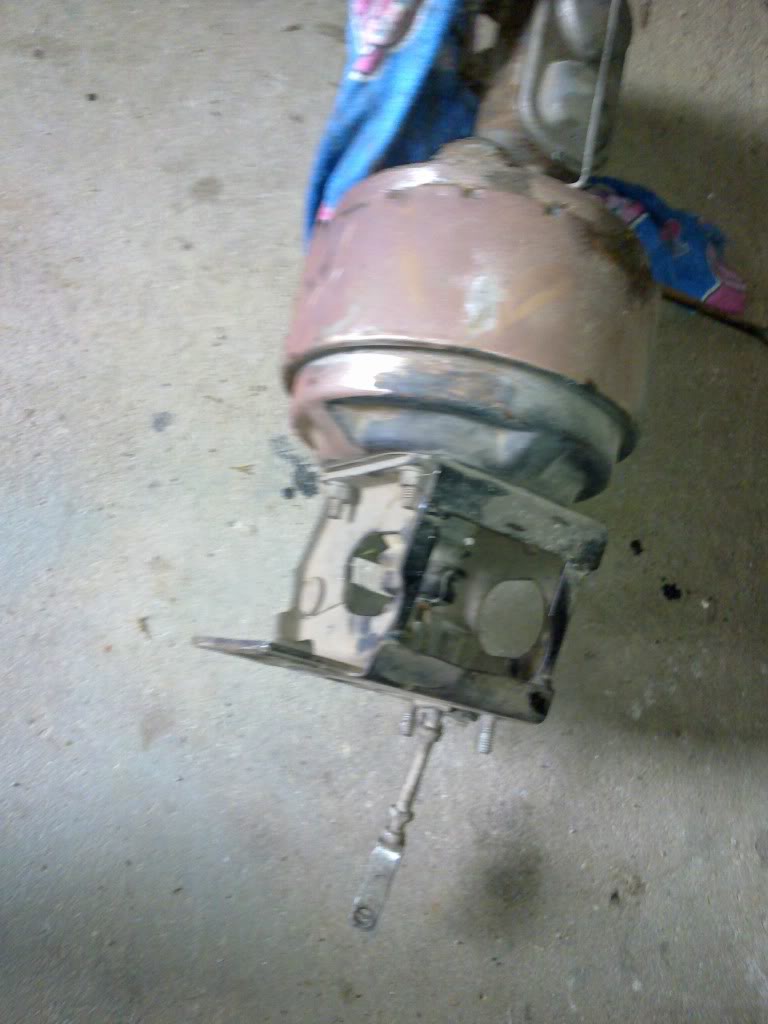
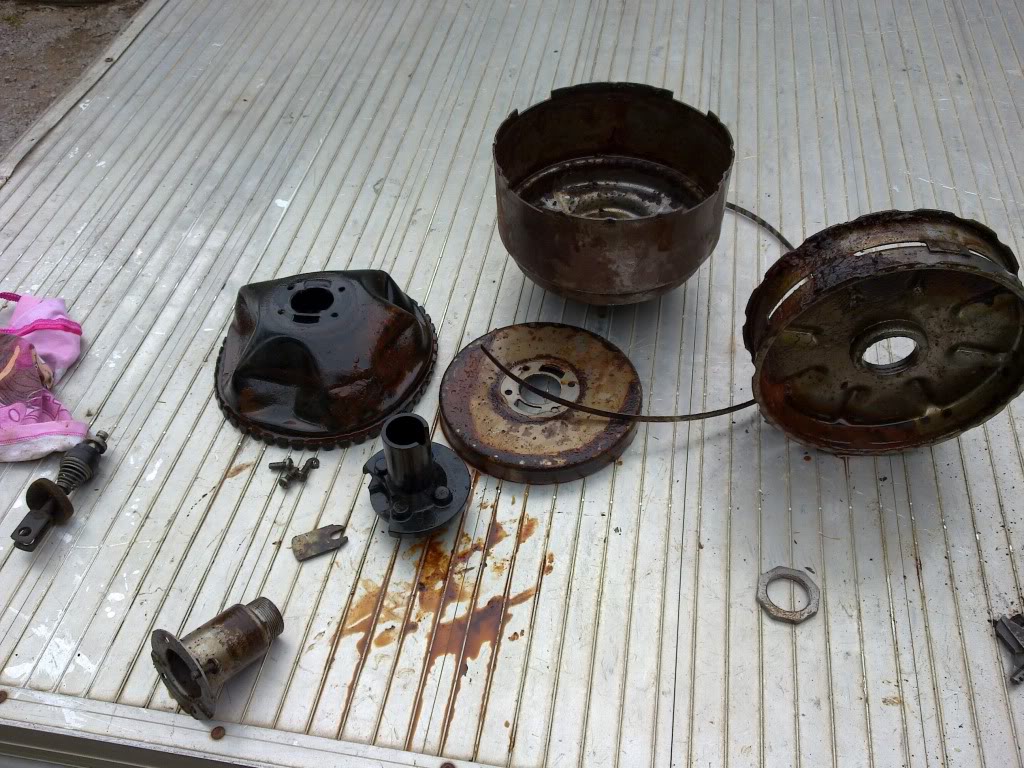
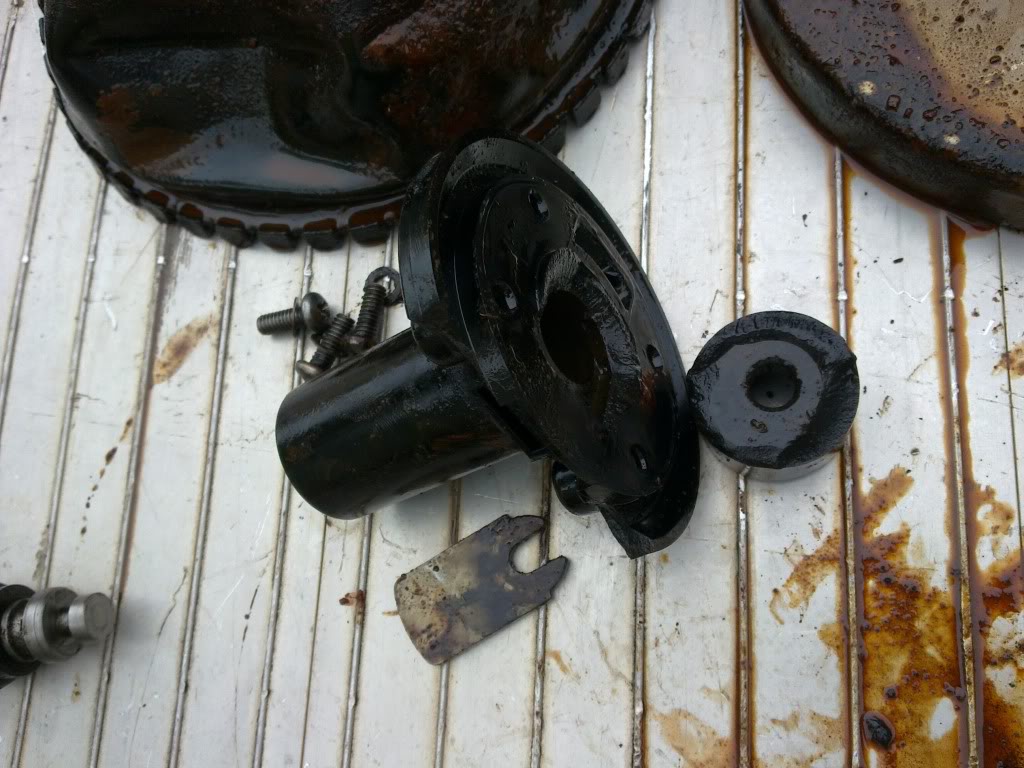
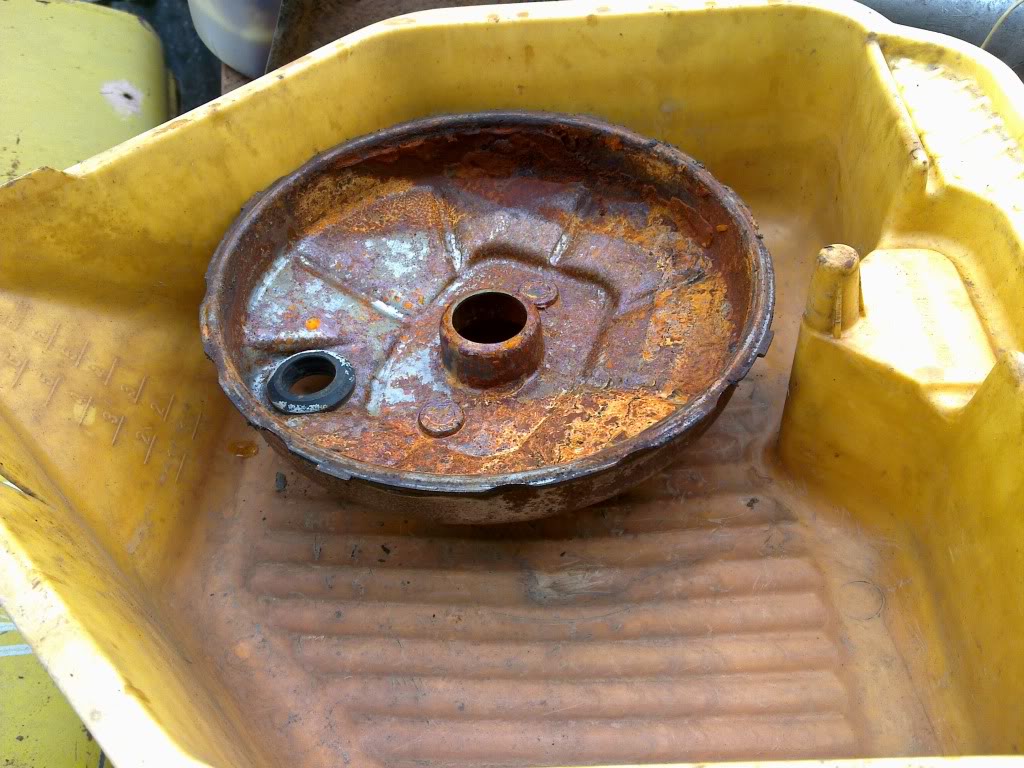
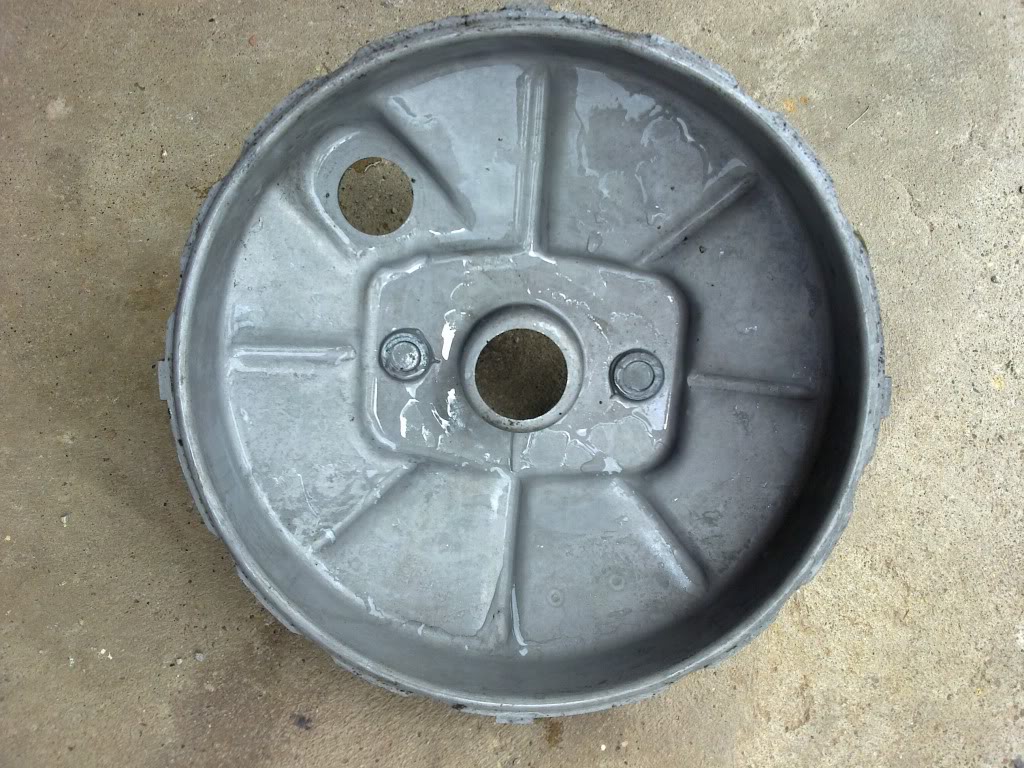
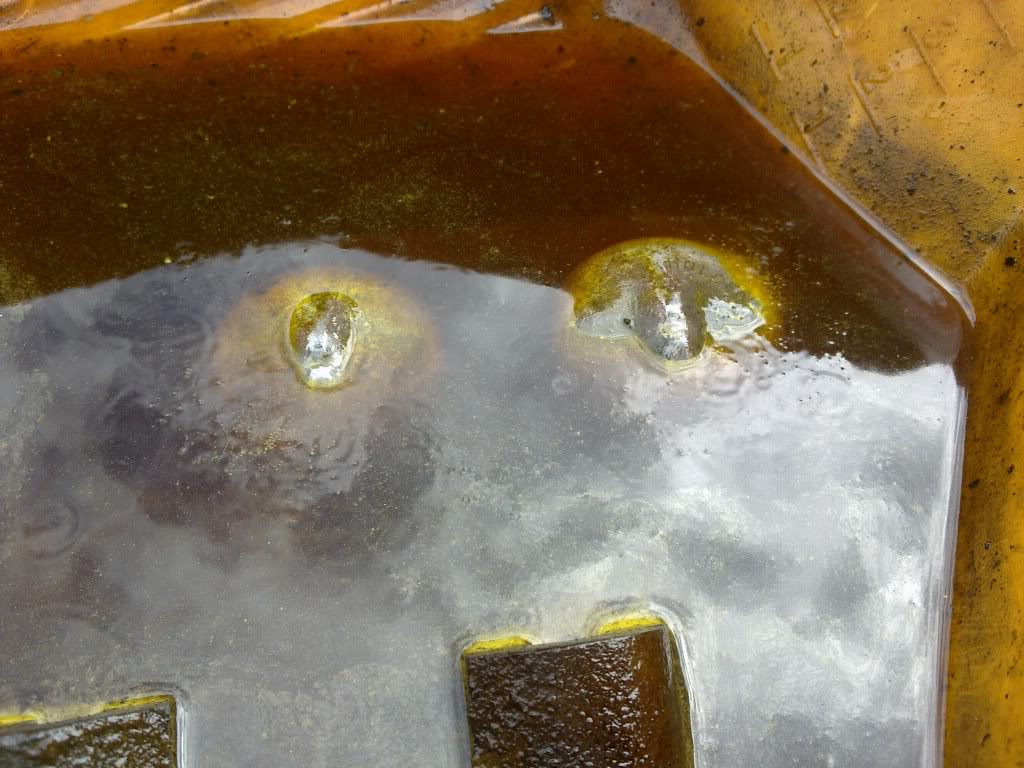
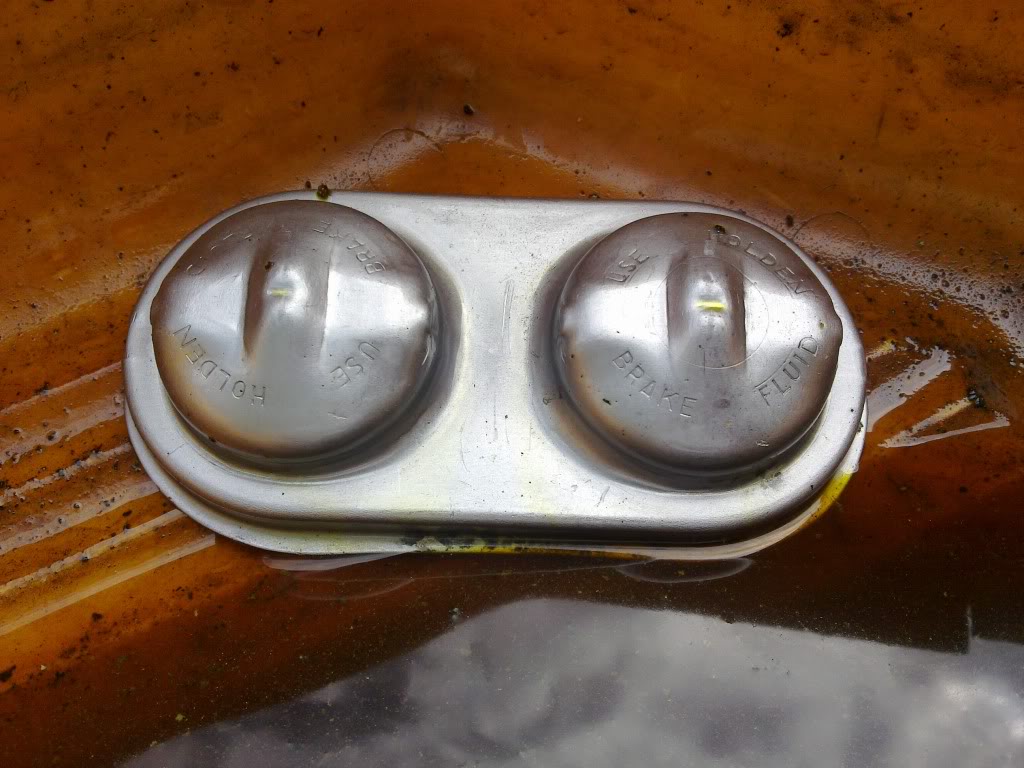
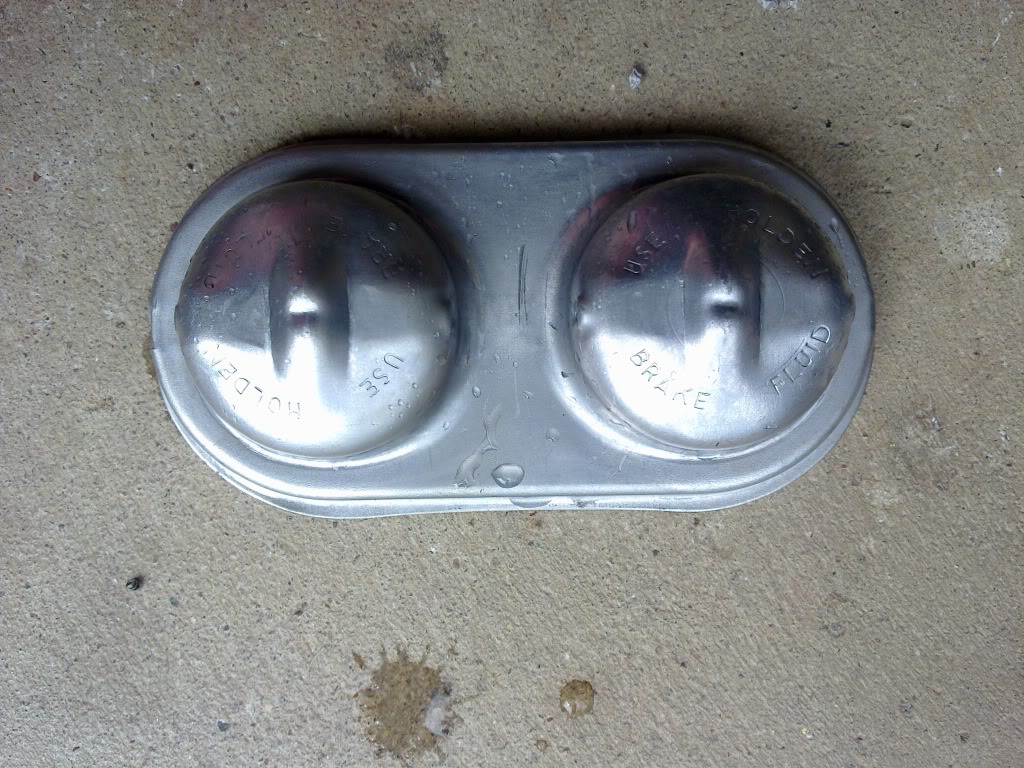
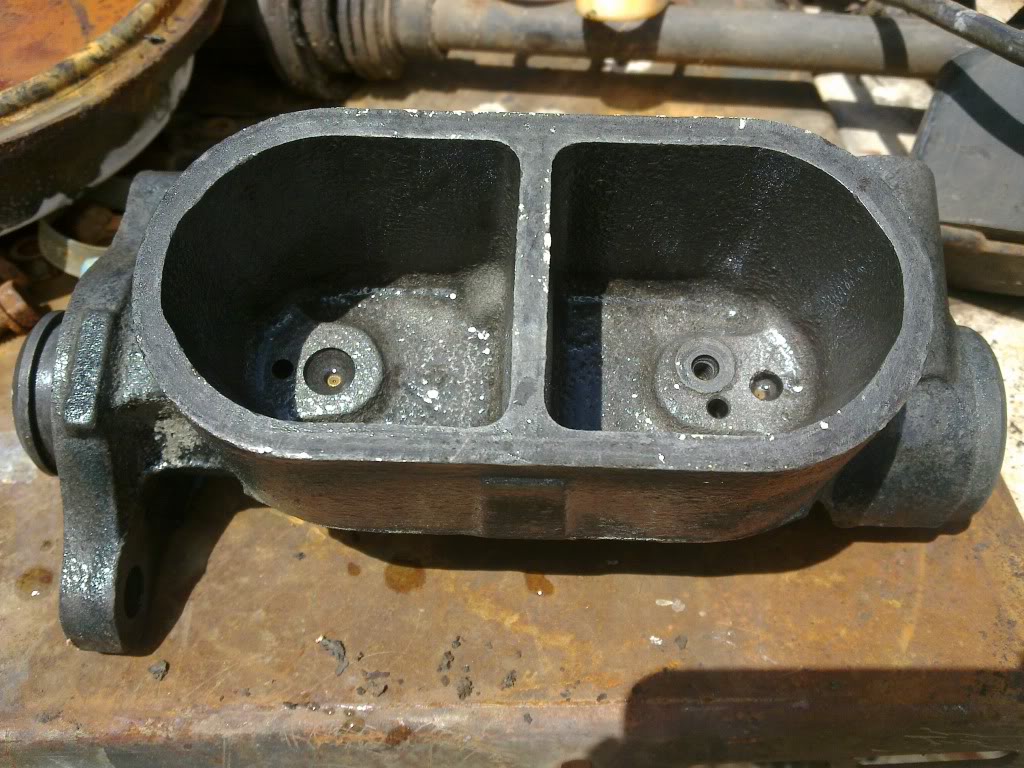
Molasses is fantastic,usually 10 litres water ,1 litre molassis,but this time i cheated by using hydrocloric acid,the lid for the master cylinder took 10seconds,and get it out and throw in water,then coat in wd40,
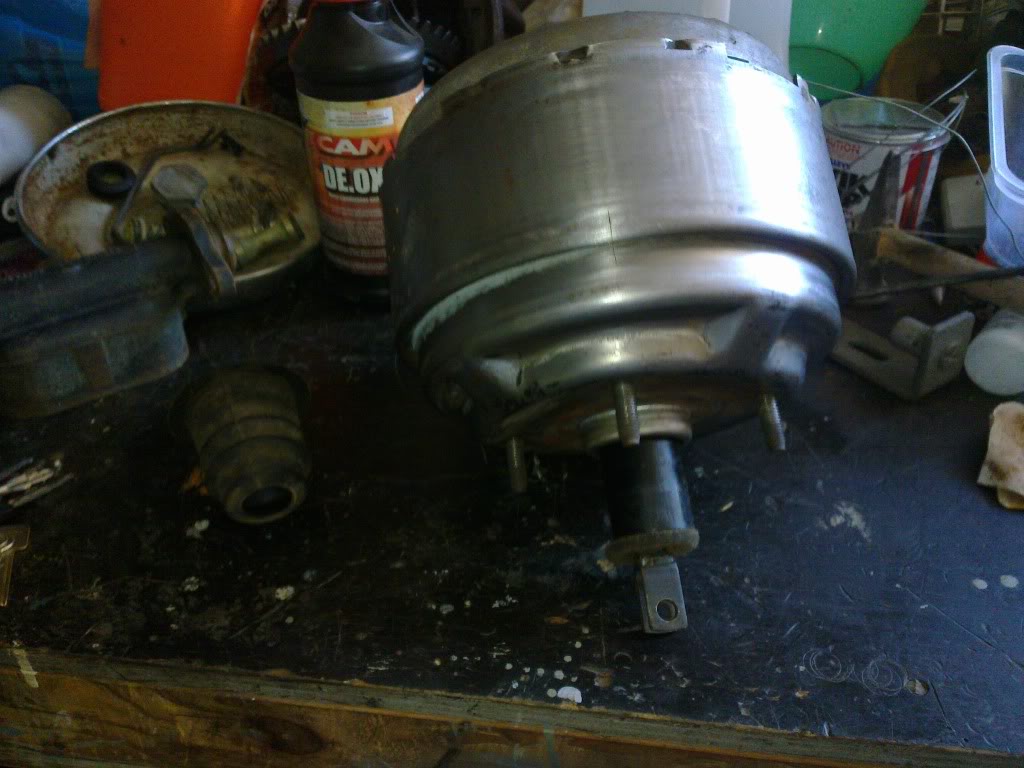
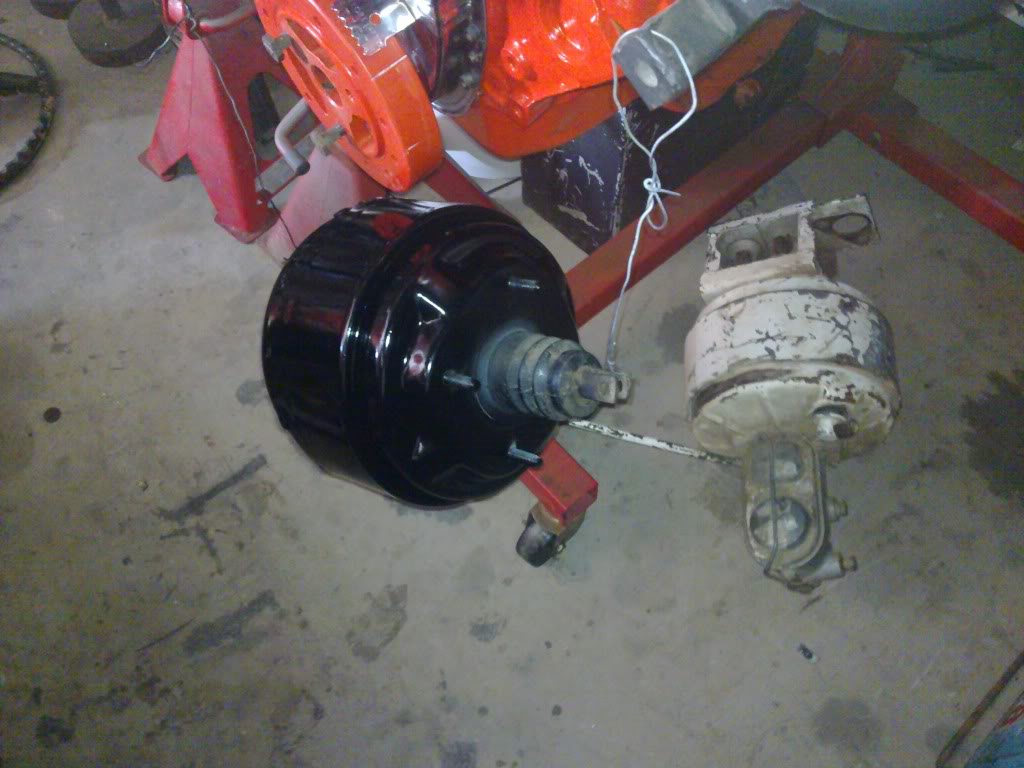
the rusty front section of the booster took about 15 minutes as this was very rusty,i then wash with water then use dioxideen and then paint.
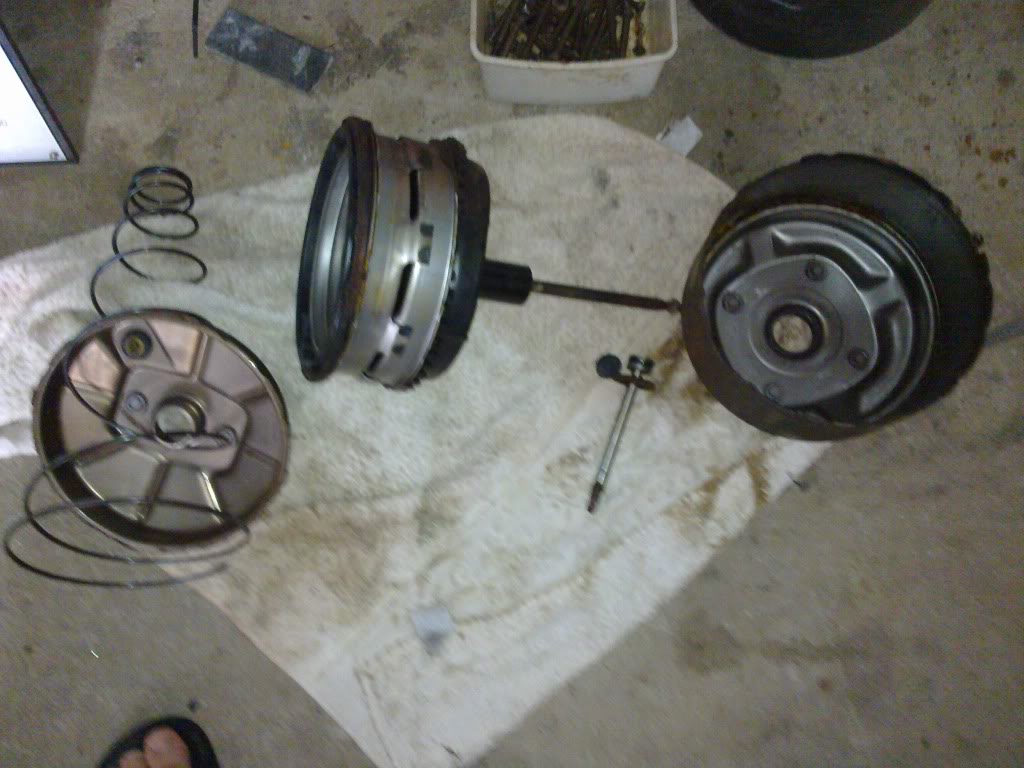
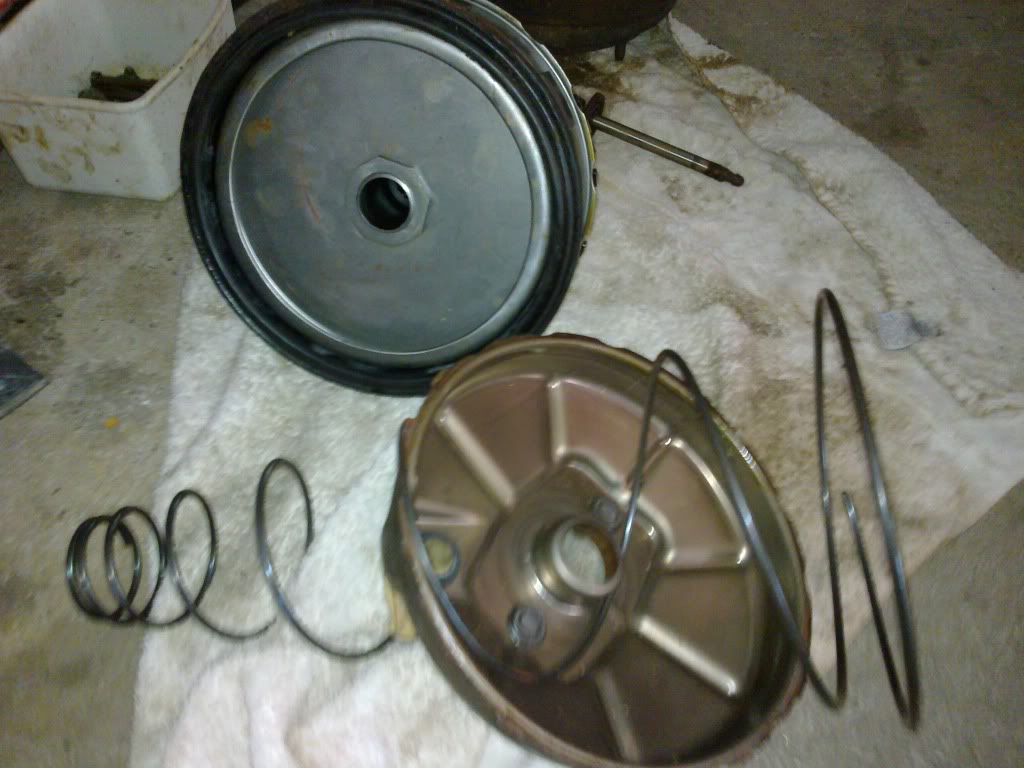
The acid is fantastic on getting things done quick,but don,t breath in the fumes as it will knock you,i use molassis on all sorts of things now,throw in a very rusty item in a 44 gallon drum full of the mix,pull out 1 week later and looks brand new,even silver,unbeleivable,the guys told me about using it in fuel tanks,and it worked so good i keep a drum full at all times and cover it so it doesn,t evaparate,best thing is you chuck in things forgete about them,when you remember it has worked a treat,wash with water,then dioxideen,wash then paint,best stuff ever,and cheap.