Jump to content


Photo
- - - - -

Targa Hatch


  • Please log in to reply
604 replies to this topic

#1 A9X

A9X

    A fortunate run

  • Members
  • PipPipPipPipPipPipPip
  • 5,024 posts
  • Name:Welby
  • Location:Perth
  • Joined: 09-November 05
Garage View Garage

Posted 29 April 2007 - 10:37 AM

After much delay, many excuses and finally taking instruction on the posting of pics from Datto and my 12 YO;

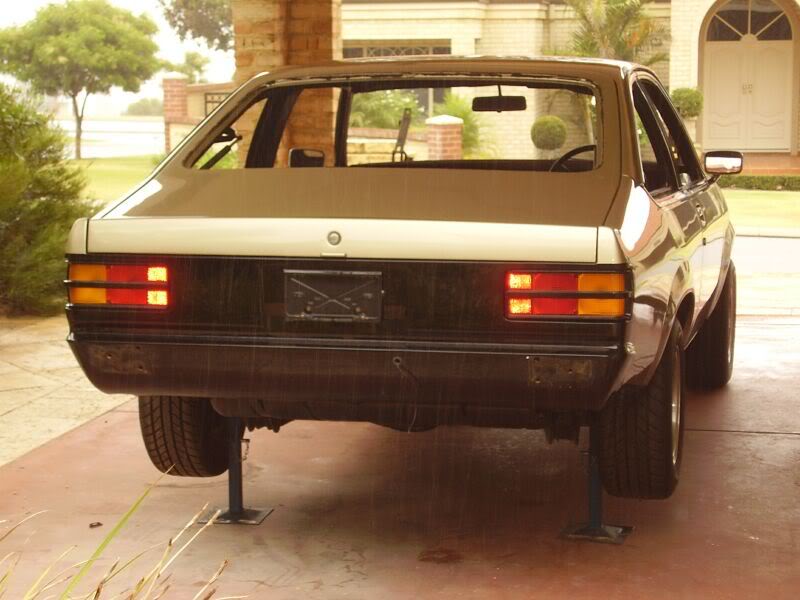
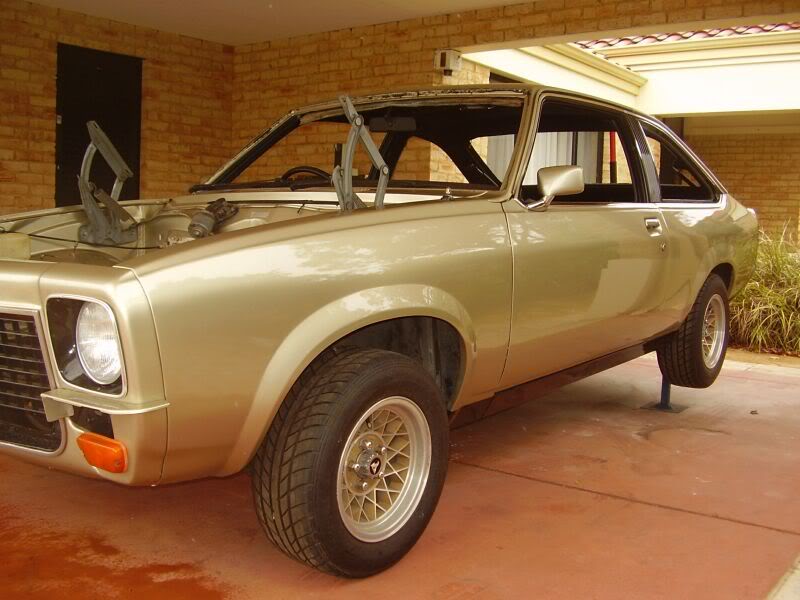
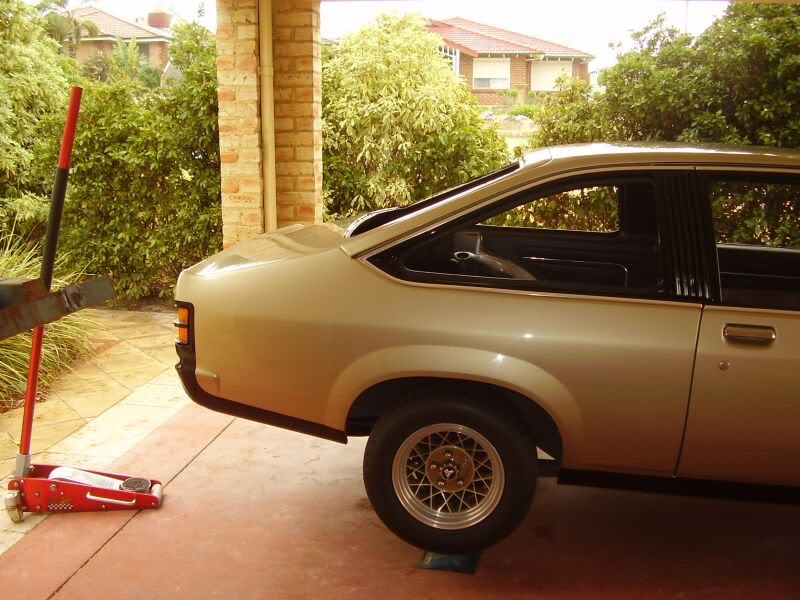
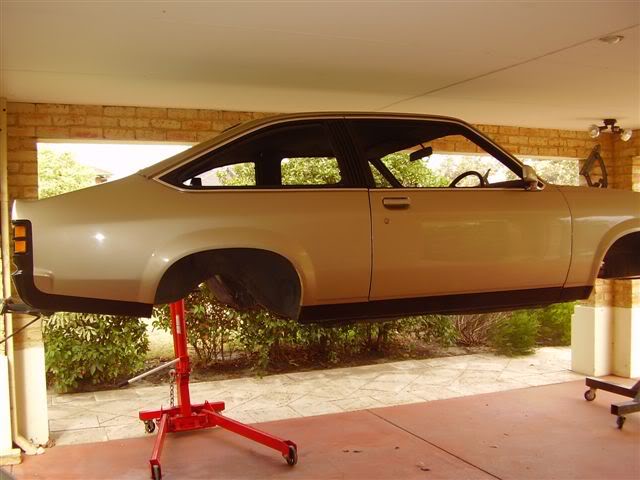
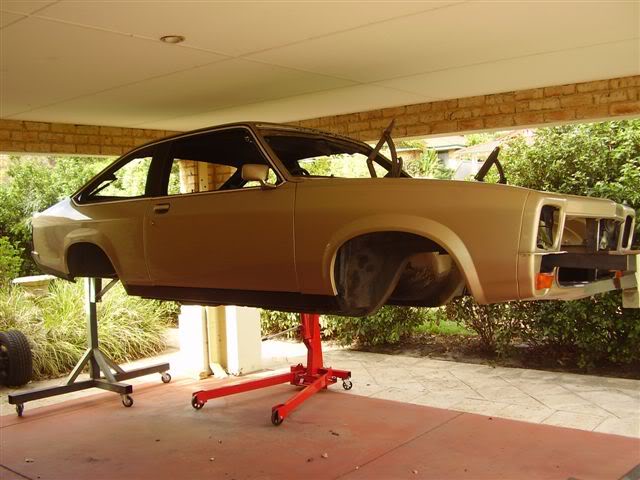
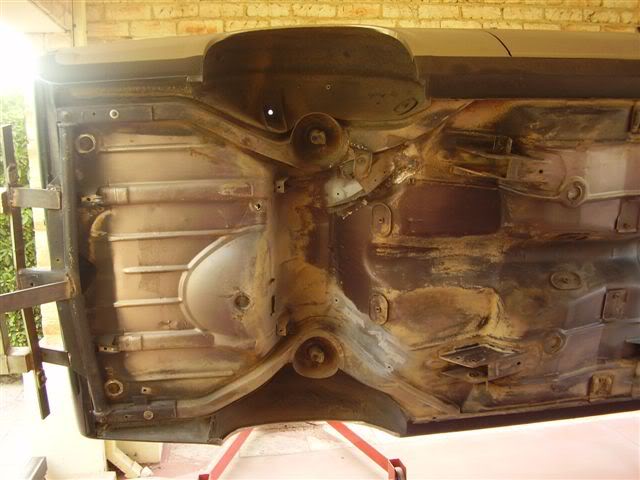
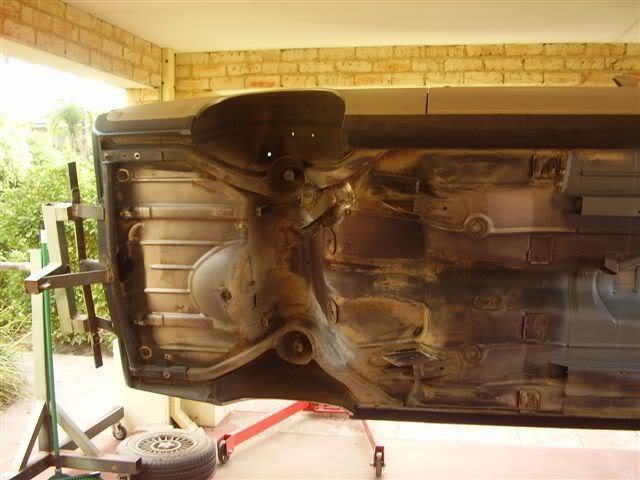
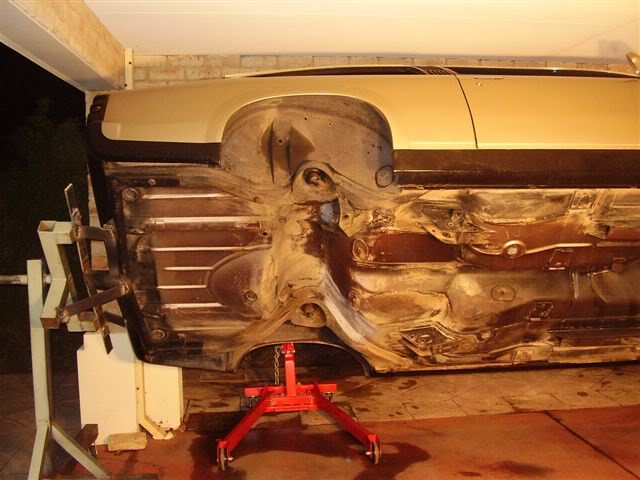
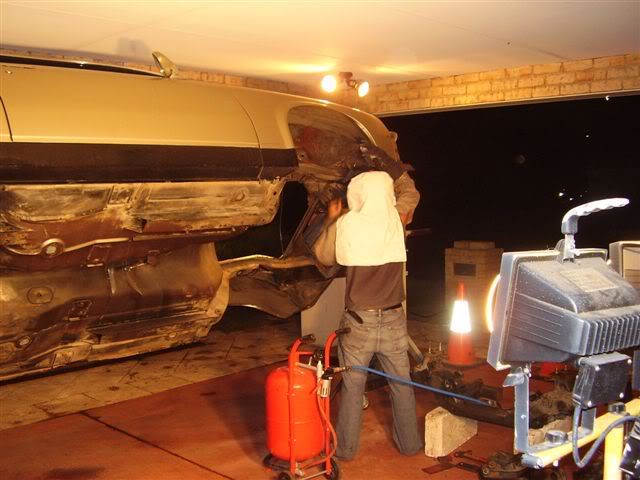
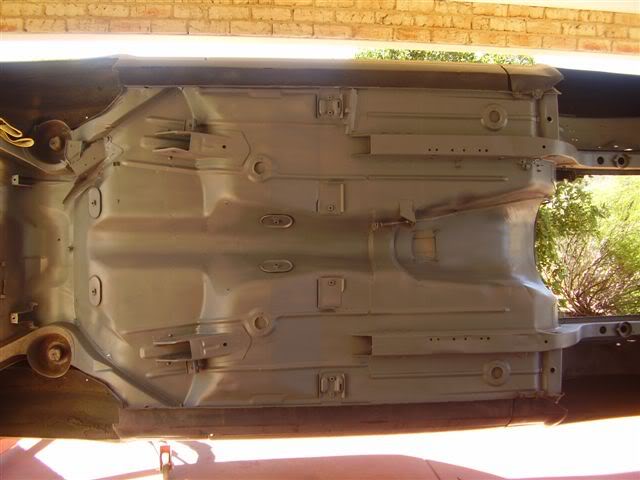
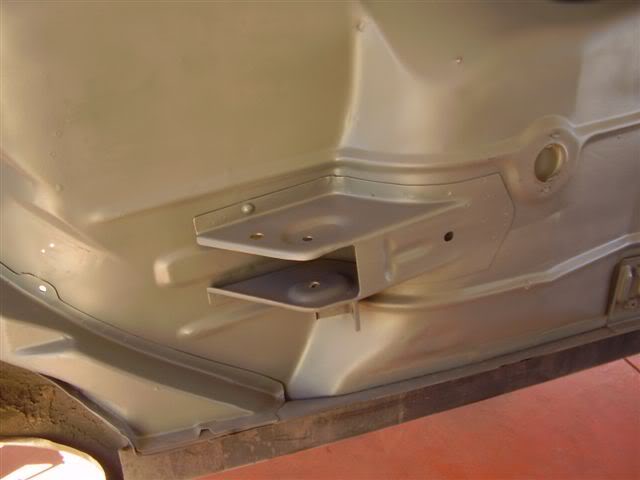
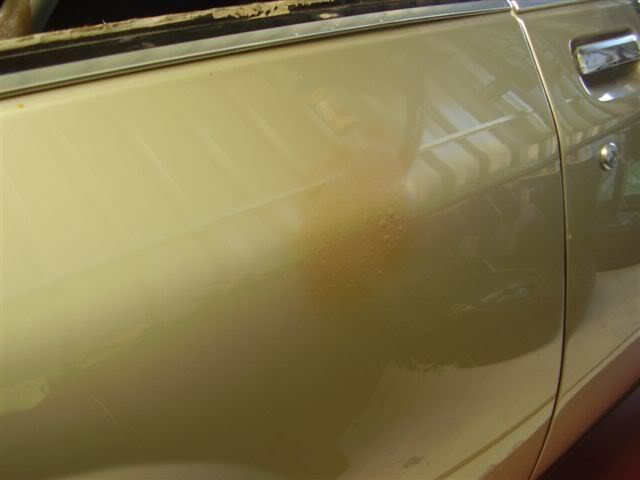
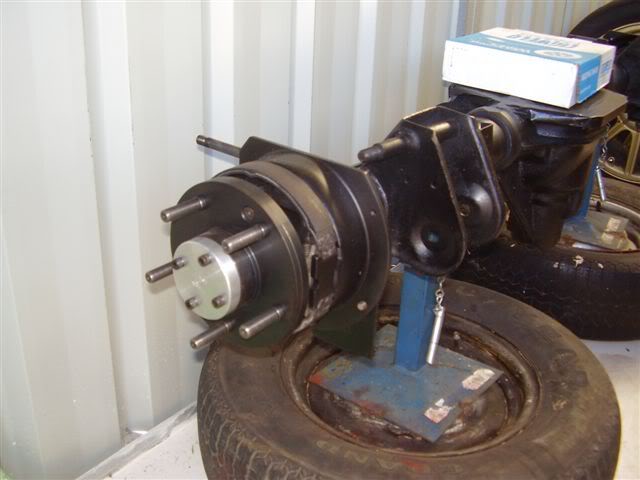
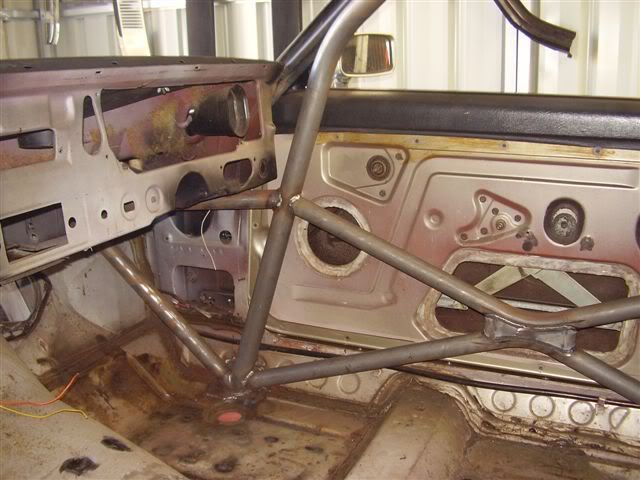
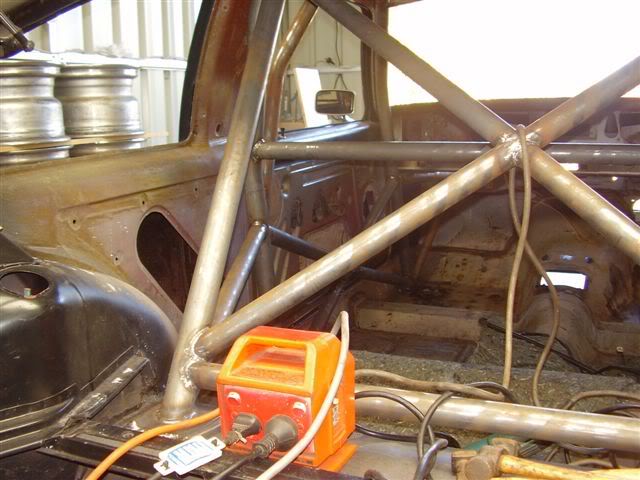
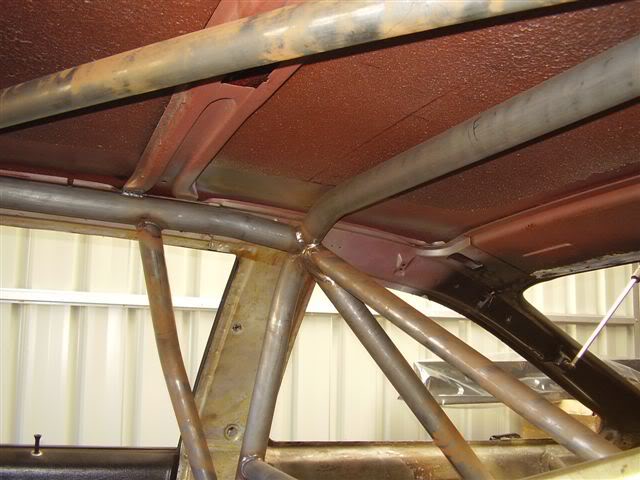
Here are some pics of the build to my hatch.

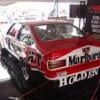
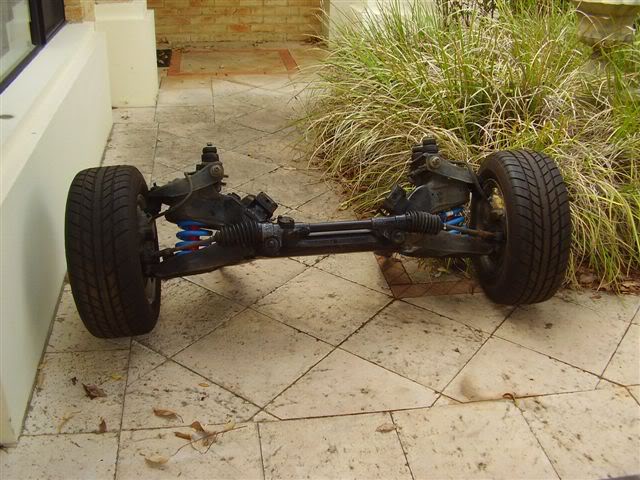
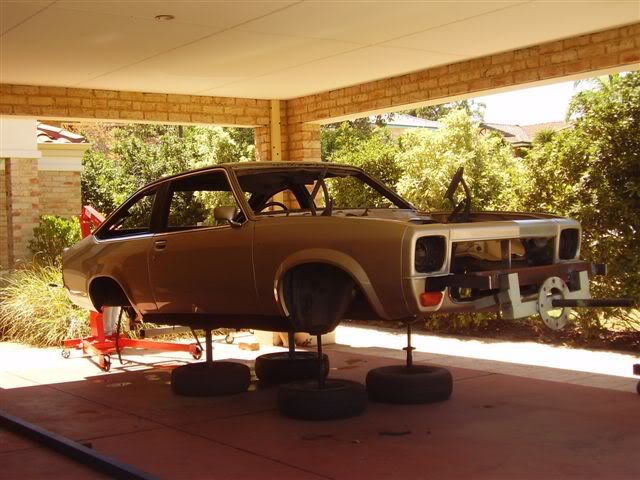
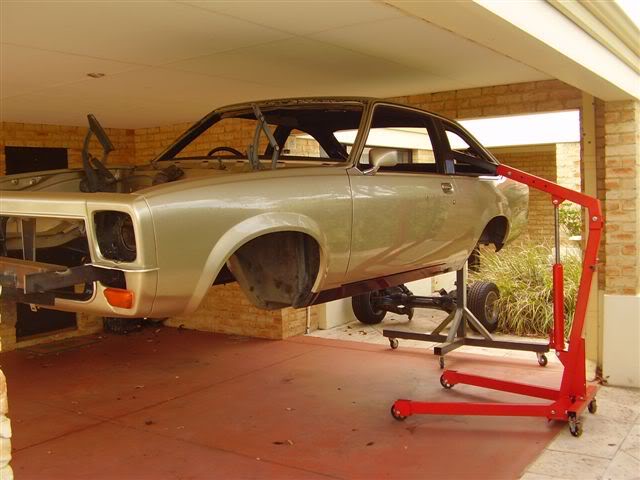
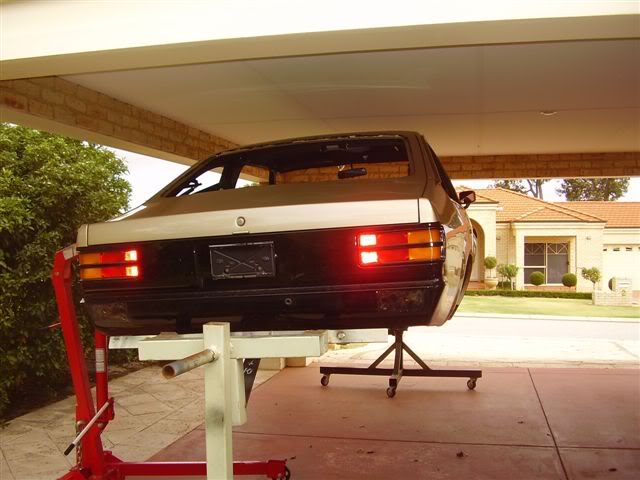
The car is being constructed to 2007 CAMS Tarmac Rally specifications - C3 to be exact. (Although most of the earlier part of the project has been C2).

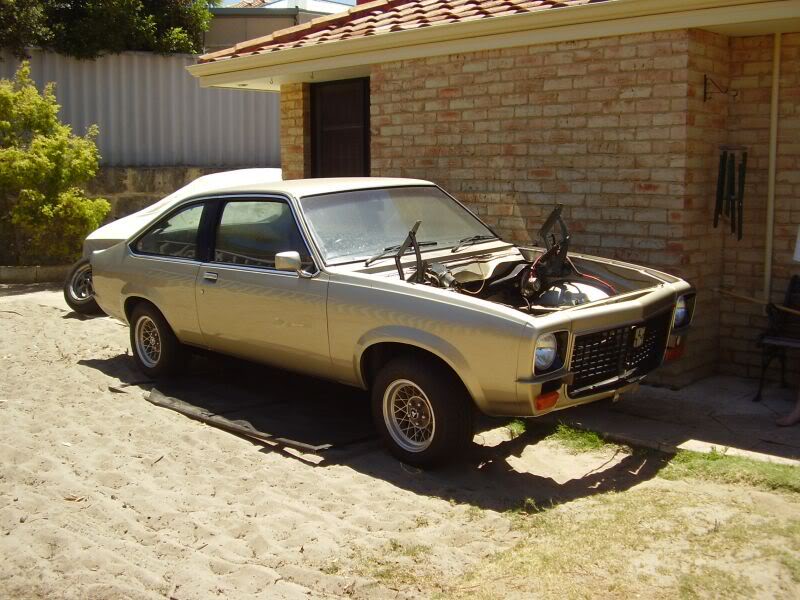
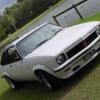
Firstly, here is the old girl as we started the strip down.

Posted Image

#2 A9X

A9X

    A fortunate run

  • Members
  • PipPipPipPipPipPipPip
  • 5,024 posts
  • Name:Welby
  • Location:Perth
  • Joined: 09-November 05
Garage View Garage

Posted 29 April 2007 - 10:50 AM

The sand patch is the area i cleared when i ordered my shed for the project.
Back in October.

Shed was installed last week of March

Posted Image

until then, we had to strip and blast the old girl in my carport.

#3 A9X

A9X

    A fortunate run

  • Members
  • PipPipPipPipPipPipPip
  • 5,024 posts
  • Name:Welby
  • Location:Perth
  • Joined: 09-November 05
Garage View Garage

Posted 29 April 2007 - 10:51 AM

Posted Image

#4 A9X

A9X

    A fortunate run

  • Members
  • PipPipPipPipPipPipPip
  • 5,024 posts
  • Name:Welby
  • Location:Perth
  • Joined: 09-November 05
Garage View Garage

Posted 29 April 2007 - 10:52 AM

Posted Image

Edited by A9X, 29 April 2007 - 10:53 AM.


#5 _TJ253_

_TJ253_
  • Guests

Posted 29 April 2007 - 10:55 AM

Nice looking Hatch

#6 A9X

A9X

    A fortunate run

  • Members
  • PipPipPipPipPipPipPip
  • 5,024 posts
  • Name:Welby
  • Location:Perth
  • Joined: 09-November 05
Garage View Garage

Posted 29 April 2007 - 10:55 AM

as you can see, the car was a very clean and tidy example before we started.

No rust anywhere apparent, although the drivers side c panel had some when we went looking.

There are two pinholes in the drivers side floor that only showed up after the sandblasting.

Otherwise, rust and dent free.

More pics tonite.

Welby

#7 _Herne_

_Herne_
  • Guests

Posted 29 April 2007 - 11:08 AM

Thats one excellent looking project mate, nice body to start with.
Looking forward to seeing the progress and especially a bright orange paint job ;) Maybe!

I understand that prismatec is sold at PPG stores.

Cheers
Herne

#8 _Leakey_

_Leakey_
  • Guests

Posted 29 April 2007 - 11:09 AM

Very nice machine Welby.

Now... you know you can put multiple pics on one page..! LOL.

Looking forward to seeing more pics, and following the build/modify.

Cheers, Leakey

#9 Racehatch

Racehatch

    Forum Fixture

  • Members
  • PipPipPipPipPip
  • 1,027 posts
  • Location:Adelaide
  • Joined: 07-November 05

Posted 29 April 2007 - 11:19 AM

Yeah thats a pretty decent start to a project! Wish mine was that clean to start with...

Perhaps a rundown of the proposed specs are in order?

#10 Heath

Heath

    I like cars.

  • Administrators
  • PipPipPipPipPipPipPip
  • 18,314 posts
  • Name:Heath
  • Location:Eastern Suburbs, Melbourne
  • Car:Heavily Modified UC Sunbird Hatchback
  • Joined: 07-November 05
Garage View Garage

Posted 29 April 2007 - 11:55 AM

Unreal, that is clean as!!!

I know nothing about racing regs... so what's it getting? A9X spec driveline? Or more serious? Chev or Holden? etc

#11 _hatcheddan_

_hatcheddan_
  • Guests

Posted 29 April 2007 - 01:45 PM

Looks like an awesome start. Lookin forward to seeing some progress :D

#12 _LXChev366_

_LXChev366_
  • Guests

Posted 29 April 2007 - 06:09 PM

Great Hatch Welby,
as soon as I saw the sand I thought thats gotta be in Perth as sure enough... I used to live in High Wycombe about 10 years ago.
Good luck with the project, looking forward to updates.. you might give me ideas for my 2 hatch's. :D Yep I would like to know drive line specs to ... you never know, I might build my Sunbudgie to Targa specs??

#13 _sshatch355_

_sshatch355_
  • Guests

Posted 29 April 2007 - 08:34 PM

awesum body to start with! makes things a lot easier and cheaoer in the long run :clap:

#14 A9X

A9X

    A fortunate run

  • Members
  • PipPipPipPipPipPipPip
  • 5,024 posts
  • Name:Welby
  • Location:Perth
  • Joined: 09-November 05
Garage View Garage

Posted 29 April 2007 - 10:39 PM

Thanks guys.

More pics to follow, diff is a genuine A9X unit, with full floating axles and Harrop discs, Big Tank is a Brown Davis unit.
Ian Tate is building the motor from a virgin block, specs to follow.
Front brakes are Harrops, gearbox at this stage will be a Tremec TKO (unless a Super T10 falls into my lap)

Paint will be Orange.......... of some sort.

Car is off to the painter tomorrow.

Welby

#15 tinkers

tinkers

    Admin

  • Administrators
  • PipPipPipPipPipPip
  • 3,796 posts
  • Name:Kerri
  • Location:Perth - Gold Coast - Brisbane
  • Car:LX Hatch & VX Clubsport & VS Ute
  • Joined: 04-February 07

Posted 29 April 2007 - 10:41 PM

(unless a Super T10 falls into my lap)

^^ might hurt a bit :P

#16 dattoman

dattoman

    Do I feel lucky? Well, do ya, punk?

  • Administrators
  • PipPipPipPipPipPipPip
  • 16,471 posts
  • Name:Neil
  • Location:Perth Western Australia
  • Car:LX SS , 76 Cadillac , 3 x dattos
  • Joined: 04-February 07

Posted 29 April 2007 - 10:54 PM

The body on this thing is super clean
Infact for a 30 yr old car it has less rust than most new cars
It had a 5c piece sized surface bubble on the drivers C outside skin
feeling inside the inner panel is perfect and clean
Almost a shame to sut up a perfect car for flare fitting
The best hatch I have ever seen bar none

I've loaded up the rest of those pics Welby
So coming soon pics of cage and more of the base car as stripped
Oh and one of the diff

Once we get the front end blasted and powedercoated and reasssmbled there will be pics of the Harrop calipers,floating discs etc too

Gunna be a sexy beast when finished (4 weeks :! )

#17 A9X

A9X

    A fortunate run

  • Members
  • PipPipPipPipPipPipPip
  • 5,024 posts
  • Name:Welby
  • Location:Perth
  • Joined: 09-November 05
Garage View Garage

Posted 30 April 2007 - 07:50 PM

Thanks Datto,

So to continue, up in the air sje went to first drop the front crossmember and then the diff.

Posted Image

Posted Image

Posted Image

#18 A9X

A9X

    A fortunate run

  • Members
  • PipPipPipPipPipPipPip
  • 5,024 posts
  • Name:Welby
  • Location:Perth
  • Joined: 09-November 05
Garage View Garage

Posted 30 April 2007 - 07:54 PM

Posted Image

Posted Image

The Rotissorie was built for an LJ, and in our haste to make it fit, we didn't get the balance right. The bugger was so top heavy.....

The only way we could turn it was to use an engine crane and lower one or the other sides down

Posted Image

#19 A9X

A9X

    A fortunate run

  • Members
  • PipPipPipPipPipPipPip
  • 5,024 posts
  • Name:Welby
  • Location:Perth
  • Joined: 09-November 05
Garage View Garage

Posted 30 April 2007 - 07:55 PM

Posted Image

Next up, scrape and sandblast the chassis and the floorpan.

Posted Image

Posted Image

#20 A9X

A9X

    A fortunate run

  • Members
  • PipPipPipPipPipPipPip
  • 5,024 posts
  • Name:Welby
  • Location:Perth
  • Joined: 09-November 05
Garage View Garage

Posted 30 April 2007 - 07:58 PM

Posted Image

sandblasting was done over a couple of nights, apologies to the neighbours.

Posted Image

In the end , the job was well woth the effort

Posted Image

Posted Image

#21 A9X

A9X

    A fortunate run

  • Members
  • PipPipPipPipPipPipPip
  • 5,024 posts
  • Name:Welby
  • Location:Perth
  • Joined: 09-November 05
Garage View Garage

Posted 30 April 2007 - 08:03 PM

Posted Image

minor F@#$k up.

When stitch and seam welding the rails, some metal or sparks fell onto a rag that had fallen into the rear quarter panel recess above the wheel arch.

Murphy's law being wht it was, the only flammable material in the car caught fire. We didn't notice it quick enough and the heat from the rag blistered the exterior paint.

The car is being taken back to metal anyway, but it was the first blemish in a good project.

#22 A9X

A9X

    A fortunate run

  • Members
  • PipPipPipPipPipPipPip
  • 5,024 posts
  • Name:Welby
  • Location:Perth
  • Joined: 09-November 05
Garage View Garage

Posted 30 April 2007 - 08:06 PM

Posted Image

a quick view of the Harrop Diff with the floating axle mods and the inner handbrake.

Some pics of the brakes soon.

Very sexy. :D

#23 A9X

A9X

    A fortunate run

  • Members
  • PipPipPipPipPipPipPip
  • 5,024 posts
  • Name:Welby
  • Location:Perth
  • Joined: 09-November 05
Garage View Garage

Posted 30 April 2007 - 08:08 PM

and lastly for today,

some quick pics of the cage

Posted Image

Posted Image

Posted Image

Welby

#24 _sshatch355_

_sshatch355_
  • Guests

Posted 30 April 2007 - 08:59 PM

dont wory the neighbours will soon get over it! mine did!! :rolleyes:

top work looks like uve been very buzy :clap:

#25 _The Baron_

_The Baron_
  • Guests

Posted 30 April 2007 - 09:14 PM

I spy you have removed a top arm mount for the diff.

Next a UC Patch?

Good way to go.

Just mount up the diff with all the arms attached to the diff and lower mounts on the car.
Then attach the top arms to the UC patch and get your pinion angle right and start welding. If you UC patch is a little bigger to allow overlap, you should get a stronger finish.

Thanks for sharing it with us all.


0 user(s) are reading this topic

0 members, 0 guests, 0 anonymous users