
Cheers fellas, I think I need a bit of luck...
Potta, yeah mate, the cab just unbolts from the chassis.
Whoever has had a go at it before needed more welding practice, but most of the patches fit ok.
Need a RHS floorpan, LHS cowl (long one), both LHS and RHS sils.
But today I managed to POR15 the inside of the doors, underside of the inner guards and underside of the bonnet. Aswell as a couple brackets, bits and bobs.
LHS front suspension is in pieces.
Fixing my brothers HZ Tonner/s
Started by
_mello92_
, May 26 2010 12:07 PM
34 replies to this topic
#27

Potta
-

- Members
-

- 6,026 posts
Oh My, Don't you post alot
- Name:Craig
- Location:Gozzy, WA
- Car:LC GTR, LC 4 door
- Joined: 01-May 09
Posted 25 June 2010 - 06:50 PM
Thanks for the info Mello.
I will most likely be embarking on a similar mission in the not too distant future so I'll watch your progress with interest.
Good luck with it. Sounds like you know what you want and are on the right track to get it done.
I will most likely be embarking on a similar mission in the not too distant future so I'll watch your progress with interest.
Good luck with it. Sounds like you know what you want and are on the right track to get it done.
#28
_shadowmaster_
_shadowmaster_
-

- Guests
Posted 29 June 2010 - 05:00 PM
I dont mean to sound harsh but i honestly believe your crazy to want to fix that cab. I have scrapped heaps of cabs in MUCH MUCH better condition. The time and effort you need to put into it you could have goten another one, done half the bodywork and had a much better frame.
I dont mean to sound harsh but even though tunner cabs are getting hard to get im sure you could get one a bit better then that quite easilly.
Anyhoo to lift the mood if you want insperation here is a picture of my tonner.

I dont mean to sound harsh but even though tunner cabs are getting hard to get im sure you could get one a bit better then that quite easilly.
Anyhoo to lift the mood if you want insperation here is a picture of my tonner.
#29
Neils LX
-

- Members
-
- 2,074 posts
Forum Fixture
- Name:a
- Location:North west NSW
- Joined: 18-March 07
Posted 29 June 2010 - 10:21 PM
Hey man
How bads the white tonnas cab? You may find its got less rust than the one your going to use.
I feel sorry for you with that amount of work as my old boss scrapped 2 cabs better than yours.
Chears Neil
How bads the white tonnas cab? You may find its got less rust than the one your going to use.
I feel sorry for you with that amount of work as my old boss scrapped 2 cabs better than yours.
Chears Neil
#30
_mello92_
_mello92_
-
- Guests
Posted 01 July 2010 - 09:54 PM
Shadowmaster - yeah I know its bad, and I know where you're coming from. But like you said, they are hard to find in decent condition. Cheers for the pic, but I dont really go for the HQ's, but I tell ya what, your combo works!
Neil, the white cab has the same amount of bog in the places that matter. Ive already had that thought. The effort involved in stripping that cab and getting it blasted too (not to mention cost) isnt worth it to me.
Cheers fellas.
Havent got any photos on progress, but I can assure you things are full steam ahead. Chassis will be POR15'ed tomorrow, picked up some replacement panels, some are on order, full SuperPro suspension kit is on order.
Need to figure out how to work my new welder and get some gas for it, going to start the cutting and welding soon.
There really isnt much too these utes when you pull them apart ey.
#31
_mello92_
_mello92_
-
- Guests
Posted 26 July 2010 - 10:31 AM
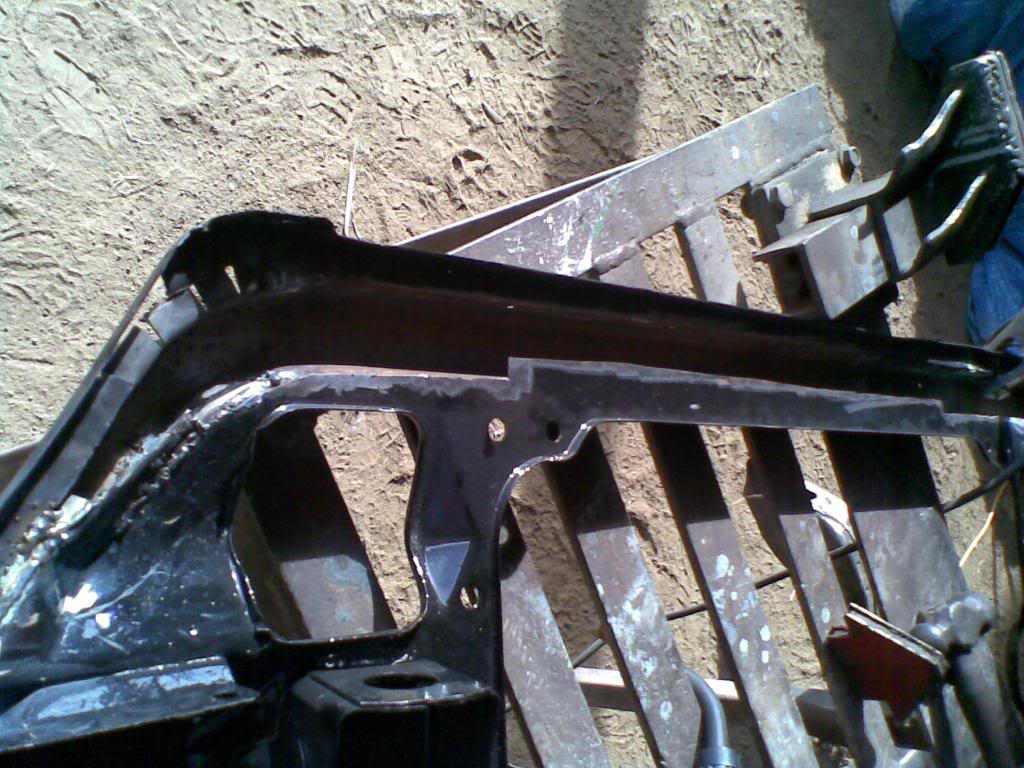
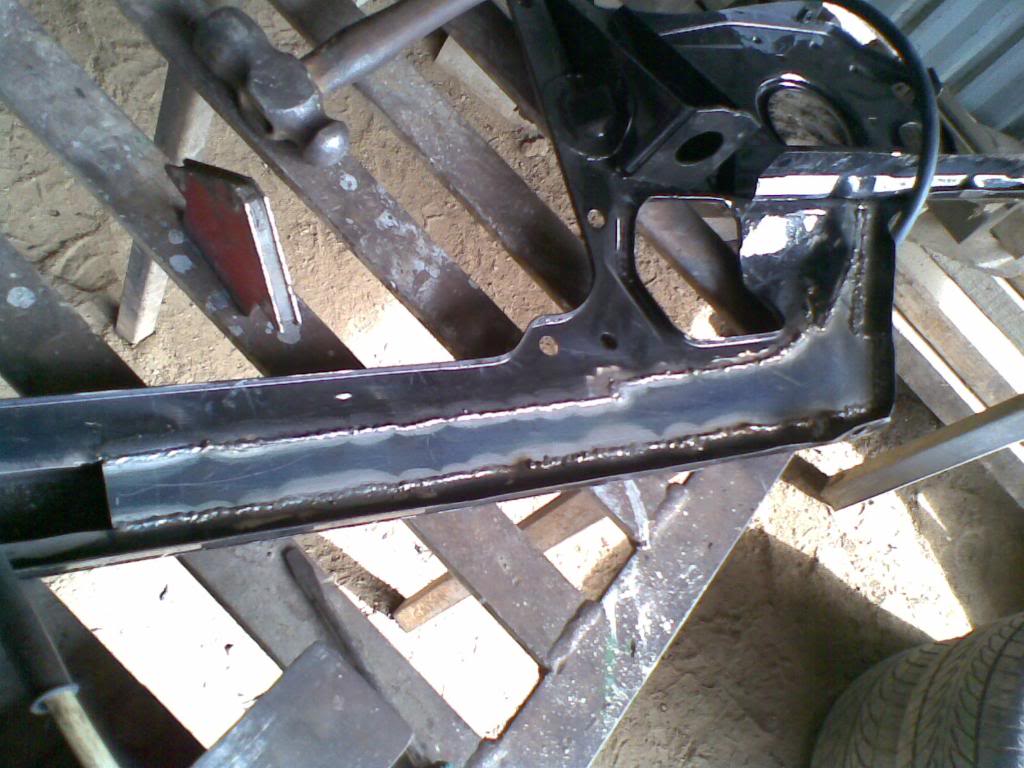
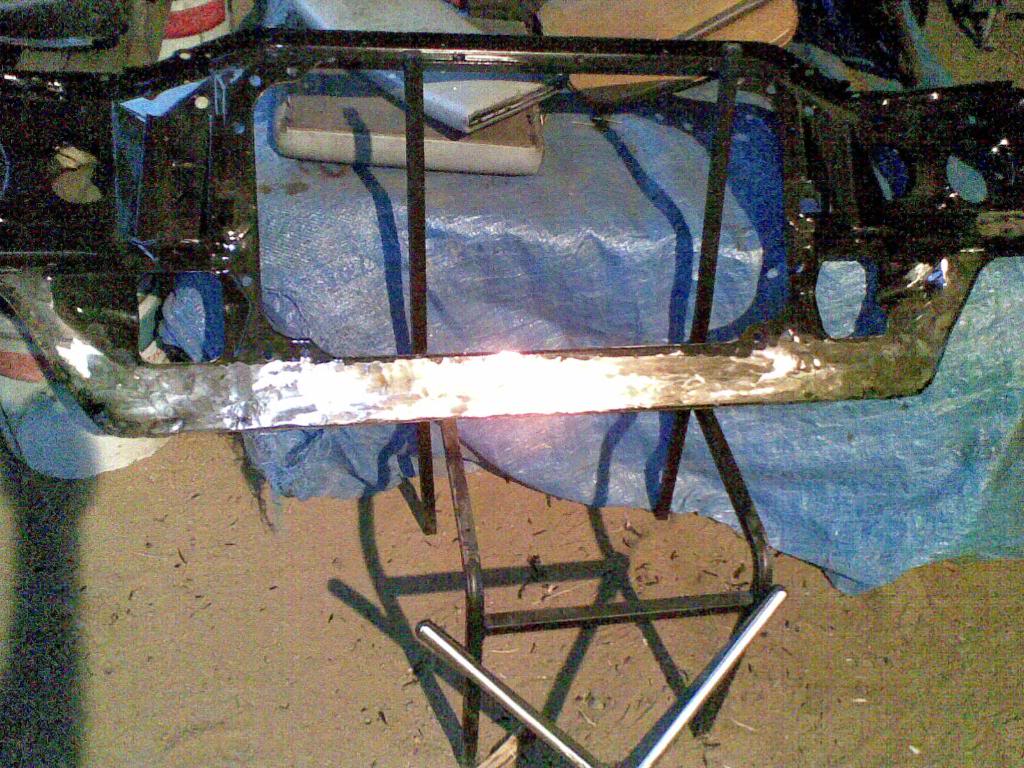
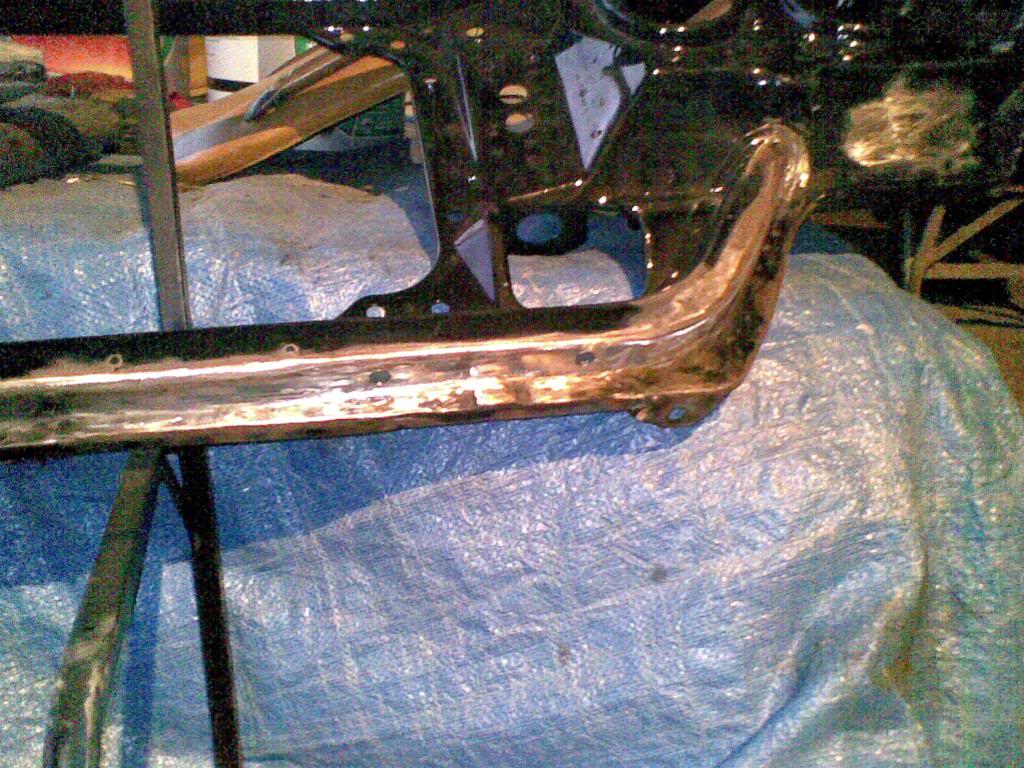
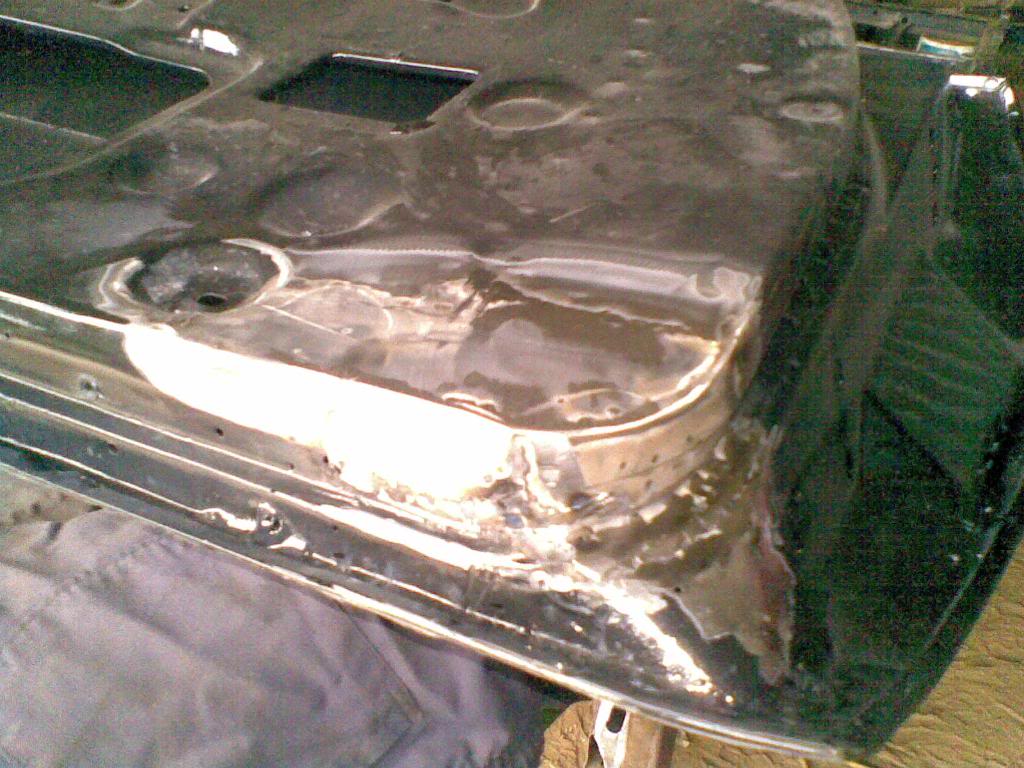
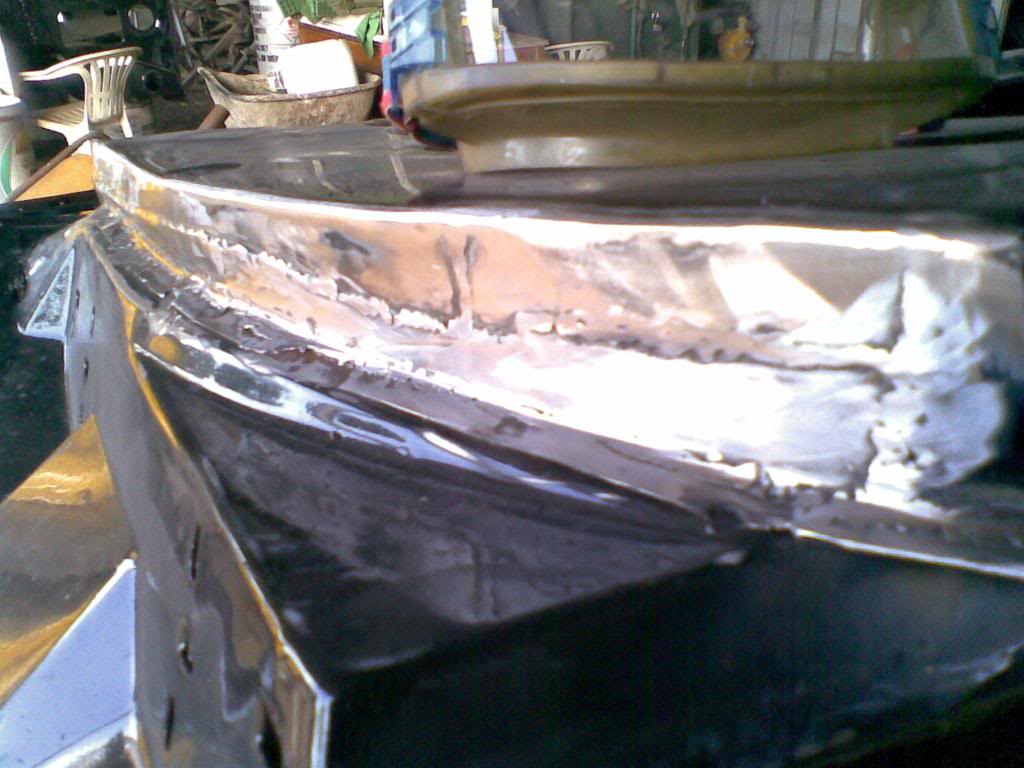
I'll let the pictures tell the story...
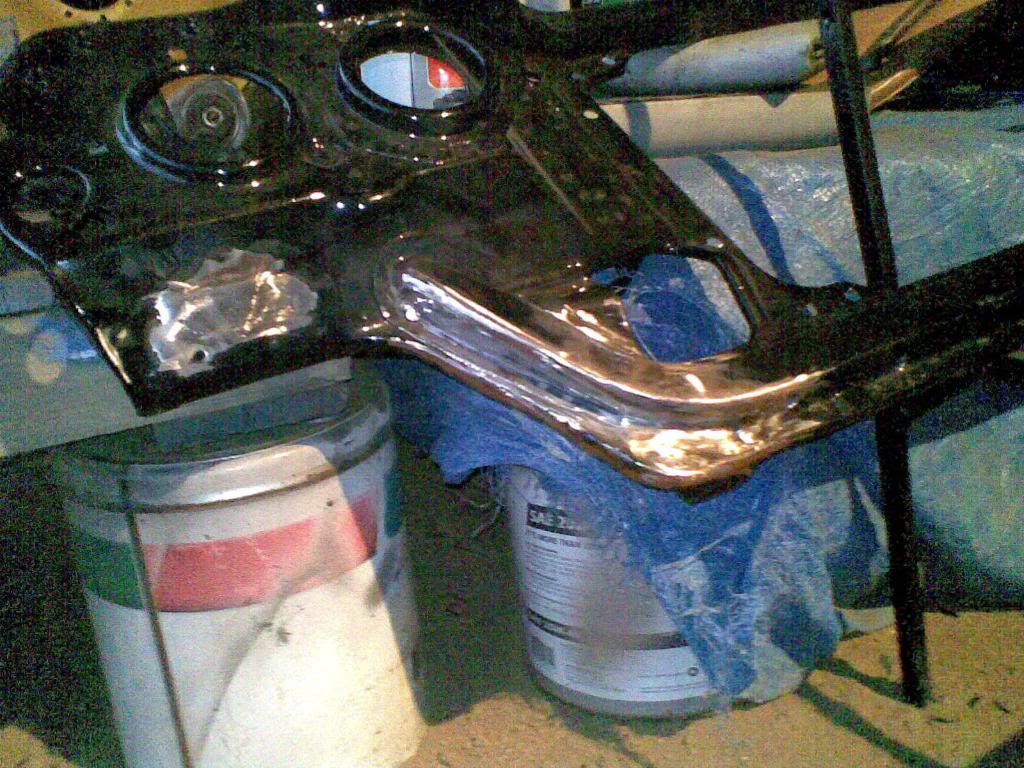


Yep I know some holes have to be drilled for the dorr rubbers and cards
Also got the drivers side front floorpan in but no piccy of that.
$500 worth of bushes looks a little like this...and the front swaybar ones still have to come.
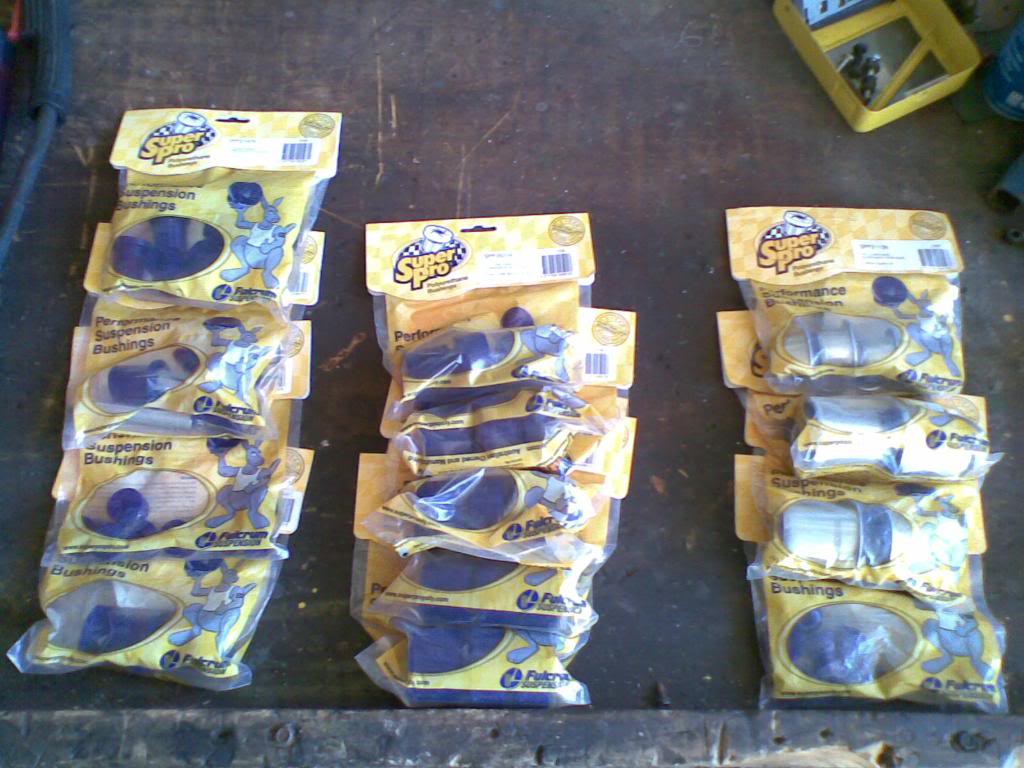
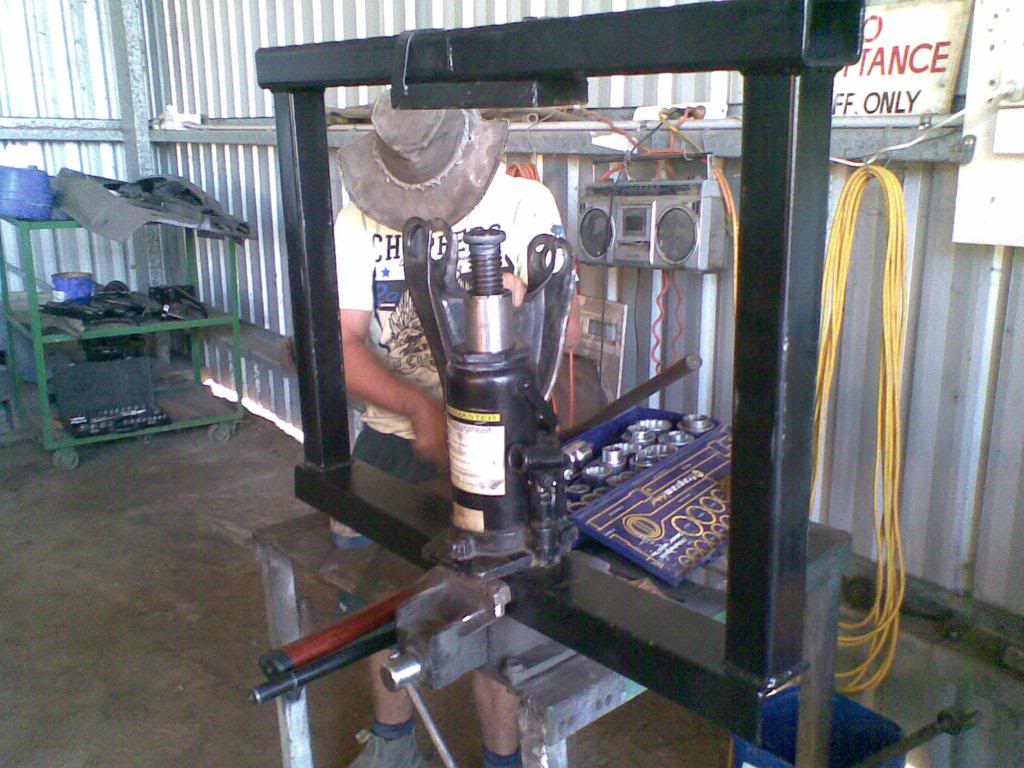
Like hell was I paying a shop to press them in so I made up this sucker, worked a treat:
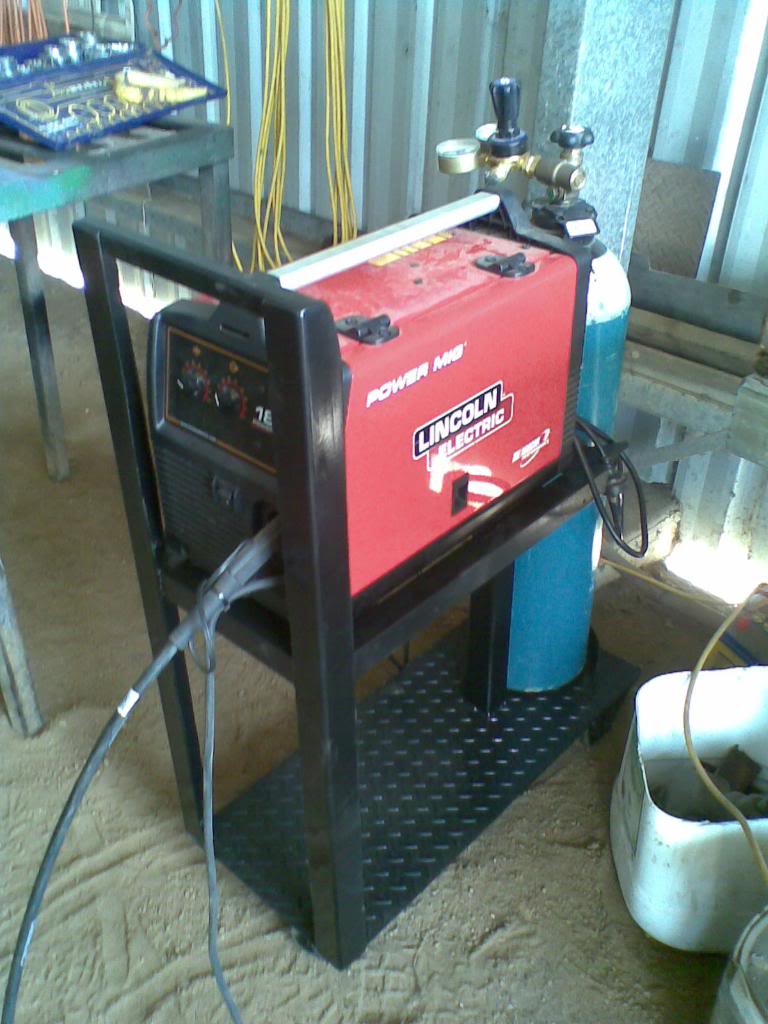
Carrying the welder and gas bottle got really old really quick, so just used bits of scrap around the shed to make a trolley :
So all the suspension is ready for paint, save the diff housing, I just havent wire wheel'ed it yet.
Moog bits look solid as a rock and fitted easily.
Still got to replace both sills (midway through one side...), cut the bits out of the LHS front floopan that I need, LHS cowl to replace, plus numerous other rusted areas and half assed patches to fix up, but Im getting there.
Yep I know some holes have to be drilled for the dorr rubbers and cards
Also got the drivers side front floorpan in but no piccy of that.
$500 worth of bushes looks a little like this...and the front swaybar ones still have to come.
Like hell was I paying a shop to press them in so I made up this sucker, worked a treat:
Carrying the welder and gas bottle got really old really quick, so just used bits of scrap around the shed to make a trolley
:So all the suspension is ready for paint, save the diff housing, I just havent wire wheel'ed it yet.
Moog bits look solid as a rock and fitted easily.
Still got to replace both sills (midway through one side...), cut the bits out of the LHS front floopan that I need, LHS cowl to replace, plus numerous other rusted areas and half assed patches to fix up, but Im getting there.
#32
Heath
 View Garage
-

- Administrators
-
- 18,320 posts
I like cars.
- Name:Heath
- Location:Eastern Suburbs, Melbourne
- Car:Heavily Modified UC Sunbird Hatchback
- Joined: 07-November 05
View Garage
Posted 26 July 2010 - 12:36 PM
Impressive work!
#34
_Quagmire_
_Quagmire_
-
- Guests
Posted 14 August 2010 - 09:03 PM
Thanks for the info Mello.
I will most likely be embarking on a similar mission in the not too distant future so I'll watch your progress with interest.
Good luck with it. Sounds like you know what you want and are on the right track to get it done.
block and tackle strong chain and a strong roof are your friends here potta
other than that it's 50 odd bolts and a sh*&tload of wires
easy as lol
for a few odd beams i can supervise too lol
#35
_mello92_
_mello92_
-
- Guests
Posted 16 August 2010 - 08:43 PM
Ahh, I dont think there is any progress worth noting mate. This has been sitting idle for a while. The chassis is in POR15, which has to be lightly hit back with 240 or so and topcoated, same for the inner guards and other bits that have been POR15'ed. All the suspension hasnt been painted.
Bought wheel bearings, caliper kits, drag link and tie rod ends for it.
Need to get onto Rares Spares to get a rear drivers side floorpan.
Bought wheel bearings, caliper kits, drag link and tie rod ends for it.
Need to get onto Rares Spares to get a rear drivers side floorpan.


1 user(s) are reading this topic
0 members, 1 guests, 0 anonymous users

