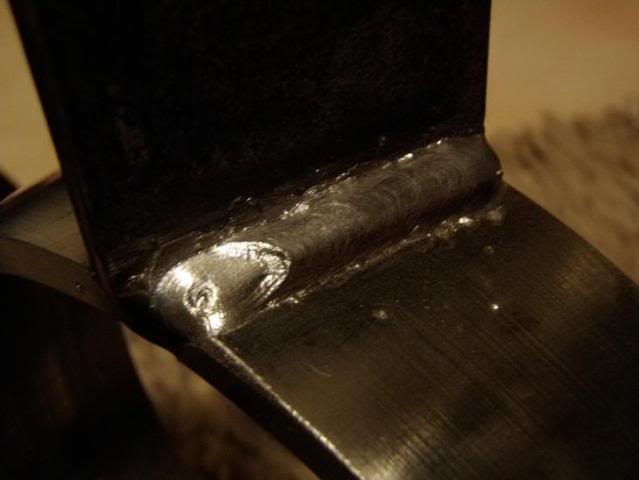
On this one I had actually already done a weld underneath... well I did a tack at each end then welded in the middle but I ended up with 3 seperate runs and it looked abit poo, so I ground the weld down to near on nothing then ran this bead
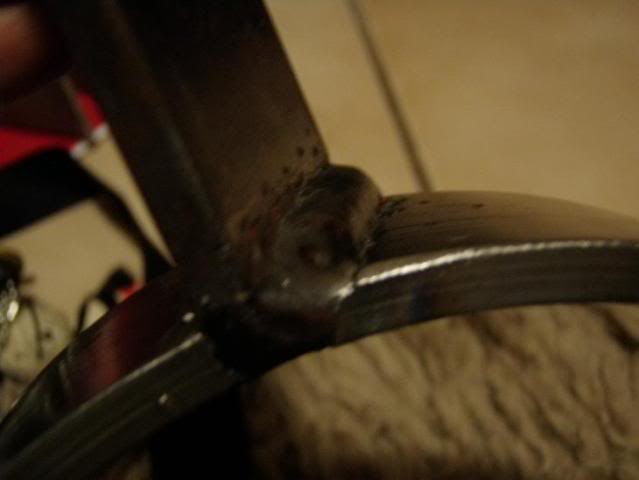
And this is a pic of the inside... The blue line on the left is from the weld in the first pic.
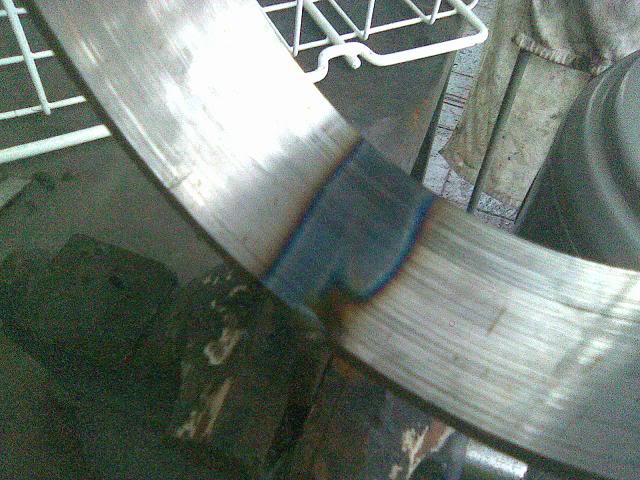
So does that blue line mean its got good penetration and is that how you tell if the weld is good? and you can see the line on the right the blue line stops before the end... does that mean that one doesnt have good penetration at the end?
Also in the first pic you can see at the end of the weld on the left the shape of the weld sort of changed to be more flatter... it seemed to do this every time. any idea what causes this? (ya will probly have to wait till I get a better quality pic to see what I mean.
Cheers guys.