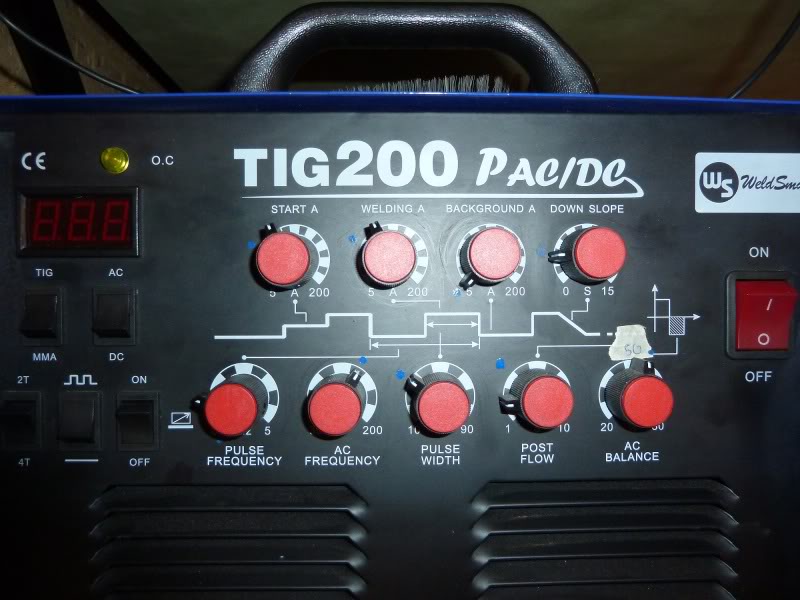
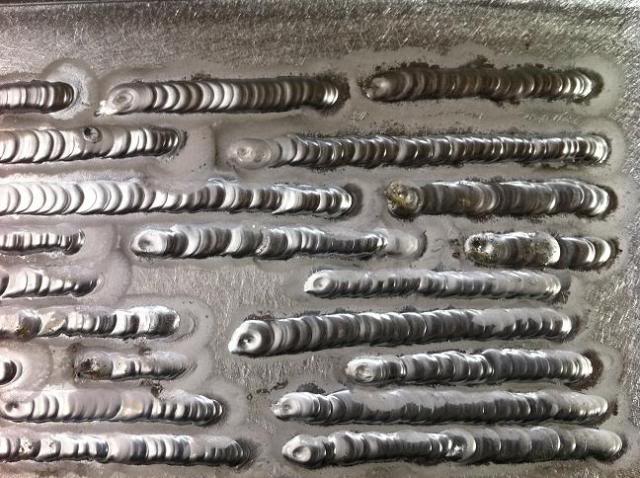
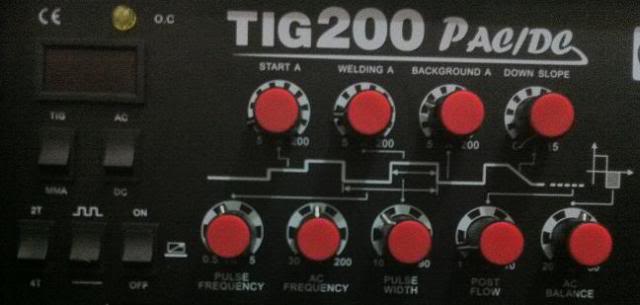
Tig Welder Settings
#1 _Viper_
Posted 25 July 2011 - 04:54 PM
If someone could tell me some good settings to get me started thatd be great... Welding some 3mm thick alloy plate atm (well trying)
Switches
TIG/MMA :
AC/DC :
2T/4T :
Pulse :
Remote :
Knobs
Start A :
Welding A :
Background A :
Downslope :
Pulse Freq :
AC Freq :
Pulse Width :
Post Flow :
AC Balance :
#3 _Viper_
Posted 25 July 2011 - 09:29 PM
#4
Posted 25 July 2011 - 11:08 PM
cheers Andrew
#5 _Viper_
Posted 25 July 2011 - 11:37 PM
Want it set for 3mm alloy and using the foot pedal to control the amps
Maybe also a alternative setup to use the trigger to start/stop it with a set amperage (no foot pedal)
#6
Posted 26 July 2011 - 09:04 AM
Hey guys, I bought a Tig welder a little while ago but only just got around to getting some 100% Argon and having a go at some aluminum. Had limited success just using the manual but thought id get some advice before I just get frustrated.
If someone could tell me some good settings to get me started thatd be great... Welding some 3mm thick alloy plate atm (well trying)
Switches
TIG/MMA :
AC/DC :
2T/4T :
Pulse :
Remote :
Knobs
Start A :? not sure what this is but could be ramp up
Welding A :amps when running arround 67-70 amps for 3 mm
Background A :? not sure what this is for but would surjest it could be for clean width set at 3 to start
Downslope :down slolp is the amont of time you want the current to slowly go down in sted of just stoping nomly 1/3 of how much you turn the amp dial
Pulse Freq :ac/dc
AC Freq :ac
Pulse Width :half turn of the amps dial
Post Flow :prefow of gas before amps start to surround the area with argon before welding about 1-2sec
AC Balance : 60/40 start point as each welder is differnt.
#7 _1uzbt1_
Posted 26 July 2011 - 10:06 AM
Background A : is your low voltage setting when used in pulse mode.
Pulse Freq : is how quickly it goes from Welding A to Background A.
AC Balance : How much AC it uses, AC is the "cleaning mode" for ally. The dirtier the material the more AC you use.
Switches
MMA Tig, fairly obvious, if you want to tig, goes on tig, if you want to arc weld onMMA
AC/DC ac for ally dc for mild steel
Squiggle line/ straight line is pulse/ no pulse.
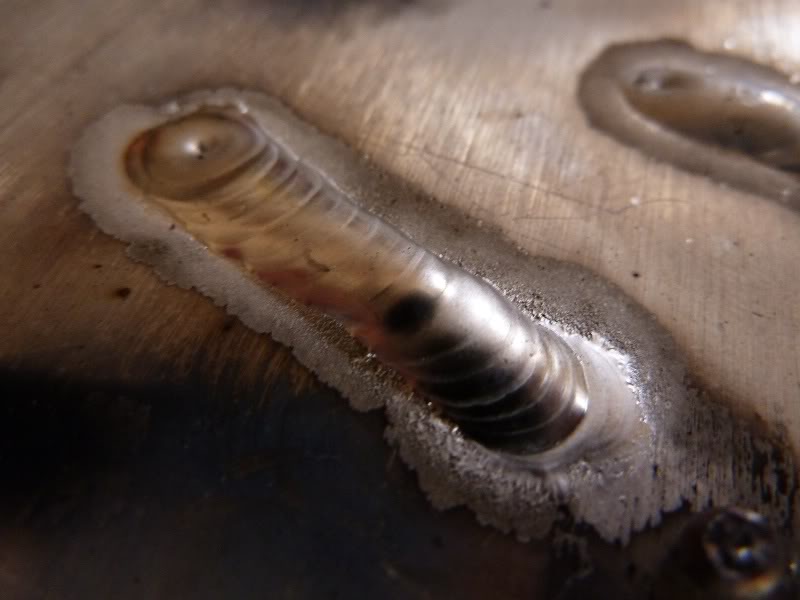
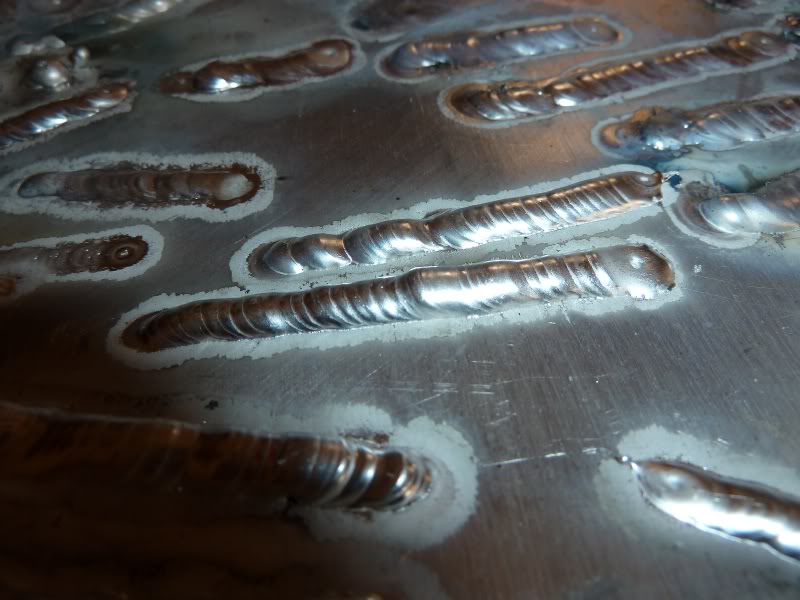
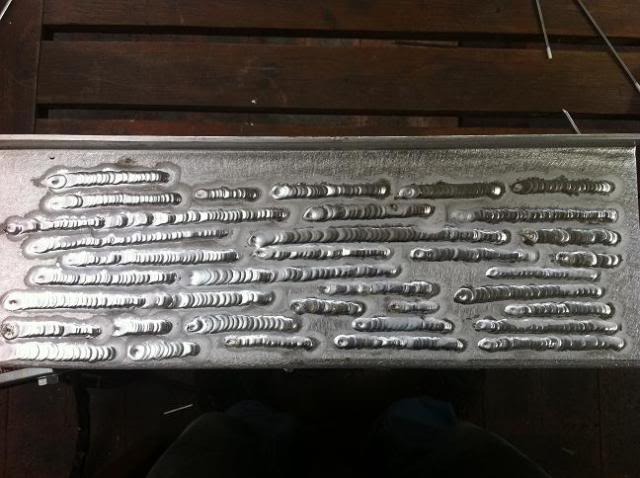
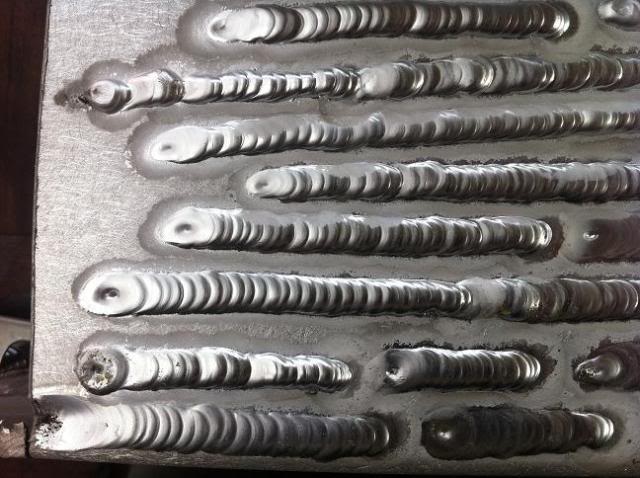
Set it up and play is the best way to work out what things do. I would set you welding a and background a to the same to start as the pulse can be too much going on when your learning.
Edited by 1uzbt1, 26 July 2011 - 10:13 AM.
#8 _tomo123_
Posted 26 July 2011 - 01:50 PM
#9 _mervex_
Posted 26 July 2011 - 05:48 PM
mervex
#10 _Viper_
Posted 26 July 2011 - 06:45 PM
#11
Posted 26 July 2011 - 10:17 PM
These are my settings on my TIG200P for laying runs down on 2mm alloy using pulse without a foot pedal. These days for all materials im all about the foot pedal.
These are my cheat notes that i took off weldingtipsandtricks.
This is how much i have my tungsten sticking out.
Some of my welds. The size of the caps can be changed by how much filler rod you dip in.
Its all about seat time, Just lots of practice. It get heaps harder when you have to join bits of alloy together.
#12 _Viper_
Posted 26 July 2011 - 10:28 PM
#13
Posted 26 July 2011 - 11:52 PM
flick it over to 2T and flick on the controller switch.
Ev.
#14
Posted 27 July 2011 - 12:47 AM
#15 _mervex_
Posted 28 July 2011 - 12:12 PM
mervex
#16 _Viper_
Posted 30 July 2011 - 03:53 PM
Might have a go at some Joints later on.
How do you know when to regrind the tungsten? or do you only have to if ya overheat it or dip it into the puddle? they didnt seem to wear away much during normal use... just formed a ball on the end.
#17
Posted 30 July 2011 - 04:25 PM
It should also be sharpened to a radius not a point.When it has a nice shiny ball on the end (as you describe),you've got it right..
Looking at the end of your weld bead,I would increase the downslope time setting and also the postflow setting to stop that cratering.
When Im welding 3mm ally,I use a 2.5 tungsten and work around 100 amps,a bit more (110-120) for an inside fillet using a narrow arc width,or a bit less (90-100) doing an outside corner to corner weld using a wide arc width.
Experiment with the arc width on an outside corner to corner to see what happens when you alter it.
Narrow arc width focuses the arc a lot narrower and gives deeper penetration,wide arc with gives that nice broad radius on an outside corner.
#18
Posted 31 July 2011 - 03:17 PM
I only usually change the tungsten if i dip it in the weld pool. Alloy can be forgiving but with carbon steel the arch turns to crap if you touch the steel with it.
wot179. cheers for the tips about tungsten position and down slope. i will give them a try.
cheers
Ev
#19 _tomo123_
Posted 01 August 2011 - 08:32 AM
what settings do you adjust to change your arc width?
#20
Posted 01 August 2011 - 09:09 AM
#21
Posted 01 August 2011 - 09:38 AM
http://www.millerwel..._calculator.php
I think I'll be referring to it a bit more in the future,I think Ive been doing a few things a bit wrong after reading that lot.
#22 _tomo123_
Posted 01 August 2011 - 09:42 AM
AC frequency.
hows it work, as in it have more frequency this will achieve...
#23
Posted 01 August 2011 - 09:58 AM
Do a few samples to see what happens.
#24 _tomo123_
Posted 01 August 2011 - 10:48 AM
#25 _Viper_
Posted 06 August 2011 - 08:58 PM
Managed a few decent welds
Also a few shit ones
This one in particular, not sure why but all of a sudden it was like the puddle just didnt want to travel, and then all these black specs formed like there was some sort of contamination?
Because there was too many ugly welds I ground them flat and started to polish it up
Just need to get some 3" pipe from somewhere on monday and weld on the inlet.
Im not sure if just using bolts from top to bottom will seal, probly wont be a problem for the cold air intake but once he starts boosting it, it may leak? maybe just a dab of sealant under the bolt head... otherwise ill have to weld in a full length tube from top to bottom
0 user(s) are reading this topic
0 members, 0 guests, 0 anonymous users