I have a similar thread on another forums so ill just steal a few pics of stuff I done in the past first...
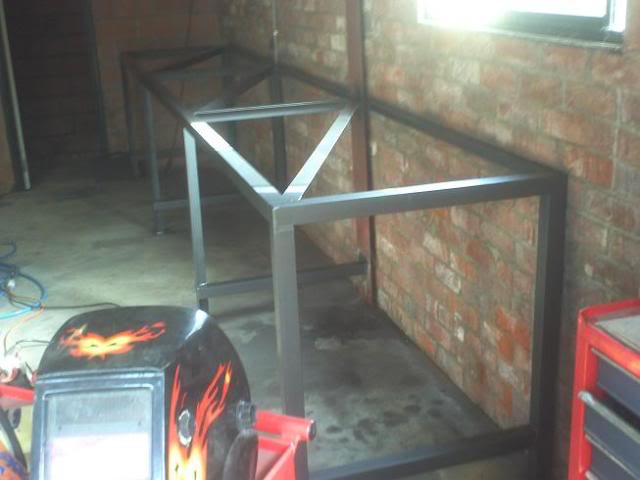
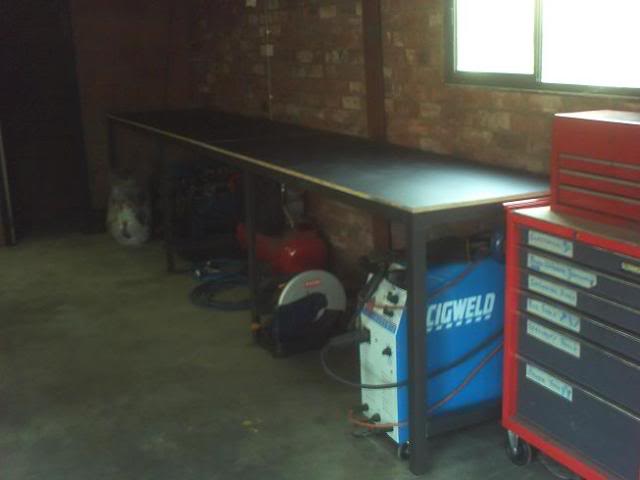
My work bench
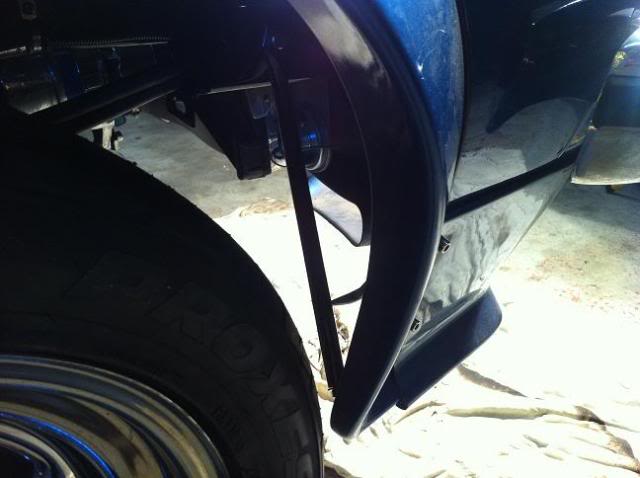
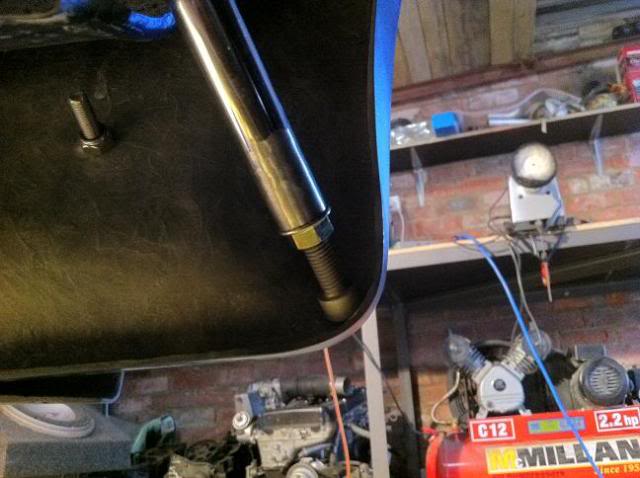
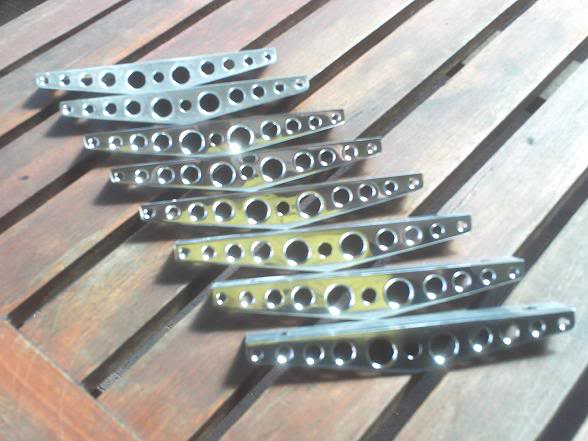
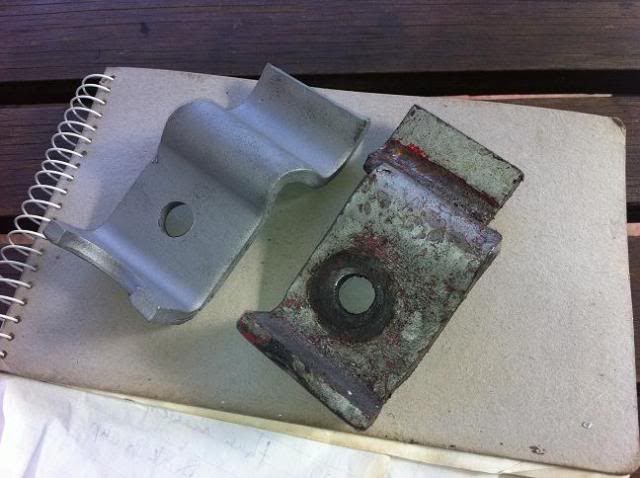
Bunch of brackets I made for people to mount gas struts for there bonnet into Gemini's

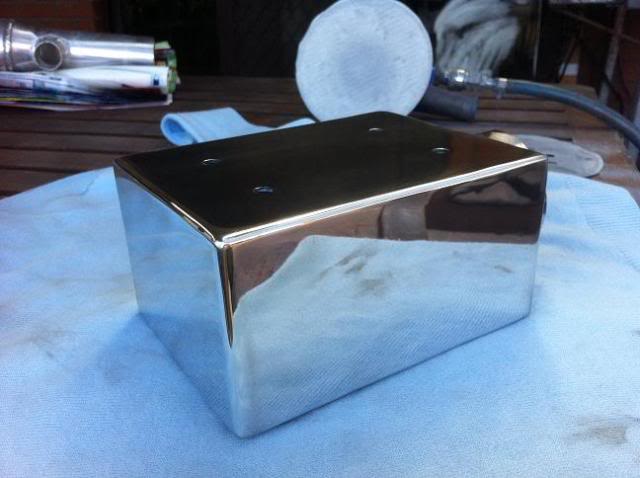
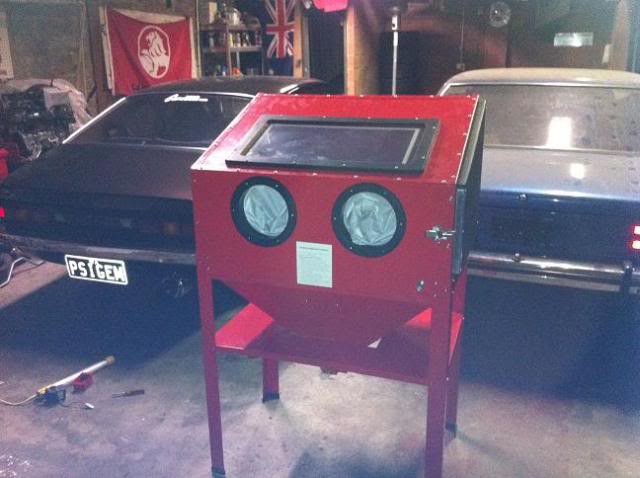
little carby box... The guy wanted a rectangle shape
 I woulda made it more rounded if it was me.
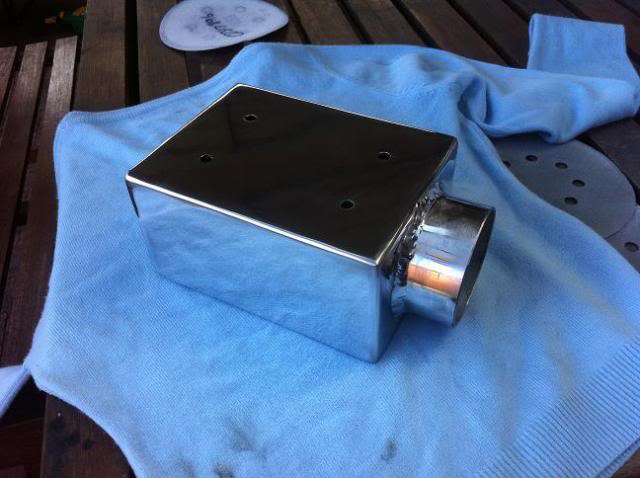
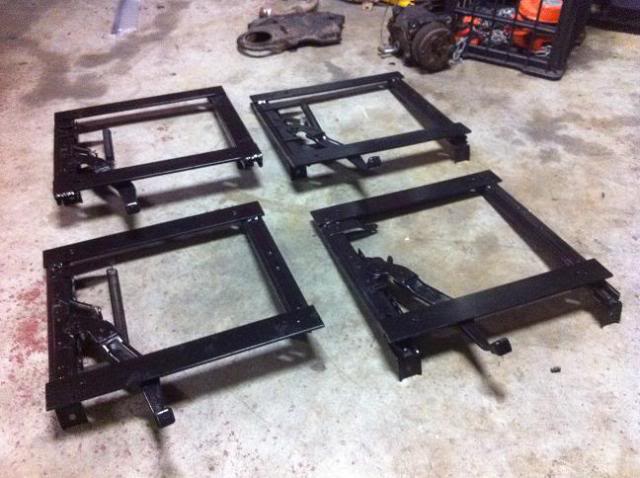
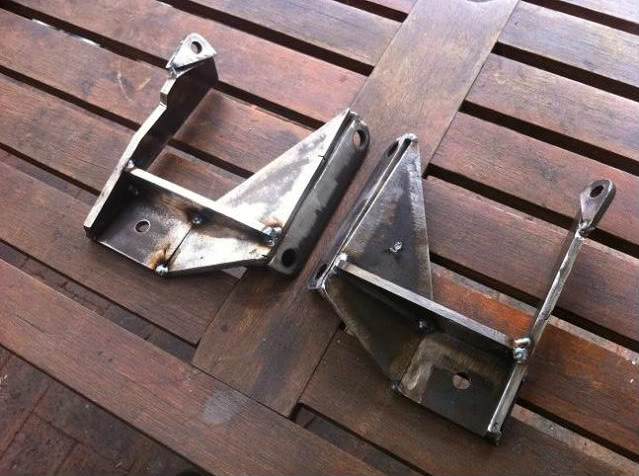
Some seat rail adapters for aftermarket seats into Gemini
3" Mandrel exhaust for my Turbo coupe


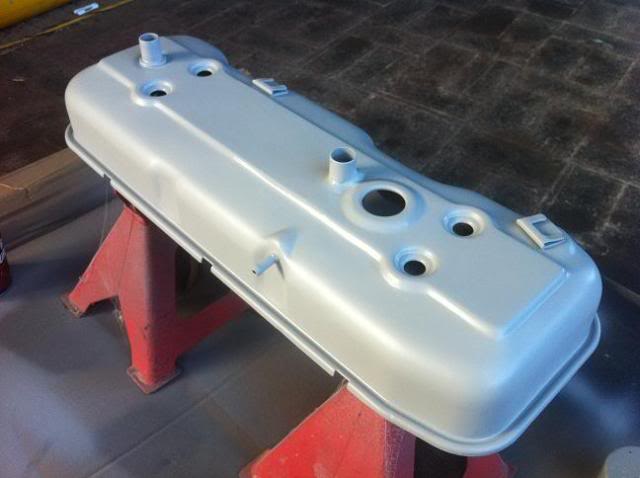
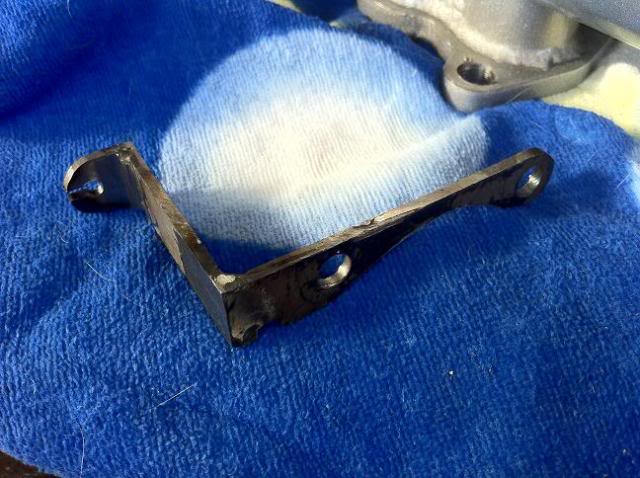
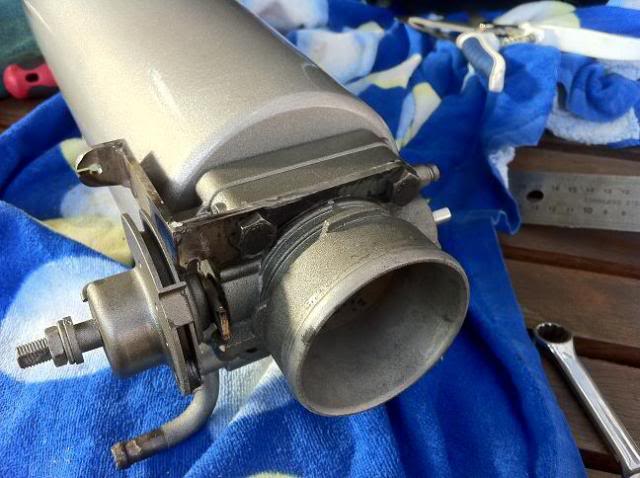
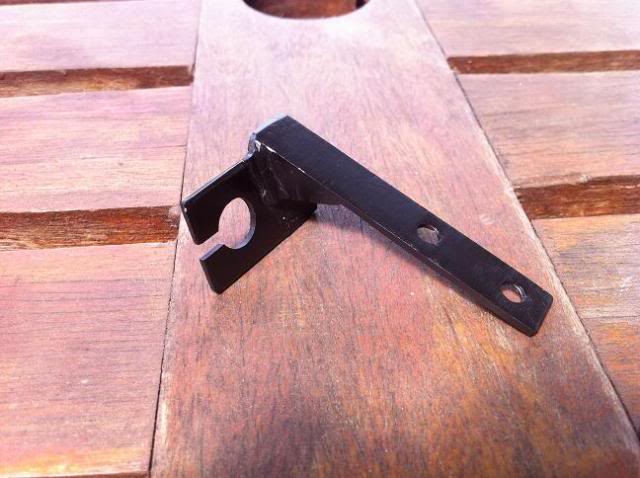
Accelerator cable bracket (would usually just weld a tab onto the plenum but he already had it painted)
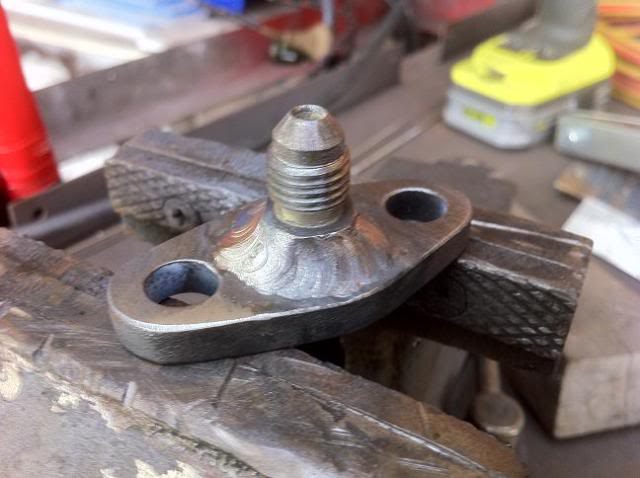
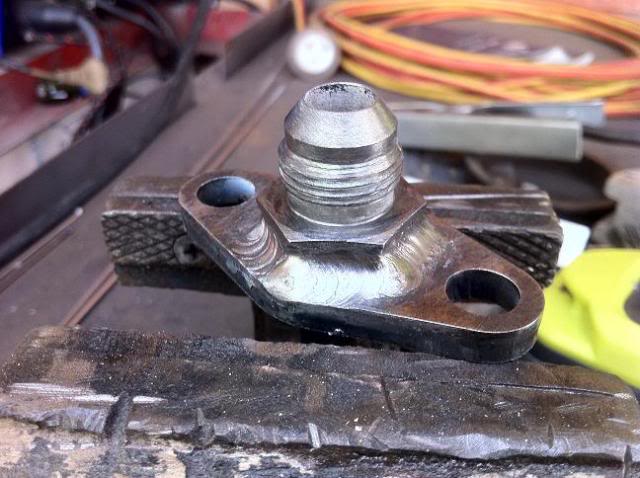
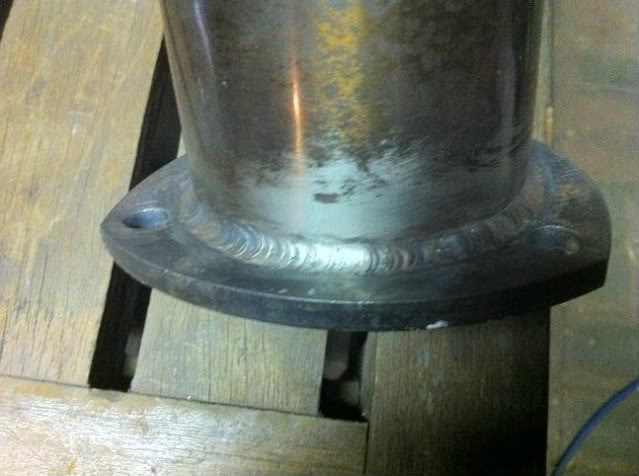
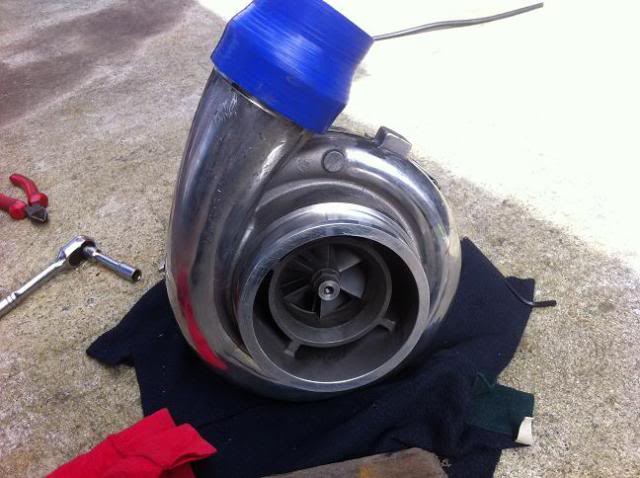
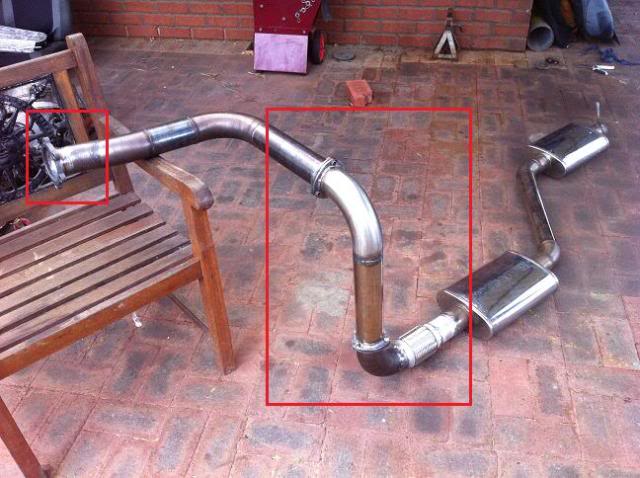
Some work I did for a guy with a V6 Turbo Gem with 500rwhp
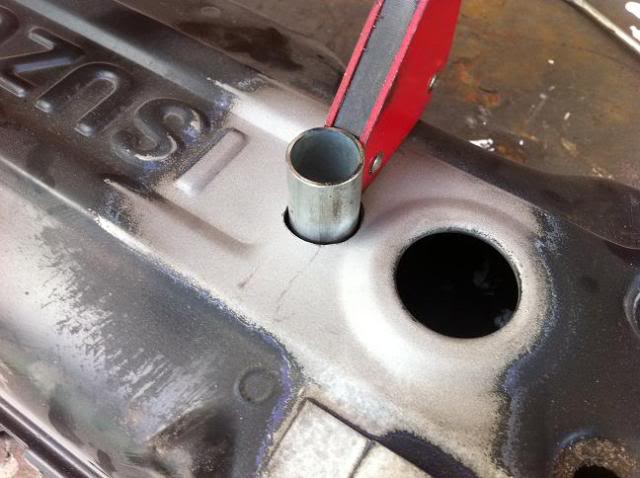
Oil Feed and drain fitting
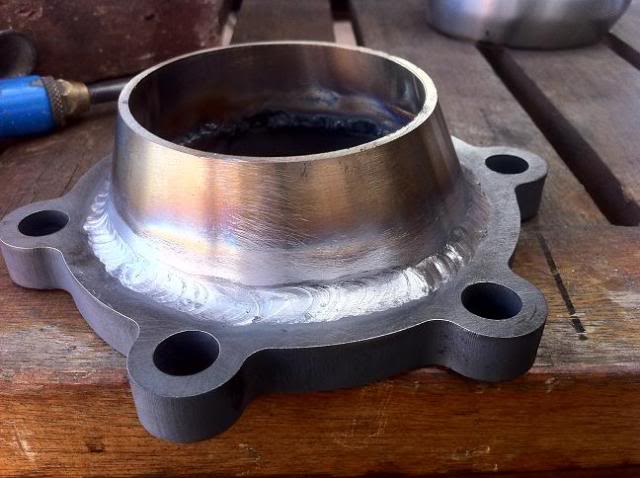
Exhaust

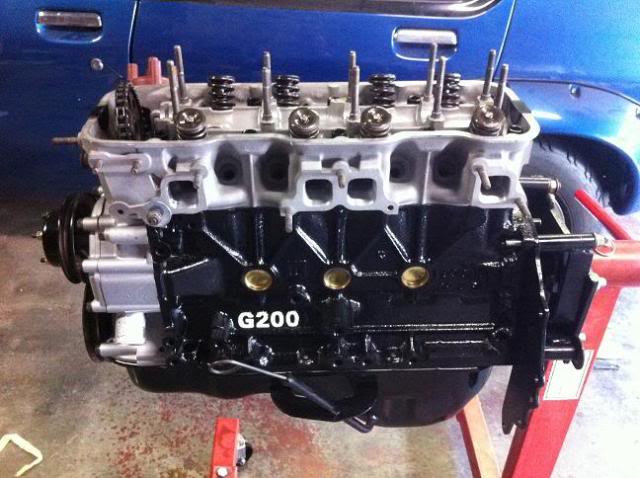
Engine I recently built, is in his car and running now, just did the 200km oil change yesterday
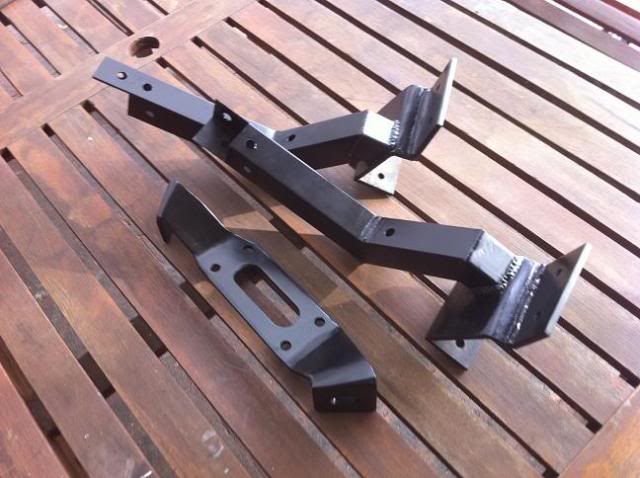
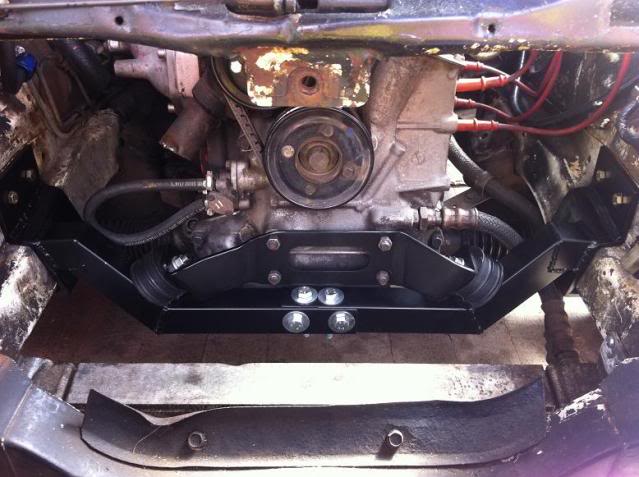
13B Rotary into Gemini
Engine crossmember
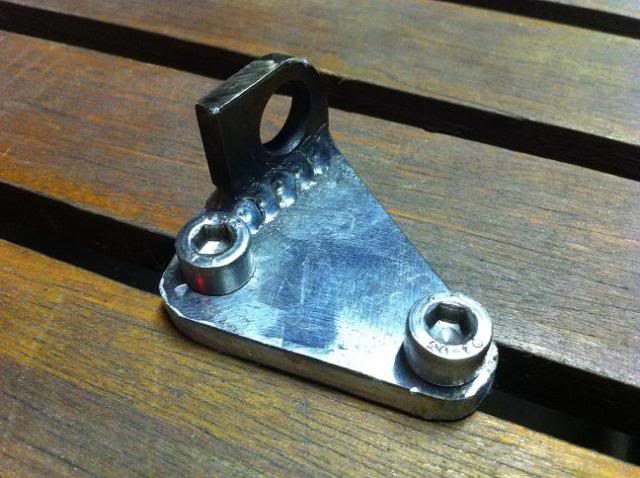
Clutch cable bracket
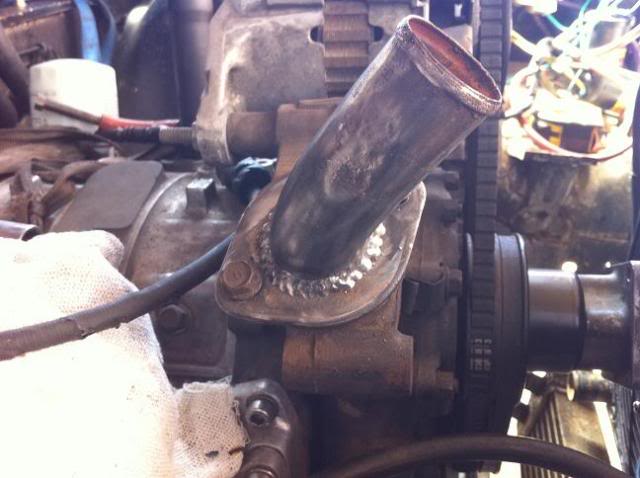
Cut, rotate and re-weld rad pipe
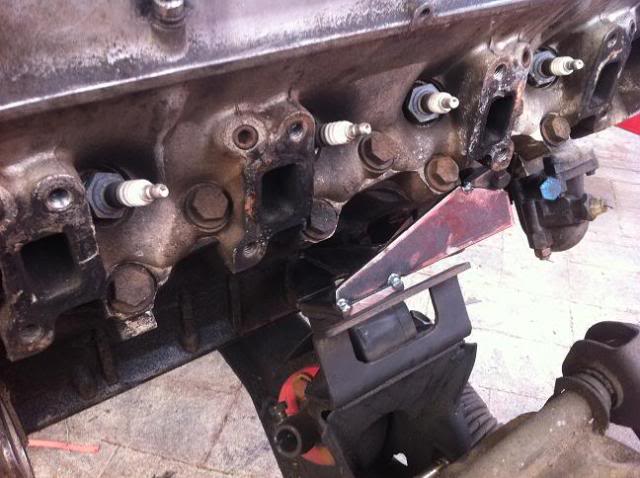
Accel cable bracket
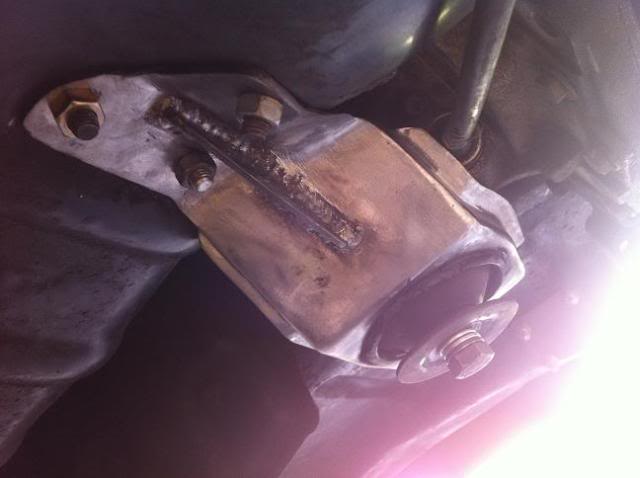
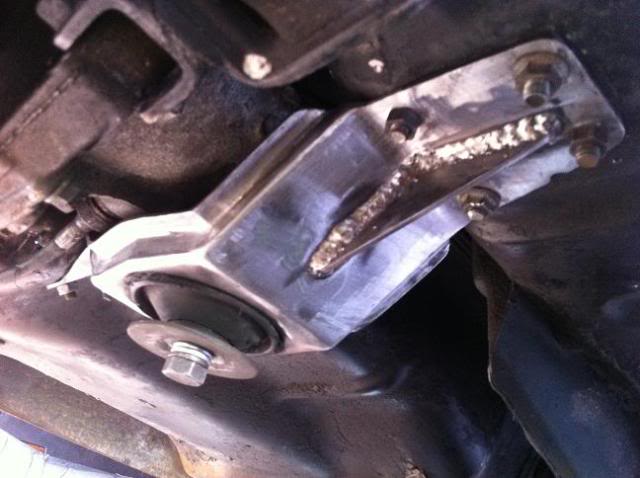
Rover V8 into Gemini conversion
Engine mounts (not finished obviously, need to fully weld and smooth them)
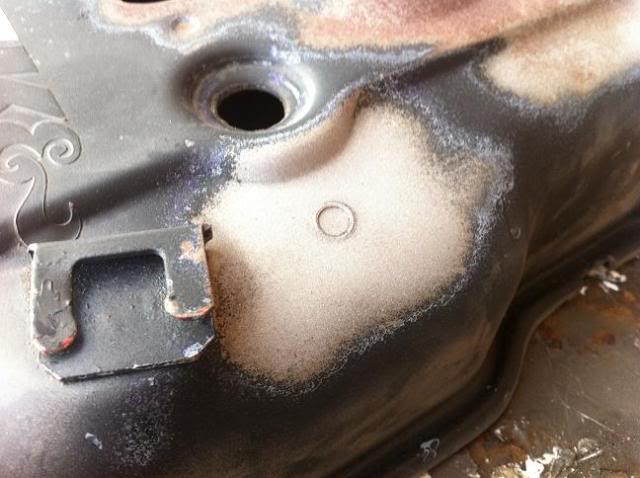
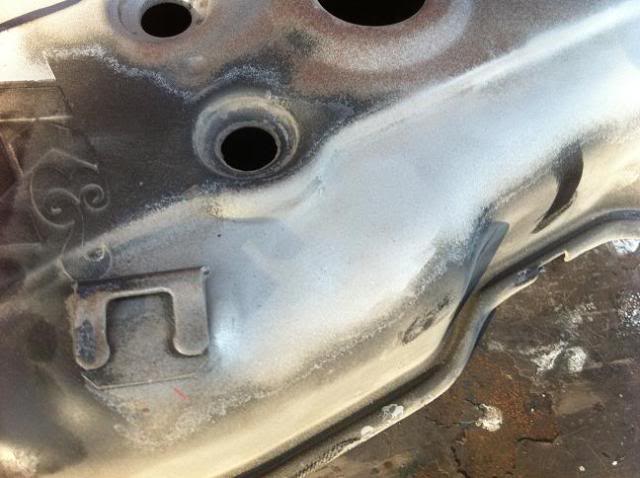
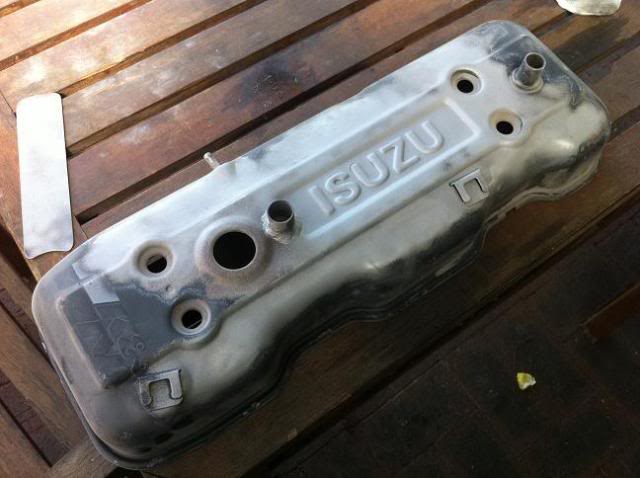
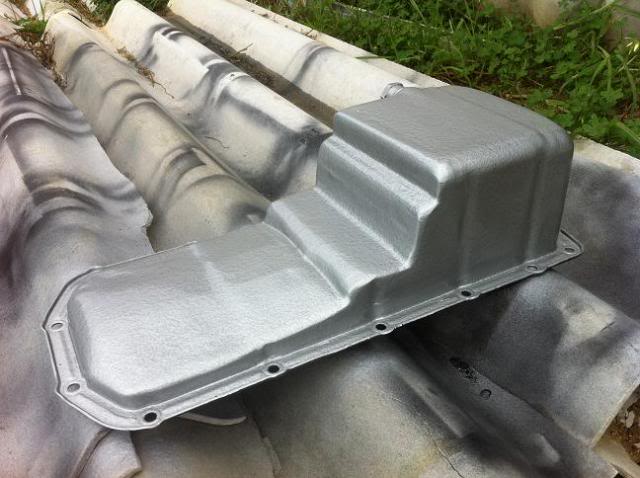
Modified sump

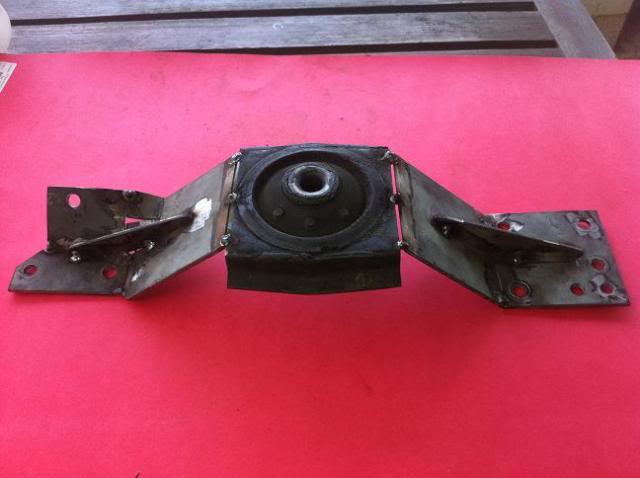
G/box cross-member
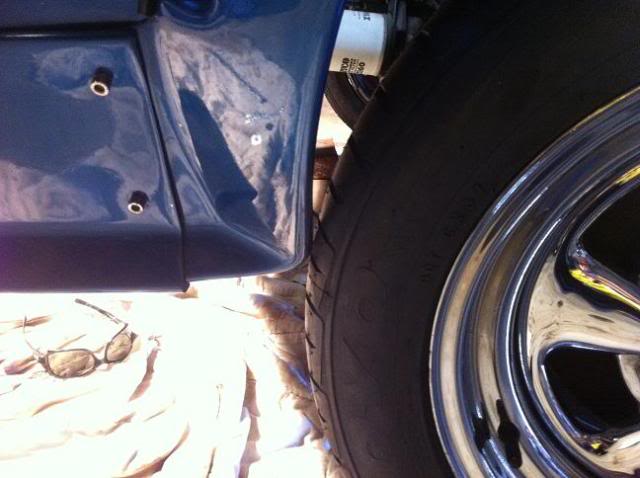
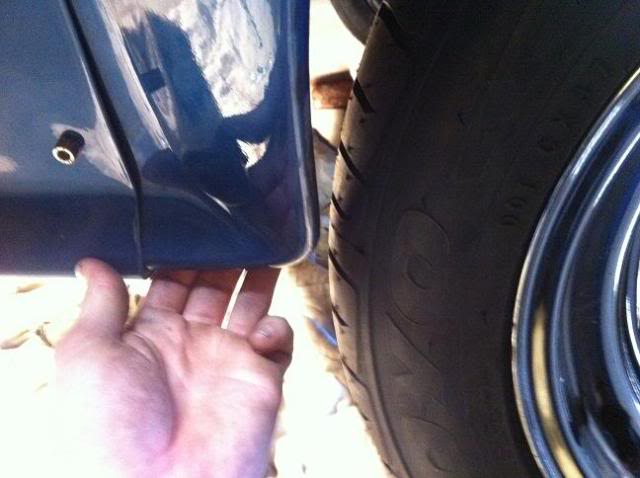
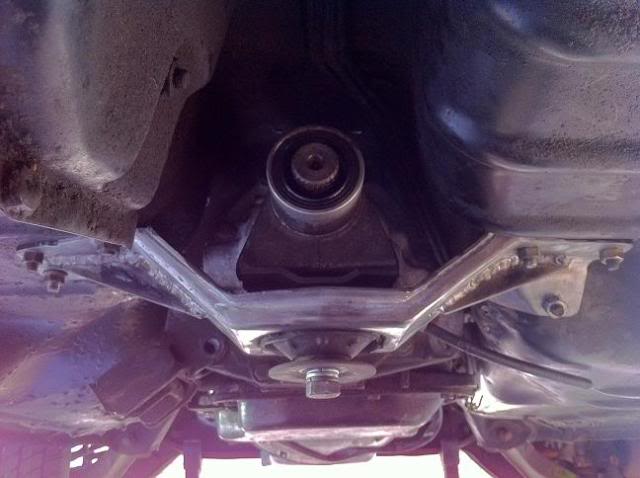
The box fouled on the stock mounting position which are welded to the floor so drilled the spot welds out and made it from scratch and used sandwich plates to hold it to the floor
Where it hit.

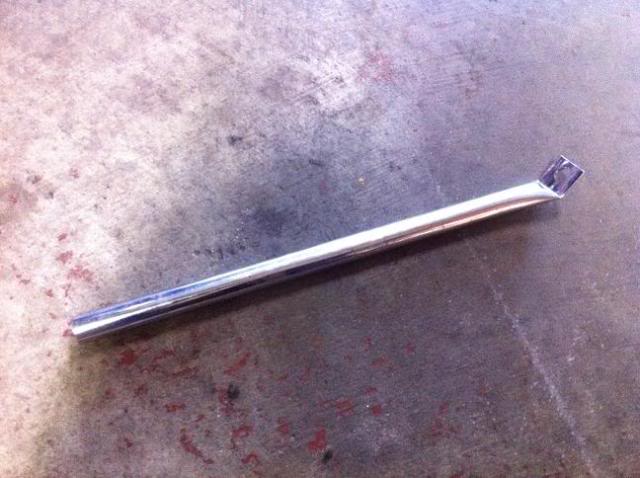
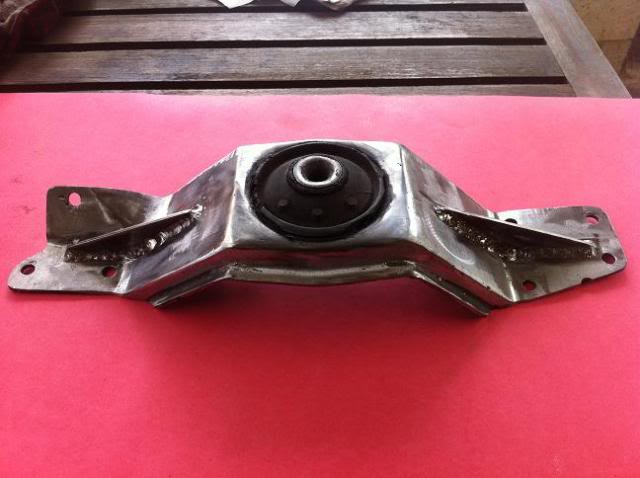
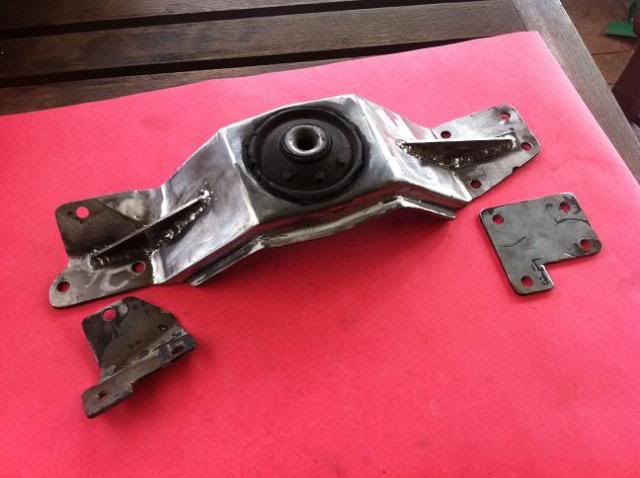
New cross-member beginnings
Just about finished, just abit more cleaning up and some paint


 View Garage