Jump to content


- - - - -

Napes Build Thread


  • Please log in to reply
160 replies to this topic

#1 _napes_au_

_napes_au_
  • Guests

Posted 07 September 2011 - 09:32 AM

G'day all,

Well I'm over a year into my project (A numbers matching LH SL/R 5000 L-31) and I thought it's about time I made my very own 'Build Thread'.

Before I start I'd like to thank the many people of this very informative forum who've helped me out in the past. I'd like to make special mention of Big T for finding the car for me and authenticating it before I made the big drive to Queensland. Also I'd like to mention Outer Control specifically, as he's been extremely obliging with advice over the year. There's been others like Rob350hatch, Rob-5000, Billywest, and Pop's-SS just to name a few...

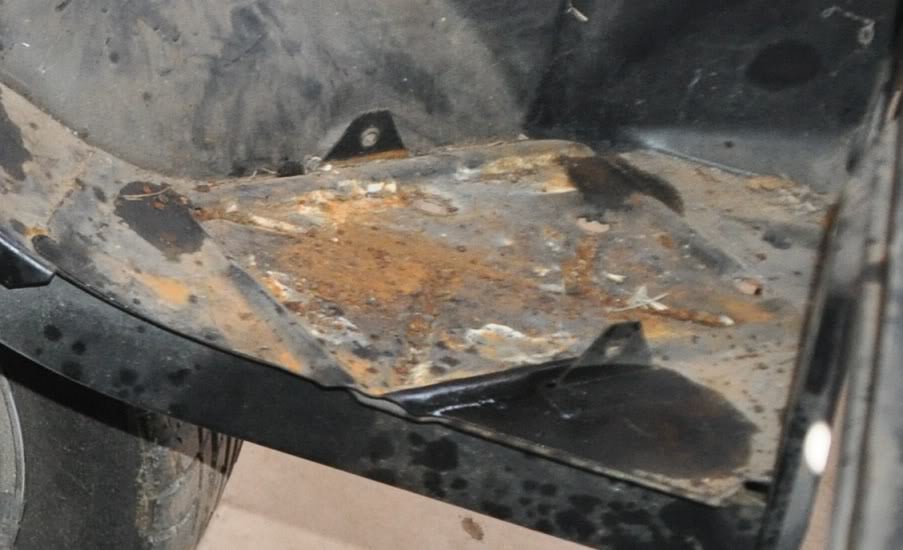
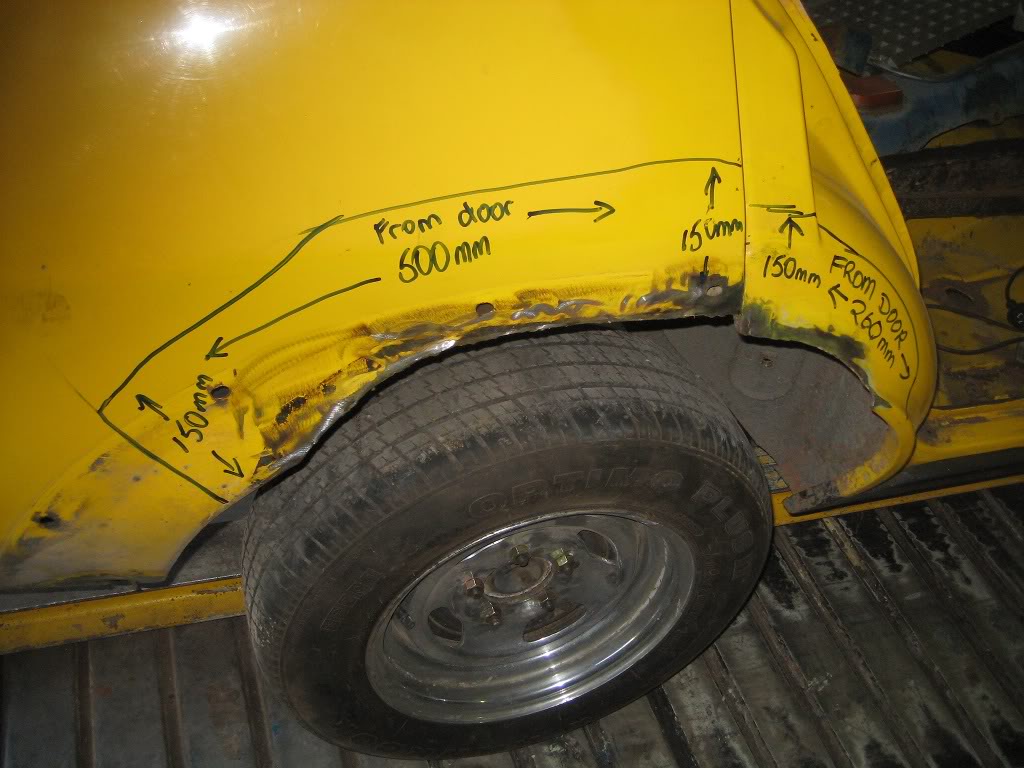
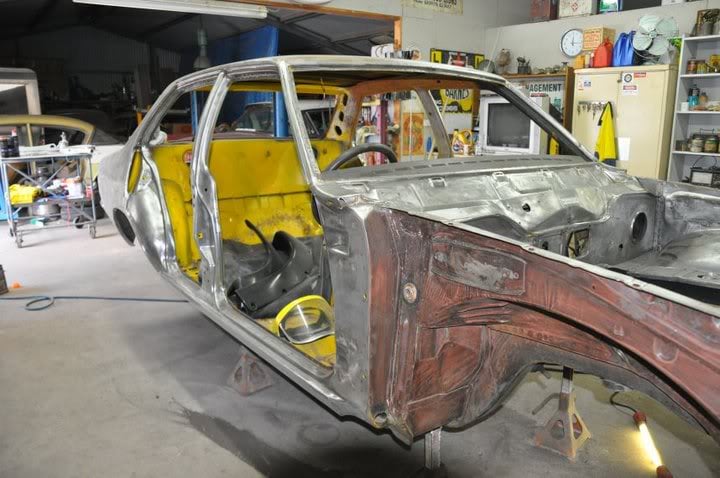
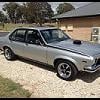
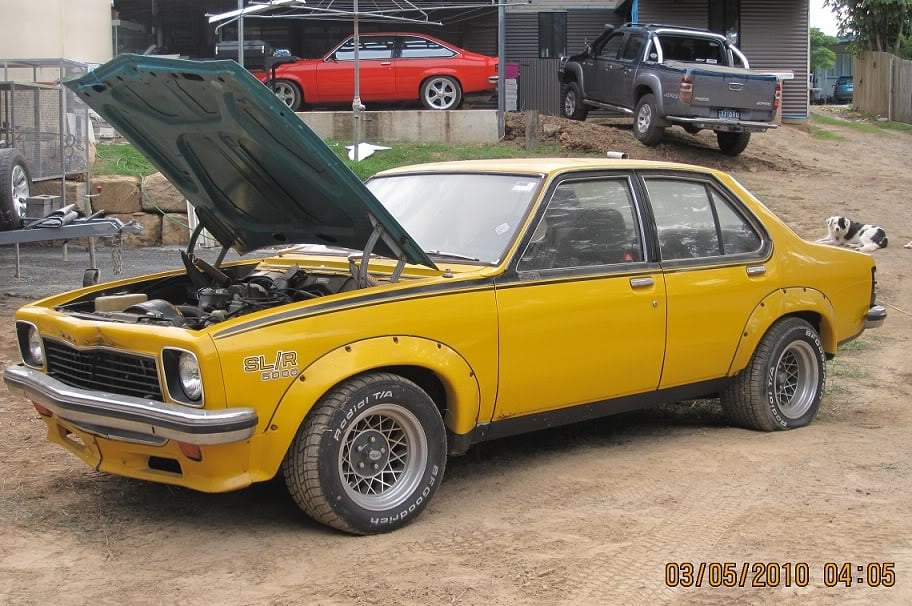
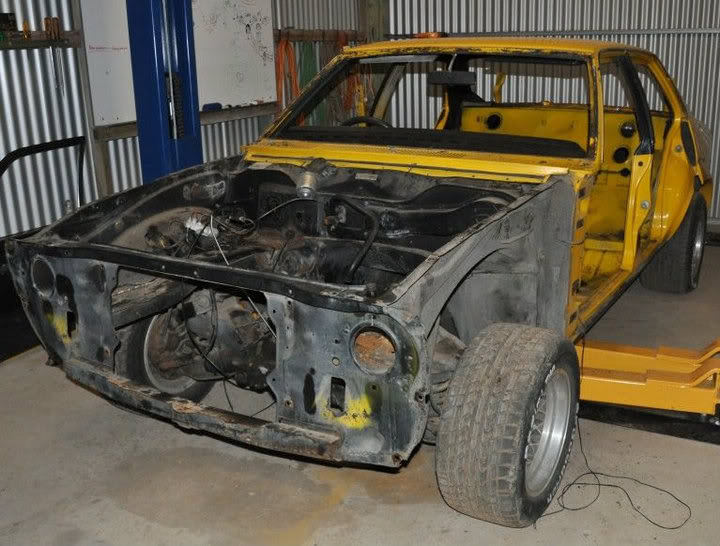
Well I picked the car up from North Ipswich and it looked like this.

Posted Image

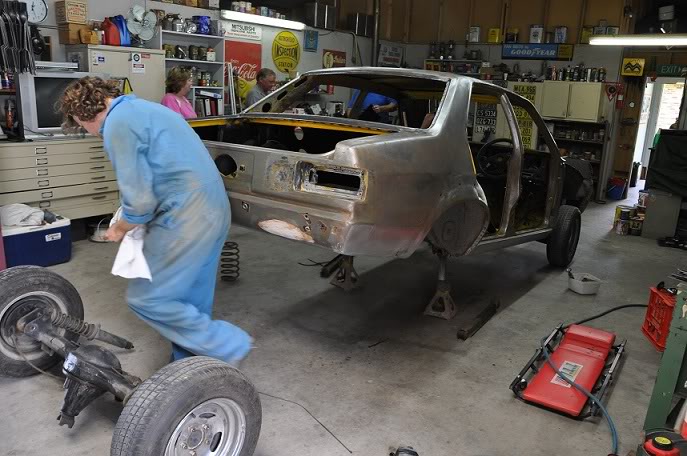
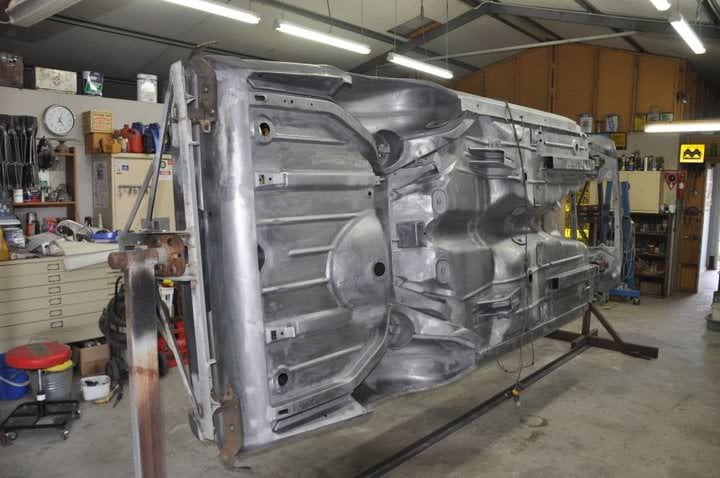
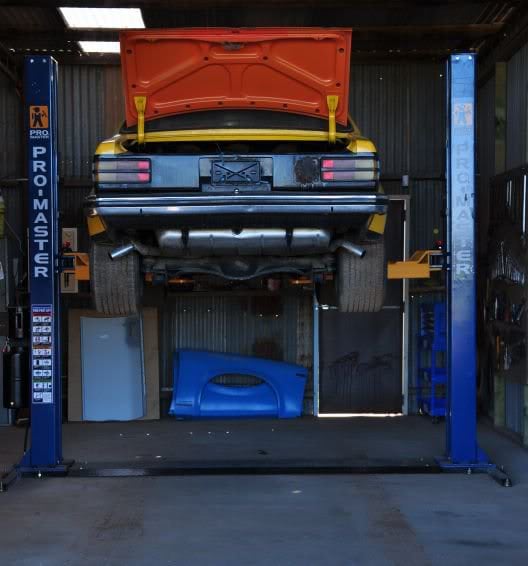
After a 30 hour round trip, it's up on the hoist for the first time

Posted Image

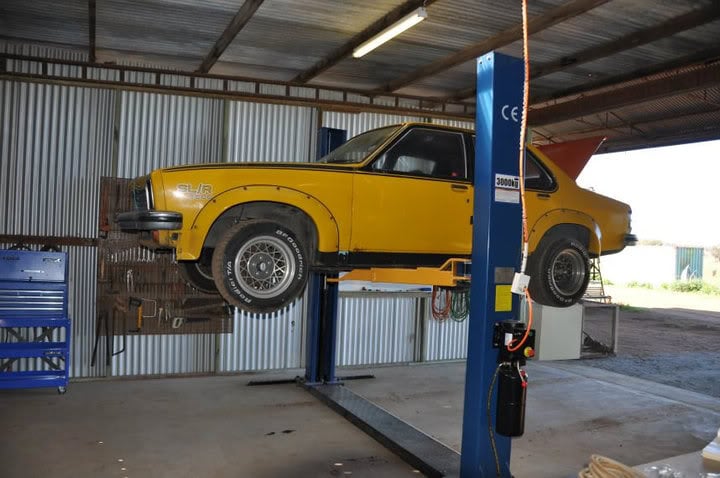
Nothing says 1970's like a massive set of rear tyres.... LOL

Posted Image

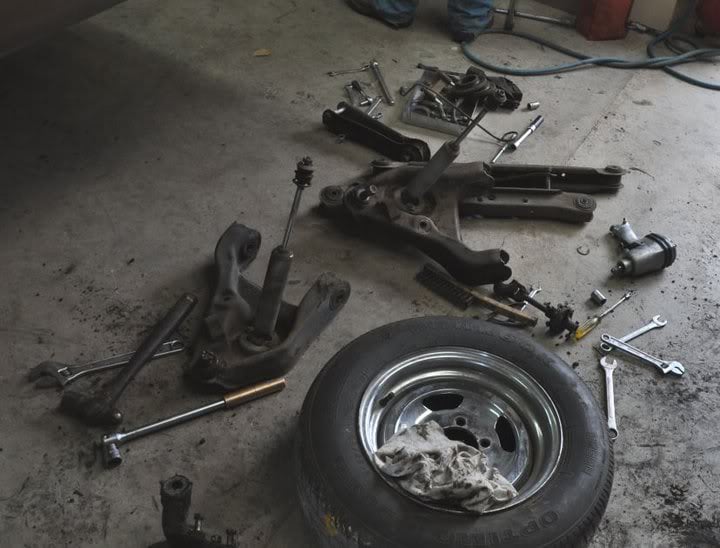
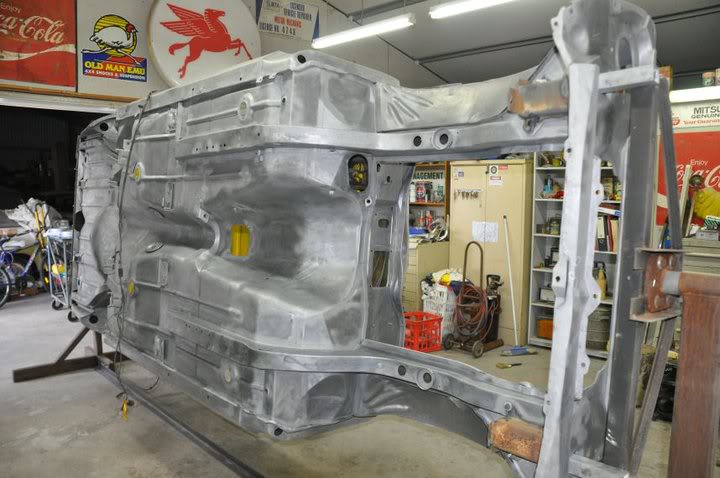
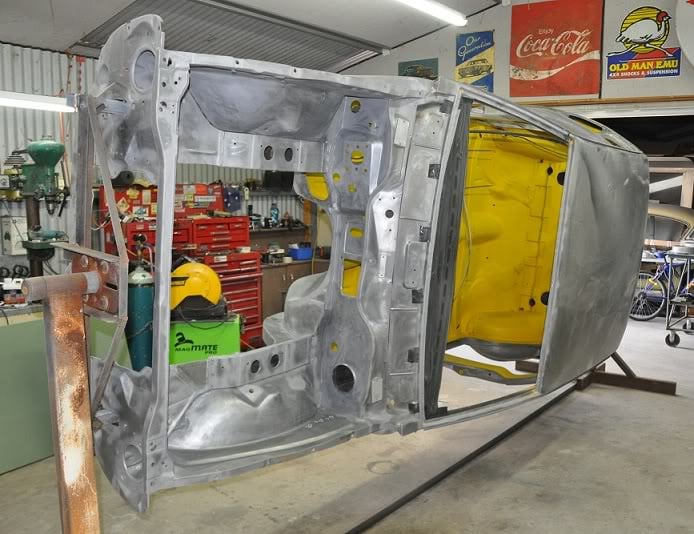
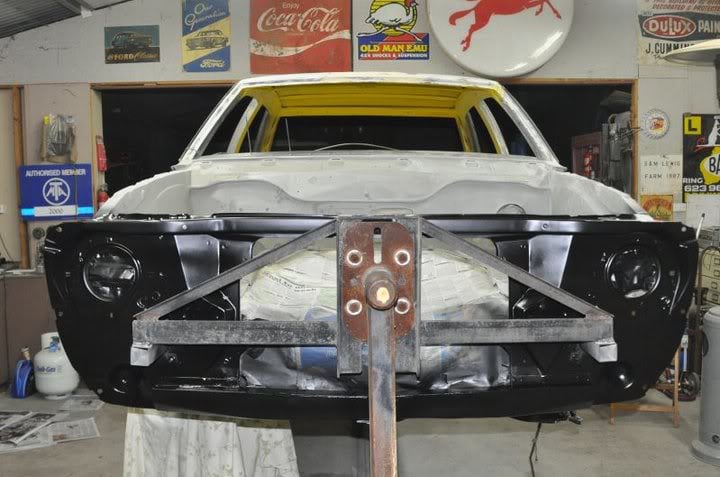
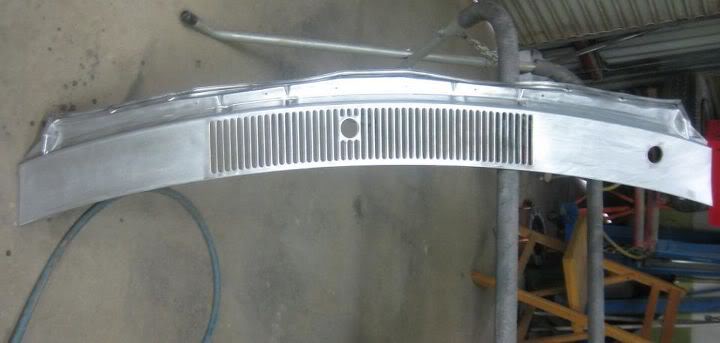
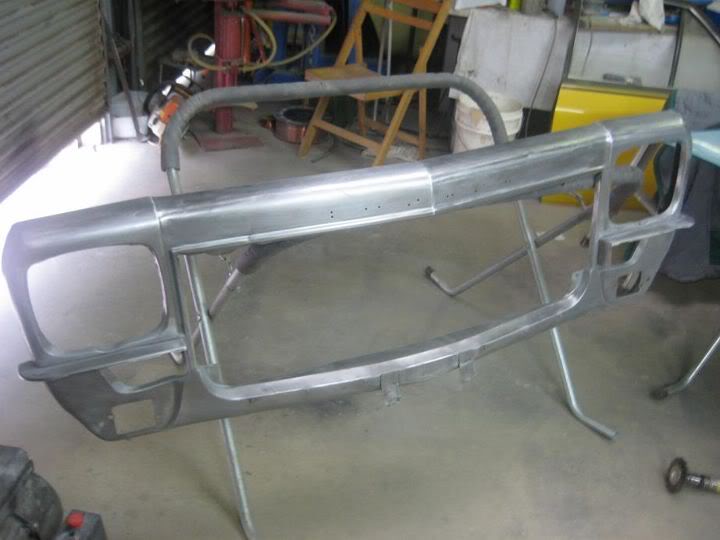
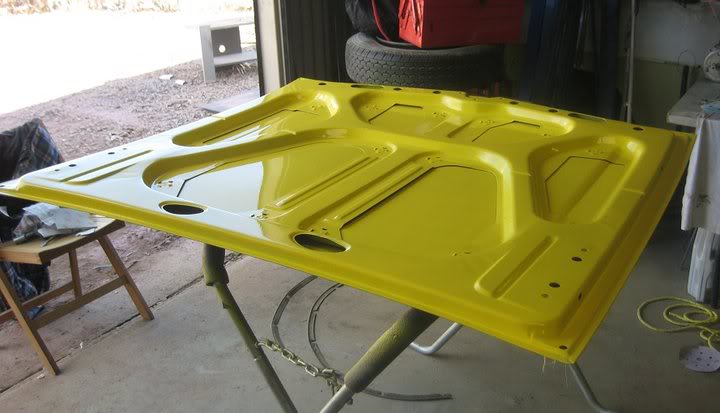
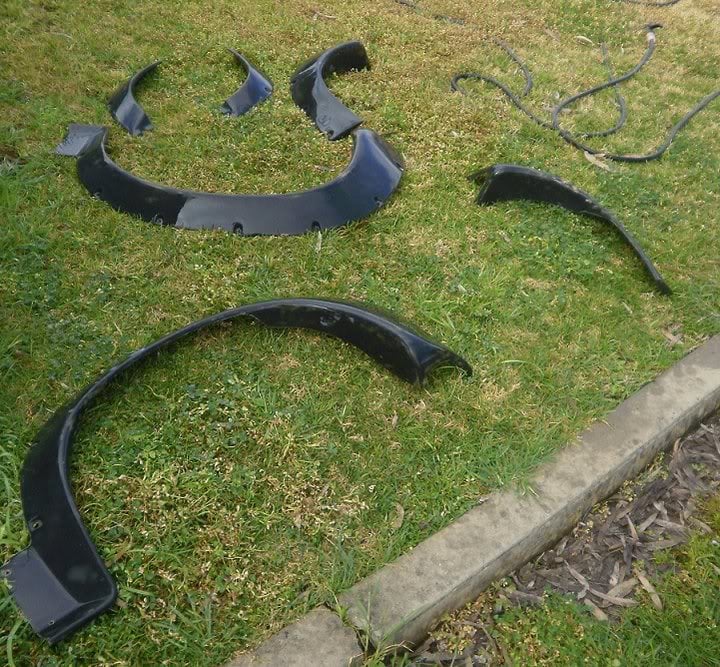
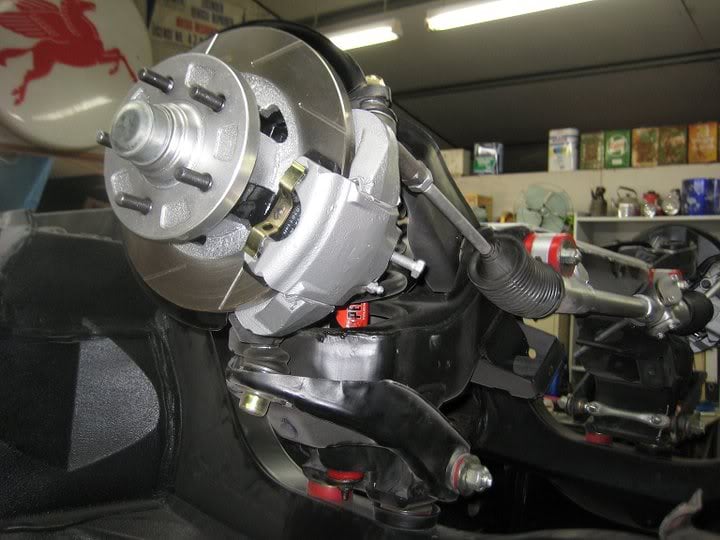
Looking a bit naked up front

Posted Image

Posted Image

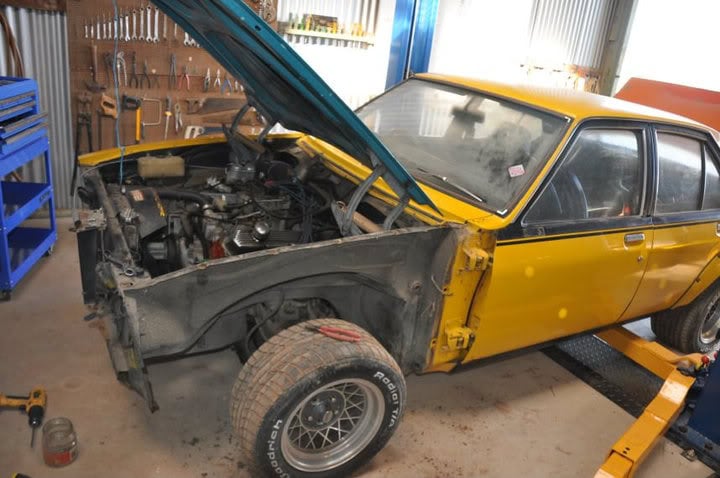
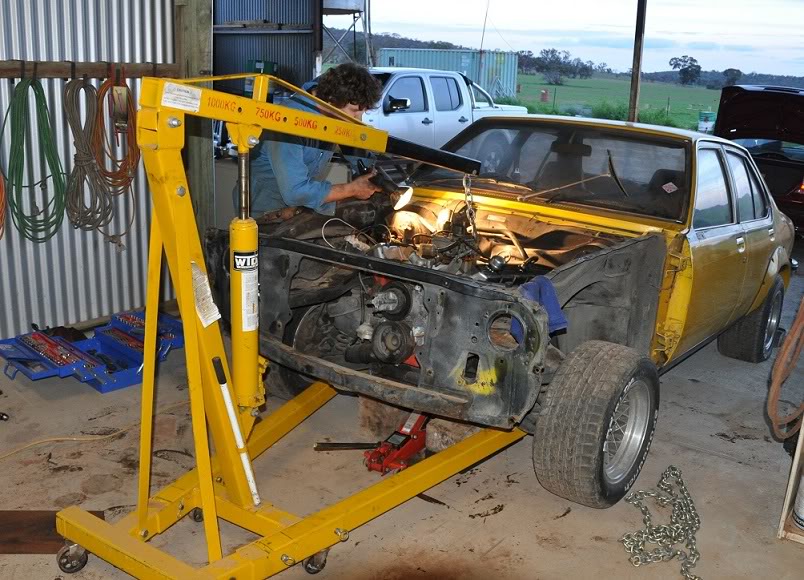
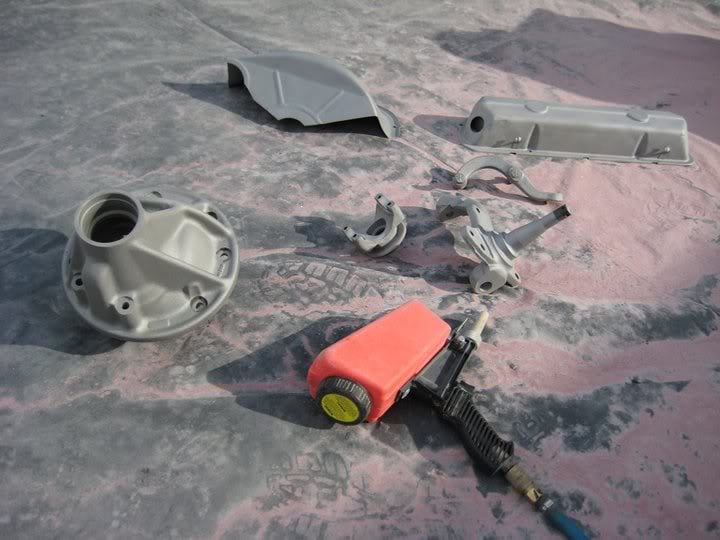
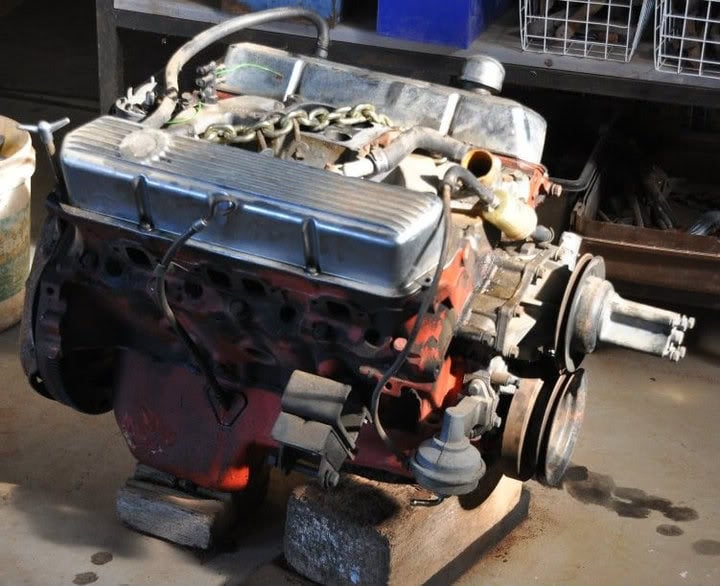
The original HT 308 - Soon to be rebuilt and de-blinged

Posted Image

Posted Image

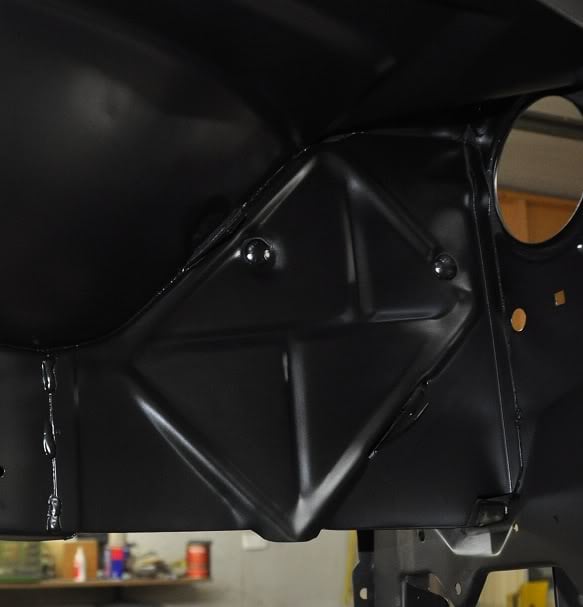
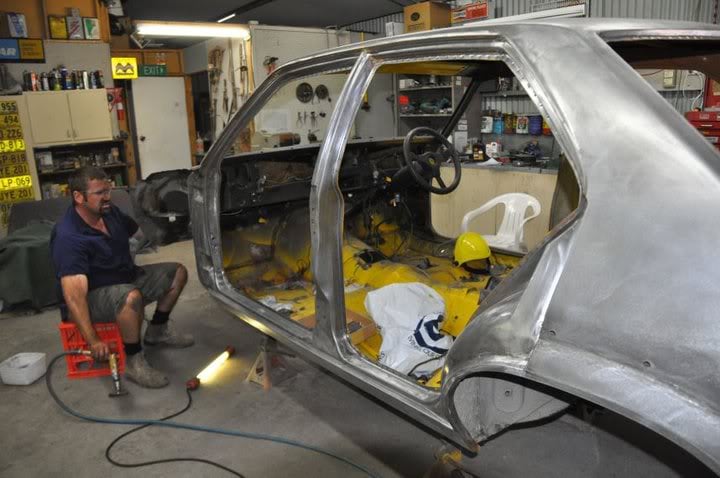
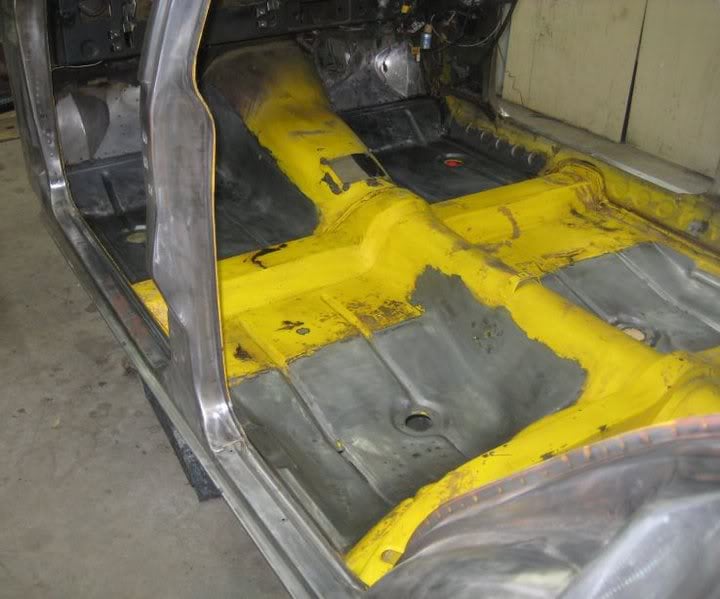
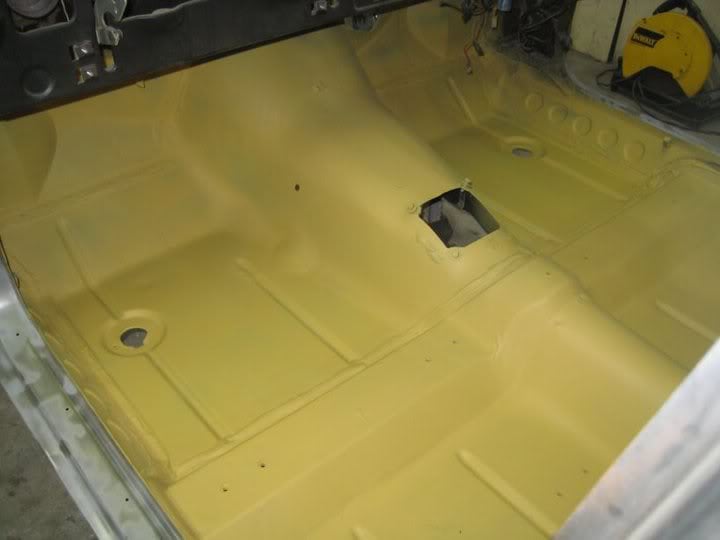
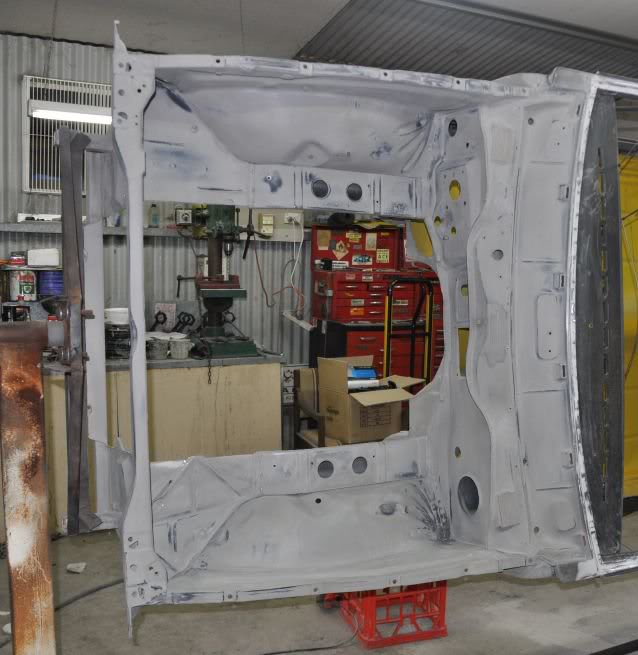
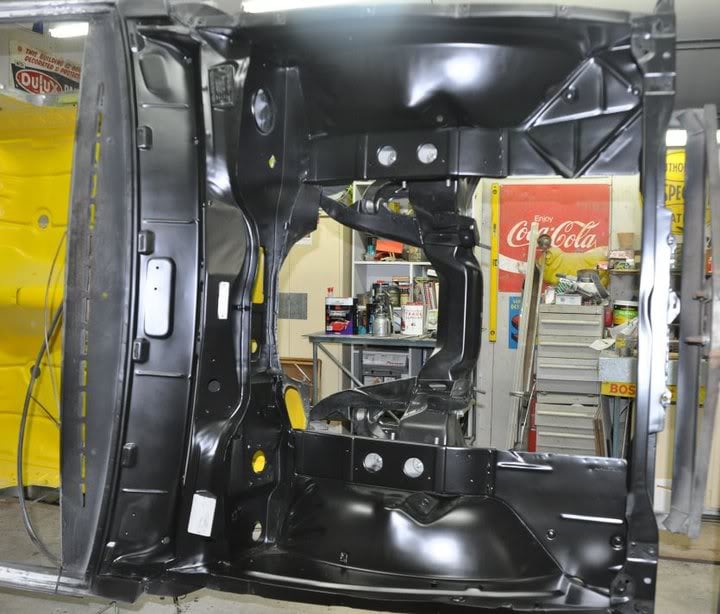
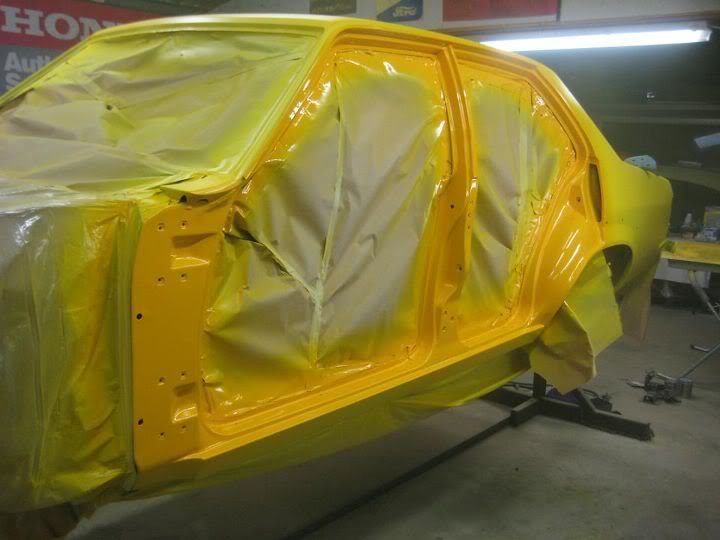
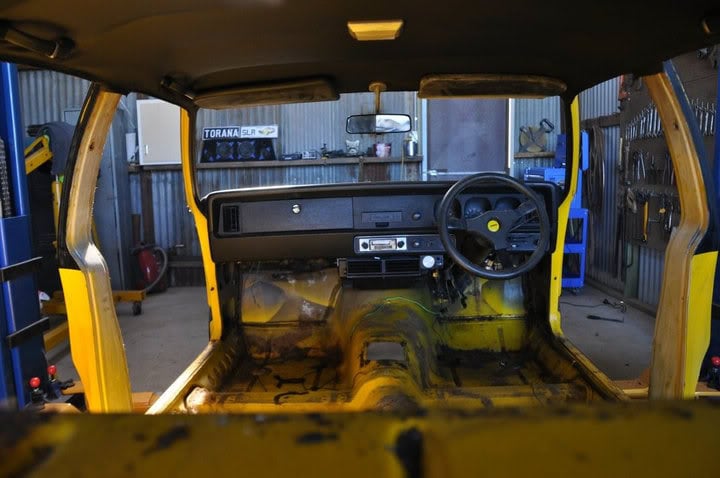
Looking much more roomy inside these days..

Posted Image

I'll do my best to catch everyone up over the next couple of days...

Cheers

#2 Statler

Statler

    Heckler Extraordinaire

  • Administrators
  • PipPipPipPipPipPipPip
  • 6,282 posts
  • Name:Col
  • Location:Mackay Qld. Whitsundays for all you back packers!
  • Joined: 20-May 06

Posted 07 September 2011 - 09:34 AM

Oh look at the poor little thing! Flat tyre, broken nose....

Glad to see another rescued!

#3 _napes_au_

_napes_au_
  • Guests

Posted 07 September 2011 - 09:38 AM

It had rust in the usual places... Like behind the bonnet hinges...

Before

Posted Image

After

Posted Image

Before

Posted Image

After - Sorry about the fuzzy picture, it's the best I could find

Posted Image

#4 _napes_au_

_napes_au_
  • Guests

Posted 07 September 2011 - 09:45 AM

Another issue was the Radiator support...

Posted Image

I thought about one of those Rarespares Rust Panels, but I didn't think it lined up quite right.... So we removed it, cut it the rust and put it back on...

Posted Image

Posted Image

Posted Image

There's nothing like original parts for lining up...

Cheers

#5 _napes_au_

_napes_au_
  • Guests

Posted 07 September 2011 - 10:17 AM

While the battery tray wasn't to bad, I chucked another one in...

Before

Posted Image

After

Posted Image

#6 _napes_au_

_napes_au_
  • Guests

Posted 07 September 2011 - 10:26 AM

The worst rust without a doubt, would have to been the Parcel shelf along the rear window seal...

It was stuffed...

Posted Image

I scored a real good cut to replace it from the join in the centre of the parcel shelf... I think it married up real well...

Posted Image

The black you can see further in in the parcel shelf, is where it's been cleaned up and rust treated...It was pitted, but not worth replacing...

#7 _napes_au_

_napes_au_
  • Guests

Posted 07 September 2011 - 10:35 AM

The last major repair was the rear wheel arch cuts...

Posted Image

I know this repair wasn't necessary, I just thought it like crap when ever you open the back doors... Looked like they did it with an axe...

Posted Image

Posted Image

To tell you the truth, I don't know if I'd bother to do this again.... It was friggen hard

#8 _napes_au_

_napes_au_
  • Guests

Posted 07 September 2011 - 10:46 AM

End of last year I put it up on stands....

The Diff's out

Posted Image

The front end all disassembled....

Posted Image

Parts off the front end.... Lower control arms etc.... Ready for blasting...

Posted Image

Stripped the car with paint stripper, then cleaned off the excess with steel wool and GP thinners

Posted Image

Removing all the sound deadener.... (Body Shutz)

Posted Image

Engine bay all sanded after being stripped

Posted Image

#9 _napes_au_

_napes_au_
  • Guests

Posted 07 September 2011 - 10:52 AM

The floors were in pretty good shape, so all I did was strip the recesses, treated it and painted in acrylic... The rest of the car I'd planned to do in 2pac

Posted Image

Posted Image

It was later top coated in Chrome Yellow

#10 _napes_au_

_napes_au_
  • Guests

Posted 07 September 2011 - 10:59 AM

I got so sick of the stands, so I borrowed a Rotisserie off a fellow Car Club Member...

Posted Image

Once again, I stripped underneath with paint stripper, then cleaned up with GP thinners... This took a couple of applications...

Posted Image

... but the way I looked at it, was the more paint I got off, the less sanding I had to do....

Posted Image

I LOVE THE ROTISSERIE!!!!! IT'S AWESOME :P

#11 _napes_au_

_napes_au_
  • Guests

Posted 07 September 2011 - 11:09 AM

I primed it all in an Epoxy 2pac high build primer first... The epoxy primer is supposed the be so strong, oxygen cannot penetrate it thus making it rust preventative... The manufacturers claim once it's in this primer you can park it outside as it's not porous....

Posted Image

New seam sealer

Posted Image

The black stuff is a sound deadener... goes underneath the top coat

Posted Image

Posted Image

Stone guard in the wheel arches, which was later followed a non-bitumen rubberised sound deadener, then top coated with 2pac GMH satin black..

Posted Image

Posted Image

#12 _napes_au_

_napes_au_
  • Guests

Posted 07 September 2011 - 11:16 AM

All the bits and pieces from underneath I had sand blasted then it was primed and top coated with 2pac GMH satin black...

Posted Image

I don't know if I'd get the diff housing blasted again.... It was a prick to clean out thoroughly...

Posted Image

K-frame

Posted Image

Posted Image

Posted Image

Posted Image

Finally getting some top coat on the shell...

Posted Image

Posted Image

#13 _napes_au_

_napes_au_
  • Guests

Posted 07 September 2011 - 11:36 AM

Earlier in the year I was getting all my panels sorted...

I bought a whole set of doors that were 100% rust free.... Awesome... Unfortunately three of the original doors were quite considerably rusted underneath.... Shame really, cause they were really straight....

Posted Image

I scored a real good set of UC doors.... Being the Anal person I am... I bogged up the spot welds for the side intrusion bars...

Posted Image

Inside the boot lid ready for priming...

Posted Image

Posted Image

Posted Image

The grey spots is where I used a small hand held blasted to make doubly sure of anything I was concerned about...

Posted Image

Scored a real nice rust free LH nose cone.... Here it's all stripped ready for priming... I found it real hard to find a good one with the blinker cut-out lower than standard.... Later LH and LX blinkers were located about 25mm higher

Posted Image

#14 Redslur

Redslur

    Has been Torana owner

  • Members
  • PipPipPipPipPipPip
  • 3,533 posts
  • Name:Gerry
  • Location:Canberra
  • Car:HQ GTS Replica 350.
  • Joined: 08-November 05

Posted 07 September 2011 - 12:21 PM

Great work so far Napes. Kep the pictures coming....Are you putting the flares back on or going flareless?

#15 _Big T_

_Big T_
  • Guests

Posted 07 September 2011 - 01:26 PM

Its come a long way since I last saw it John. Great work mate, Im just a little bit jealous :)

#16 _napes_au_

_napes_au_
  • Guests

Posted 07 September 2011 - 05:22 PM

Are you putting the flares back on or going flareless?


I assume you're asking because I welded the rear wheel arch cuts back in???? Well I'm just a little mad I guess, even though I'm leaving the car flared, I still wanted it fixed... I just thought it looked sh!thouse the way it was butchered under there, even though no-one sees it...

#17 _napes_au_

_napes_au_
  • Guests

Posted 07 September 2011 - 05:26 PM

Its come a long way since I last saw it John. Great work mate, Im just a little bit jealous :)


I'm glad you liked it.... Just keep on checking over the next few days Tony.... I've got a heap more photo's to put up

Cheers

#18 _napes_au_

_napes_au_
  • Guests

Posted 07 September 2011 - 05:38 PM

After the panels were primed with the 2pac epoxy primer, they were blocked and primed with a 2pac yellow high build primer...

Posted Image

Did this for a couple reasons: Firstly, Chrome Yellow doesn't have much guts and it's hard to get good coverage... Secondly, if and when I get stone chips, it won't look quite as bad with a similar coloured undercoat....

Posted Image

#19 _napes_au_

_napes_au_
  • Guests

Posted 07 September 2011 - 05:49 PM

The little hand held sand blaster has been very helpful....

I like to think of this as my 'Alfresco Blasting Booth'....

Posted Image

I went down to my local blasters, and they very kindly sold me about 25 litres of sand for $25... Then I laid out plastic, and pick it up when I was done... It's been through the gun god knows how many times...

Posted Image

I also found it very handy to strip things like the front and rear plastic spoilers... As I was in control of the air pressure and gun position, it was abrasive enough to remove the old acrylic paint, but not enough to damage the plastic.... Worked a treat!!!!

#20 _napes_au_

_napes_au_
  • Guests

Posted 07 September 2011 - 06:08 PM

I thought I was doing the right thing by purchasing a new set of Flares from Wilson's Fibreglass... Even though the product was top notch, it didn't line up with the original bolt holes... So it was decided it would be easier to repair the original ones...

Posted Image

I screwed them to a bench and used a random orbital palm sander to strip them... Worked well

Posted Image

What the sander didn't get, I cautiously removed with the hand held blaster..

Posted Image

I filled in all the holes with a repair kit and redrilled them for a more snug fit... I used a Dremel multi tool to tidy up the other side

#21 _napes_au_

_napes_au_
  • Guests

Posted 07 September 2011 - 07:01 PM

While I was at it, I thought I'd get anything that was galvanised and have it zinced

Posted Image

This is just a small selection, I've had every bolt done underneath the car...

Posted Image

The bonnet hinges turned out great

Posted Image

Don't mind the dust, I think the new zinc really adds to the final product...

#22 _napes_au_

_napes_au_
  • Guests

Posted 07 September 2011 - 07:11 PM

While we're talking about bonnet hinges, I thought I'd strip the springs...

Posted Image

I also thought I should stretch them first so there wasn't any paint cracking once the bonnet was opened...

Posted Image

I tried going for that mustard looking colour, but it didn't work out as I think I got the wrong information.... Check out this thread

#23 _napes_au_

_napes_au_
  • Guests

Posted 07 September 2011 - 07:21 PM

Some other bits and pieces I've stripped and painted...

Posted Image

Posted Image

Posted Image

I had the booster rebuilt first...

Posted Image

Note the Nylon blocks in the rear springs (mounts for the airbags).... They were damn hard to get in there.... Had to stretch it first, all without scratching them....

Posted Image

Posted Image

Posted Image

#24 _napes_au_

_napes_au_
  • Guests

Posted 07 September 2011 - 07:26 PM

Got a professional in to get those rear quarters right... Who also happens to be a member of our local car club...

Posted Image

On goes the yellow undercoat....

Posted Image

And the door jams are done...

Posted Image

#25 _napes_au_

_napes_au_
  • Guests

Posted 07 September 2011 - 07:37 PM

I'd better focus on the mechanic for a while...

Posted Image

There really isn't much to a Banjo LSD centre it there??? And judging by the shims, someone has been doing burnouts...

Posted Image

Sporting new rotors, Nolathane bush kit, shock, rebuilt steering and callipers...


0 user(s) are reading this topic

0 members, 0 guests, 0 anonymous users