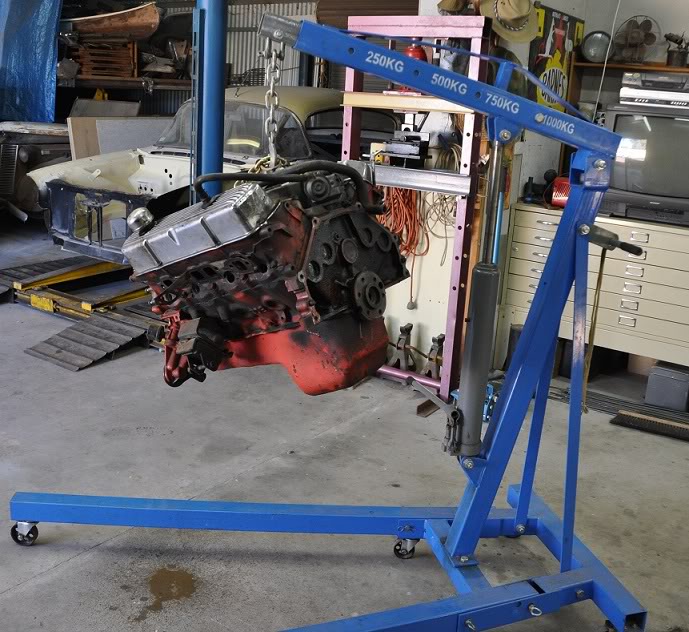
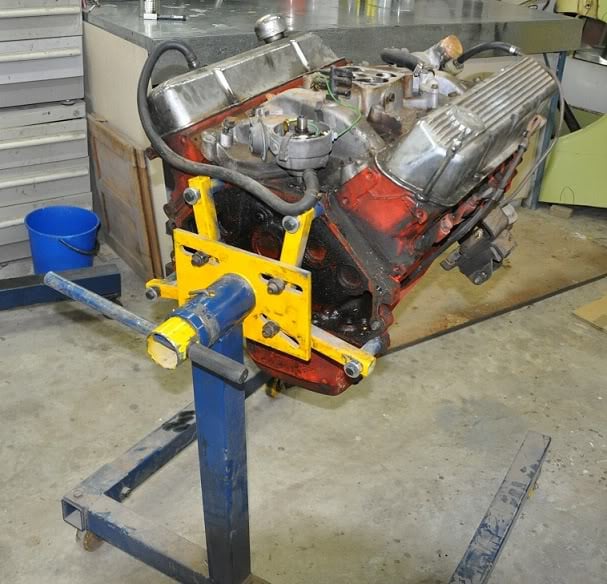
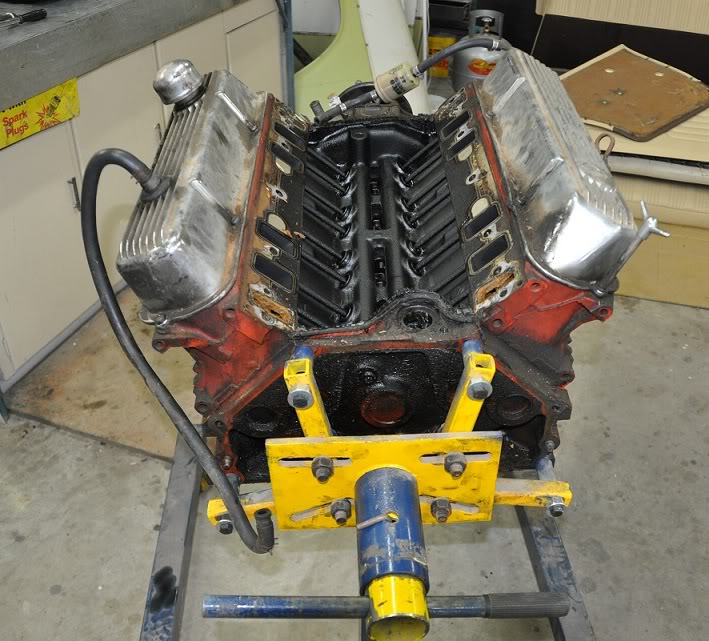
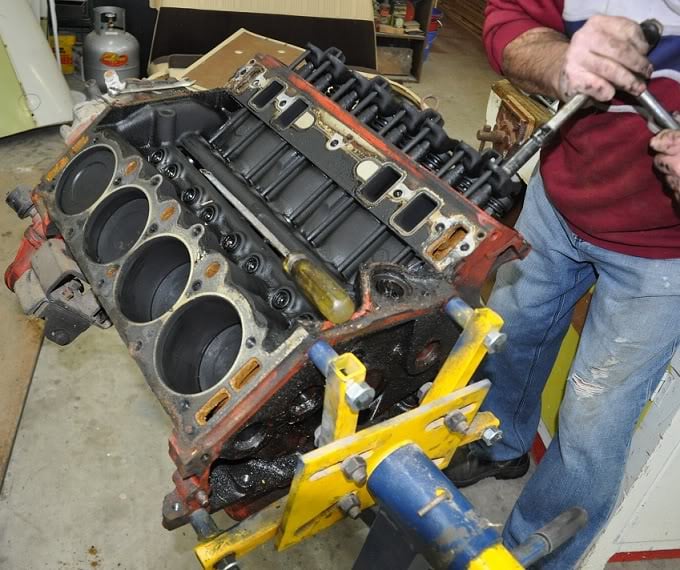
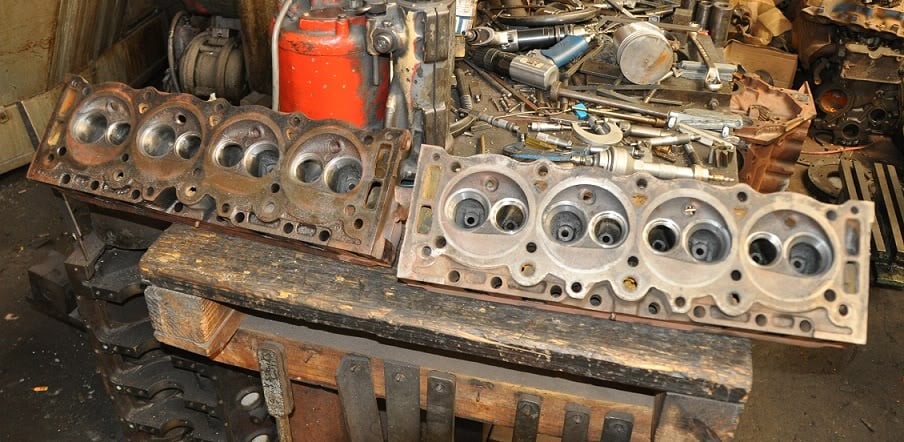
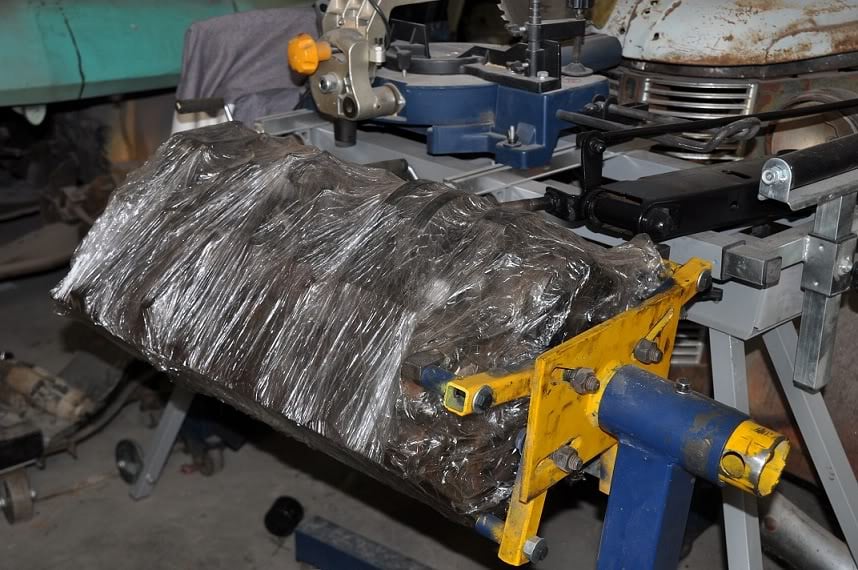
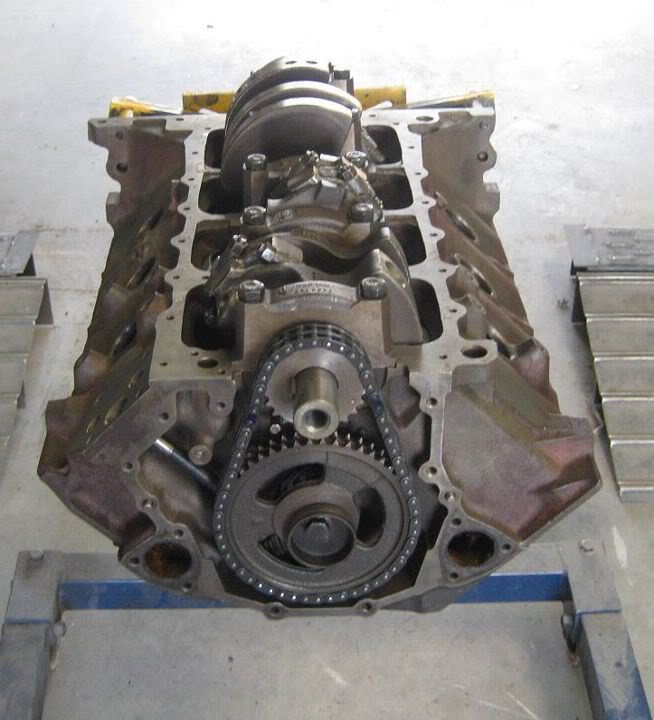
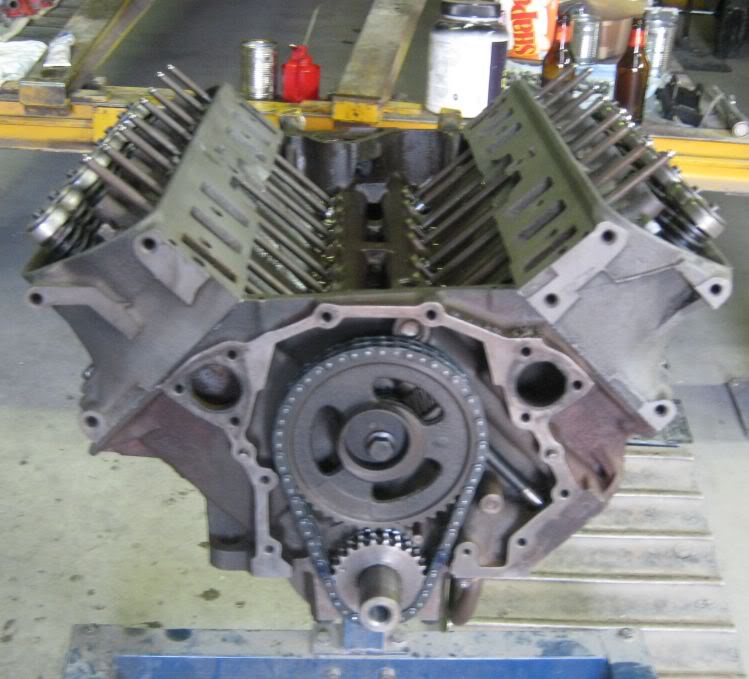
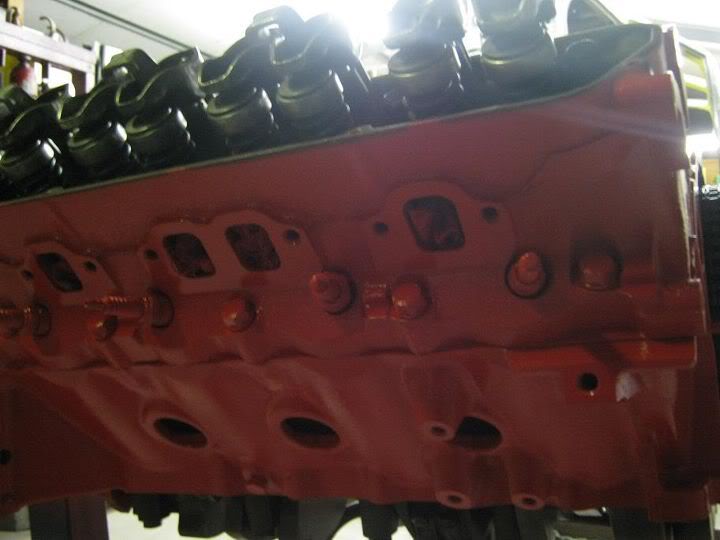
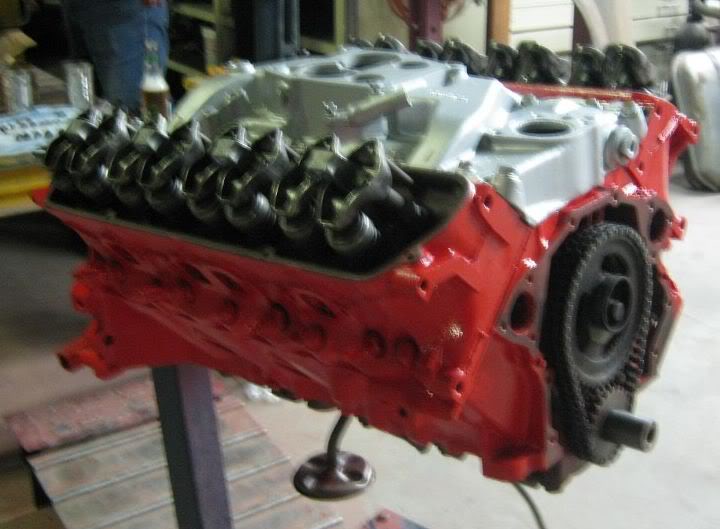
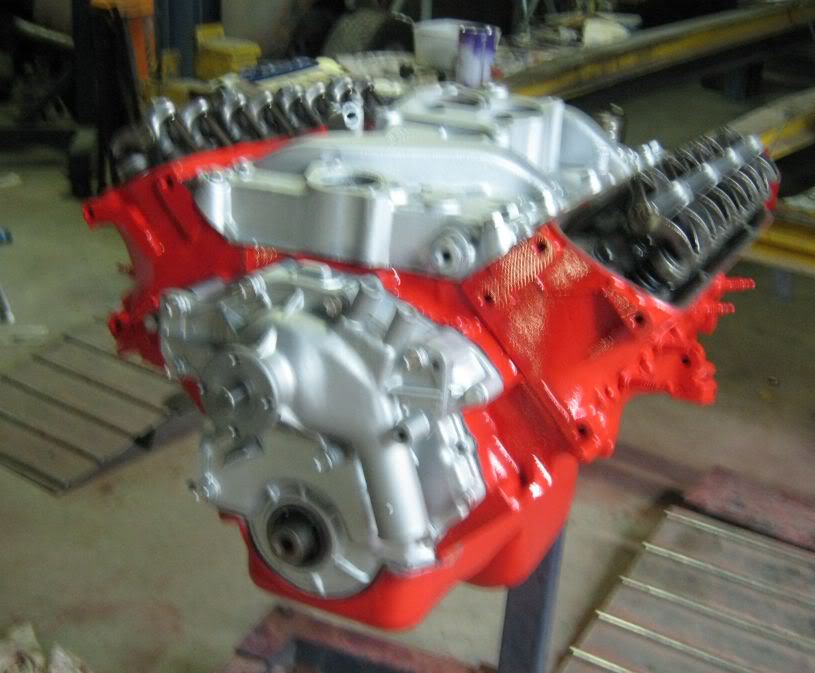
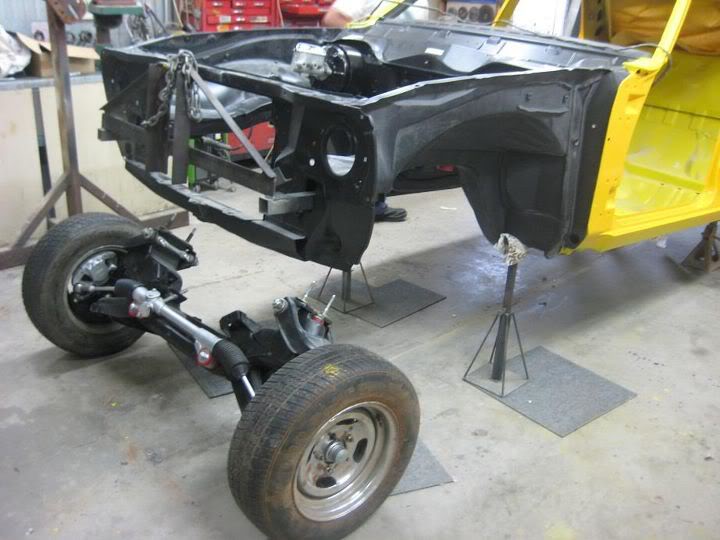
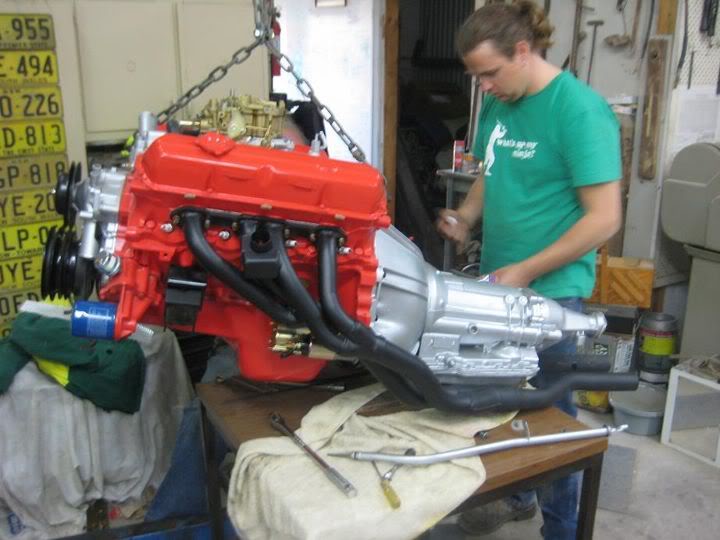
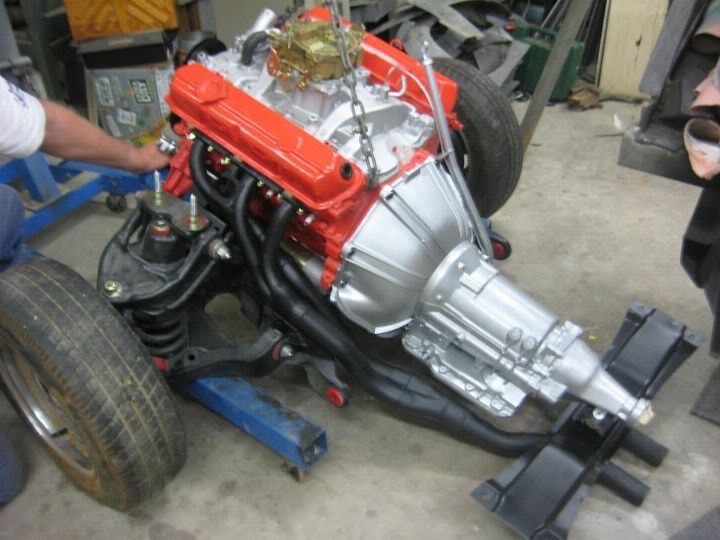
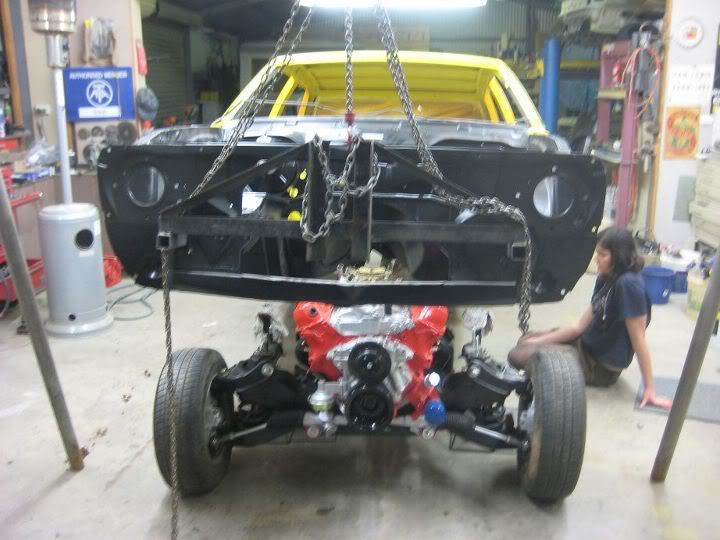
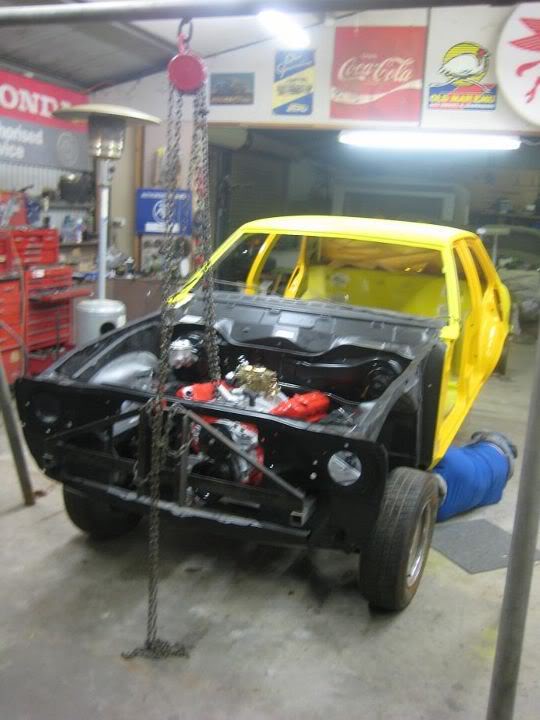
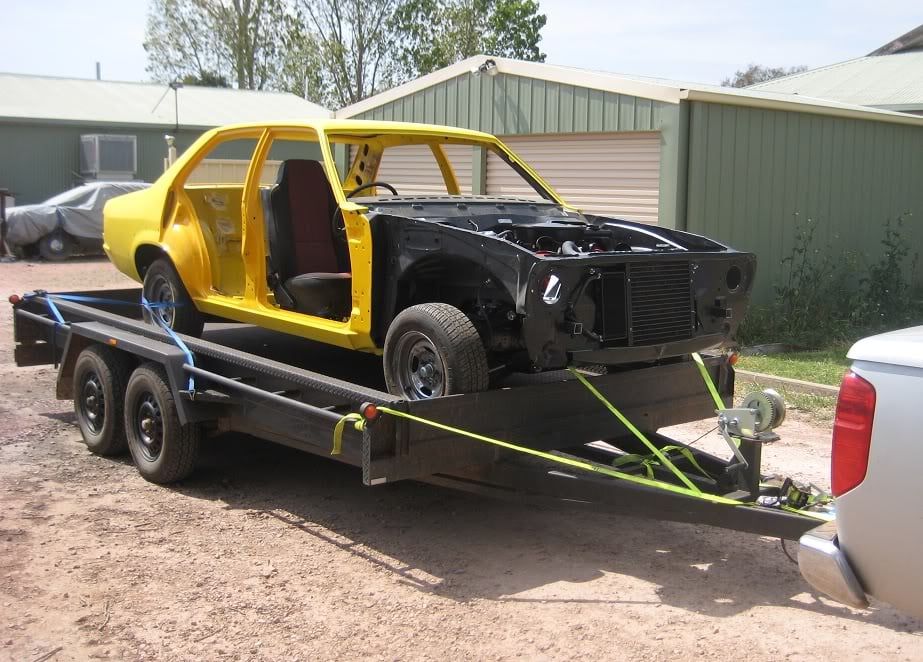
After pulling it down, it clearly needed a complete rebuild.... Of to the engine reconditioners it goes


Posted 07 September 2011 - 07:43 PM
Posted 07 September 2011 - 07:50 PM
Posted 07 September 2011 - 08:00 PM

Posted 07 September 2011 - 08:13 PM
 )
)
Posted 07 September 2011 - 08:18 PM
Oh My, Don't you post alot


Posted 07 September 2011 - 10:08 PM
Pops

Posted 07 September 2011 - 11:52 PM

Posted 08 September 2011 - 09:31 AM
And everyone says Im doing a thorough job on my car..... hah..... Mate this build is epic! Kinda reminds me of the effort I went to with my other car! Cant wait to see this thing finished!
Your a handy bloke by the looks of things! Nice sized workspace to.
Awesome stuff!!!!!!!
Posted 08 September 2011 - 09:34 AM
A lot of work there John but when it is all finished it will be well worth it and one to be proud of
Regards ... Barry
Posted 08 September 2011 - 10:00 PM
Posted 08 September 2011 - 11:15 PM
Great build, what a fantastic job your doing, amazing attention to detail. Keep the photos coming!!!!
Forum Fixture

Posted 09 September 2011 - 04:15 PM
Posted 09 September 2011 - 04:27 PM
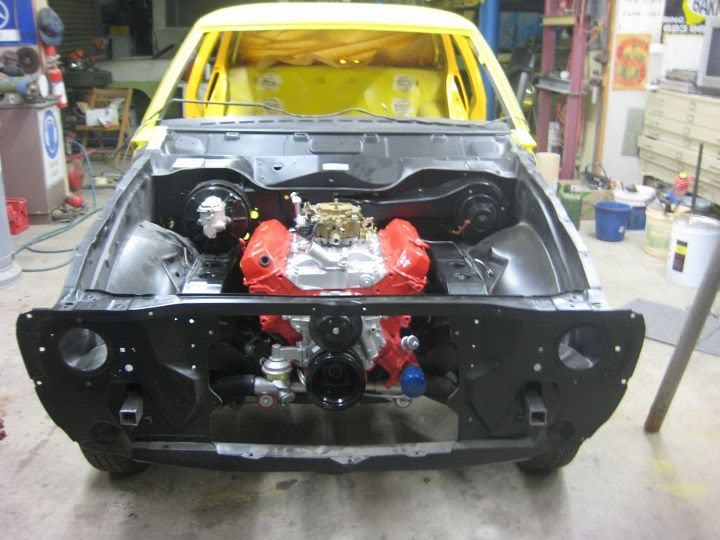
I suppose you could do most of the eng bay work as well with the guards and nose cone off as there would be less risk of scratching etc
Posted 25 September 2011 - 07:40 PM

Posted 25 September 2011 - 08:09 PM
Posted 25 September 2011 - 09:32 PM
Forum Fixture
Posted 26 September 2011 - 07:03 PM
Posted 26 September 2011 - 09:36 PM
Posted 27 September 2011 - 05:40 PM
Posted 27 September 2011 - 06:39 PM
Posted 27 September 2011 - 08:33 PM
nice build mate, what are you using to strip the paint?

Posted 27 September 2011 - 09:51 PM
Edited by Yella SLuR, 27 September 2011 - 09:56 PM.
maurice mead of hatchbacks

Posted 27 September 2011 - 10:47 PM


0 members, 0 guests, 0 anonymous users


