TT Lexus V8 into LJ
#76 _Bomber Watson_
Posted 01 January 2007 - 09:28 PM
no offence.
#77 _Chaotic_
Posted 01 January 2007 - 09:44 PM
Sorry for the thread hi-jack by the way, no more from me unless relevant!
#78 _LHoon_
Posted 04 January 2007 - 07:58 PM
There were a 3 pinhole leaks. Fixed 'em up. All good now. As per usual, here are some pics.
#79
Posted 04 January 2007 - 08:37 PM
RIM
#80 _fat-torrie_
Posted 04 January 2007 - 09:23 PM
#81 _LX406_
Posted 12 January 2007 - 08:22 AM
Edited by LX406, 12 January 2007 - 08:23 AM.
#82 _nibbsy_
Posted 17 January 2007 - 03:54 PM
very very impressive, it makes me feel sad that i dont work on my car more often.
Awesome setup, good luck with it all, although luck seems to be playing no part of this buildup.
nibbsy
#83 _noslx_
Posted 18 February 2007 - 09:44 AM
#84 _studricho_
Posted 23 February 2007 - 10:48 PM
#85 _lightfoot_
Posted 26 February 2007 - 10:54 AM
One of the dudes working on this project has been posted to Germany for a few months so there probably wont be any updates for a while
Unless Chriso gets into it while LHoon is away that is
Doubtful though cause he has his own cars to have a crack at!!
#86 _Azza_
Posted 01 March 2007 - 09:37 PM
#87 _LHoon_
Posted 02 March 2007 - 11:16 PM
#88
Posted 21 March 2007 - 05:46 PM
#89 _LHoon_
Posted 24 April 2008 - 07:28 PM
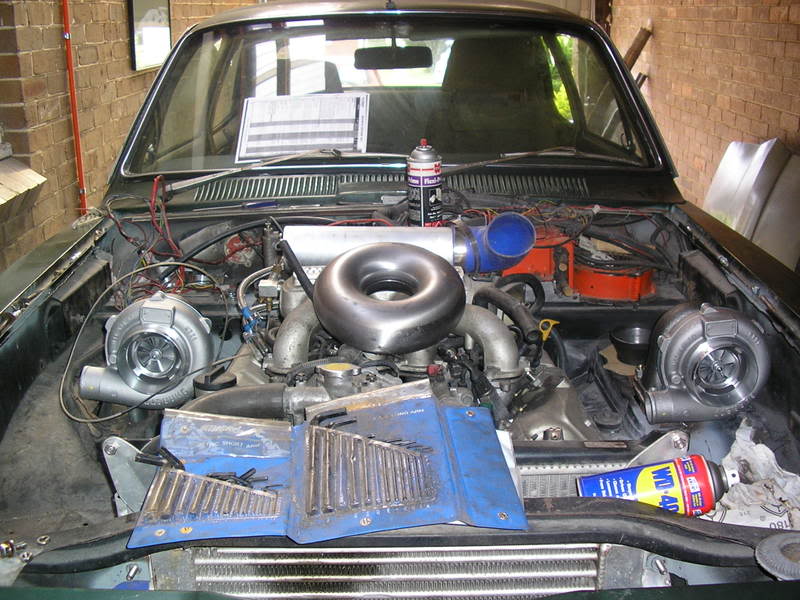
This project also slowed a bit over summer because we both have other cars to work on at the same time. But some progress has happened lately...
We were originally going to make the intercooler piping from aluminium tube. However, ended up making the cooler piping out of stainless because it was easier to get in the size we wanted. It ended up costing only $120 for the piping and silicon hose, so worked out well.
And here's what it looks like so far with two turbos!!
#90
Posted 24 April 2008 - 07:34 PM
mine are set up very similar but im not happy with the primaries so close to the front wheels, i think ill have to go log style manifolds.
Edited by Bart, 24 April 2008 - 07:36 PM.
#91 _LHoon_
Posted 24 April 2008 - 07:39 PM
Welded some fittings to the plenum and sump. We've also got some NOS fogger nozzles that we'll use to help with boost off the line. So we're fitting those to the manifold now (and then removing them again) so that they it will be easy to install the whole NOS system later on.
We've sand blasted the block, sump and all other bolt-ons like the water pump. This makes it all look awesome. The plenum-top and the fuel rails have been polished - Bling!
Sorry, they're only mobile phone pics....
#92
Posted 24 April 2008 - 09:39 PM
Just read through all of this and couldn't believe youse did it at home.
Cant wait to see the finished car.
Well done fellas.
#93
Posted 25 April 2008 - 01:16 PM
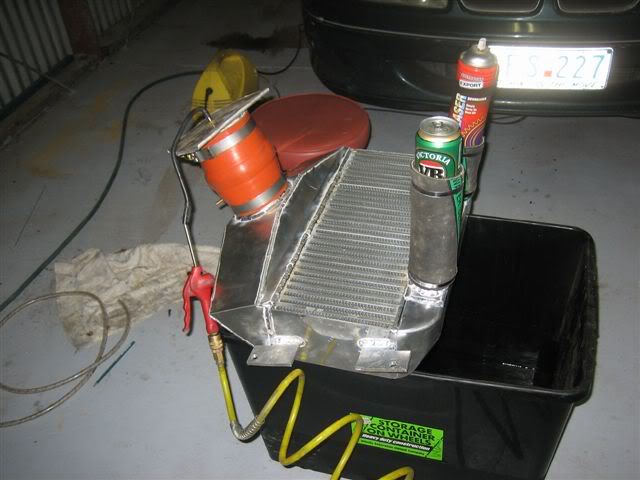
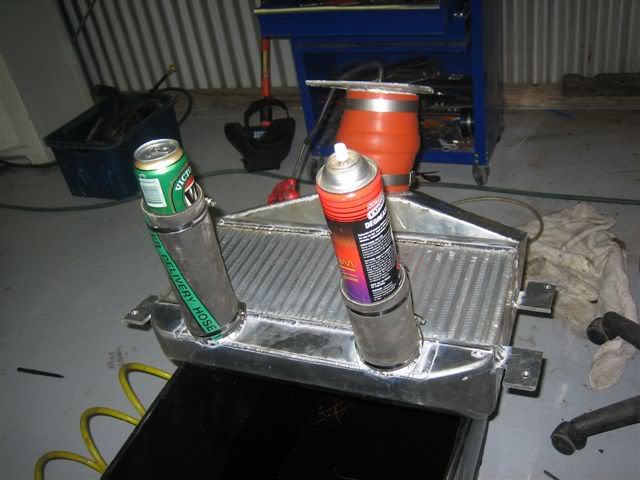
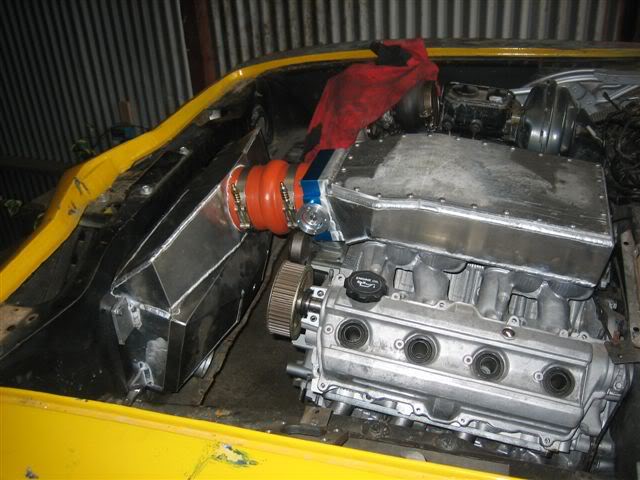
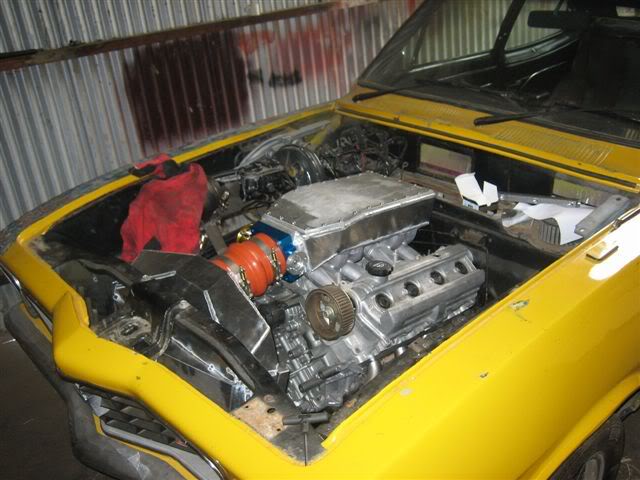
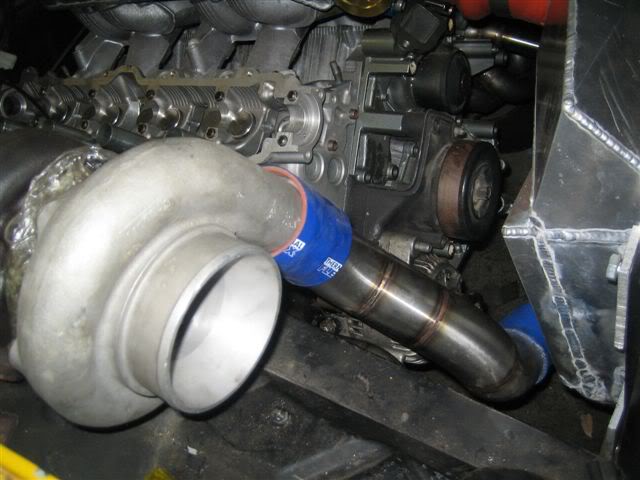
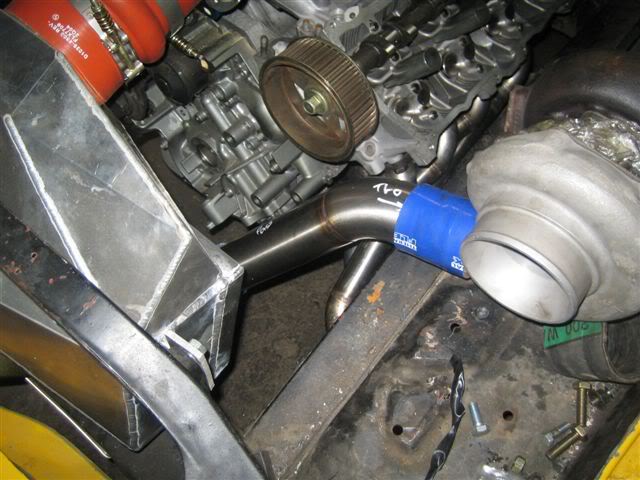
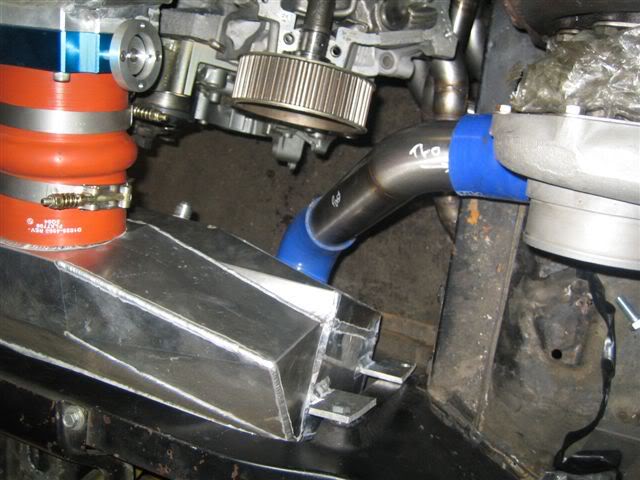
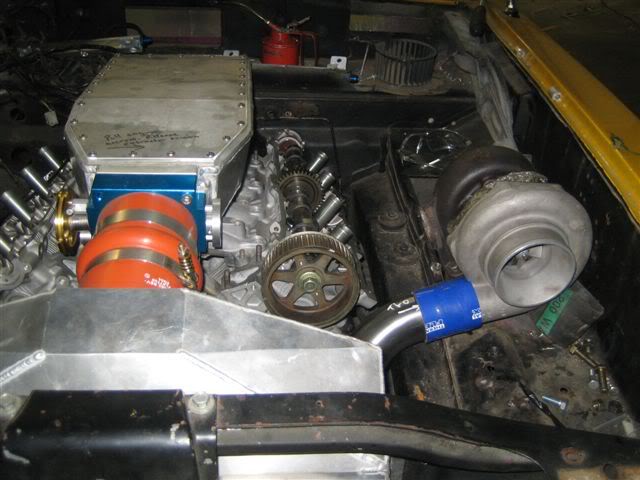
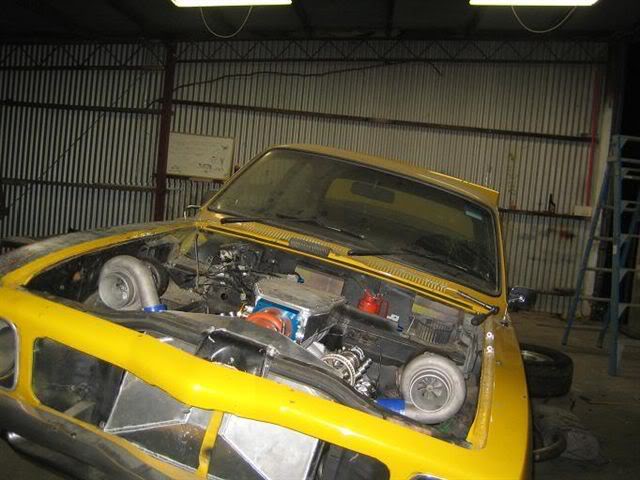
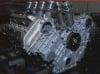
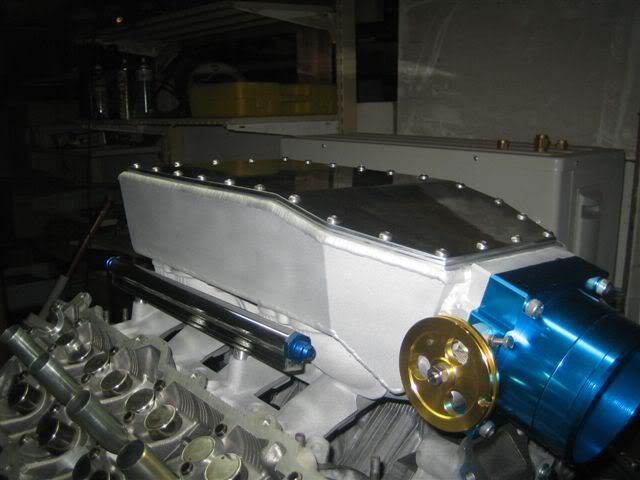
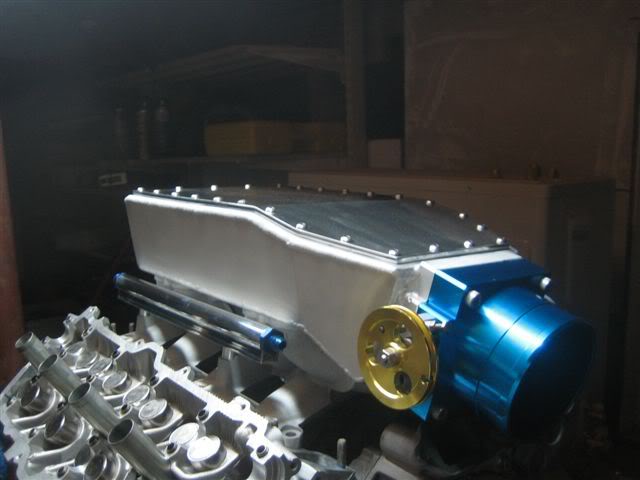
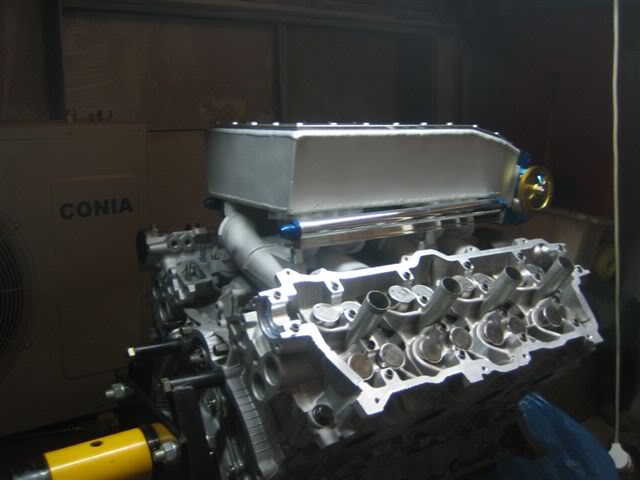
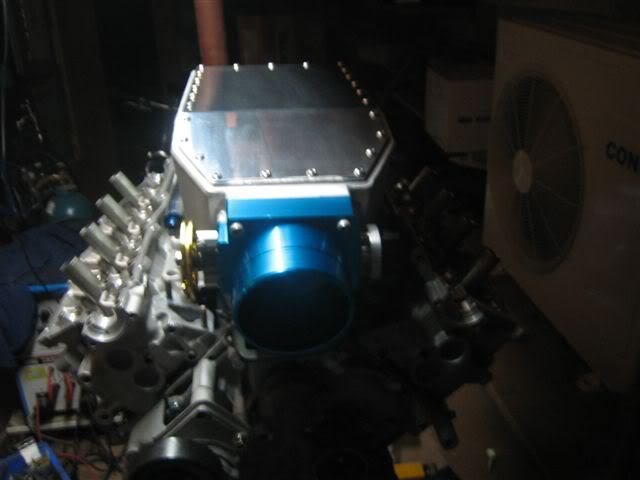
#94 _Bomber Watson_
Posted 25 April 2008 - 01:17 PM
But apart from that MAN THATS COOL!!!
#95
Posted 26 April 2008 - 09:49 AM
#96 _lightfoot_
Posted 28 April 2008 - 01:42 PM
The sandblasting looks freakin sweet in the flesh (metal) too!!
Edited by lightfoot, 28 April 2008 - 01:45 PM.
#97 _LHoon_
Posted 28 April 2008 - 08:32 PM
Will rebuild the engine internals and basically have the entire motor all ready to go back into the car.
As for the car, still need to do something with the brake booster and maybe even the master cylinder. I'll play around with different options (1. No booster, 2. remove booster, 3. smaller master cylinder etc).
Also still need to re-route the steering column. I've just been doing this on my V8 LC, so I should be an expert at it after all this.
Really need to prep and re-spray the engine bay pretty soon, but I'll stuggle for time and money to get that done anytime soon. This will hold us up from re-installing the engine soon..
#98 _1uzbt1_
Posted 28 April 2008 - 11:15 PM
Are those fuel rails a generic aftermarket job??
Nice setup by the way,massive fan of these engines,will be good to see the final product when shes done.
#99 _LHoon_
Posted 30 April 2008 - 09:18 AM
As for the fuel rails... you can buy lengths of extruded aluminium, which has a good profile for a fuel rail. We simply cut these to the right length, drilled injector holes and tapped the ends for the fittings.
#100 _1uzbt1_
Posted 30 April 2008 - 10:57 AM
0 user(s) are reading this topic
0 members, 0 guests, 0 anonymous users