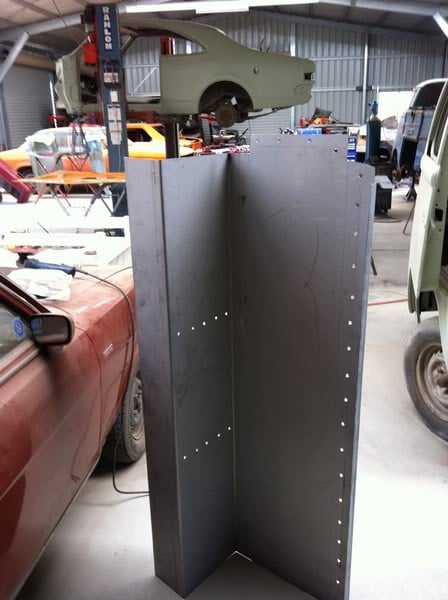
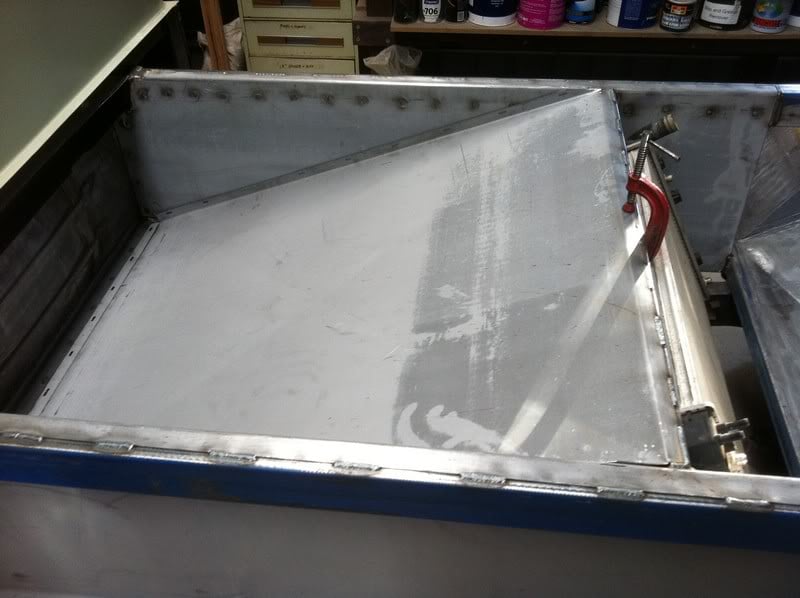
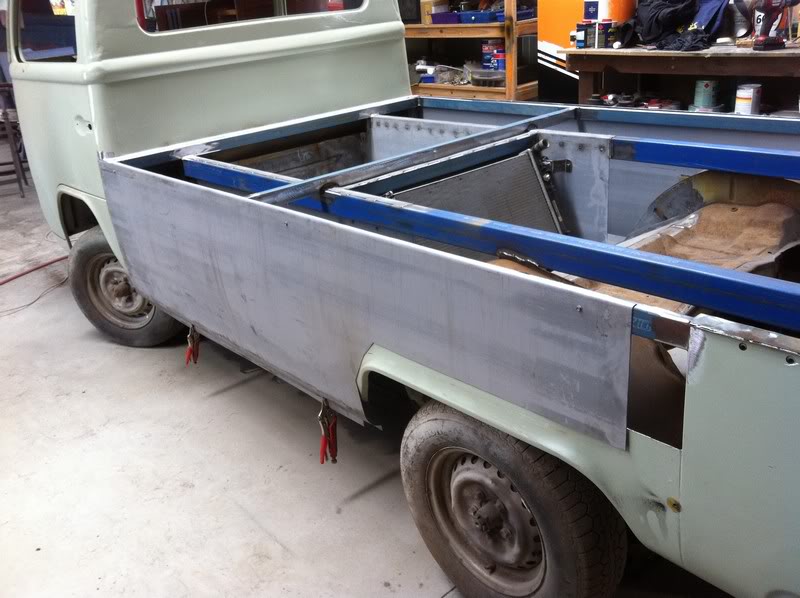
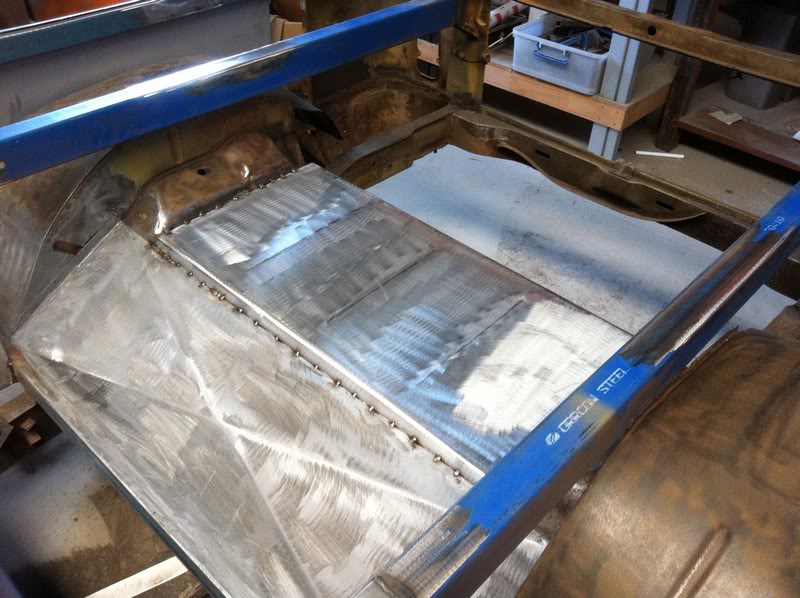
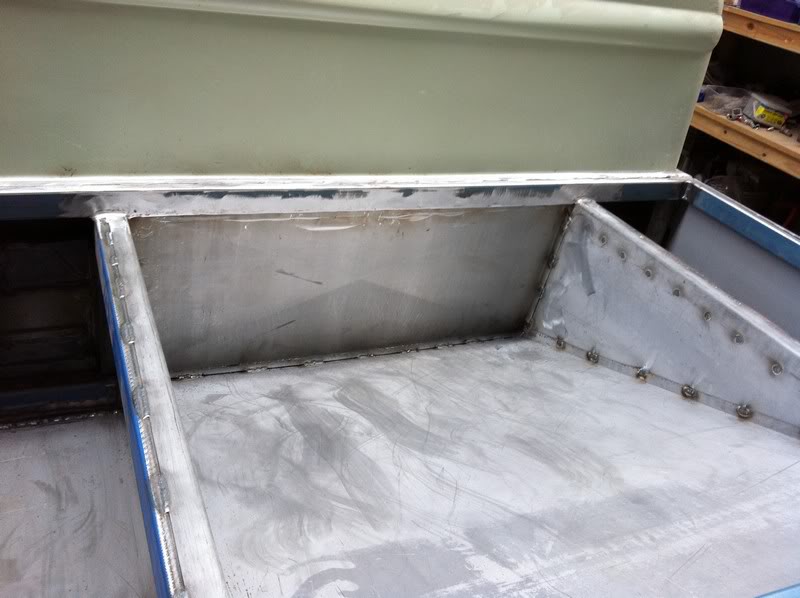
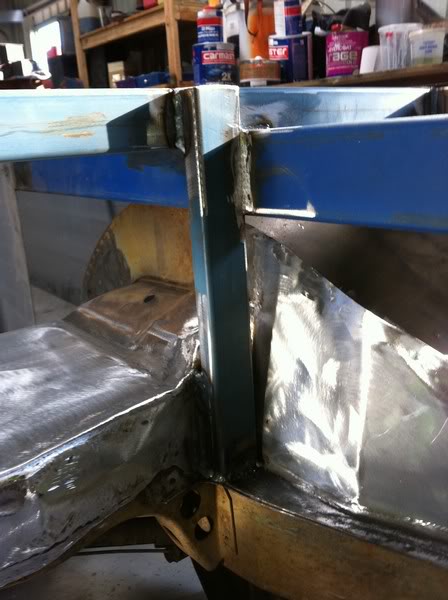
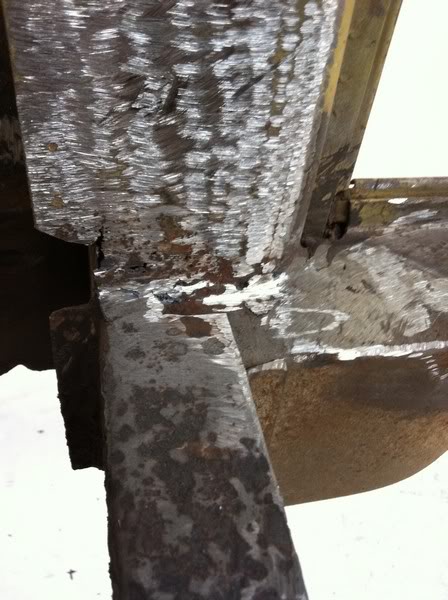
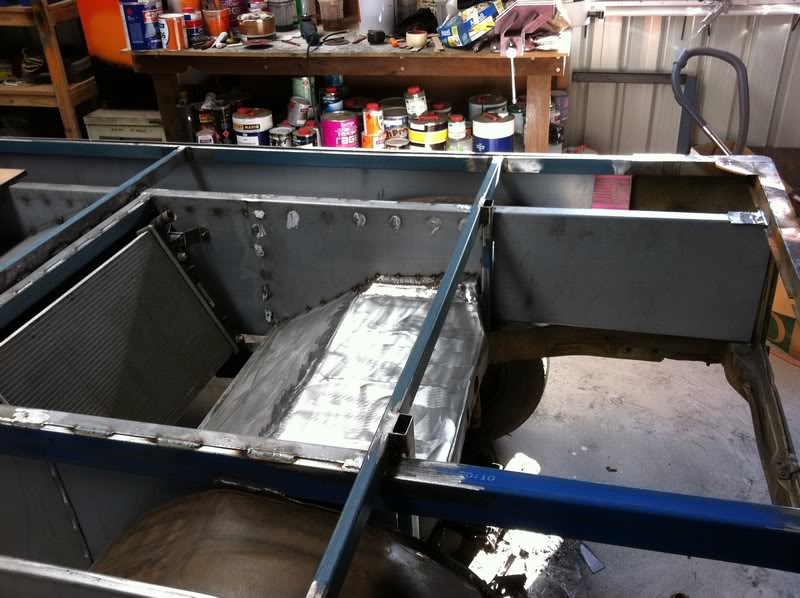
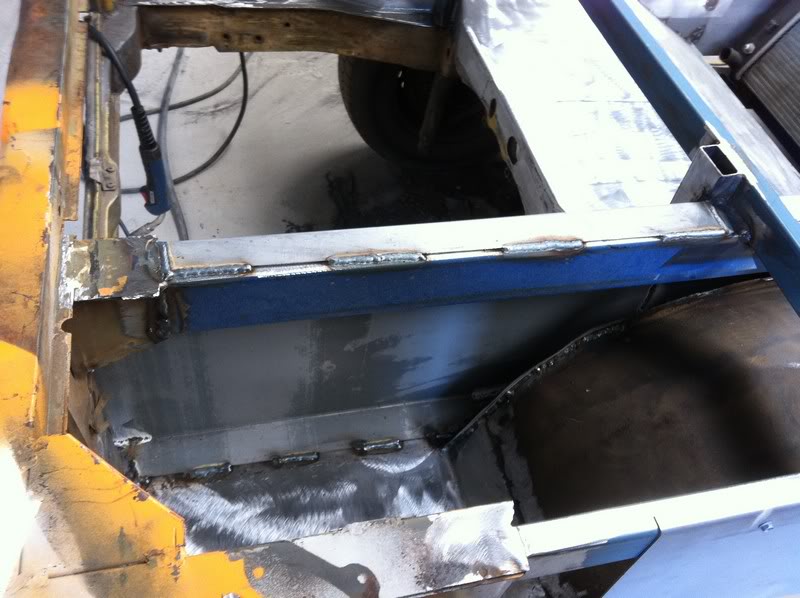
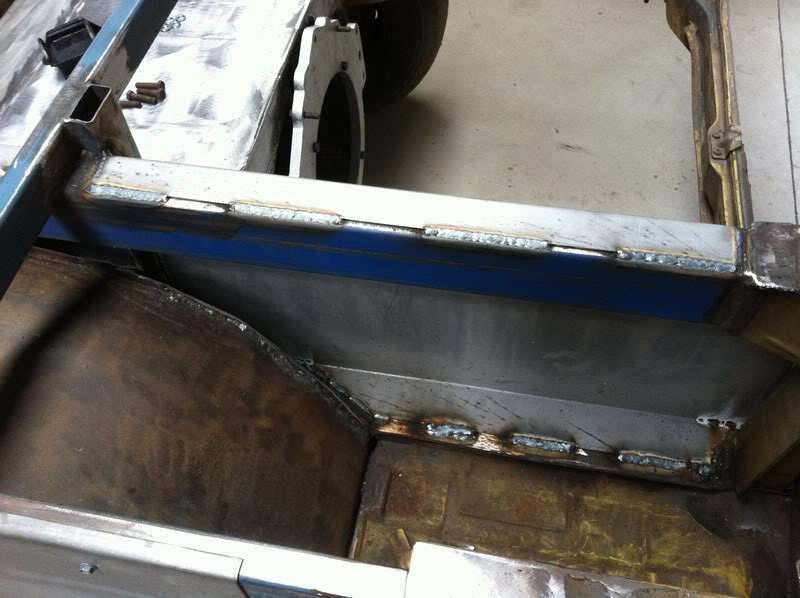
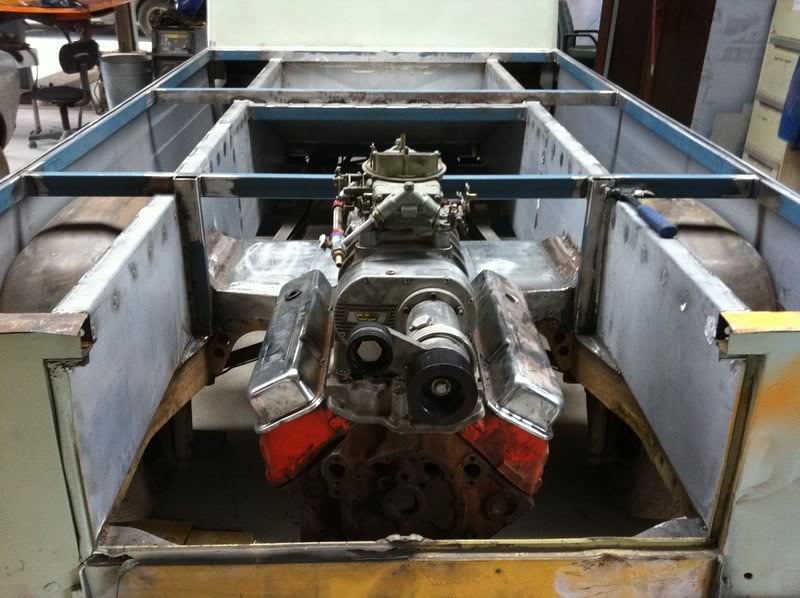
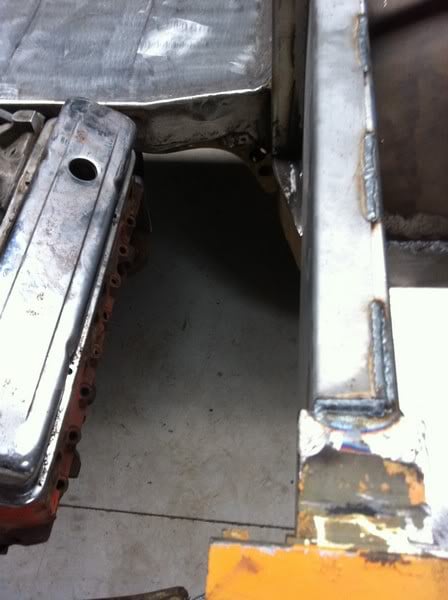
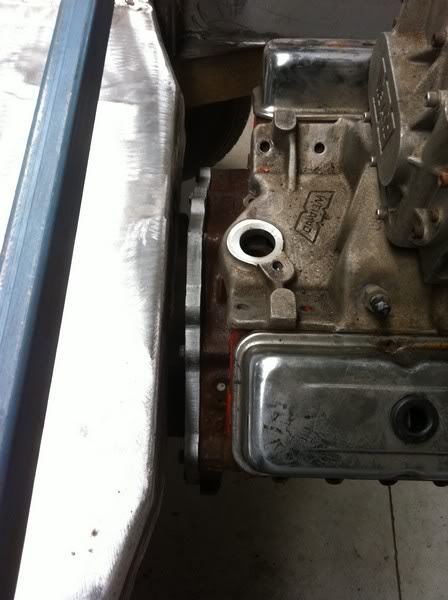
Should be nice and stiff when you finish welding it Tim.
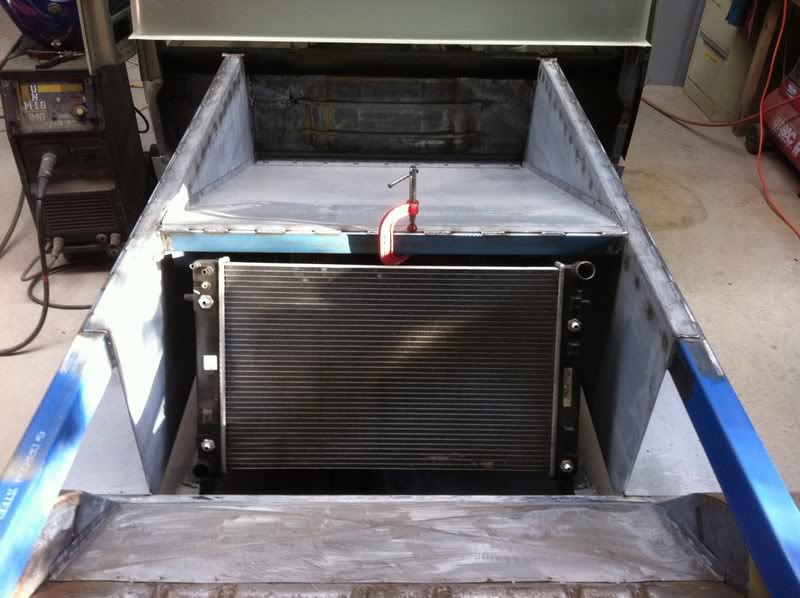
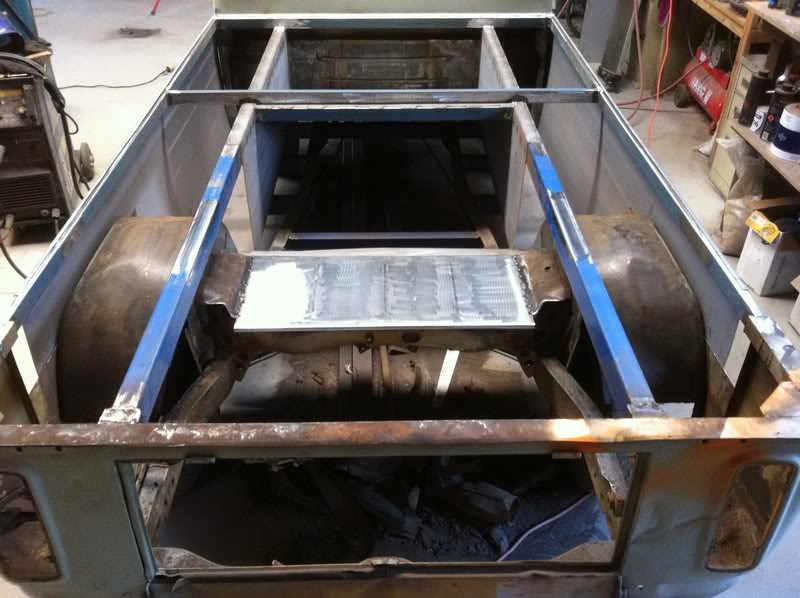
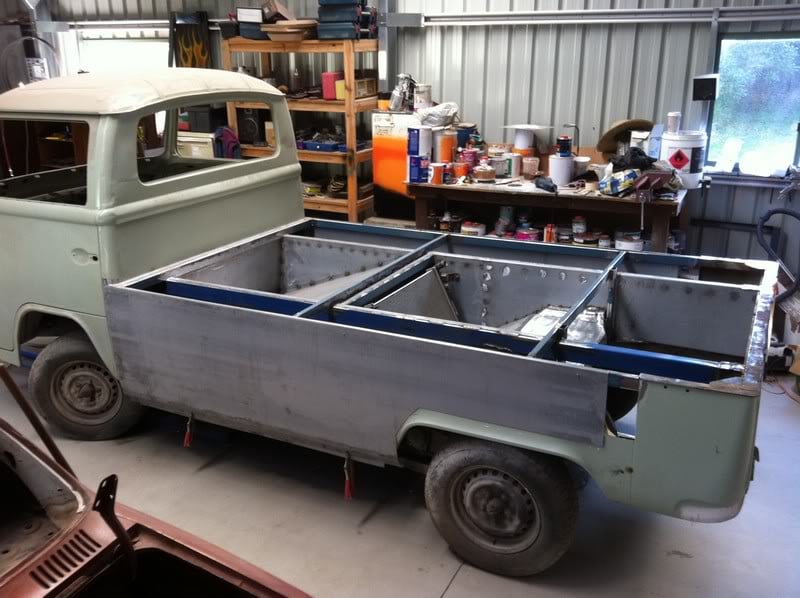
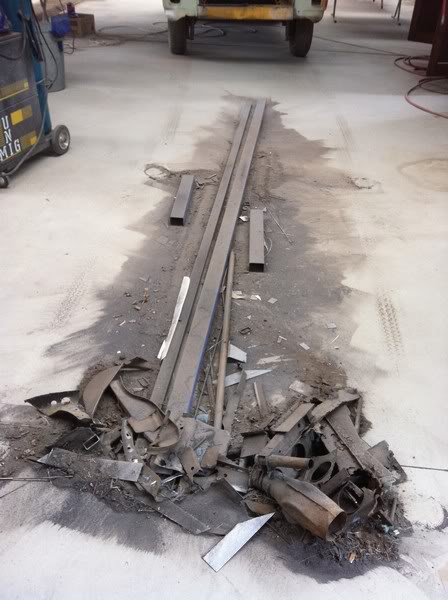
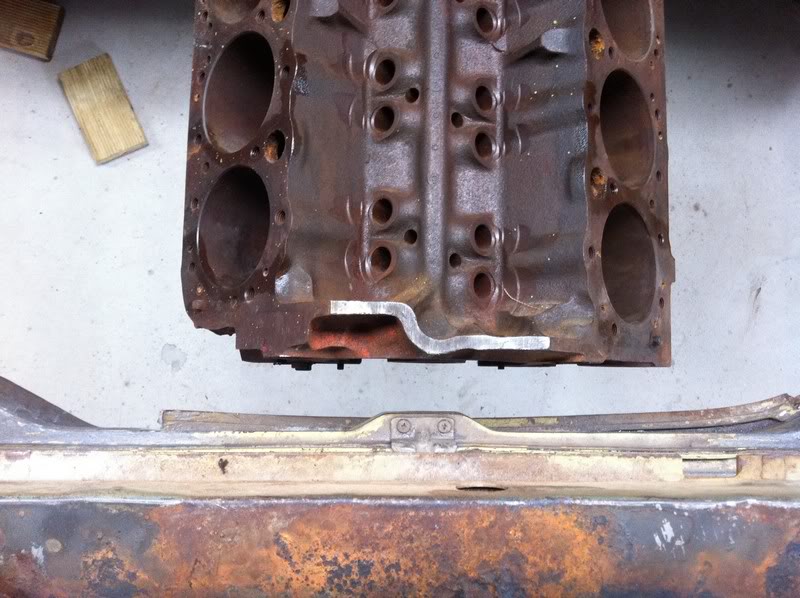
Is the owner using a cast iron chev or something newer????
i think this is the dirts weapon isnt it


Posted 29 June 2011 - 08:32 PM
Should be nice and stiff when you finish welding it Tim.
Is the owner using a cast iron chev or something newer????
Posted 01 July 2011 - 08:32 AM

Edited by nicko61, 01 July 2011 - 08:37 AM.
Posted 01 July 2011 - 12:32 PM
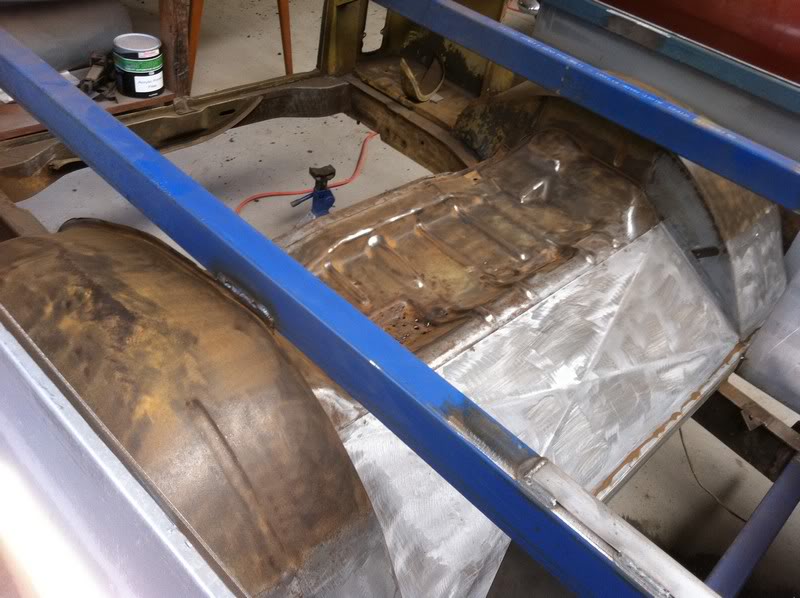
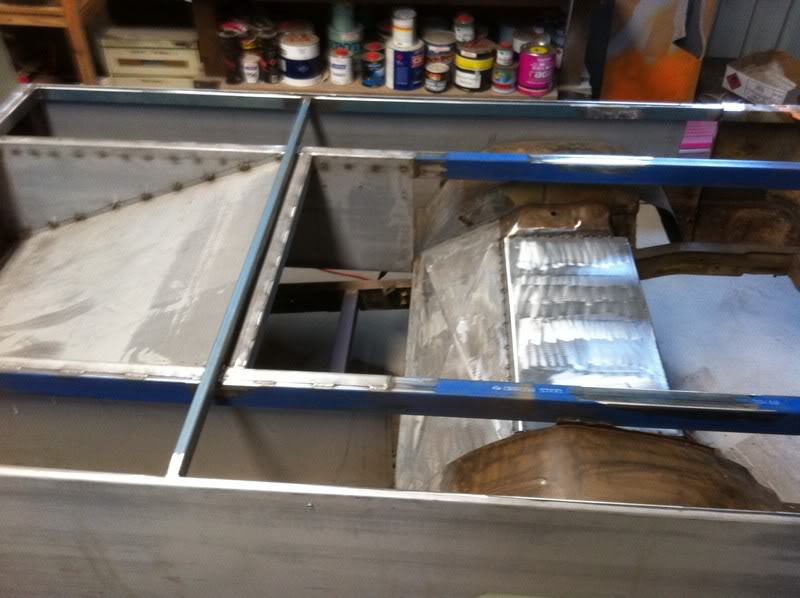
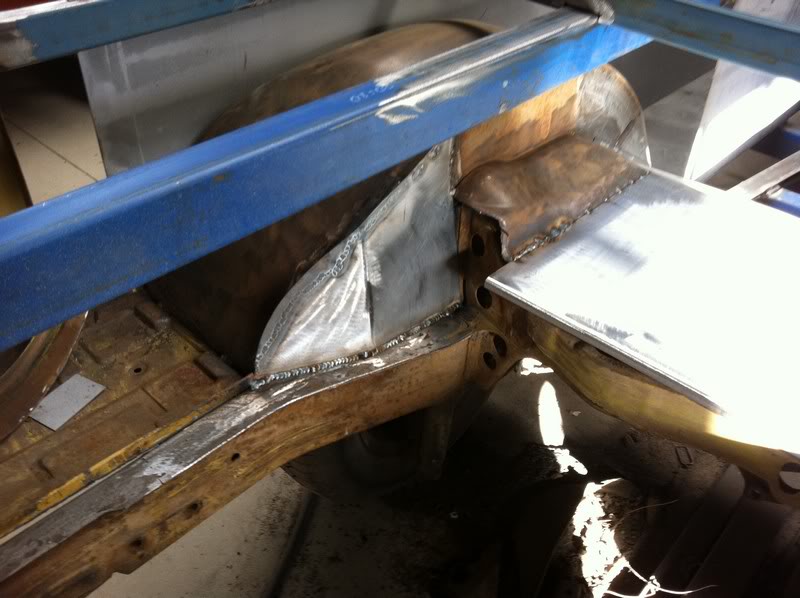
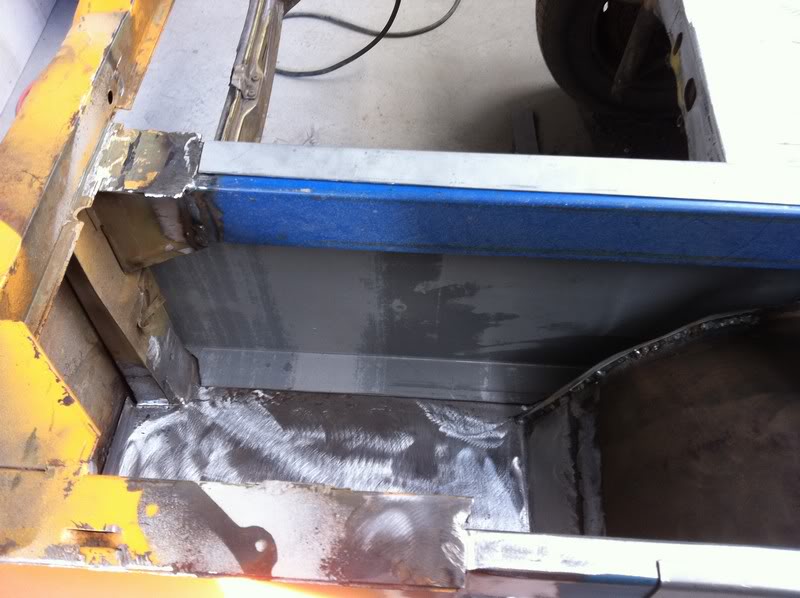
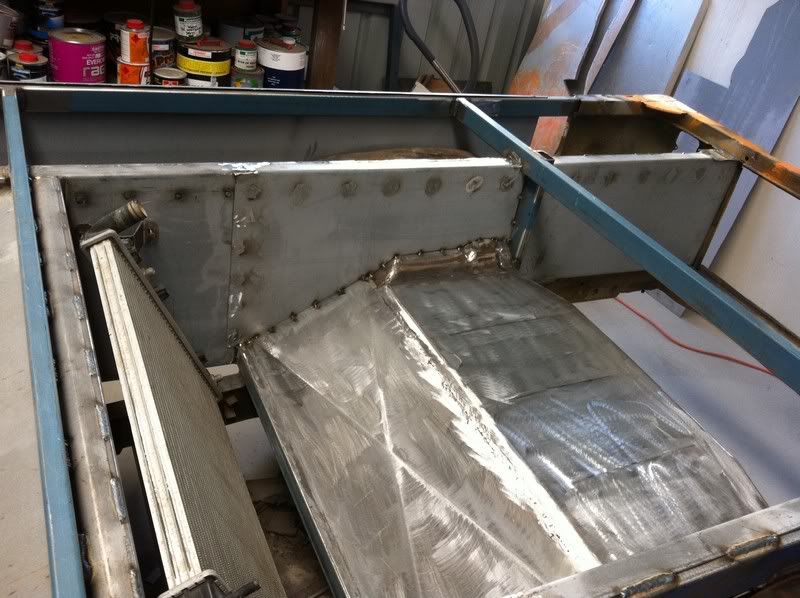
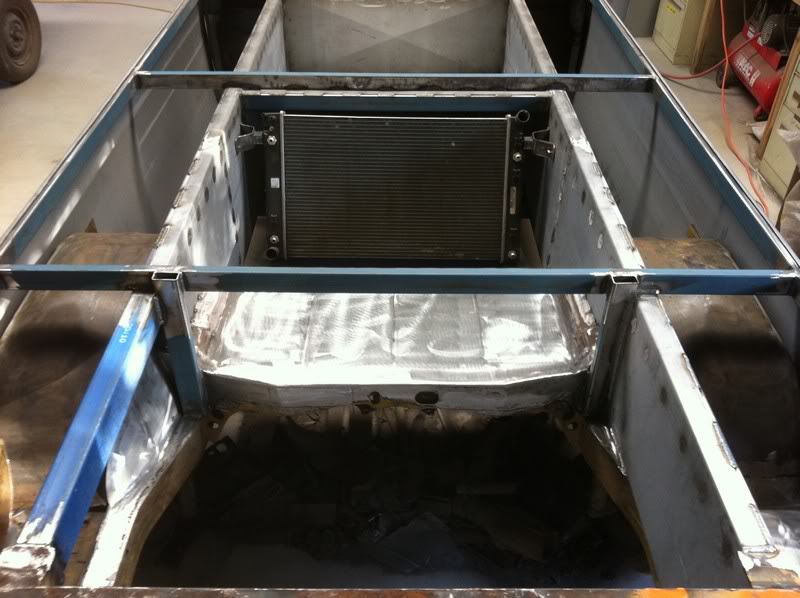
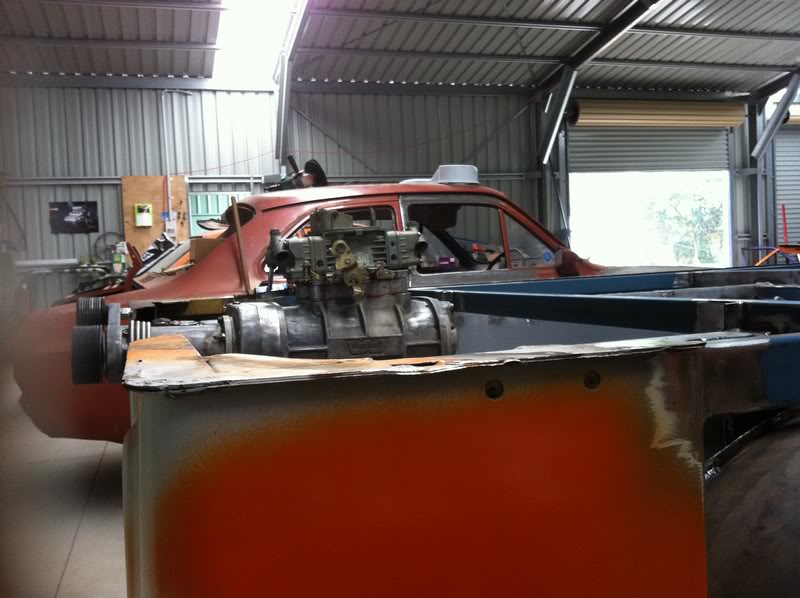
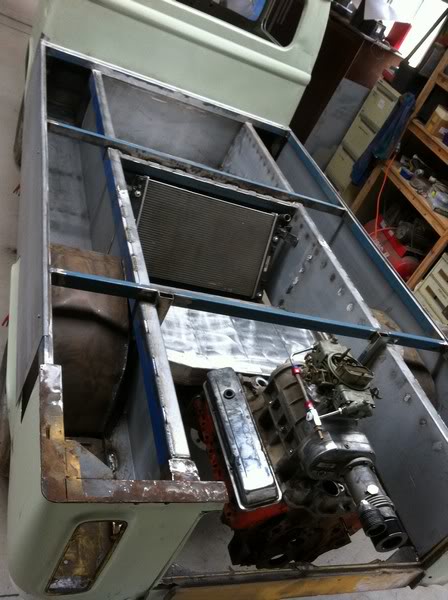
Shit a brick

Posted 03 July 2011 - 08:24 PM
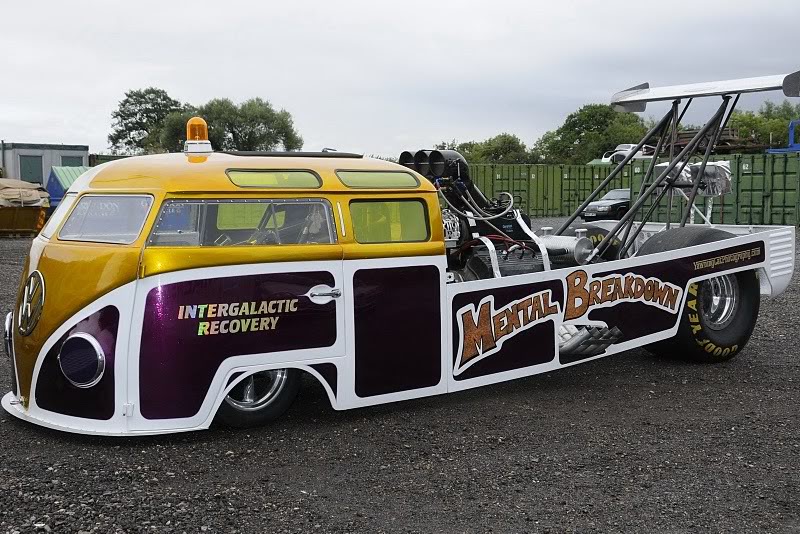
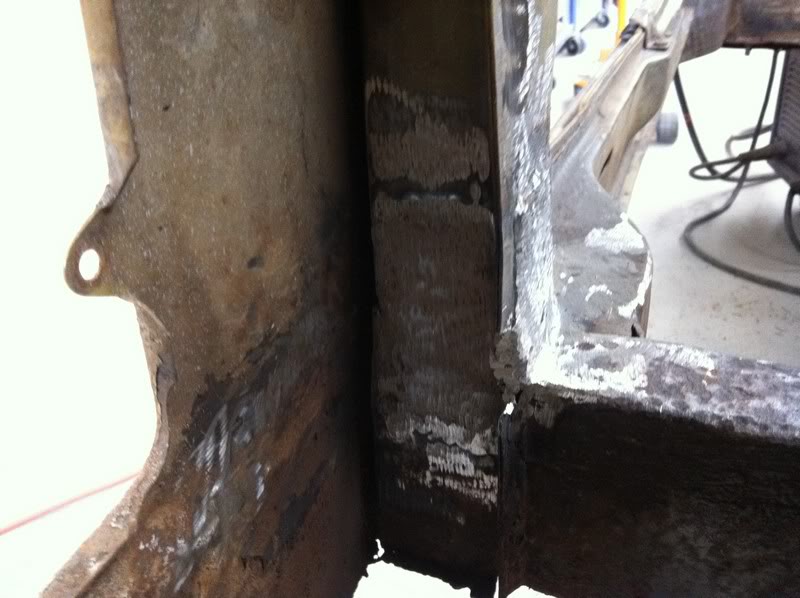
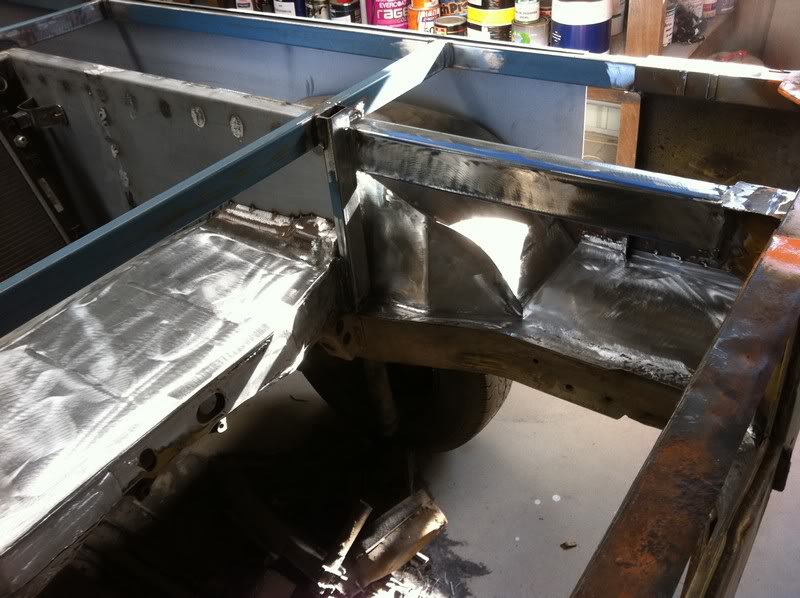
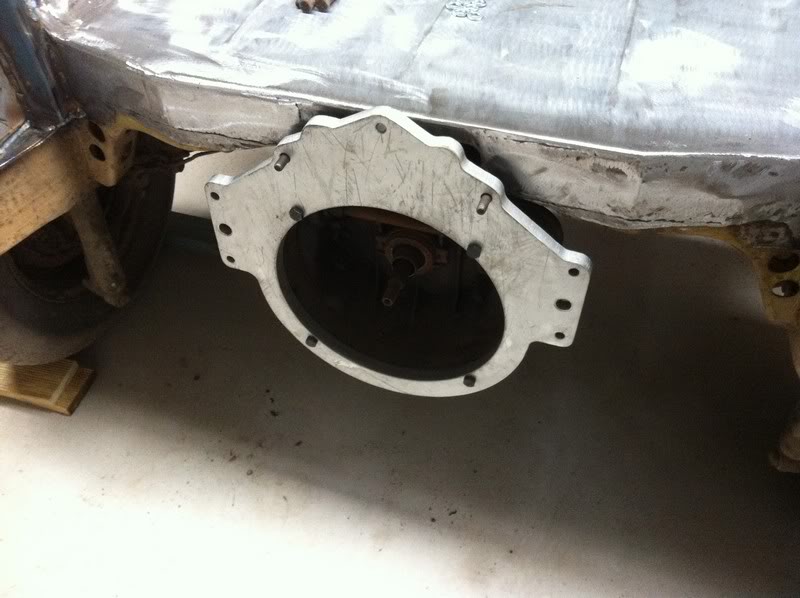
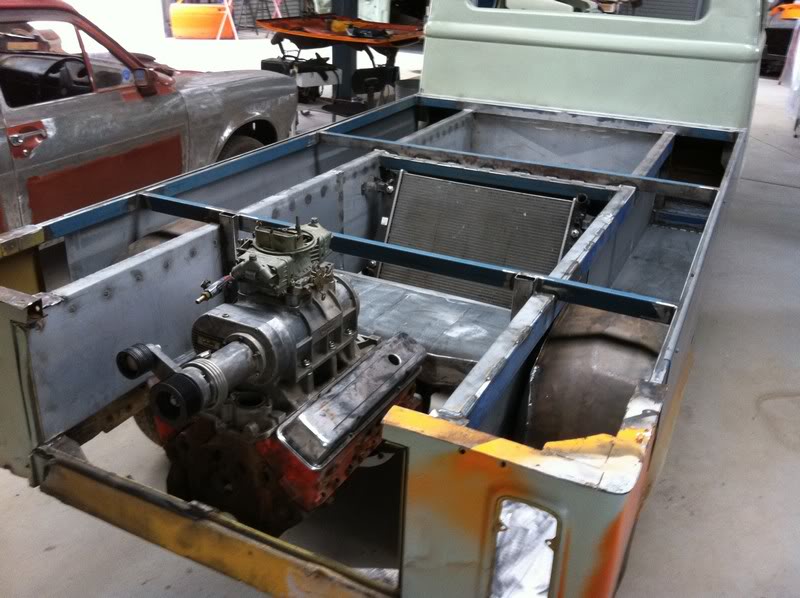
Its got a VW emblemYeah there's no VW left in that! : ) Me likey!

Posted 03 July 2011 - 08:27 PM
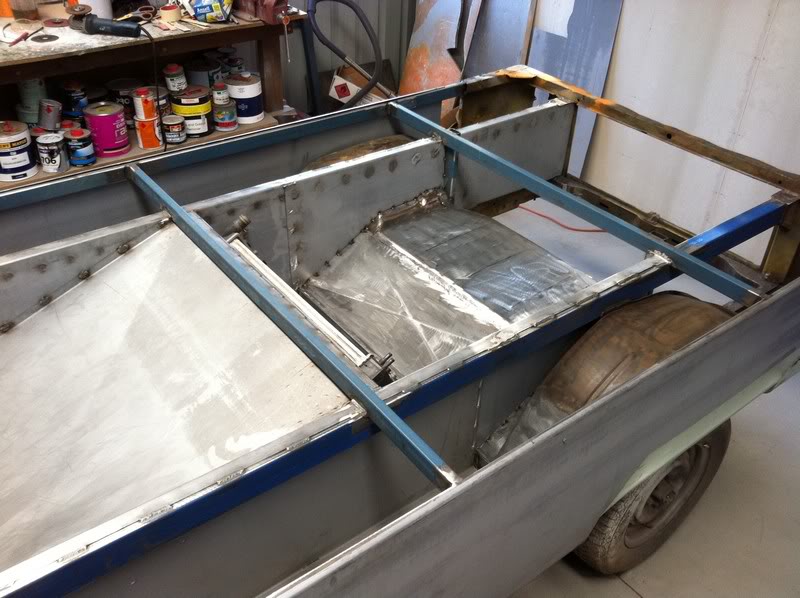
Its got a VW emblem
Yeah there's no VW left in that! : ) Me likey!
Posted 08 July 2011 - 06:33 PM

Posted 08 July 2011 - 08:02 PM
Posted 08 July 2011 - 08:12 PM
Posted 08 July 2011 - 08:15 PM
Posted 19 July 2011 - 08:53 PM


Posted 19 July 2011 - 11:06 PM
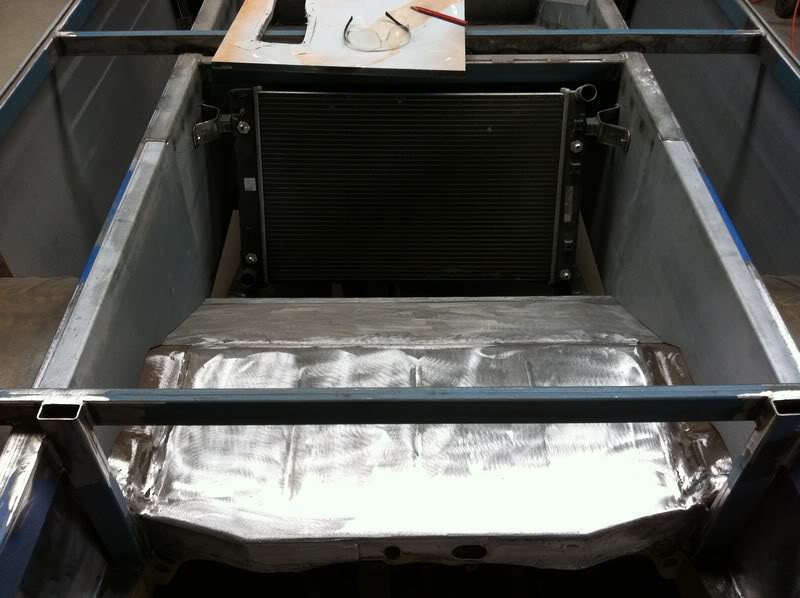
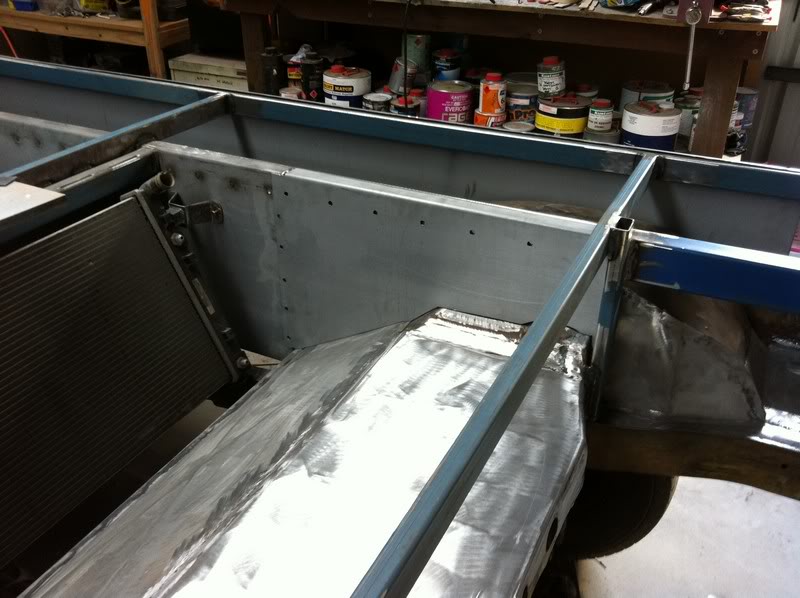
Posted 07 August 2011 - 04:50 AM
Edited by dirtbag, 07 August 2011 - 04:50 AM.
Posted 07 August 2011 - 08:47 AM
Posted 07 August 2011 - 06:37 PM
Posted 17 August 2011 - 07:31 PM

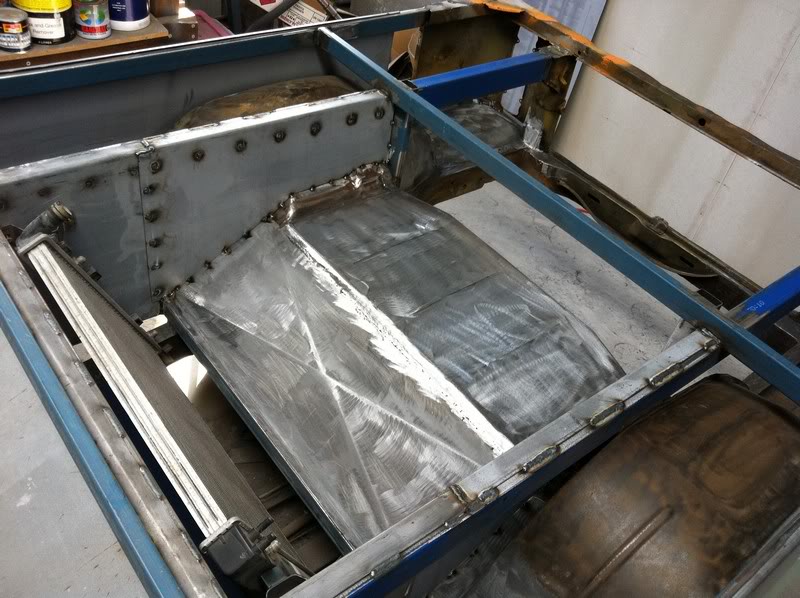
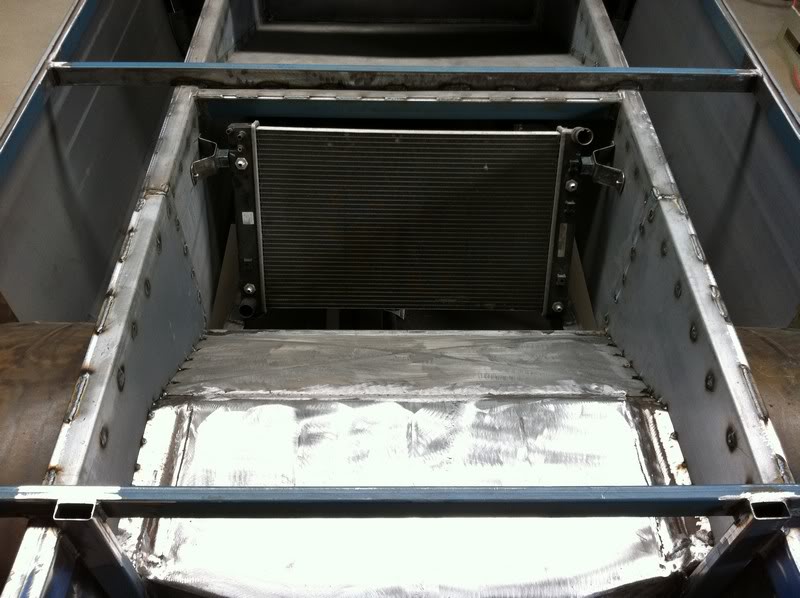
Edited by dirtbag, 17 August 2011 - 07:32 PM.
Posted 17 August 2011 - 08:11 PM
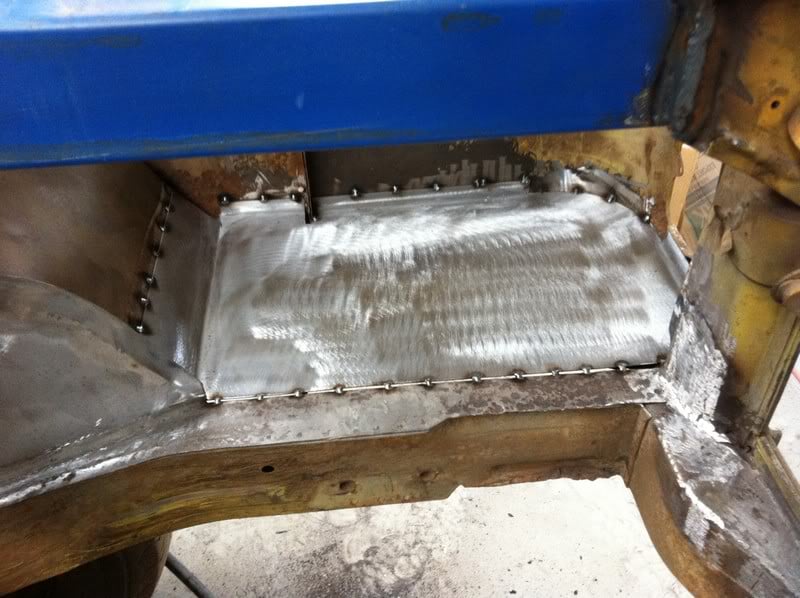
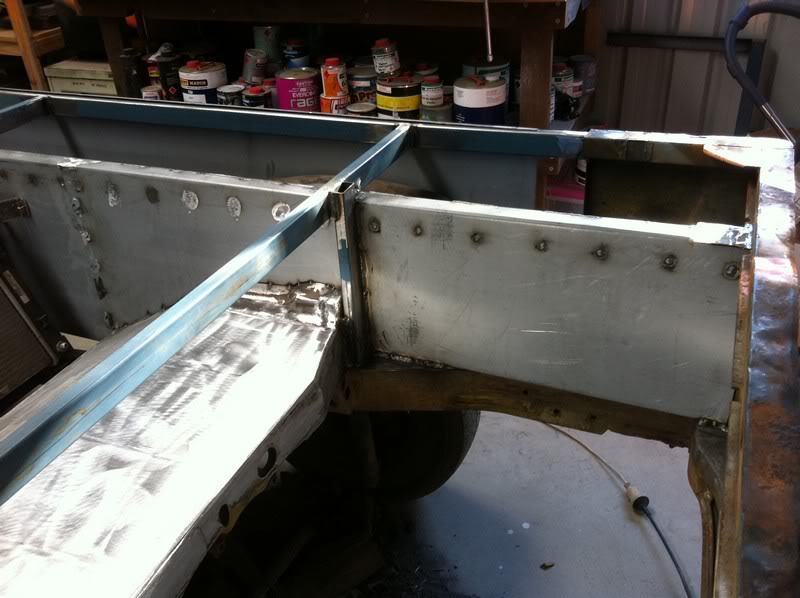
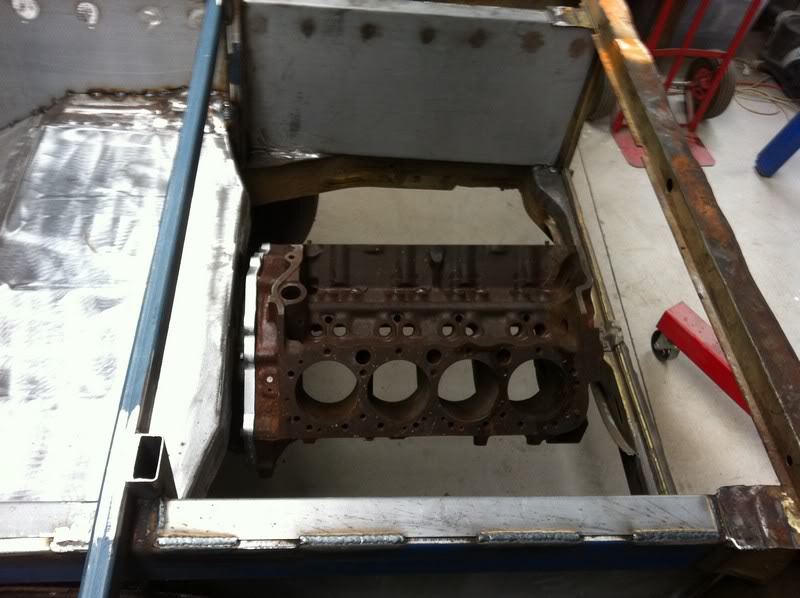
Looks awesome. As some people have said in the Monaro thread good on you for putting these threads together. They make damn interesting reading
Posted 18 August 2011 - 06:49 AM
Posted 18 August 2011 - 07:28 AM
Posted 26 August 2011 - 06:09 PM
Forum Fixture
Posted 26 August 2011 - 09:19 PM
Posted 26 August 2011 - 09:54 PM


0 members, 1 guests, 0 anonymous users


