
They honestly have a sportster section the size of our for sale section. Anyone wanna start a forum lol?
What I will ask is if I can remove the entire engine primary cover to polish, or does it hold oil?
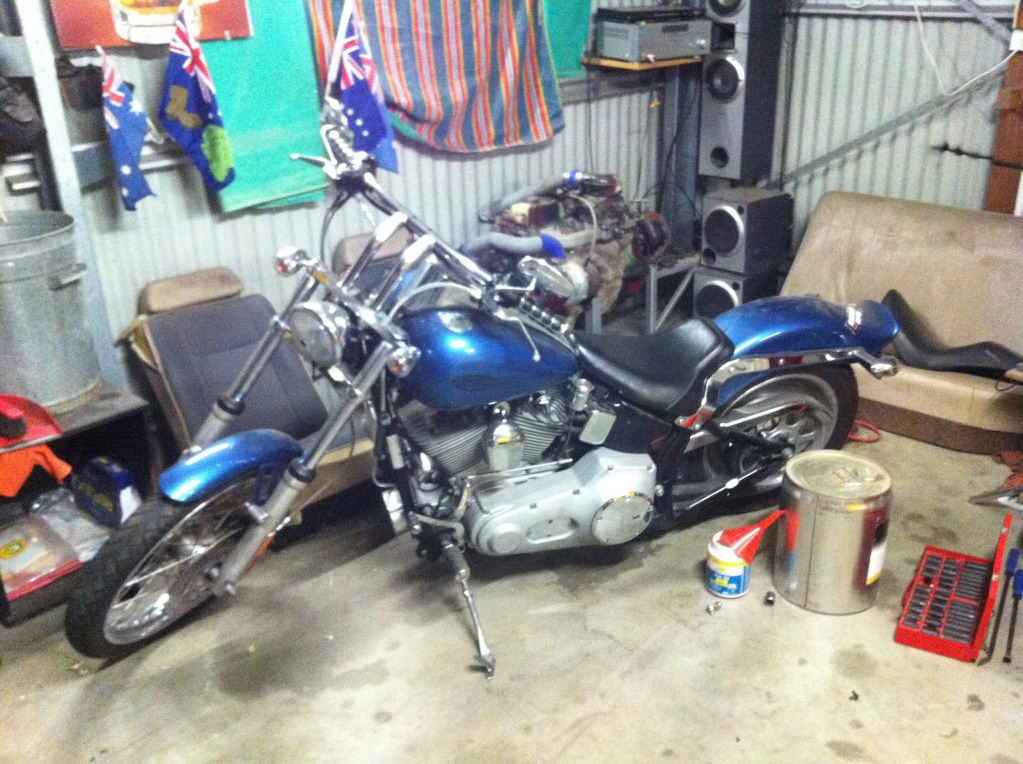
1990 Harley XL1200
Started by
_judgelj_
, Dec 06 2013 10:48 PM
275 replies to this topic
#102

Rockoz
-

- Members
-

- 4,065 posts
Oh My, Don't you post alot
- Name:Rob
- Location:Cowra NSW
- Joined: 21-September 08
Posted 12 January 2014 - 11:56 PM
Drain the oil if it does?
#103
_judgelj_
_judgelj_
-

- Guests
Posted 13 January 2014 - 01:05 AM
Yeah if that's the case ill do it during the service. I basically want to remove both sides to polish on the buff just making sure its ok, I'll replace all the bolts whilst I'm at it. Anyone sanded the very edge of the motors fins to get that silver over black look? It looks abut complicated not sure how I'd like to tackle it?
#104
_BARRY JACKPOT_
_BARRY JACKPOT_
-
- Guests
Posted 13 January 2014 - 11:14 AM
No ones gunna see that stuff when your rippin skids so why even bother lol.
#105
_judgelj_
_judgelj_
-
- Guests
Posted 13 January 2014 - 11:35 AM
Mate the only skids i rip are the ones in my jocks when i geared down to hard and locked up the back wheel.
#106
_BARRY JACKPOT_
_BARRY JACKPOT_
-
- Guests
Posted 13 January 2014 - 04:28 PM
That's called backin it in. Lol
#107
_judgelj_
_judgelj_
-
- Guests
Posted 13 January 2014 - 09:32 PM
Haha whatever its called its not fun.
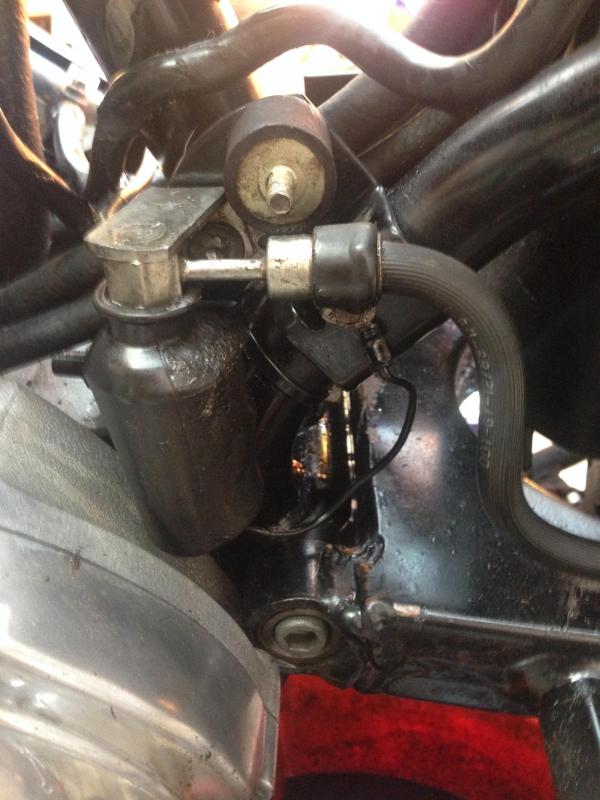
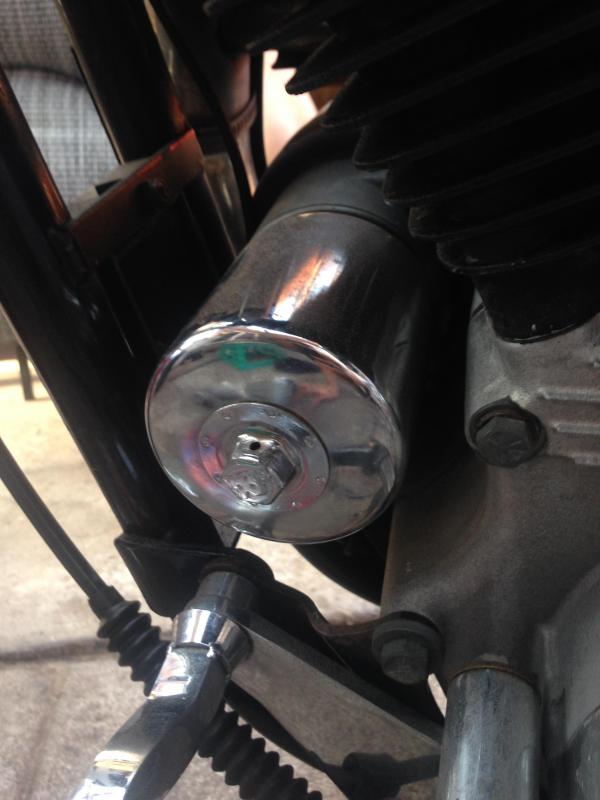
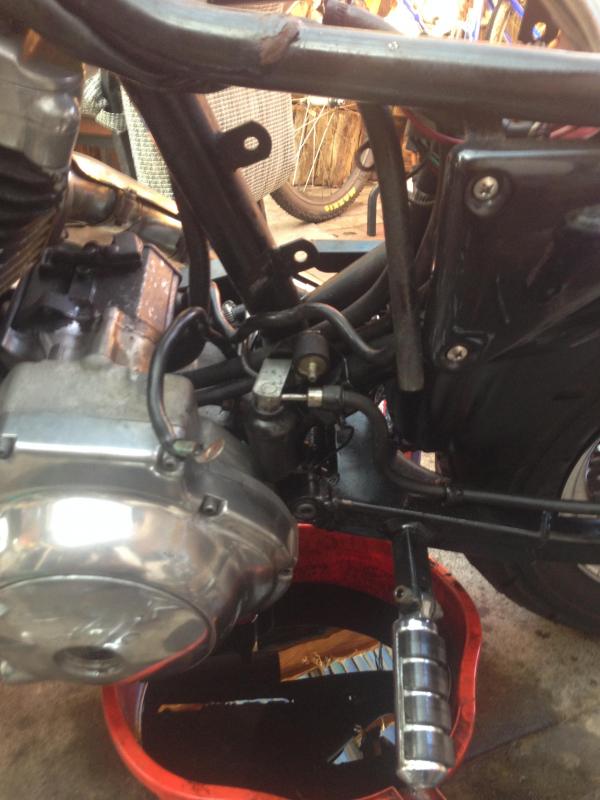
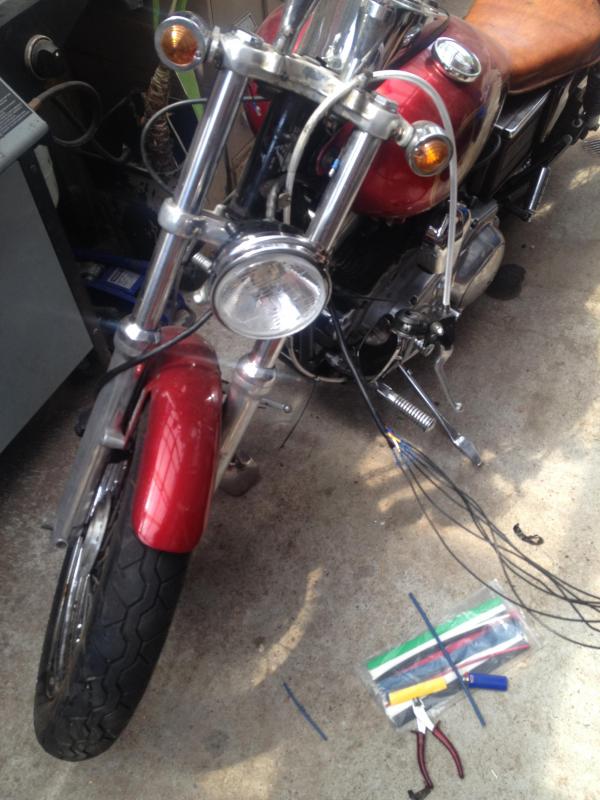
Anyhow i got to work to fix the oil leak, change primary and engine fluid, oil filter, adjust primary chain and clutch.
Battery cover and oil res off.
Dont know why they give you a nut, impossible to get it off using it. Went gen HD
Controls disconnected
Primary chain needs adjusting. Is is a 1/2" freeplay?
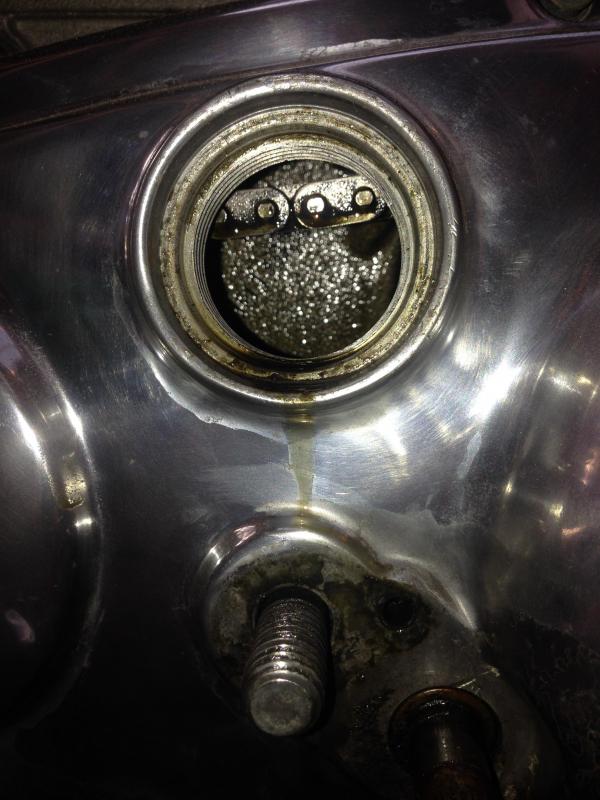
Clutch adjustment
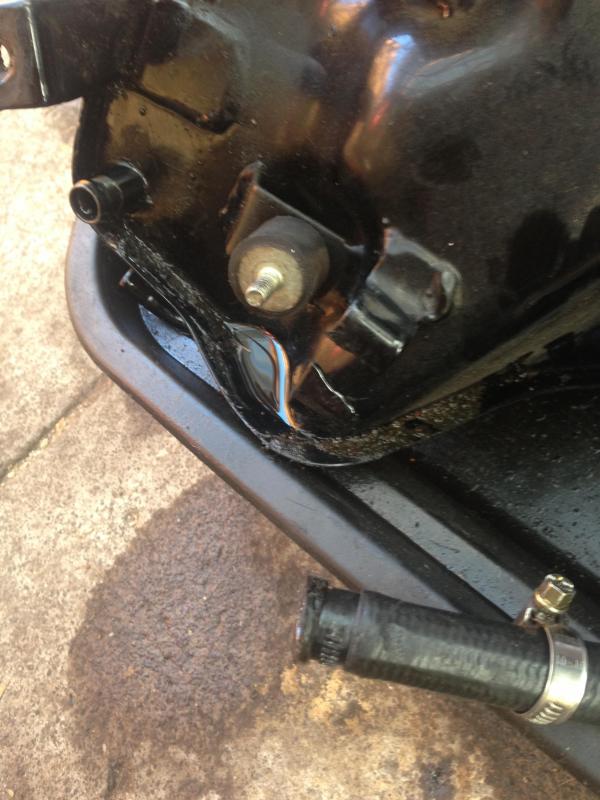
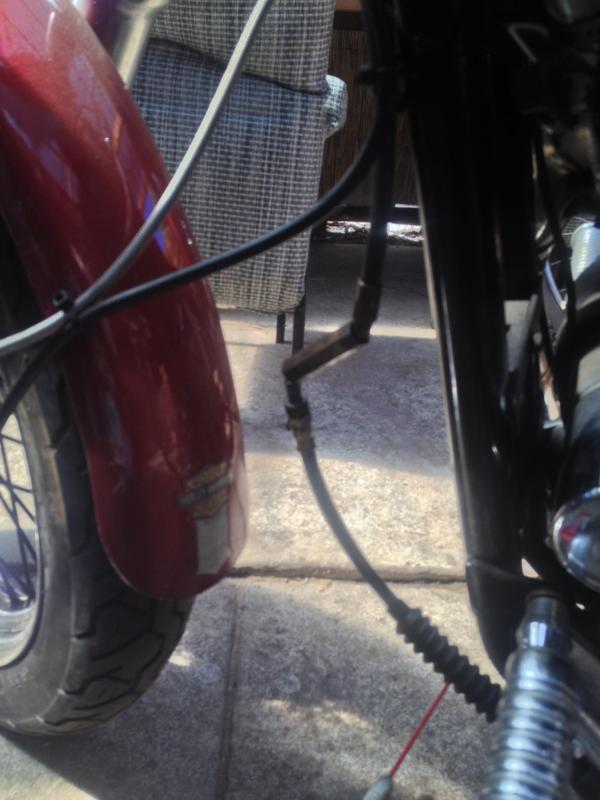
I think this hose was the culprit
And just when things couldnt get any better, my clutch cable snapped.
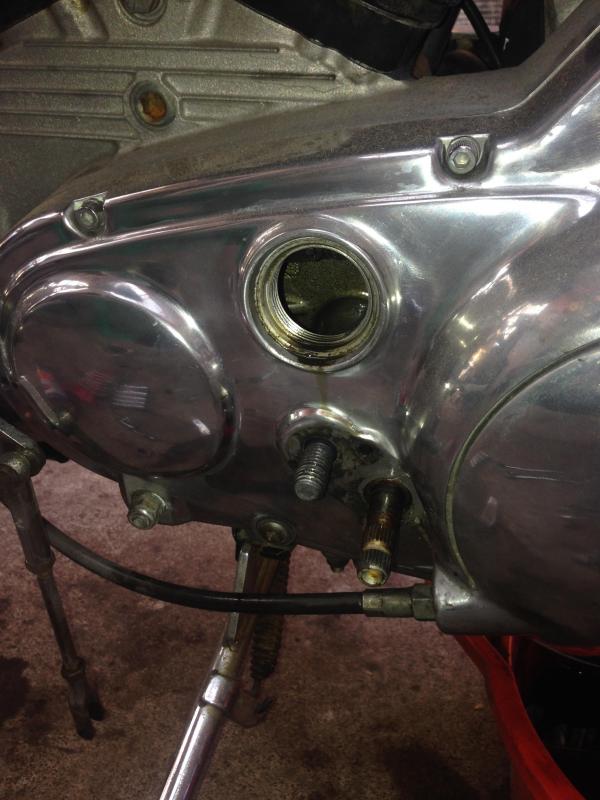
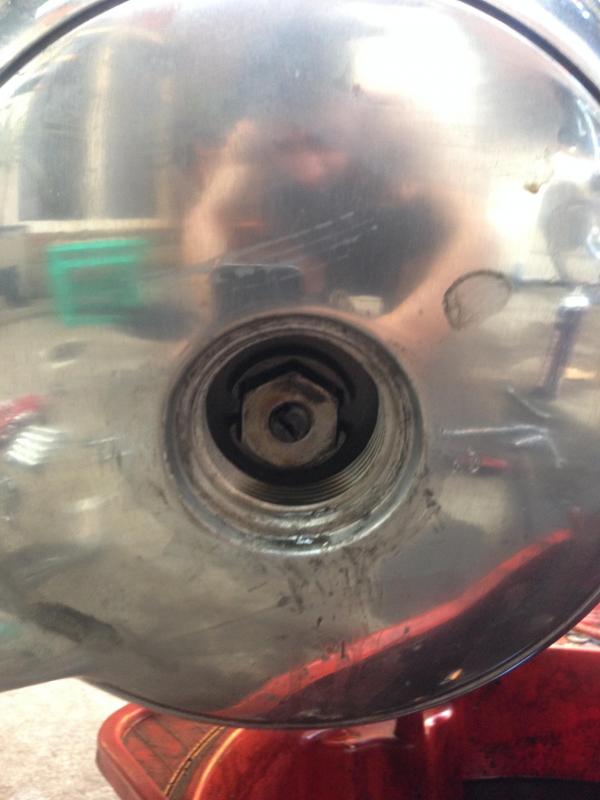
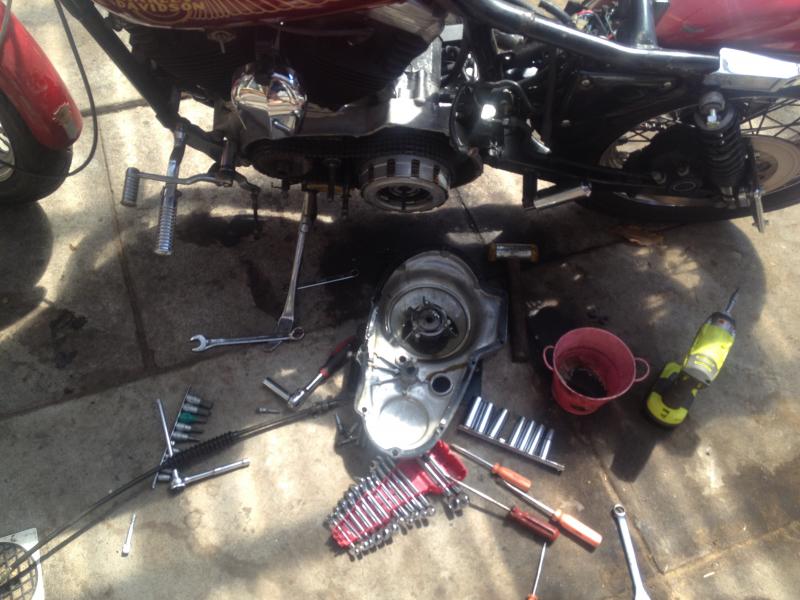
So my predicament is i need to get the clutch cable off to replace it, i just cant get it out of the primary end. I only have a small window with the adjusting screw and hex lock nut thing. The cable had a hex fitting where it physically threads through the case, but that just spins. I suspect the outer (large round) cover has to come off, but how? Desperately need to sort this one out, roadworthy is Wednesday, whoops.
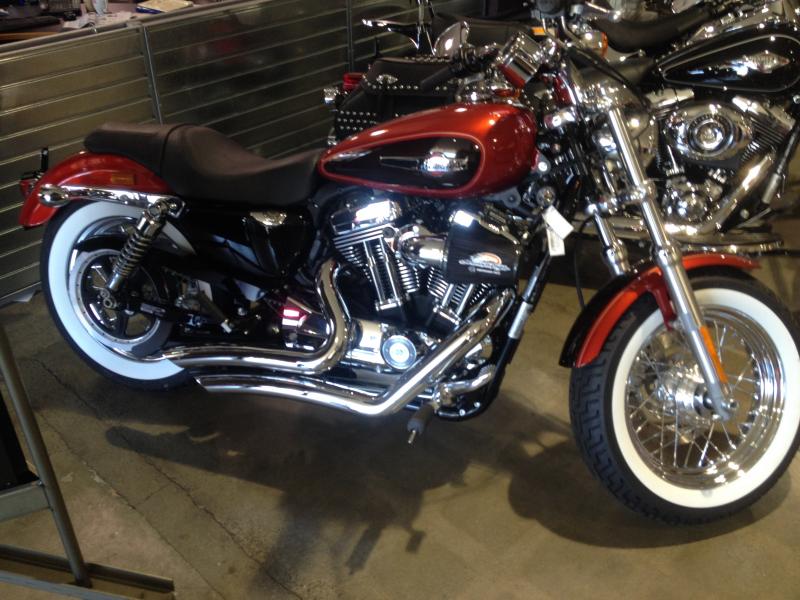
And after a bit of work i managed to get it like this. Lol jokes. Will look something like thought.
And after a bit of work i managed to get it like this. Lol jokes. Will look something like thought.
Edited by judgelj, 13 January 2014 - 09:38 PM.
#108
_judgelj_
_judgelj_
-
- Guests
Posted 22 January 2014 - 04:32 PM
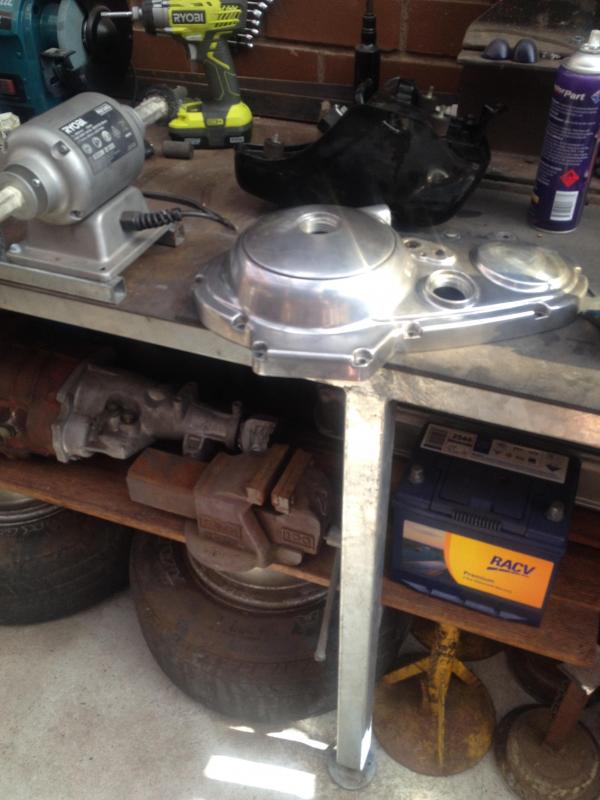
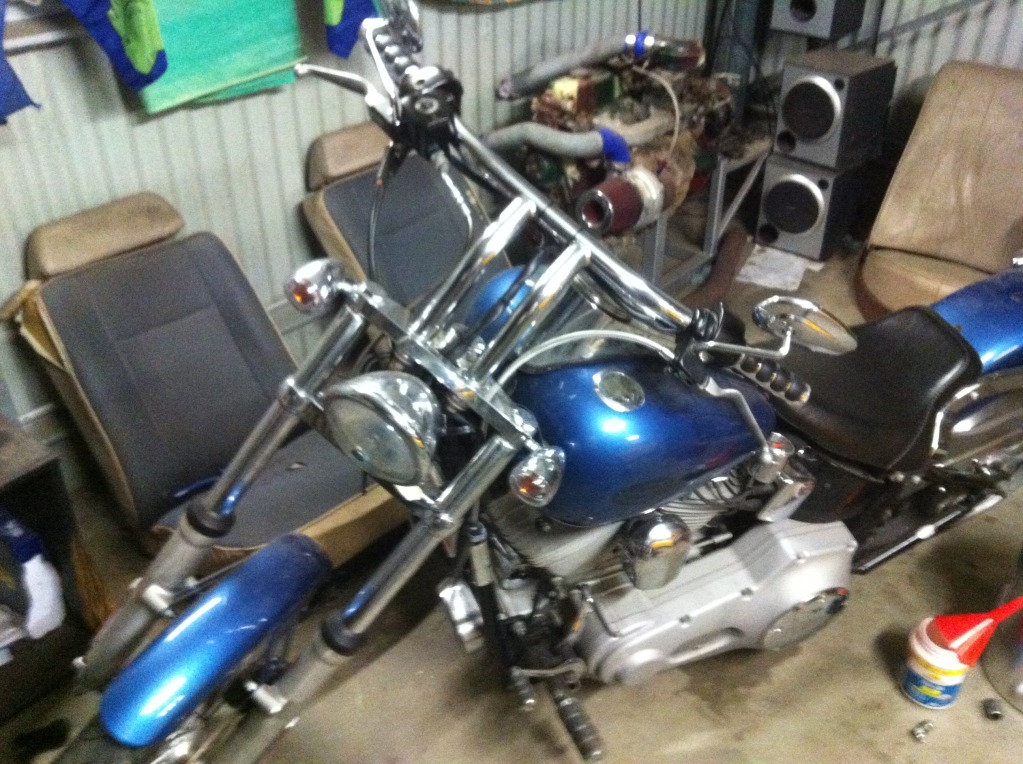
So turns out these need the primary cover off to remove clutch cable, so off it came.
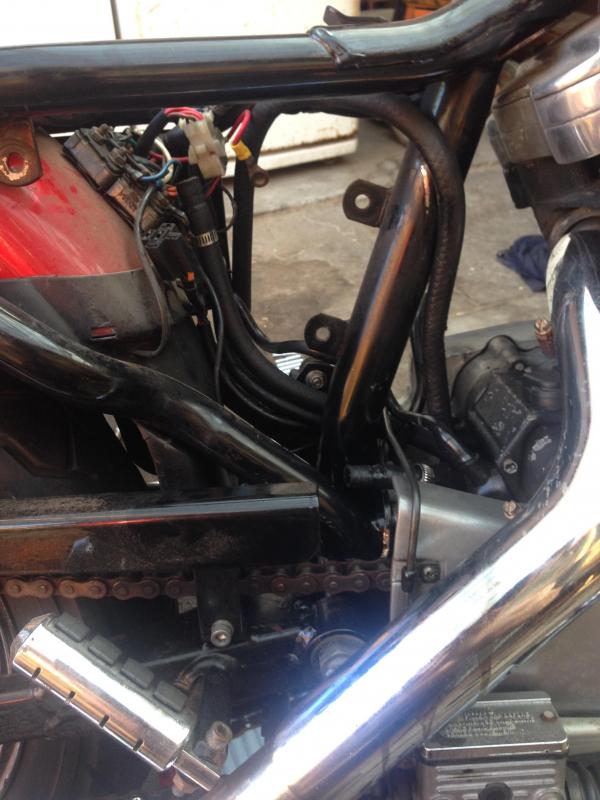
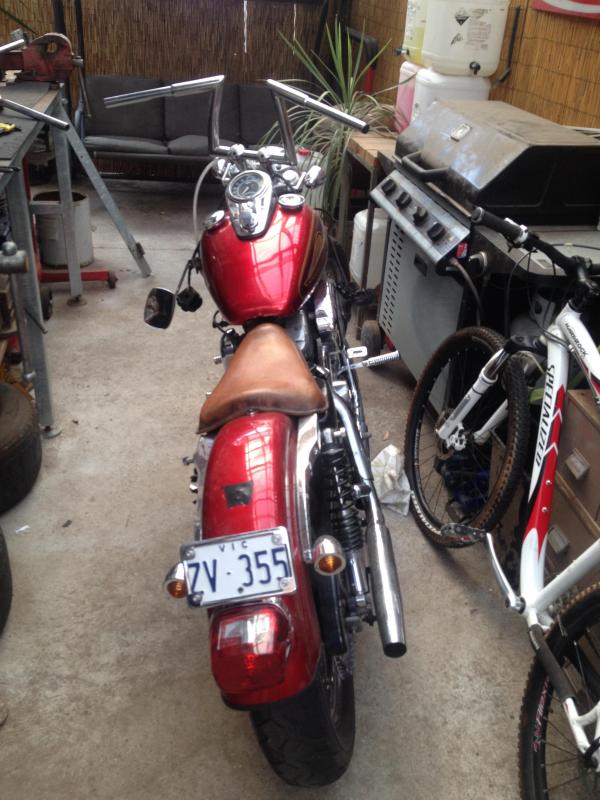
Managed to get it all sorted for a roady, chain adjustment etc. First thing i did afterwards was remove the reflectors and now ive started the bars.
It was an easy job until i noticed the wiring was all twist connections so out came the solder and iron, and we are now internally wiring the bars yes! Nice new sterling chrome clutch cable which was actually plus 10", like the old one. Which is far from stock, must have had some big bars.
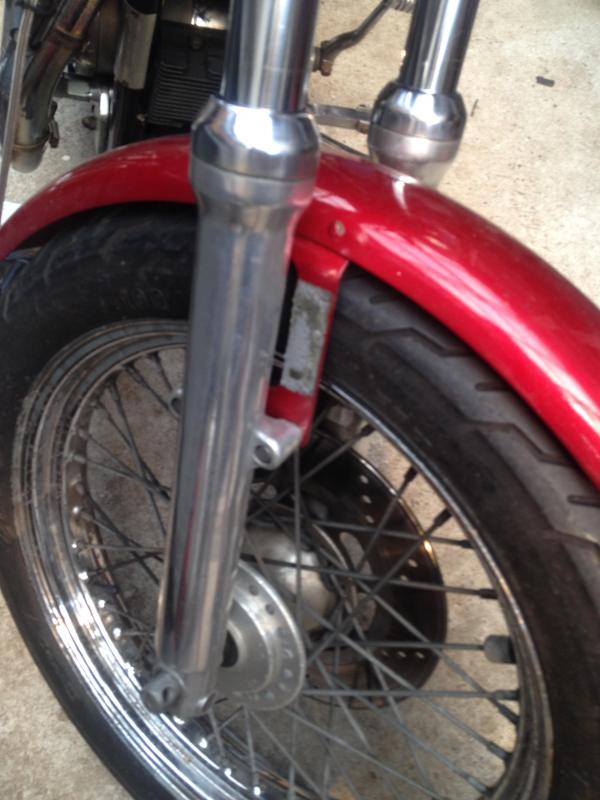
Problems with my lowering brackets the foul on the shock body, but it didnt come with spacers.
Edited by judgelj, 22 January 2014 - 04:41 PM.
#109
_LHSL308_
_LHSL308_
-
- Guests
Posted 24 January 2014 - 05:35 AM
Dont know if them bars suit the bike, I think I prefer the old ones but as long as your happy mate. How'd you go with the roady, did you get it?
#110
_judgelj_
_judgelj_
-
- Guests
Posted 24 January 2014 - 09:41 AM
yeah got the roady pretty easy didnt have to fix much. the day i took it in it was over 40 degrees and wow did it kill me.
Im not sure about the bars either but i've started them now so ill finish it. Didnt pay much for them either so its not a massive deal. The stock bars are a bit uncomfortable for me and too wide.
#111
_LHSL308_
_LHSL308_
-
- Guests
Posted 24 January 2014 - 04:10 PM
Yeah fair enough you can only give it a go.
I have rode in over 40deg myself years ago on a new years eve with all the gear on, never again will I do that again 35deg is about the limit I reckon.
Let us know when its back on the road mate. I'll bring the torrie around to see your machines or you can come around here if you want.
I have rode in over 40deg myself years ago on a new years eve with all the gear on, never again will I do that again 35deg is about the limit I reckon.
Let us know when its back on the road mate. I'll bring the torrie around to see your machines or you can come around here if you want.
Edited by Gonedeaf, 24 January 2014 - 04:11 PM.
#112
_judgelj_
_judgelj_
-
- Guests
Posted 24 January 2014 - 08:27 PM
Yeah i started the ride with all the gear thinking the wind would call me. BIG mistake, as soon as i got off the ring road all my gear was stuffed into my back pack. Bike was missing and spluttering, it was torture for both of us.
And yeah definitely keen to catch up. You at work this time of the year?
#113
_LHSL308_
_LHSL308_
-
- Guests
Posted 24 January 2014 - 09:12 PM
Yeah mate working nights tonight but off for the next 4 days starting tomorrow.
#114
_judgelj_
_judgelj_
-
- Guests
Posted 03 February 2014 - 06:27 PM
Anyway i think i've discovered the oil leak. Apparently these things are very prone to cracking the oil tank, so i will have to once again rip it apart and inspect.
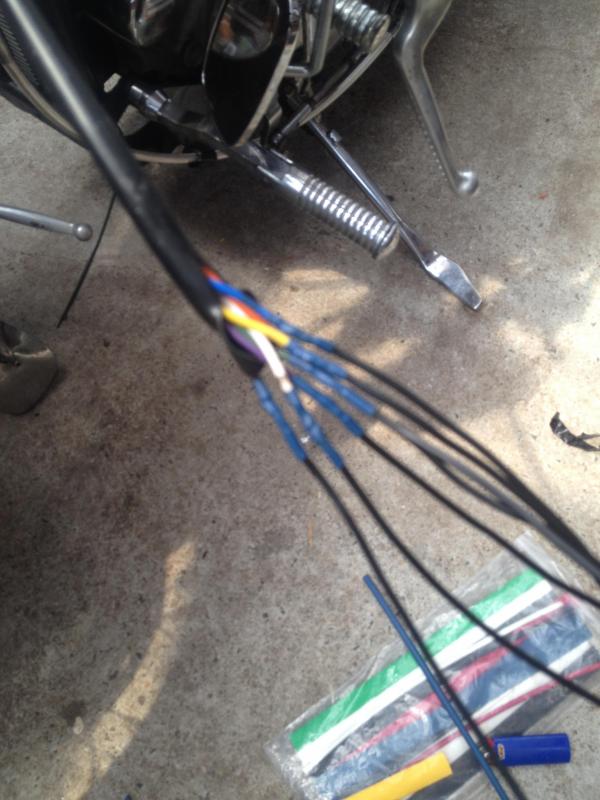
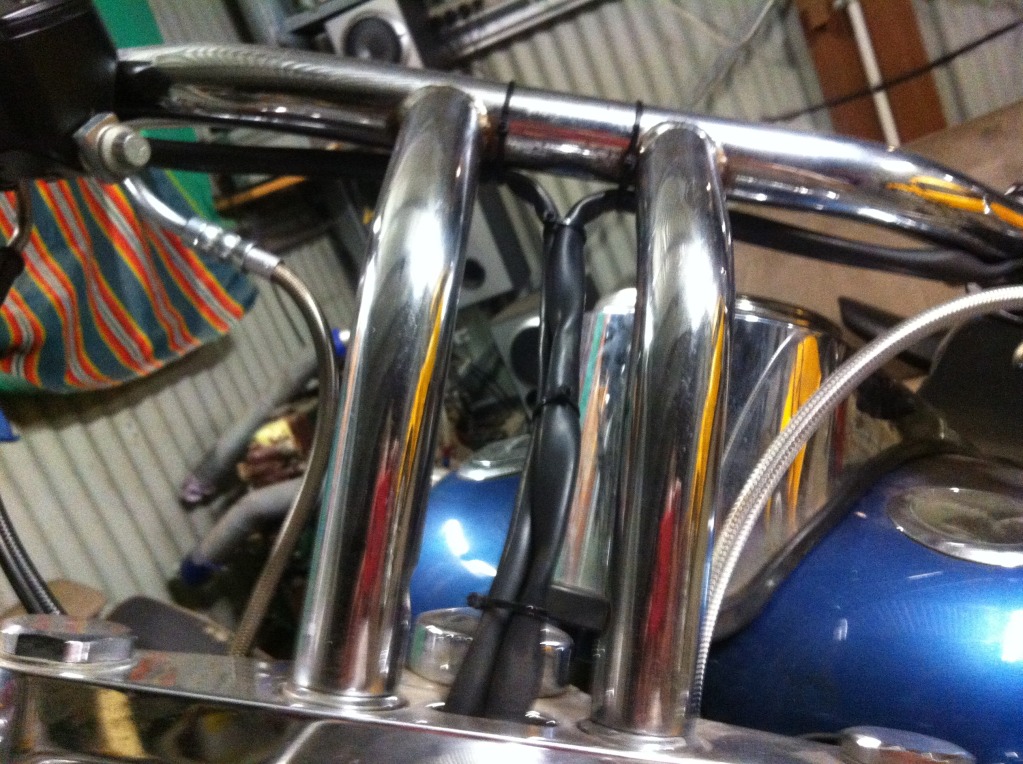
Anyway got to work on internally wiring these Z bars, and wow what a waste of 3 hours. Absolutely no chance im going to get the wires through the way im going at it, so i think im just going to run them on the outside in some sort of sheath. Not sure what though.
So i went to fit everything back on and turns on my brake cable is too short. But then again, my risers are probably too tall and perhaps a good excuse to get rid of them, as this is why i think the bar does look so good, Wayne. Hopefully i can get away with leaving the existing line intact. Next i need to re mount the headlight which will probably be flipped upside down and mounted onto the lower clamp. Not sure what to do with all the dash lights thought as i will be pissing off the factory headlight mount/accessory light holder. Also need to make up some 10mm spacers to allow me to fit the lowering brackets.
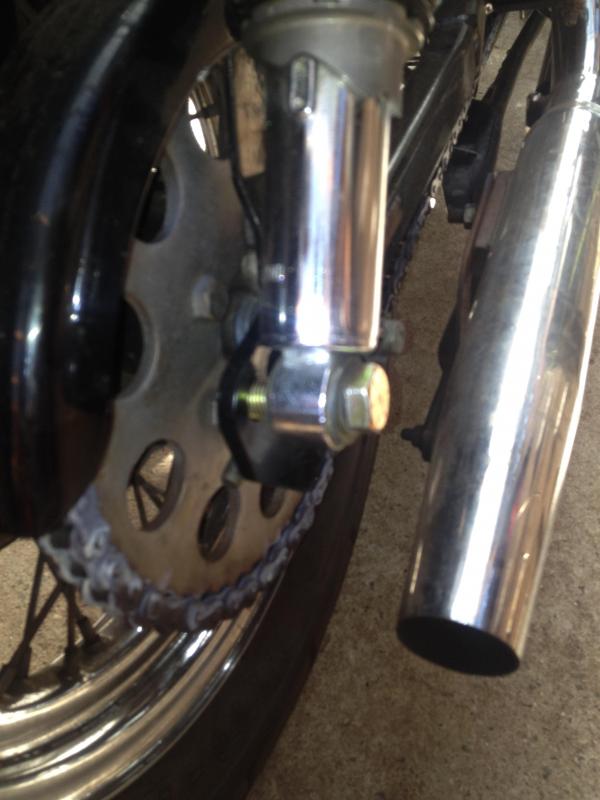
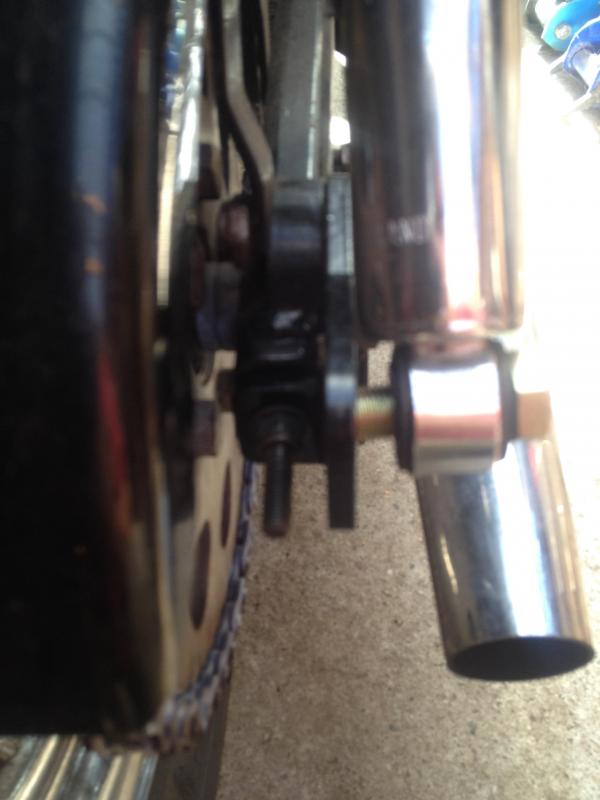
Also, in a completely unrelated event, my chain tightened up to the point it has to play at all. This is strange as it was adjusted to spec and i've noticed it after not riding for a while.
#115
_LS2 Hatch_
_LS2 Hatch_
-
- Guests
Posted 03 February 2014 - 08:51 PM
I take it your having trouble getting the wires through the bars easily.
Start by running a draw wire/string. To do so, using masking tape, tape off all of the holes in the bars except for the two you are going to use. So only leave the one at the bottom, and the one near the dimple open. Tape off the other side dimple and both bar ends. Poke your piece of sting into one of the open holes, then blow air via your compressor through the hole. The air has to come out the other open hole and will take the string with it. Then tightly tape up the wiring loom or even shrink wrap it, attach it to your draw string, and pull through slowly. Some places will need a bit of backwards and forwards motion to get it through the bends, but it should go. Then repeat on the other side.
I've done it this way many times and it hasn't let me down once. But you must have the other holes taped off properly so the air only has one path of travel.
Hope that made sence and helps you out a bit.
#116
_Bomber Watson_
_Bomber Watson_
-
- Guests
Posted 03 February 2014 - 10:01 PM
Thats a far better idea than using a piece of tig wire and lots of swearing like I did it last time....
Cheers.
#117
_judgelj_
_judgelj_
-
- Guests
Posted 03 February 2014 - 10:42 PM
Thats a far better idea than using a piece of tig wire and lots of swearing like I did it last time....
Cheers.
Mate i dont think anything works with these bloody things. There are to >90o bends. I thought about wire, probably a better idea as it will hold the wires better than tape.
I take it your having trouble getting the wires through the bars easily.
Start by running a draw wire/string. To do so, using masking tape, tape off all of the holes in the bars except for the two you are going to use. So only leave the one at the bottom, and the one near the dimple open. Tape off the other side dimple and both bar ends. Poke your piece of sting into one of the open holes, then blow air via your compressor through the hole. The air has to come out the other open hole and will take the string with it. Then tightly tape up the wiring loom or even shrink wrap it, attach it to your draw string, and pull through slowly. Some places will need a bit of backwards and forwards motion to get it through the bends, but it should go. Then repeat on the other side.
I've done it this way many times and it hasn't let me down once. But you must have the other holes taped off properly so the air only has one path of travel.
Hope that made sence and helps you out a bit.
Surprisingly the draw string is the easiest part. I just use fishing line and a sinker and it pulls itself through. Problem is when i try to pull the wires through, i can get them through the first bend, but not the second, without much room to push without it bunching up. I tried everything, different types of string, grease, wd40, with tape, without tape, with some tape, lol, nothing worked. The most i got was 4 wires through, there are 7 in total. Maybe these z bars are not for internal wiring? They are also sharp on the inside and they shred the wire.
Cheers
#118
_LS2 Hatch_
_LS2 Hatch_
-
- Guests
Posted 04 February 2014 - 01:38 PM
OK. Now you got me.
I'm outta ideas :(
#119
_judgelj_
_judgelj_
-
- Guests
Posted 04 February 2014 - 06:40 PM
Grant i was having a think about it, and maybe its because the bars have two 120o bends? Usually z bars are 90o but these make it difficult. I did read somewhere to use a spool of plastic cord, run it through as a draw string, tape one wire to it and pull it through. Then remove the tape, tape the next wire on and pull that through. Continue until all are pulled through. Does this make sense to you? Seems like it could work?
#120
_LS2 Hatch_
_LS2 Hatch_
-
- Guests
Posted 04 February 2014 - 07:46 PM
That sounds like your saying one wire at a time. I gues it's worth a try.
When I tape the loom to the draw wire I stagger the wires to make sure it goes through kinda pointy and not as a stopper if you get my drift.
If you did it that way I guess you could make the stagger over a couple hundred mm and see how that goes.
Good luck
When I tape the loom to the draw wire I stagger the wires to make sure it goes through kinda pointy and not as a stopper if you get my drift.
If you did it that way I guess you could make the stagger over a couple hundred mm and see how that goes.
Good luck
#121
_judgelj_
_judgelj_
-
- Guests
Posted 04 February 2014 - 08:08 PM
Yeah one wire at a time, gave it a go but still not much luck. My cord keeps snapping might need to buy thicker grade. I also tried staggering them which is when i got about 4 wires out of 7 through. I can try staggering them over a few 100mm, would involve a lot of wire though.
I actually think there is tape stuck inside the bars, not sure how i would get this out short of burning it, but i dont want to blue the chrome. I might give it one more go, if i cant do it ill just wire them externall, cant look that bad, its not a chopper. Later on when i have the cash ill pay someone else for the headache!!
#122
_Bomber Watson_
_Bomber Watson_
-
- Guests
Posted 04 February 2014 - 08:12 PM
When i swapped bars on my Softail recently i just ran the wires externally, but this was due to lazyness ande because i know im going to pull them back off later so couldnt have been #@$^%& cutting and soldering only to have to cut and solder them again in the future.
Looks pretty rank though, i'll get a pick....
#123
_Bomber Watson_
_Bomber Watson_
-
- Guests
Posted 04 February 2014 - 08:24 PM
Looks ok from back here??? LOL.
With your Z bars you would probably be better following the cables, that was the neatest way i could think of in a hurry for my particular bars.
Cheers.
#124
_LS2 Hatch_
_LS2 Hatch_
-
- Guests
Posted 05 February 2014 - 05:44 AM
If you can't hide them, maybe even cover them in braid or a chrome flex.
Stock bars are done externally and you don't notice them that much. Over time even Bomber wouldn't notice his that much. At the start it would get to you cause that's where you will look.
You can only do what you can!
Stock bars are done externally and you don't notice them that much. Over time even Bomber wouldn't notice his that much. At the start it would get to you cause that's where you will look.
You can only do what you can!
#125
_Bomber Watson_
_Bomber Watson_
-
- Guests
Posted 05 February 2014 - 07:17 AM
When it gets pulled apart for a respray i will do them internally.
Your right, from most angles it doesnt stand out THAT much....
Still looks ghetto thoigh lol.
Your right, from most angles it doesnt stand out THAT much....
Still looks ghetto thoigh lol.


0 user(s) are reading this topic
0 members, 0 guests, 0 anonymous users

