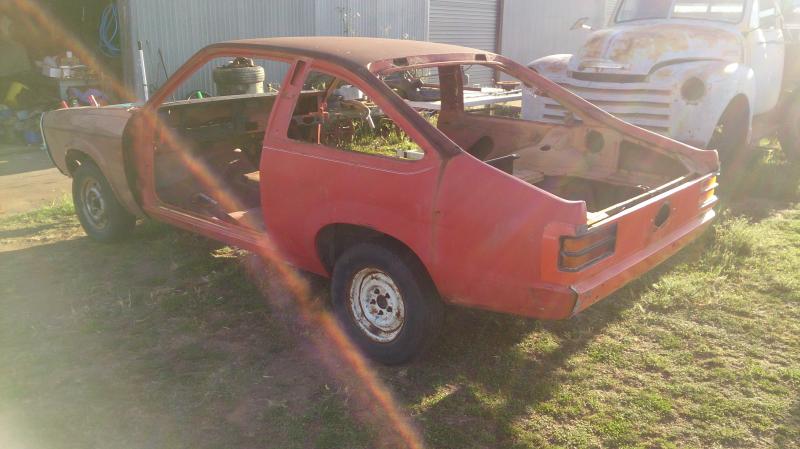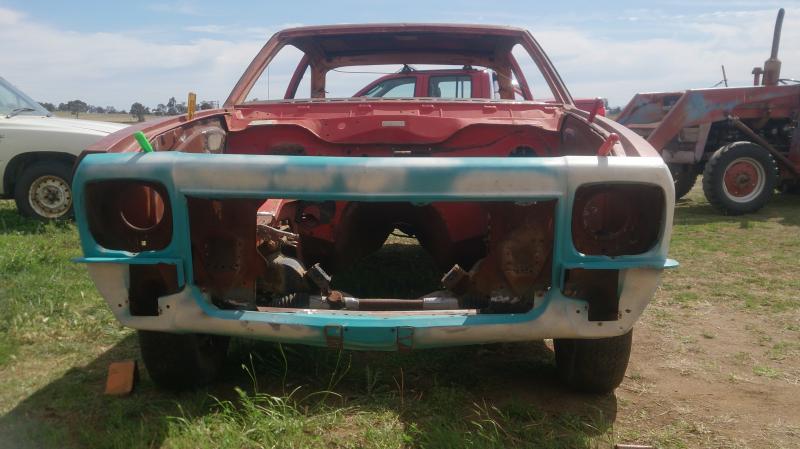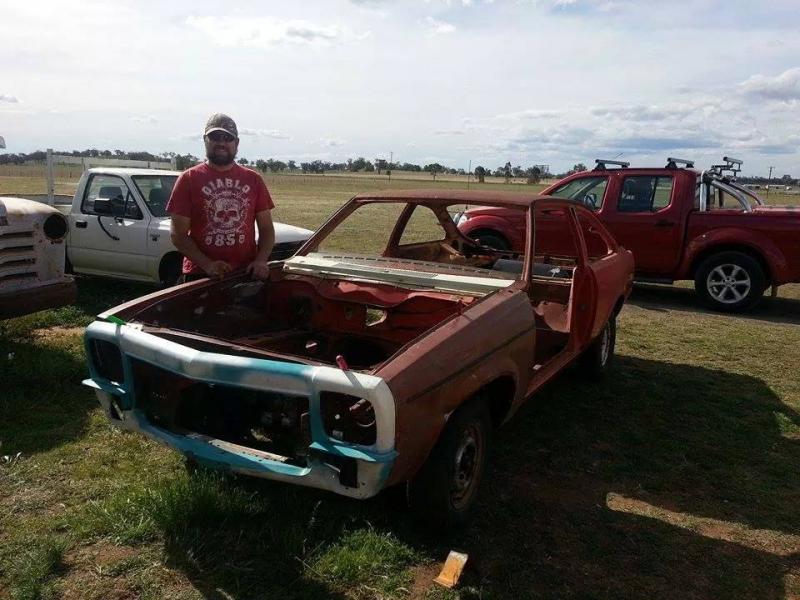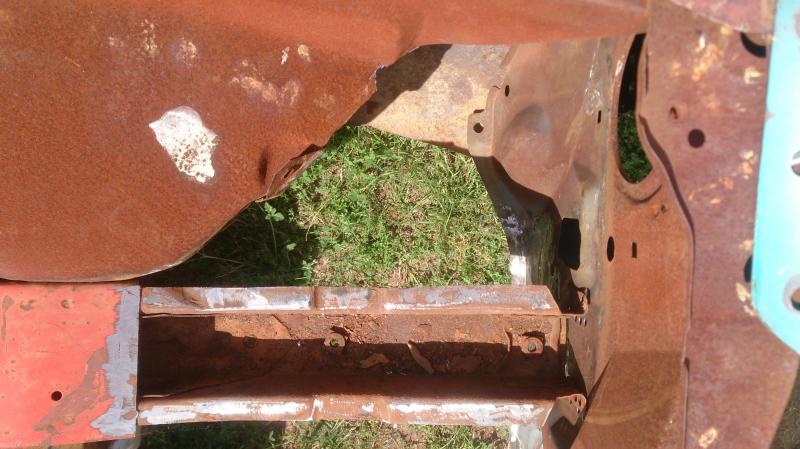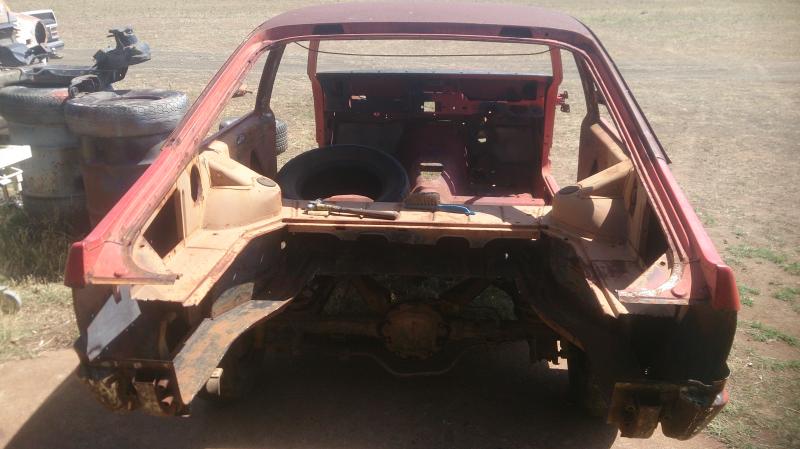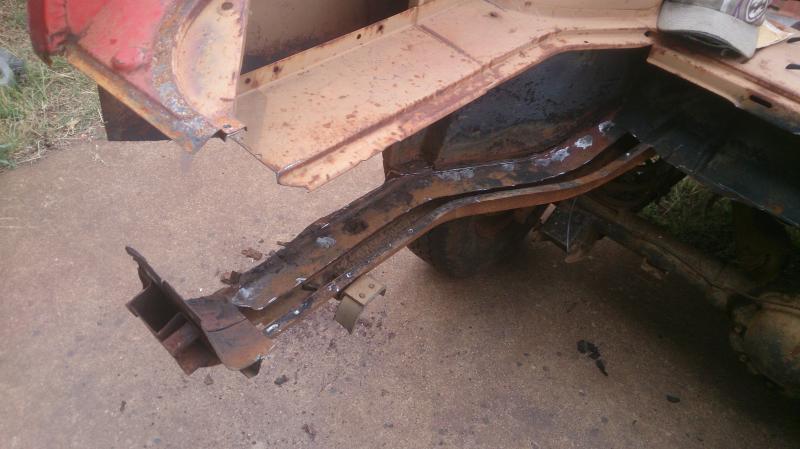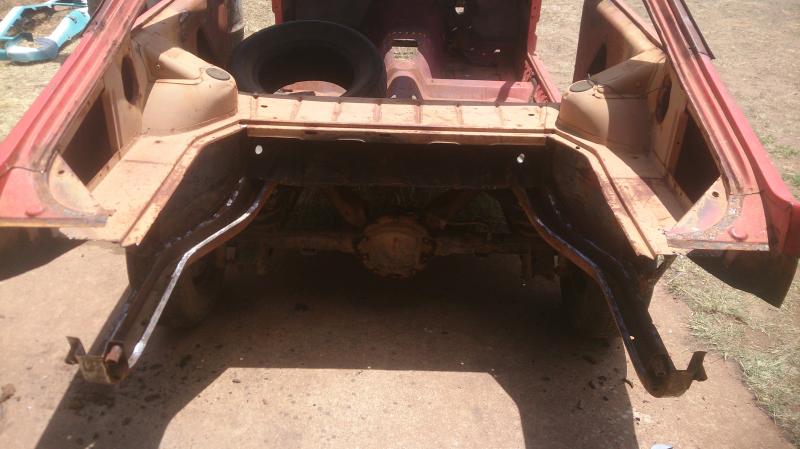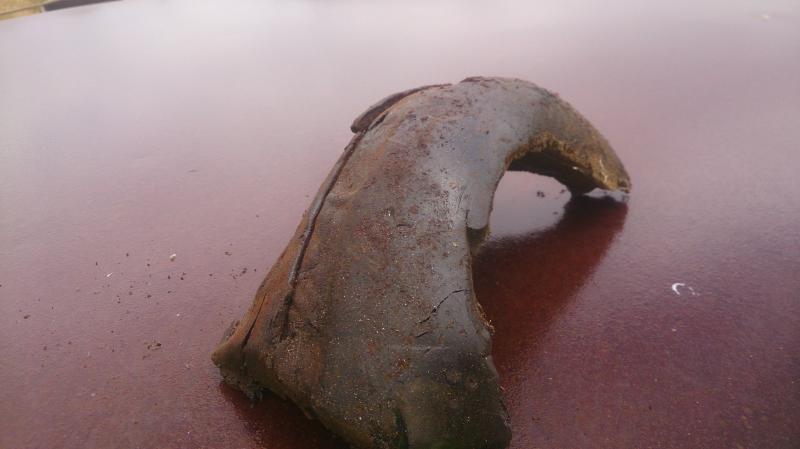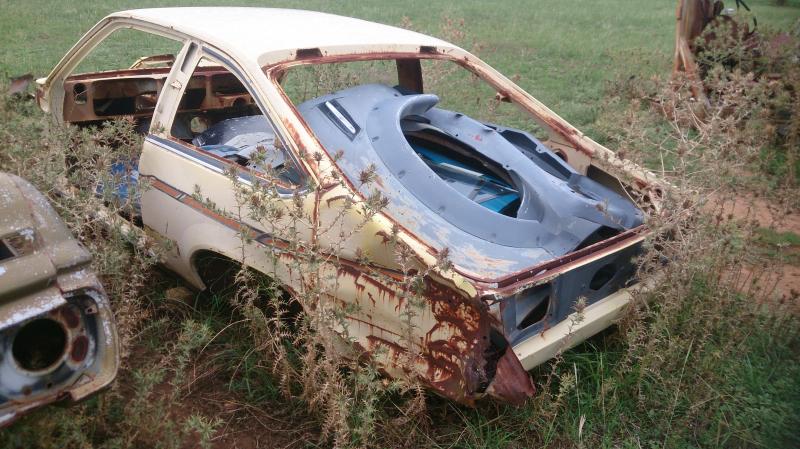
Yet Another UC/LX Hatch Conversion, slow but picture heavy.
#26

Posted 16 September 2014 - 09:01 AM
#27

Posted 16 September 2014 - 11:10 AM
Cheers Neil
#28

Posted 16 September 2014 - 10:17 PM
Looking forward to your updates.If
Cheers, TB
#29

Posted 18 September 2014 - 09:56 AM
Im glad your enjoying, even if it just helps someone out ![]()
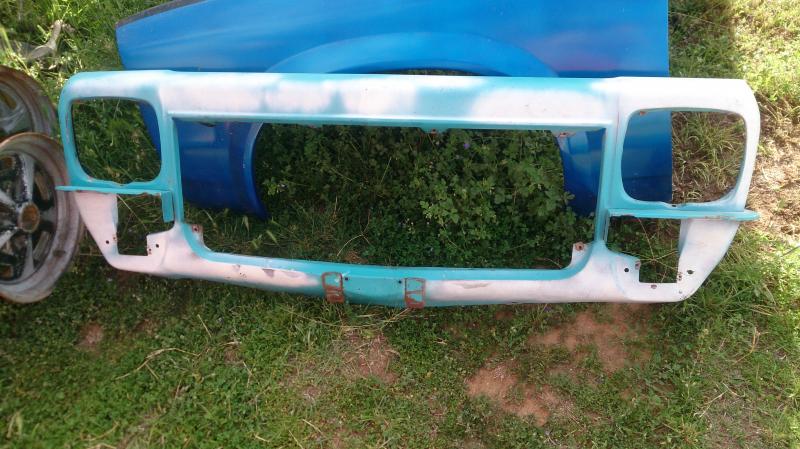
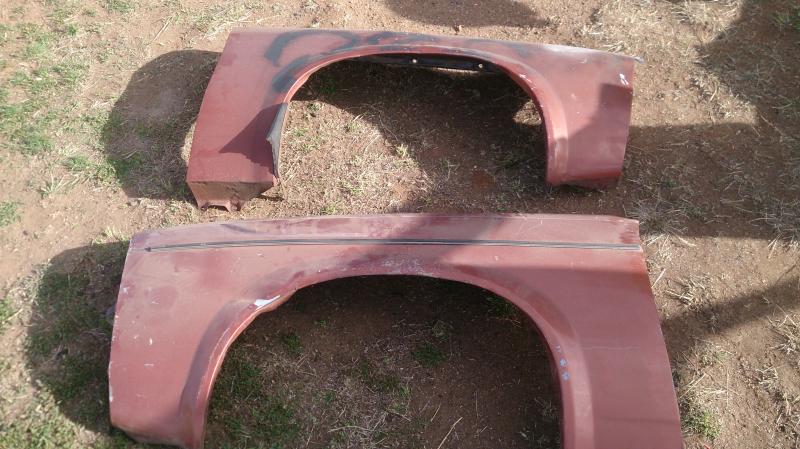
I bought a few rust free front panels for it at local swap meet on the weekend. I already had all front panels but they both gaurds neaded lower patchs welding in.
Will finish removing old front this weekend and go from there.
Chears Neil
#30

Posted 21 September 2014 - 08:12 PM
Hi There.
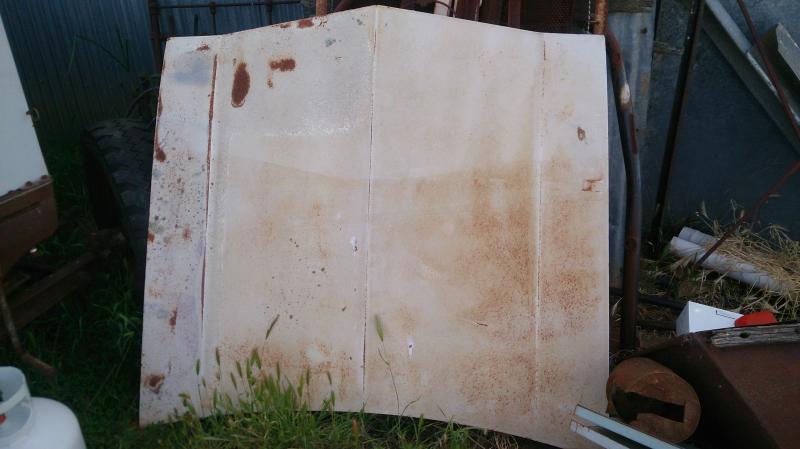
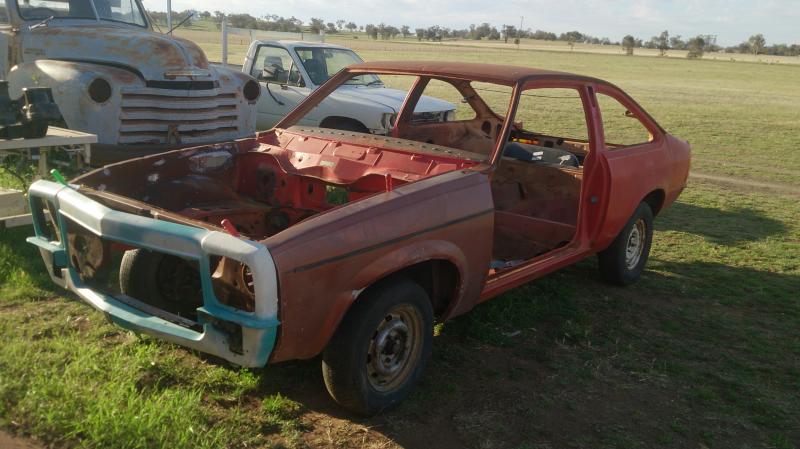
Small update on the build. Iv got some LX front panels ready for conversion, a couple of gaurds from Gunnadah swap meet, a bonnet from a mate and a nose cone i got from wreckers a few years ago
Iv got a fair few panels around but just wanted best ones for less work.
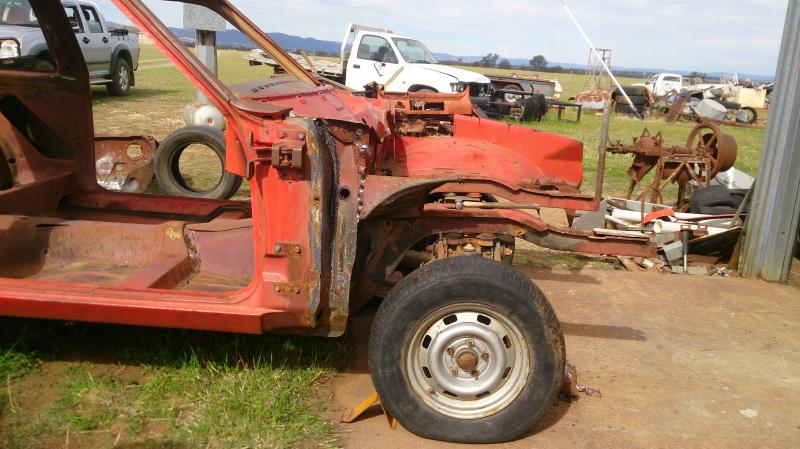
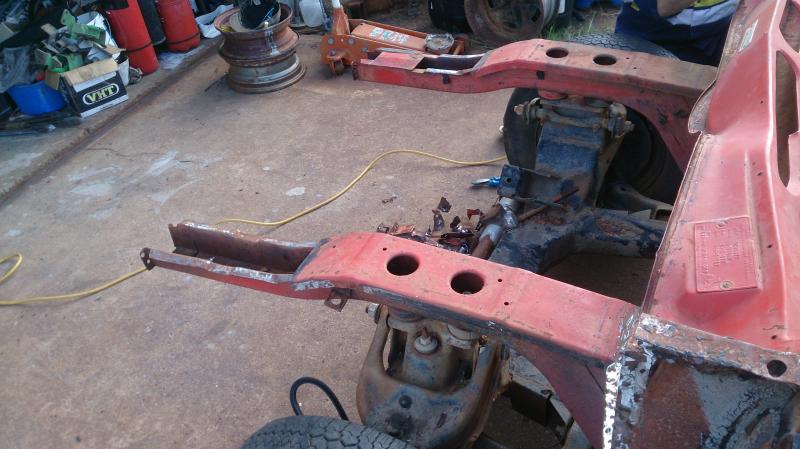
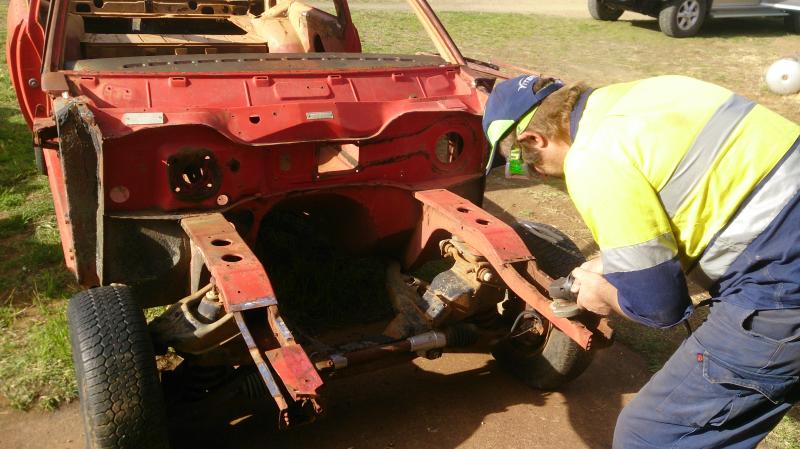
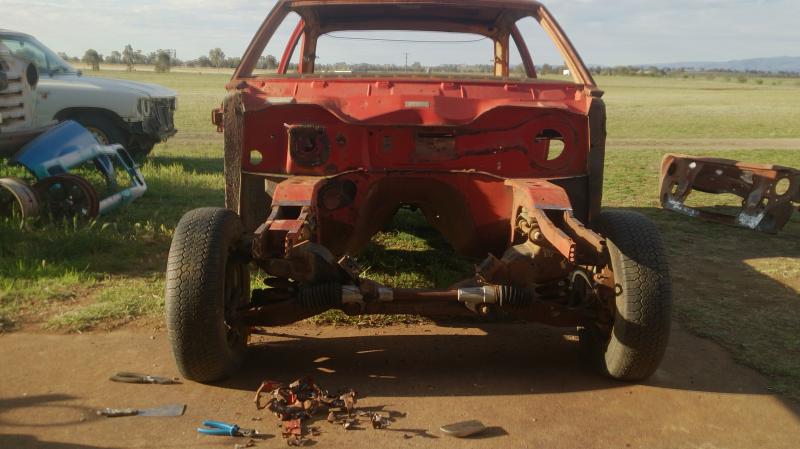
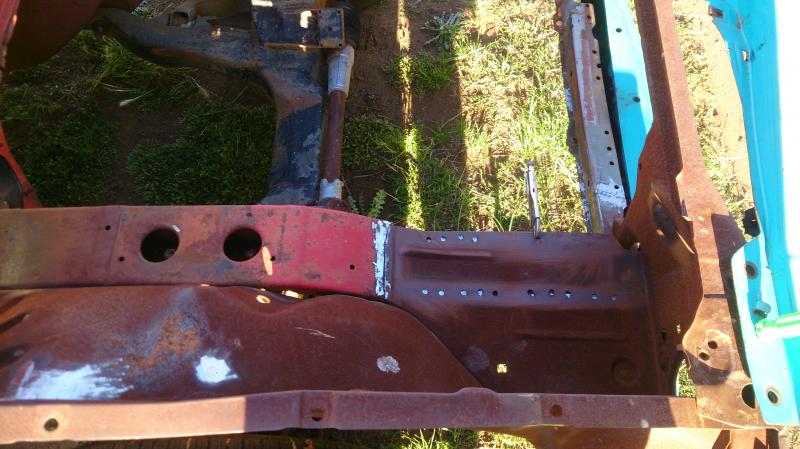
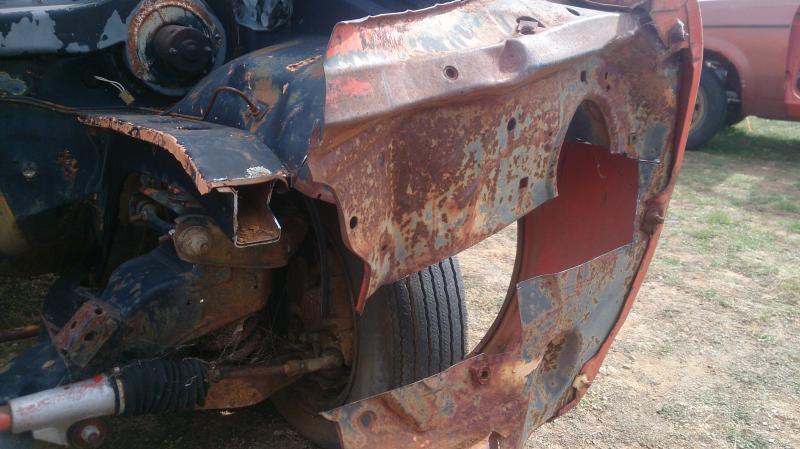
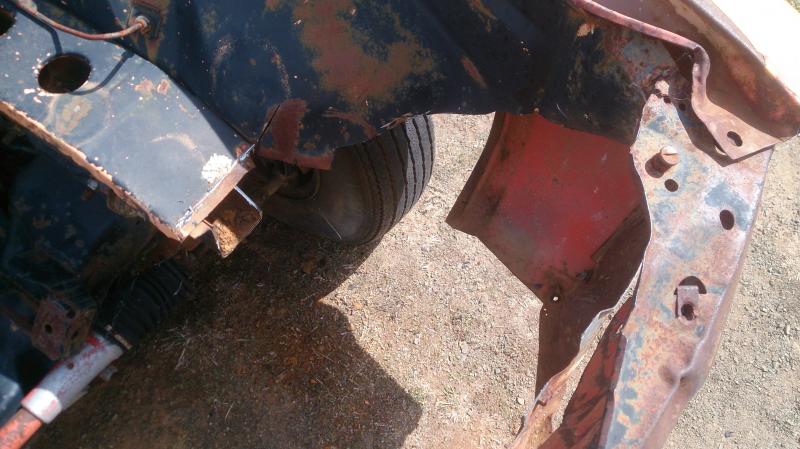
Now time to finish removing the front
Left side off
My uncle cleaning up a few spot welds i ground off
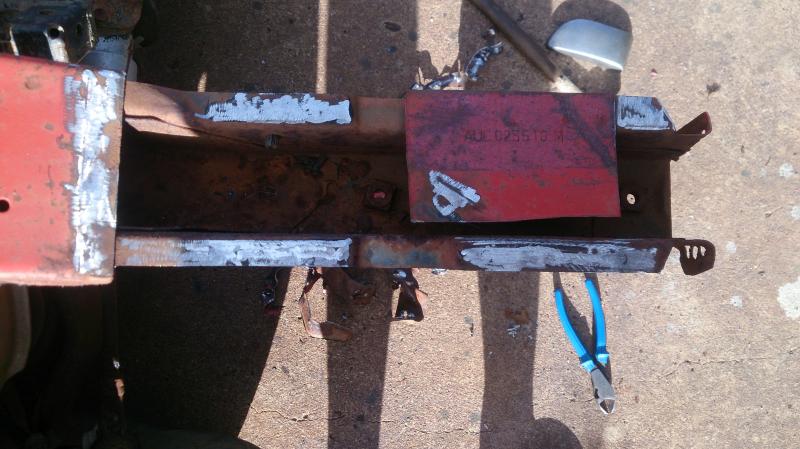
Body number not moving from rail
And now No more UC front ![]()
#31

Posted 22 September 2014 - 06:55 PM
Hi
Part 2 update i didnot finish last night
UC handbrake is getting binned.
And Uncle has made new Bonnet hinge supports.
Time to test fit LH front section and see how it looks
Looking very rough but better than square UC front
Not the best photo but its there
Nice Front
One happy Lad.
Next item to find is replacement Battrey tray, bumper mounts and look into replacing UC Hatch floor with a LX one.
#32
 _LS1 Taxi_
Posted 22 September 2014 - 07:04 PM
![]()
That is so frOcking awesome.
Great work. Keep it up and the updates and pics coming!!
#33

Posted 22 September 2014 - 07:48 PM
Thanks mate, will have to hang all panels inc doors replacement battrey tray, front bar to line it all up. Even got hole cut in firewall for LX wiring harness.
Not an easy job but not impossable.
Chears Neil
#34

Posted 22 September 2014 - 10:31 PM
Keep it going!
#35

Posted 22 September 2014 - 11:31 PM
^ I was thinking the same thing about the handbrake.
Great build though Neil, looking forward to more...
#36

Posted 23 September 2014 - 08:41 AM
Lost an argument (discussion) with my Uncle about handbrake and floor ![]() I was happy for it to stay but Uncle (welder, metal fabricator) said no wont be an LX then lol.
I was happy for it to stay but Uncle (welder, metal fabricator) said no wont be an LX then lol.
#37

Posted 23 September 2014 - 08:17 PM
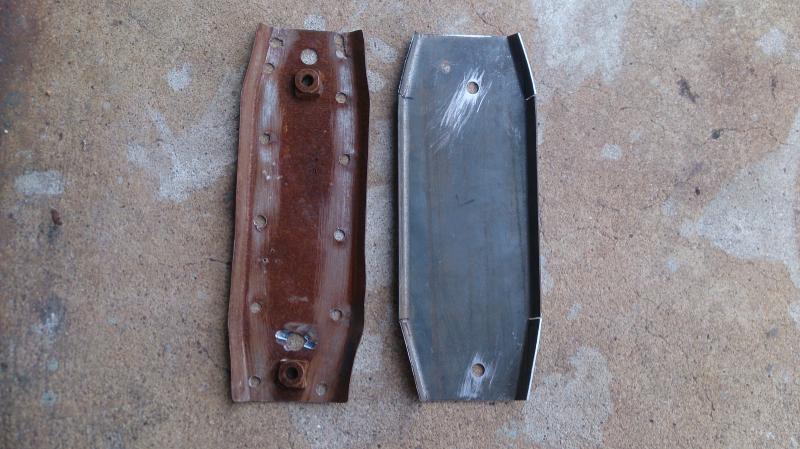
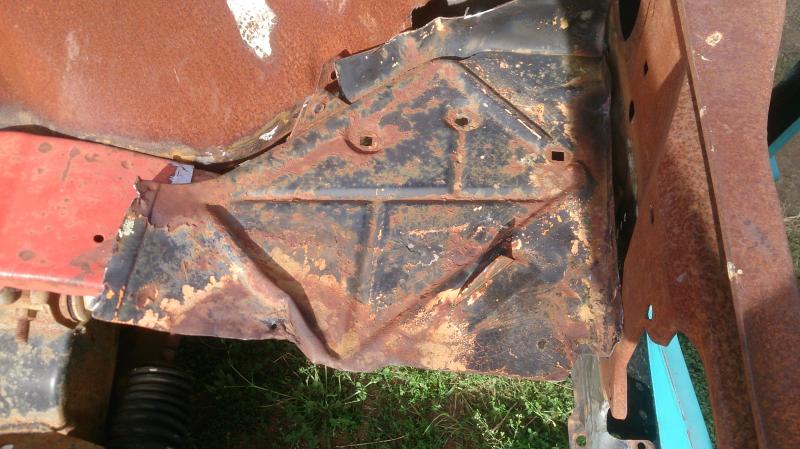
Before front is able to be sorted nead to find another LX Battrey tray as the UC one was different as nead to mount bumper mounts onto.
Old Battery tray removed
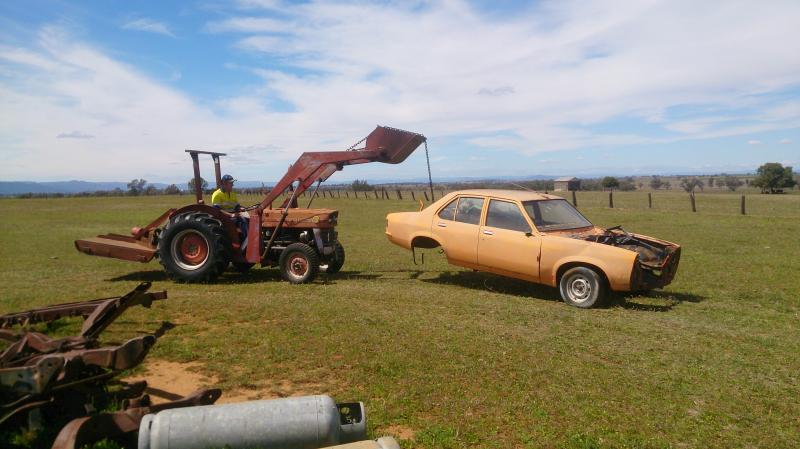
So dragged this LX around the front of shed to raid for parts
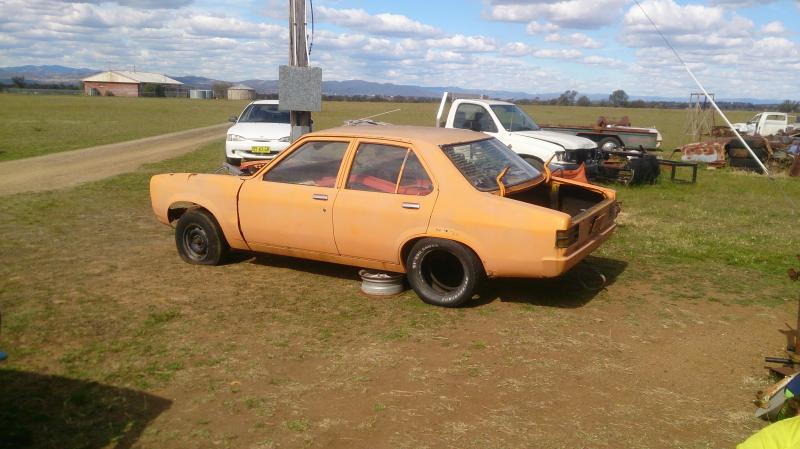
Factory V8 shell but its rooted.
Fronts had a hit and theres lots of rust in the roof.
Cut out Battrey tray support.
Trimmed up til front can be all lined up.
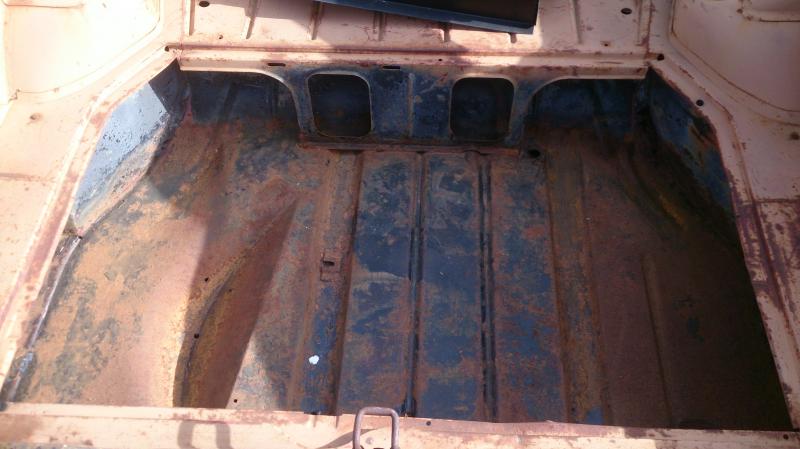
Hatch floor has some rust and my Uncle wants to fit a LX floor instead of patching UC floor.
We will see about that as this LX floor is going to nead some work.
Chears Neil
#38
 _GTR_069_
Posted 23 September 2014 - 08:56 PM
Love this thread good work
Hey what are bonnet hinges like on donor???
Found out ours worn on the hatch
#39

Posted 23 September 2014 - 09:49 PM
#40

Posted 23 September 2014 - 10:22 PM
Damn you got a lot of donor shells!
#41

Posted 24 September 2014 - 03:10 AM
#42

Posted 06 November 2014 - 04:54 PM
Hi there.
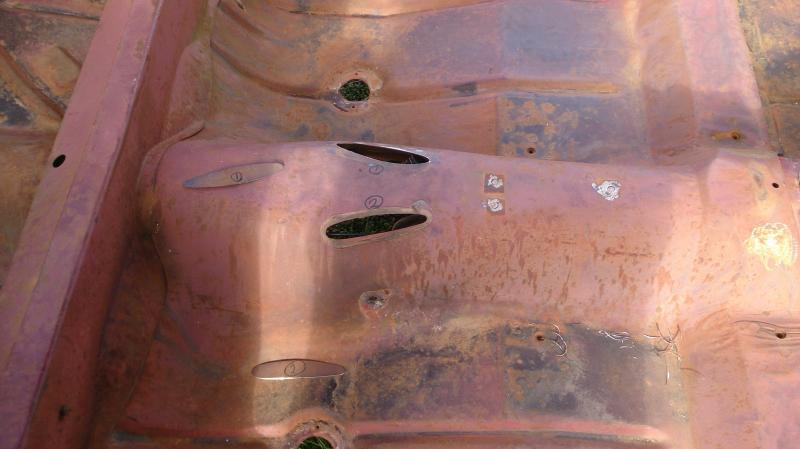
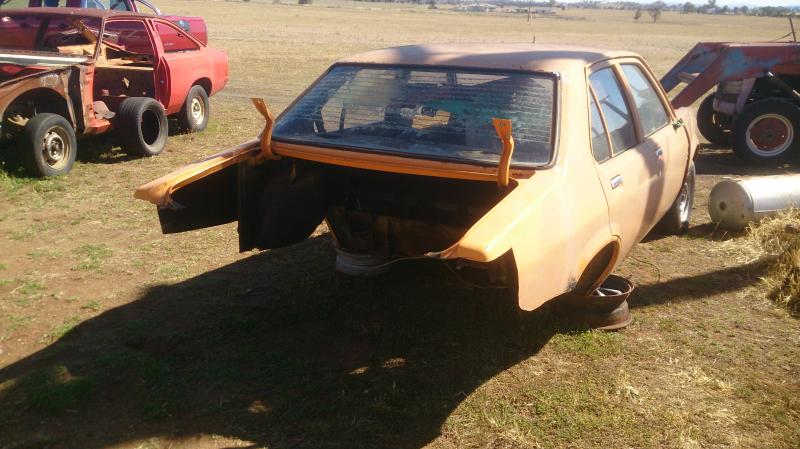
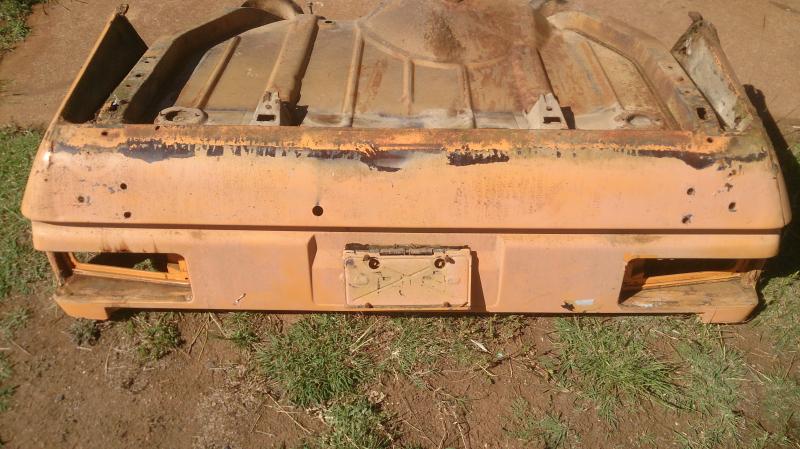
Photobucket is down so cant upload update pics but another possably insane idea has come up in changing the Hatch floor. Looking at removing whole LX sedan bootfloor, lower quarters (as UC ones rusty) and rear tailight panel and swapping the whole lot over into the UC. Have done a few measurement, oxy grinder and drill has been fired up and donar section has been cut out. Will now look at how hard it will be to swap it all over. Update pics when able to
Chears Neil
#43
 _Mid Life Crisis_
Posted 08 November 2014 - 06:59 AM
Hey Neil, wish I was able to make the same progress as you, I have only just unpicked the Plenum from the front cut you sold me a while ago.
Great work Mate.... I now understand what you meant about having a couple of shells around the farm.... very jealous....
Dave
#44

Posted 15 November 2014 - 03:55 PM
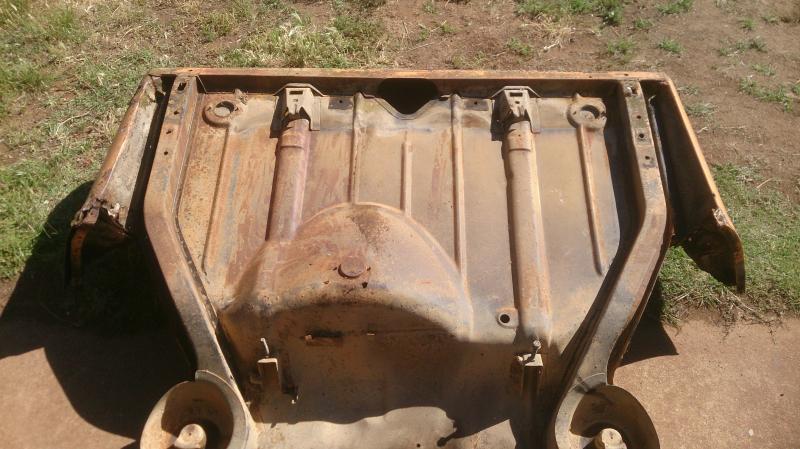
Okay , Photobucket is working so have uploaded some photos. Plan of attack. Measured LX sedan for rear tailight panel bootfloor lower quarters and Fuel Tank brackets. Cut away and grind off spot welds until all unwanted LX metal is removed then cut away whats not required in Hatch.
So sedan parts cut out.
So Rails nead to be unstitched and anything not neaded tossed out.
Left lower quarter not much chop so cut another quarter out from another UC sedan.
Drivers side fine
Fun job of grinding away more spotwelds
Towbar holes welded up, and couple of patch panels fitted. LX sedan towbar and botwing have on my current LX sedan for last 10 years
So heres the Crazy idea part on Hatch started
Should all slide in from behind. Rear rails where bumper mounts are will nead to be measured cut in half and welded back on afterwards.
Shall be getting few more pics uploaded tommorow or Monday.
#45

Posted 15 November 2014 - 03:57 PM
Hey Dave as long as you make progress of sorts its all good. Im liking your work keep into it.
Hey Neil, wish I was able to make the same progress as you, I have only just unpicked the Plenum from the front cut you sold me a while ago.
Great work Mate.... I now understand what you meant about having a couple of shells around the farm.... very jealous....
Dave
#46
 _Macca97_
Posted 16 November 2014 - 08:14 PM
looking good ![]() , that chev is around 49-54 i think that style ran, first ones to have a synco box in them
, that chev is around 49-54 i think that style ran, first ones to have a synco box in them ![]()
#47

Posted 13 January 2015 - 07:53 PM
Hey few updates on whats been happening.
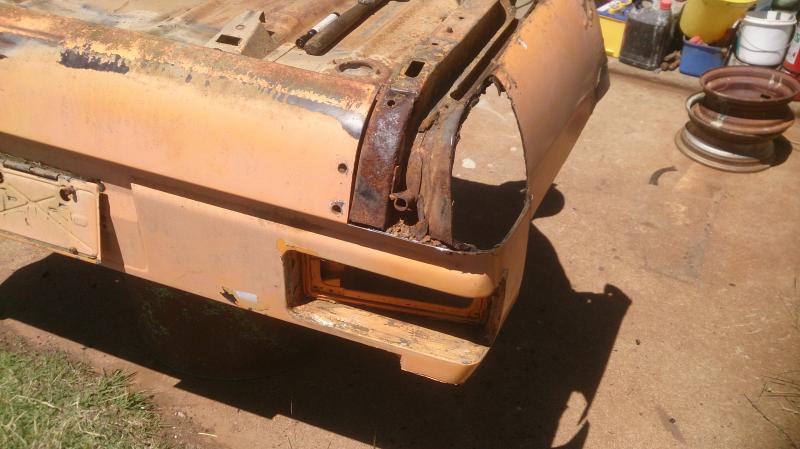
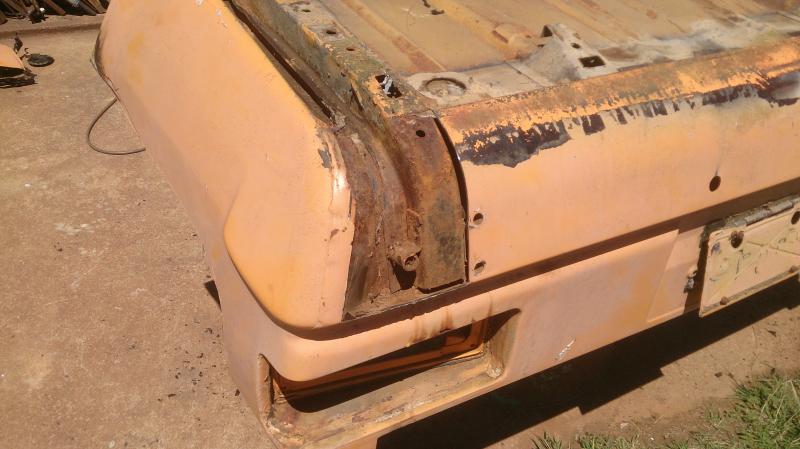
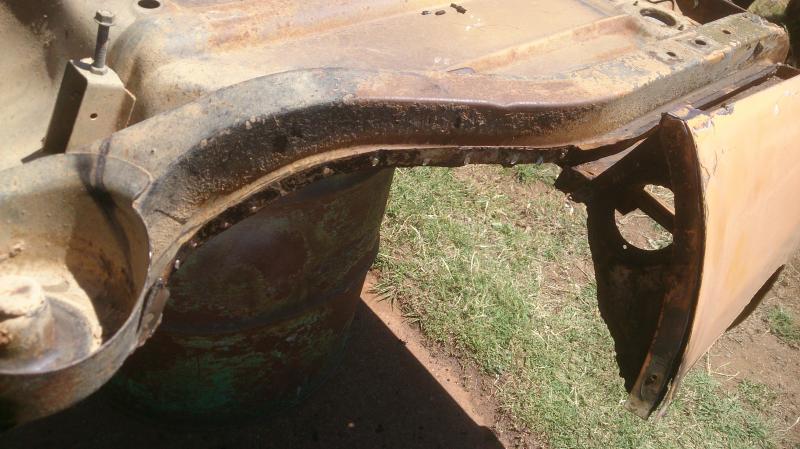
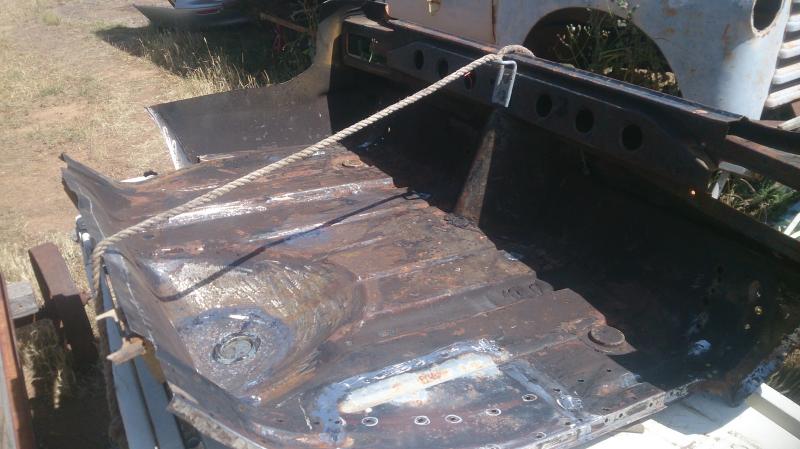
Finishing off cutting out hatch floor
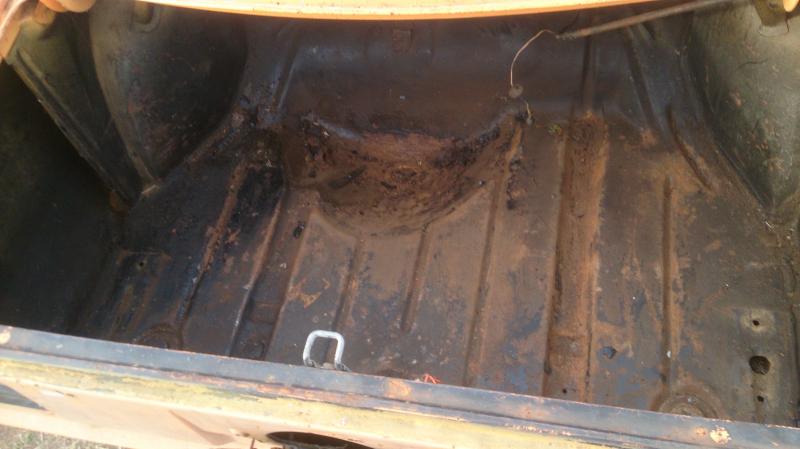
Bare Bum
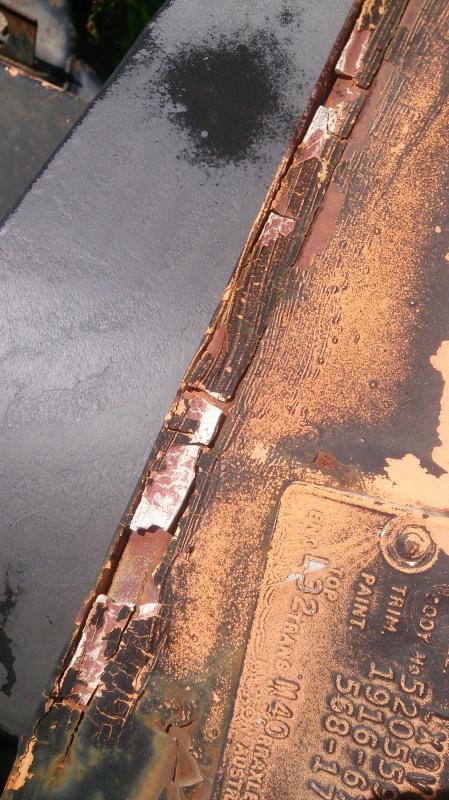
Holden didnt skimp on goop.
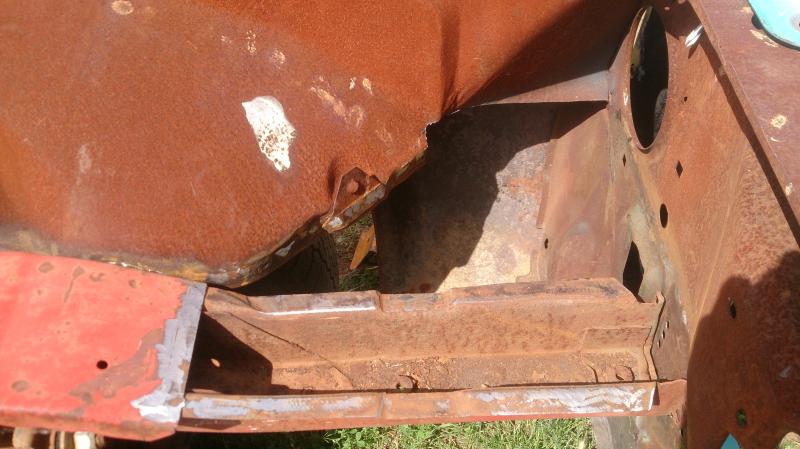
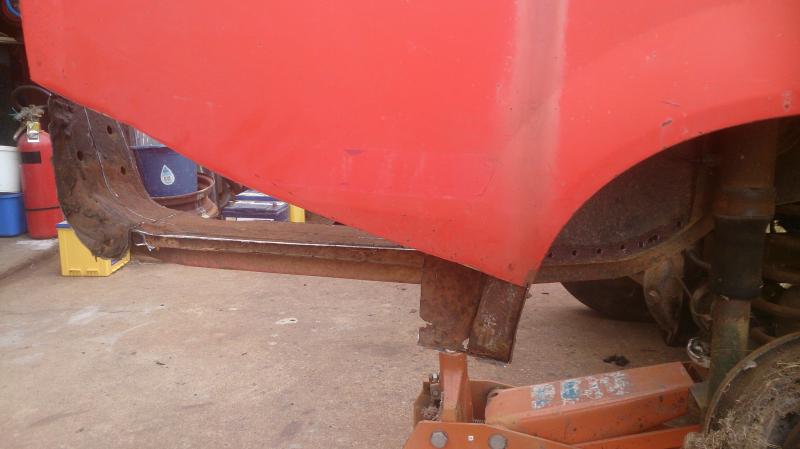
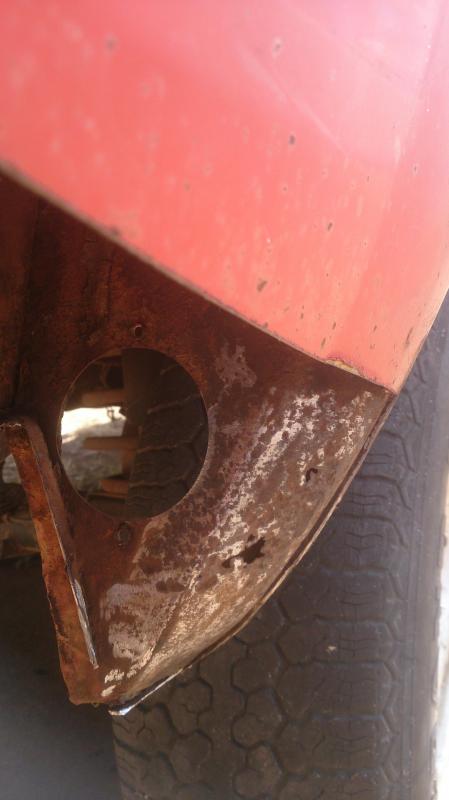
Lower quarter had rust so came off too.
Rust hiding behind.
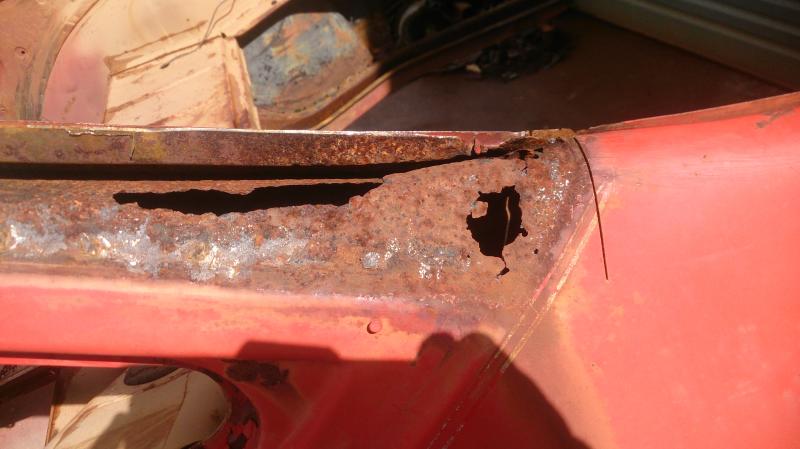
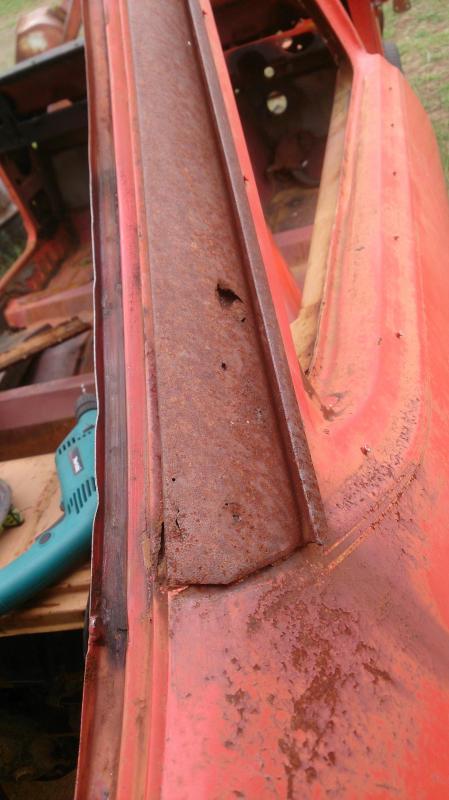
Rear Pillar rust :(
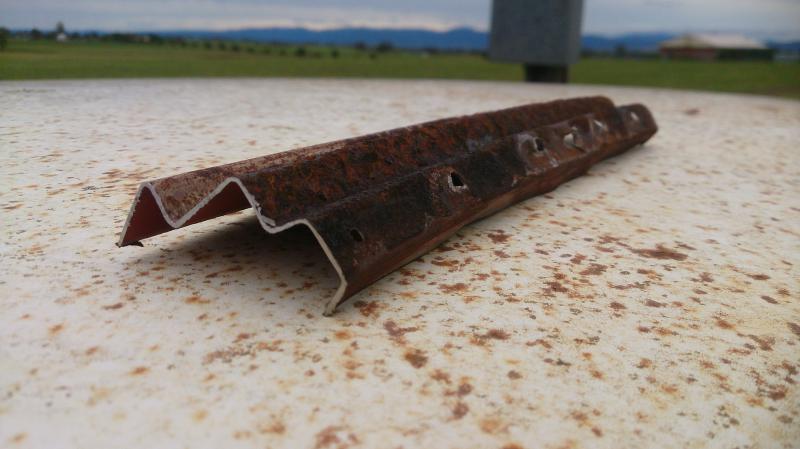
Cant buy this piece curved so will probably have to get it made
Will get rear pillar join from this donar. It too has rust but in other places.
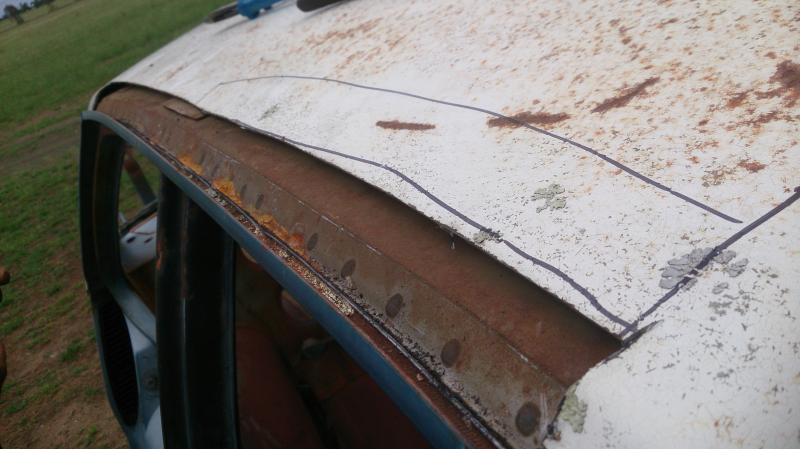
Using another UC donar for roof guttering
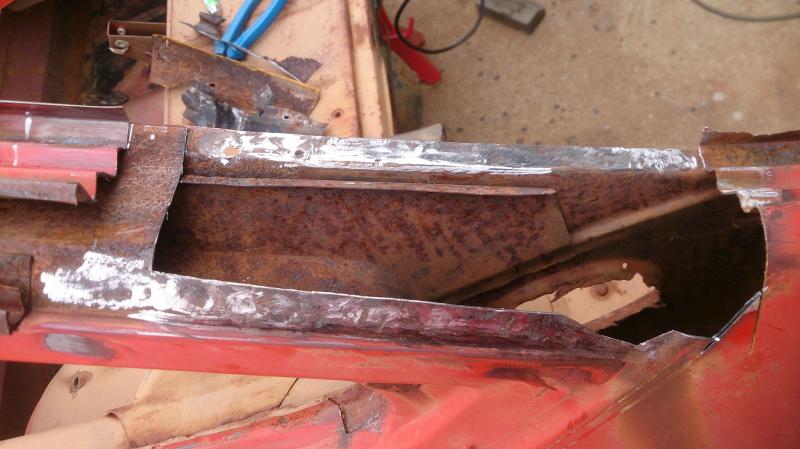
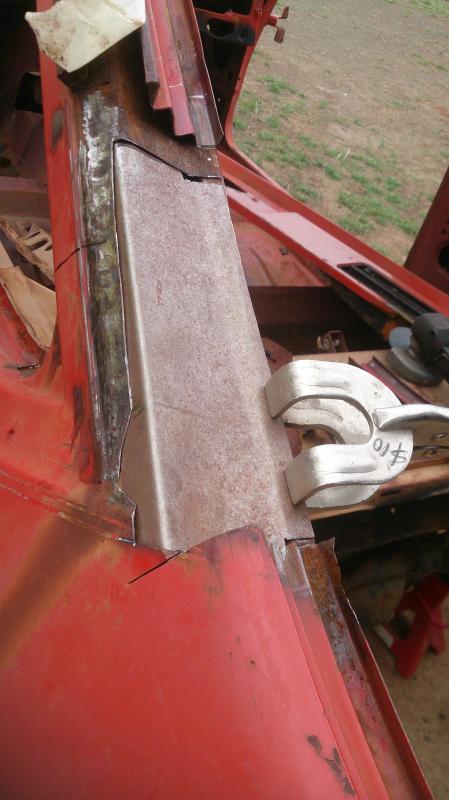
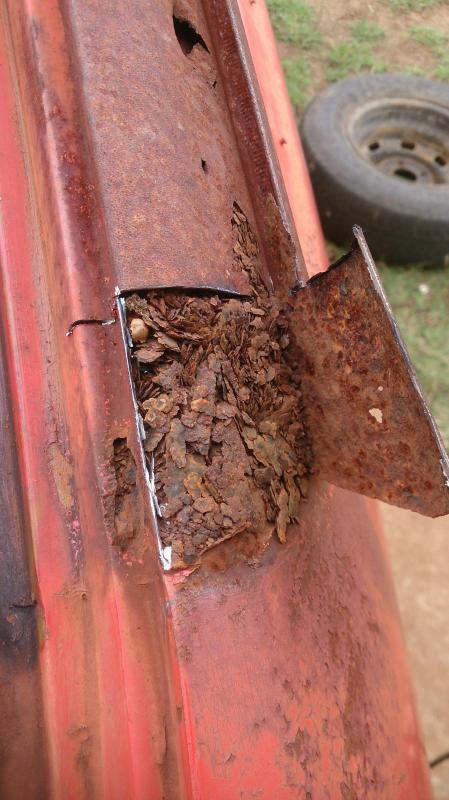
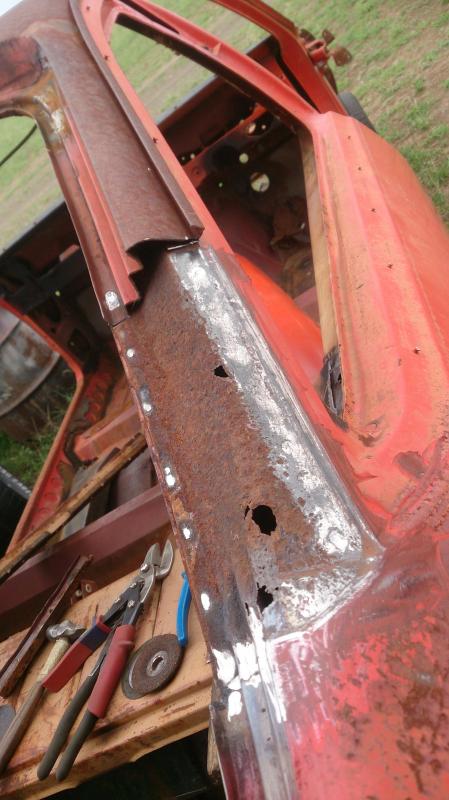
Uncle made up replacement inner. Pillar designed like crap and is a shocking rust trap so will design a drain.
Lets see whats under this.....
Hello rust :(
Not as bad as other side but will nead work and pillar drain too. Moisture has nowhere to go. Will replace outside join back to original.
Thats it for the moment. Have been on Family holidays and boys 4 day trip to Nats but back into it again.
Edited by Neils LX, 13 January 2015 - 07:55 PM.
#48

Posted 13 January 2015 - 08:02 PM
Consider leaving the drip check out so that it can't ever stay wet, with it open it can breath. Did this with mine over 20 years ago and not a sign of trouble, fish oiled the hell out of it from up in the roof area so that the inside of the pillar is sealed and protected from hopefully ever rusting again.
#49

Posted 13 January 2015 - 08:39 PM
Was going to seal it all up and force into a drain that went right down to under the car. All keen for ideas of what to do. I just hope nobody re copys factory idea.
#50
 _GMH-001_
Posted 13 January 2015 - 10:07 PM
Personally I would definately make drain but I would also drip check aswell. I think you have been lucky that you haven't had rust under the seams (mick_in_oz) but I'd guarantee doing that to prevent it. I think the fish oil has been your saviour. It's hard though with older cars as I experience the same thing with my escorts in the plenum however I am doing a drain to overcome the issue but still DEFINATELY using drip check on the seams to prevent seepage under joins.
1 user(s) are reading this topic
0 members, 1 guests, 0 anonymous users




 View Garage
