Jump to content


HQ Statesman


  • Please log in to reply
323 replies to this topic

#76 _nzstato_

_nzstato_
  • Guests

Posted 05 December 2010 - 07:31 PM

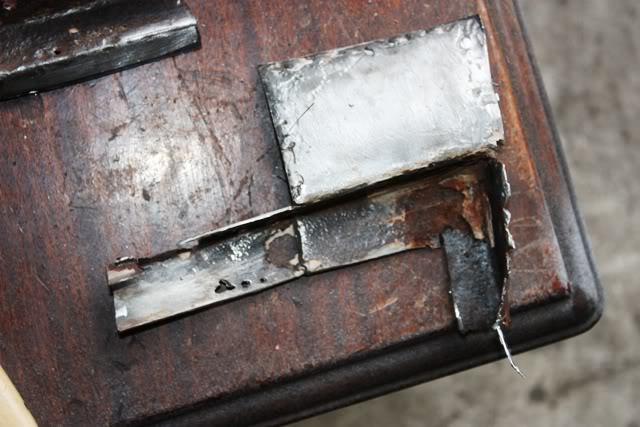
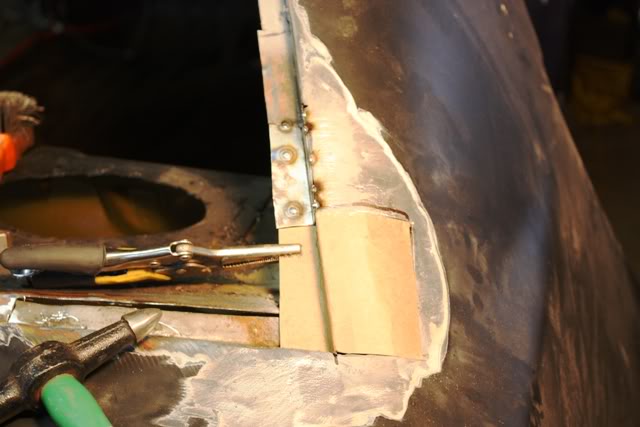
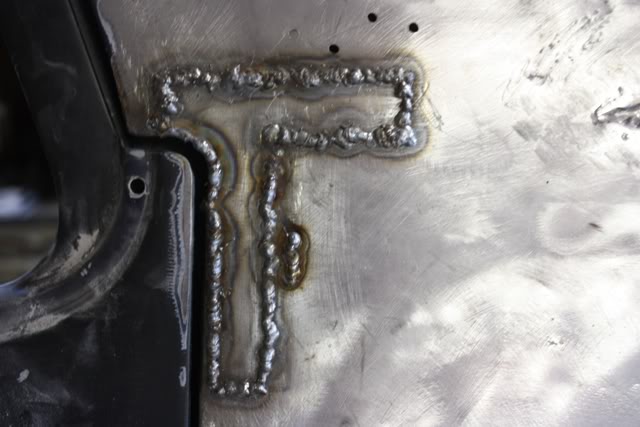
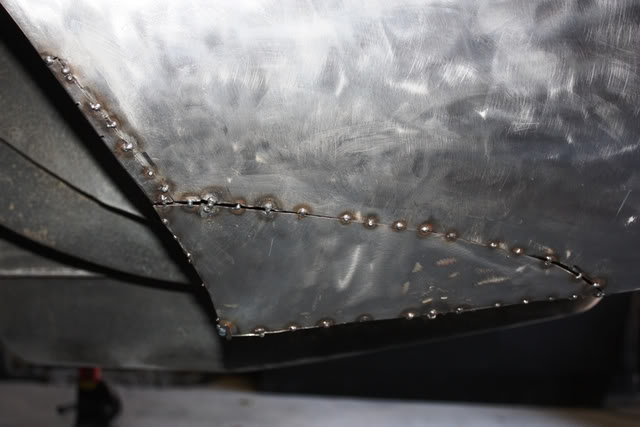
Getting into some more rust work, cut another section out of the lower window cavity and found more rust below it...

Posted Image

The new bit was a bitch to weld in, I had to get into the boot and weld above, I also couldnt get my helmet on in the position I was in (had to do the old close your eyes and spot weld, naughty naughty). Needless to say I ended up with a few burns on my chest from dripping weld and a bit of a sunburn from the weld arc. Got it in solid though.

Posted Image

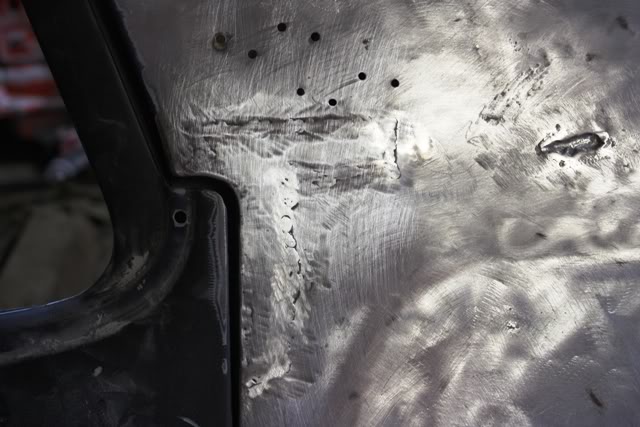
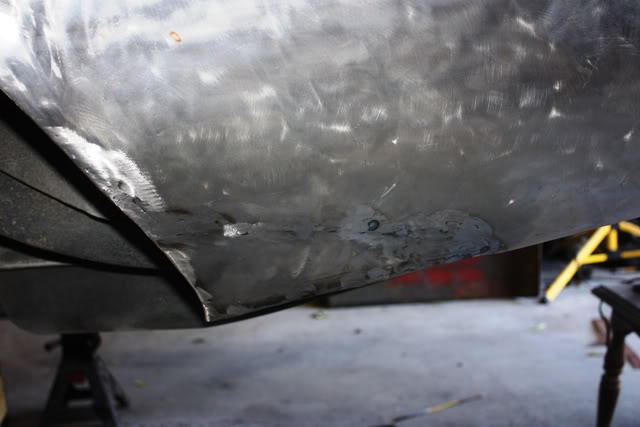
The top skin had alot of 'oil canning' from a previous repair (must have done it too hot) and because I don't have an oxy or a shrinking disc I employed a technique I learnt somewhere else. Take one of your buggered flap discs and mount it back-to-front on the grinder and use that to heat up the metal, then using a wet rag, quench the steel, easy. And we got the new bit in.

Posted Image

Posted Image

Other side with the old repair was a bit of a mess

Posted Image

Posted Image

Posted Image

Going through the motions...

Posted Image

Posted Image

Posted Image

#77 _wblje_

_wblje_
  • Guests

Posted 05 December 2010 - 07:45 PM

going well mate. dont ya just love welding thin metal ....:)

#78 _mick74lh_

_mick74lh_
  • Guests

Posted 05 December 2010 - 10:12 PM

Loving your thread. And those videos you've made are grouse. The startup one's a pisser.

You must be over the hump of the project now with the rust repairs and being able to actually move it under its own steam

#79 _nzstato_

_nzstato_
  • Guests

Posted 06 December 2010 - 04:51 AM

Yea I'm slowly getting used to thin stuff, think I have a method which works well for me. You cant see the seam of the welds when they are ground back so that makes me extra happy.

Glad you are enjoying the vids, I've been a bit slack with them of late, need to get one up tonight. You are right in that I 'think' I'm somewhat on the downward leg with this project

#80 _nzstato_

_nzstato_
  • Guests

Posted 06 December 2010 - 04:54 AM

Oh yea, and here's a chunk of bog that was sitting in behind the metal. Its no chicken wire/carboard/beer cans so maybe I'm getting off lightly eh?

Posted Image

#81 _Quagmire_

_Quagmire_
  • Guests

Posted 06 December 2010 - 02:15 PM

he he fun fun fun
it's all the joys of an old car and dogey bros panel beating there m8t Posted Image
if i search close enough i'm sure i'll find the same with mine


#82 _nzstato_

_nzstato_
  • Guests

Posted 12 December 2010 - 06:12 PM

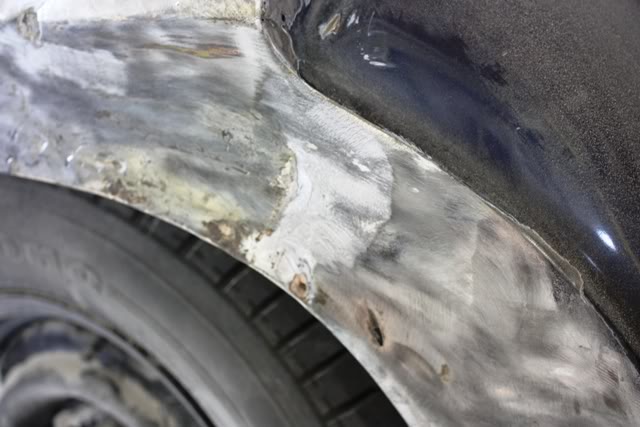
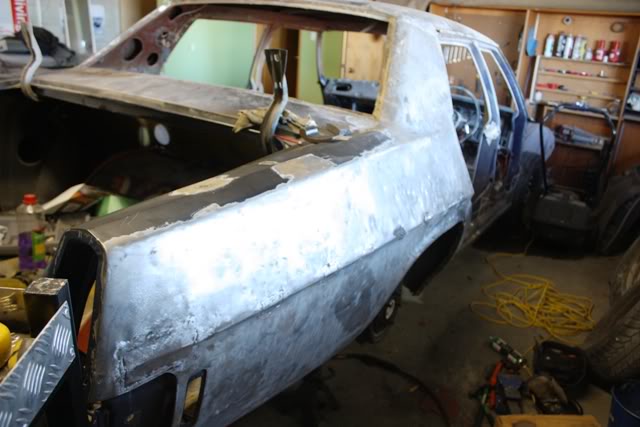
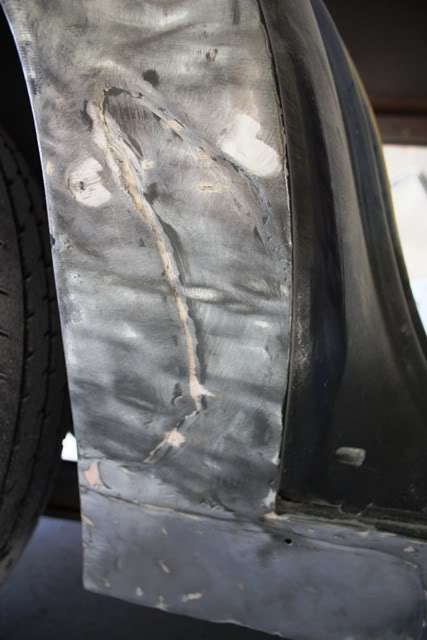
Finished the repair around the rear screen (sorry but no photos, they're not that interesting anyway) and thought it would be a good idea to dig into the rear haunches and see what repairs need to be had. Well, I must have digged out about 5 tins of bog! The stuff was half an inch thick in places (example below), as you say dodgy bros panelbeating have been well into this one!

Posted Image

All of the bare metal areas you see had bog of varying thickness covering it

Posted Image

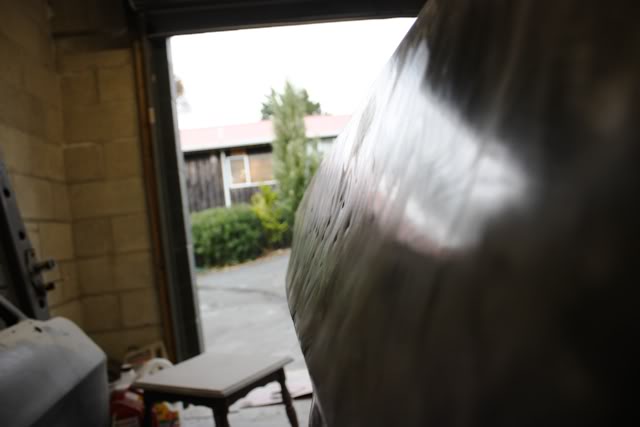
Stupid thing is that half of it didn't even need to be there, 5min of hammer and dolly work would have most of the dents out and whoever did the bog-work didnt follow the contours of the panels but tried to 'straighten' all of the curves out
Posted Image

Being such long panels it would be almost impossible to get them dead straight but I but I can make them a hell of alot better than this, there are a heap of dents across this panel (ex wife with a golf club?) which should come out with a hammer and dolly.

It's about this time that I wished they'd just fill the holes with bog rather than play with the mig..

(some old lead loading in this repair, a rust hole at the edge)

Posted Image

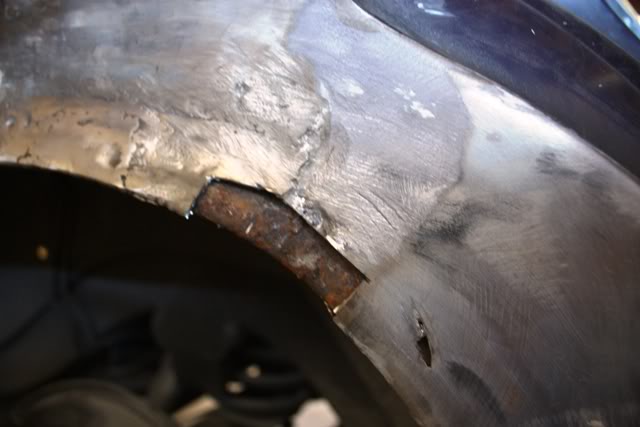
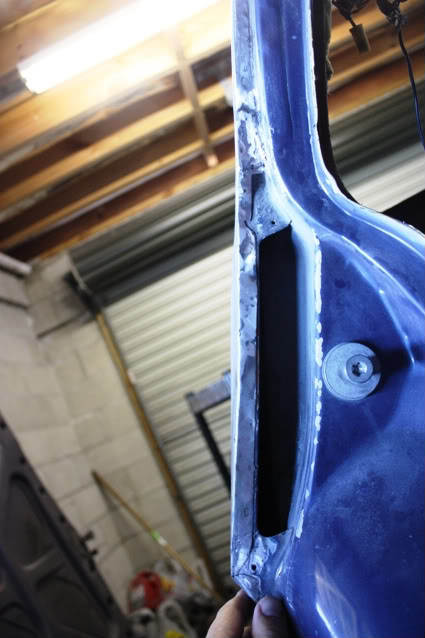
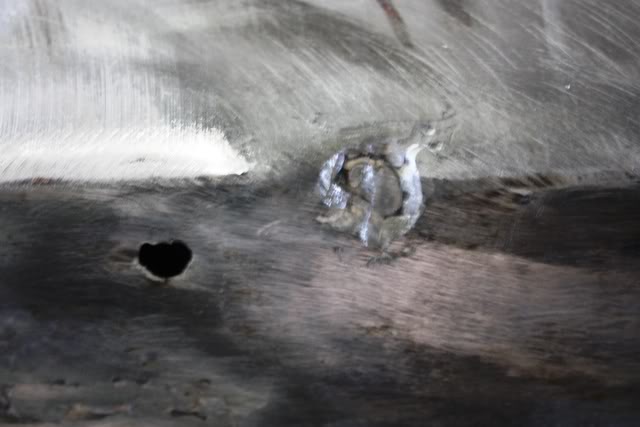
This car would have originally had a chrome strip running down the side, the mig repairs of the holes the chrome fitted into are less than impressive...
Posted Image

Posted Image

Posted Image

Posted Image

Posted Image

Posted Image

Posted Image

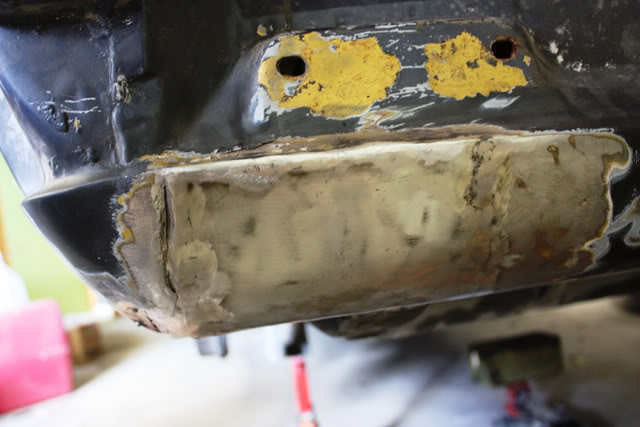
This dent in the rear had about an inch of fibreglass filler in it, I'll replace this section, it has began rusting at the bottom.

Soon after I bought this car it needed some rust repair to get a WOF, this is the result

Posted Image

Posted Image

They've brazed small sections in (which is good) but I'm less than impressed with how they line up with the roof section. I'm inclined to leave them there are smooth the area with fibreglass filler rather than mig new sections in since they are right in the area where the roof seam is and there is alot of lead loading around this region (anyone out there recken I should dig out the lead, fix it new and smooth it over in fibreglass?)

So this will definately keep me busy, at least I have a decent amount of time off over xmas/NYs to fix it up.

#83 _shadowmaster_

_shadowmaster_
  • Guests

Posted 12 December 2010 - 08:22 PM

Mate leave the lead there, i dont recommend digging it out. if you have allready played with that area you are bound to have removed at least some to the point where its not longer perfect so you if thats the case you will need to put some bog over it to finish it off but i would leave as much lead as possible there.

By the looks of it mate thats one really bad body. If you want to fix that body properlly your going to be up for some semi major repairs.

Anyway best of luck ^_^

#84 _nzstato_

_nzstato_
  • Guests

Posted 13 December 2010 - 04:41 AM

Mate leave the lead there, i dont recommend digging it out. if you have allready played with that area you are bound to have removed at least some to the point where its not longer perfect so you if thats the case you will need to put some bog over it to finish it off but i would leave as much lead as possible there.

By the looks of it mate thats one really bad body. If you want to fix that body properlly your going to be up for some semi major repairs.

Anyway best of luck ^_^


Cheers for that, I really was leaning that way unless someone gave me a really good reason to dig it out. You're right that it is no longer perfect anymore (previous repairs have dealt to it already) so I'll take your advice and leave it be.

Considering the previous work I've done to it I think I'm a bit past semi major repairs, but this is definately going to take some work...

#85 _mick74lh_

_mick74lh_
  • Guests

Posted 13 December 2010 - 03:27 PM

You've got some patience doing these repairs thats for sure. It must be frustrating finding more crap the more you dig. Judging by the repairs you've done so far repairing these sections shouldn't be a problem, just a massive timesink.

#86 _nzstato_

_nzstato_
  • Guests

Posted 14 December 2010 - 05:46 AM

Started a few bits and pieces on her last night (no pics, camera was dead) and had another look over of the condition. In my (optimistic) mind everything here is fixable and shouldn't be too bad with a bit of patience. Should be able to make most of my own repair sections (wish I owned a shrinker/stretcher) but will probably buy new lower 1/4s from Rares and weld them in properly. Mick you're right in that the hardest thing will be the time. As long as I can drive it on the road by sept next year (about the time I buy my own home) it'll be fine.

Off to a liquidation auction for a local panel shop today, xmas might be coming early for me this year :buttrock:

#87 _nzstato_

_nzstato_
  • Guests

Posted 14 December 2010 - 06:45 PM

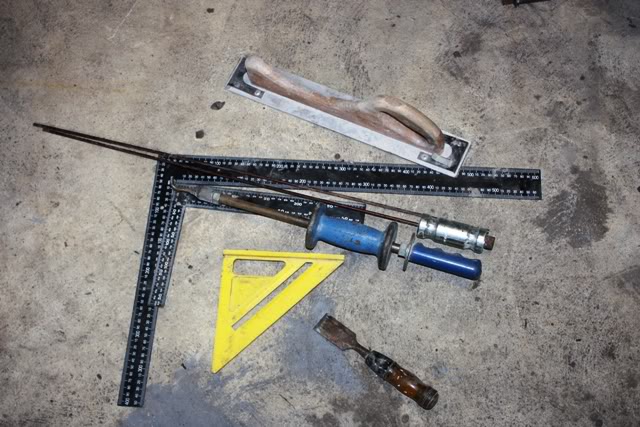
Surprise surprise I'm onto some more rust repair. But first! I went to a liquidation auction of a local panel shop and picked up some goodies. There wasn't as much there as I hoped but some high dollar stuff did get passed in.

Posted Image

Got some large engineering squares, shot hammers and a blue point speed file. Also included (not shown) was a fire extinguisher, assorted bolts/screws and a clock! all for $30 so I was happy enough. But I digress, back to the repairs

Posted Image

Posted Image

Posted Image

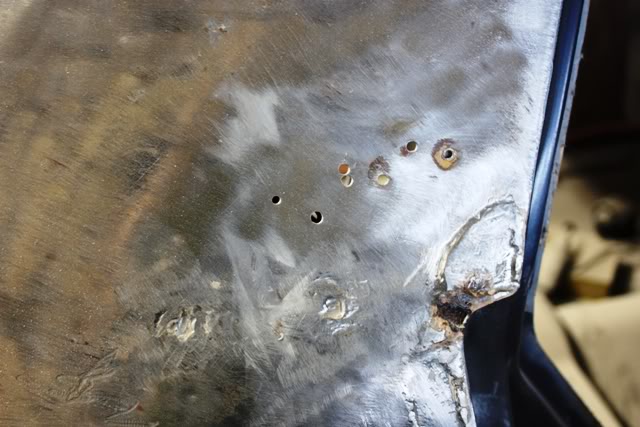
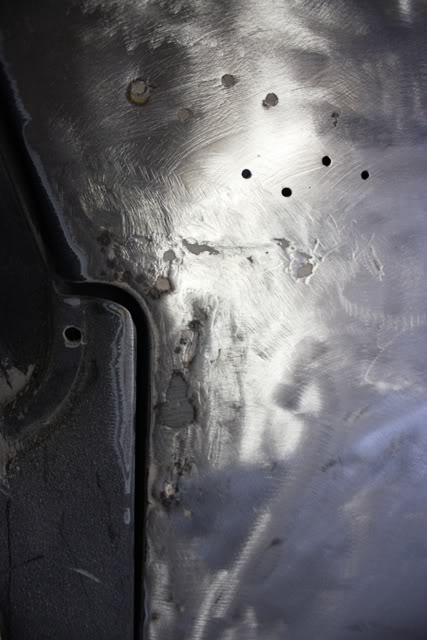
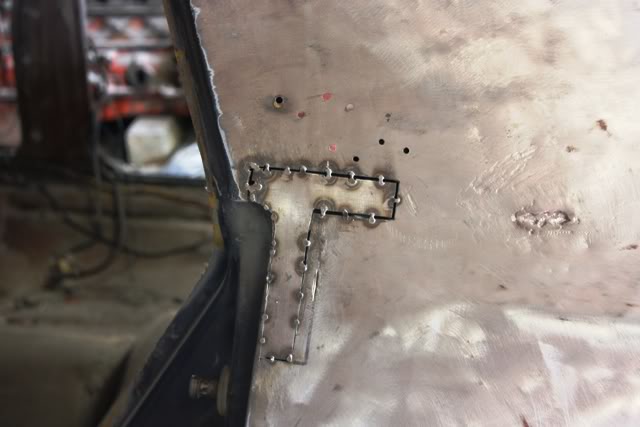
Except for some undercutting of some of the welds this repair has turned out well, it follows the shape in this section pretty close. You can see a heap of holes above, this is where a previous smarty pants has shifted where the badge sits on the pillar, tomorrows job me thinks.

I can really see how this becomes so expensive when you get professionals to do it, it's just so time consuming. Though in saying that there was a mk1 capri sitting in the panel shop where the auction was (it was bare metalled and I assume the customer hadnt picked it up yet) and some of the repair sections on it were VERY average. No wonder they went under.

#88 _nzstato_

_nzstato_
  • Guests

Posted 20 December 2010 - 01:25 PM

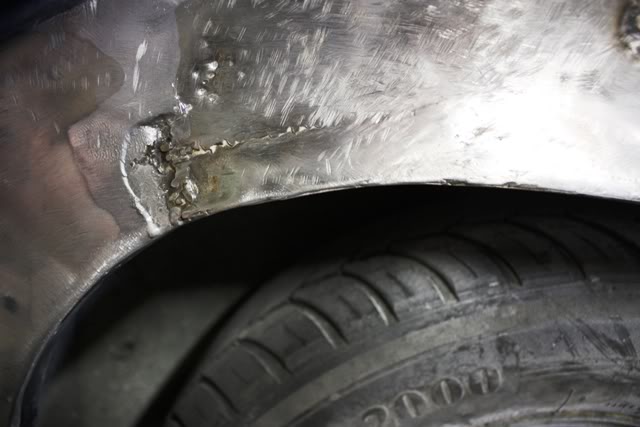
Right, fixed some previous poor repairs further up the panel (remains of where the edge of where the vinyl roof would have been) now to take a look at this less than impressive wheel arch...

Posted Image

Yummy
Posted Image

Much better
Posted Image

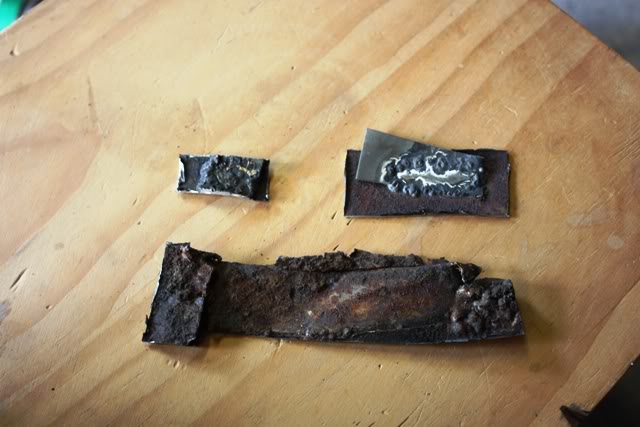
Here's some of the previous crap I've cut out
Posted Image

Posted Image

Backed her out of the shed to remove a bit more bog
Posted Image

this is why it is so crap lapping steel behind the hole is not a repair
Posted Image

Posted Image

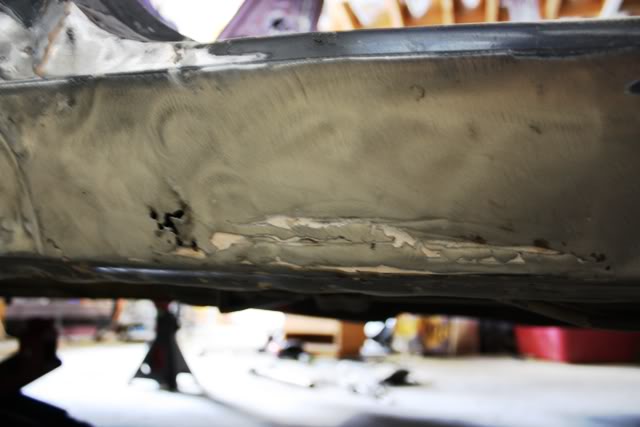
Passenger sill isn't too bad, drivers is a bit worse for wear, reckon this is worth saving or best to replace the entire sill?

Posted Image

Posted Image

#89 _Quagmire_

_Quagmire_
  • Guests

Posted 20 December 2010 - 01:33 PM

he he
at least you got some
someone tried to fix mine with a sedan still
so i go a 2 foot gap to fill later

#90 _Bomber Watson_

_Bomber Watson_
  • Guests

Posted 20 December 2010 - 01:55 PM

Whole sill.

Looking good though.

Cheers.

#91 _nzstato_

_nzstato_
  • Guests

Posted 20 December 2010 - 02:46 PM

Thought as much, shit will just keep coming back eh? I know an old school beater who can roll me up one to length so I should be sorted. Cheers guys

#92 _Quagmire_

_Quagmire_
  • Guests

Posted 20 December 2010 - 03:04 PM

think rares do a wagon one
which is the right length
i just have to get a lenght to fix mine and finish welding it up
but if you can get it made all the better

#93 _Bomber Watson_

_Bomber Watson_
  • Guests

Posted 20 December 2010 - 03:06 PM

You will find as you cut that sill out the rest behind it will be extensive....its quicker and easyer just to take the lot off

Cheers.

#94 _nzstato_

_nzstato_
  • Guests

Posted 20 December 2010 - 06:53 PM

How easy are they to pull out? I haven't had a dig around but I assume its just spot welds top and bottom. How about The inner?

#95 _Bomber Watson_

_Bomber Watson_
  • Guests

Posted 20 December 2010 - 07:16 PM

Generally spot welds top and bottom yes. The inner, well inspect that when your in there....

Cheers.

#96 _nzstato_

_nzstato_
  • Guests

Posted 23 December 2010 - 04:03 PM

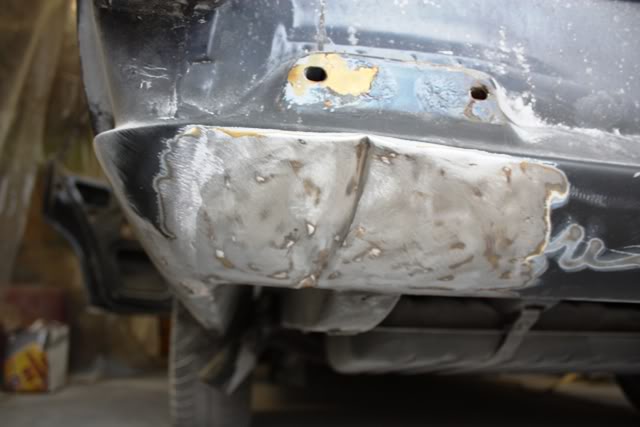
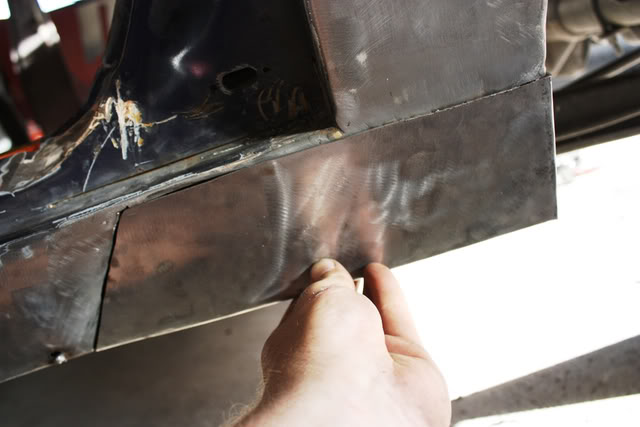
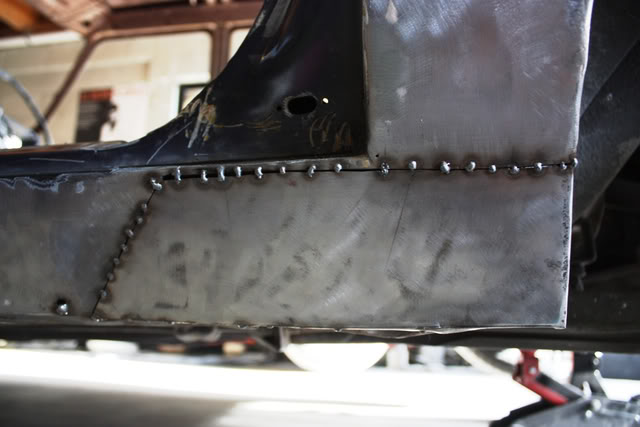
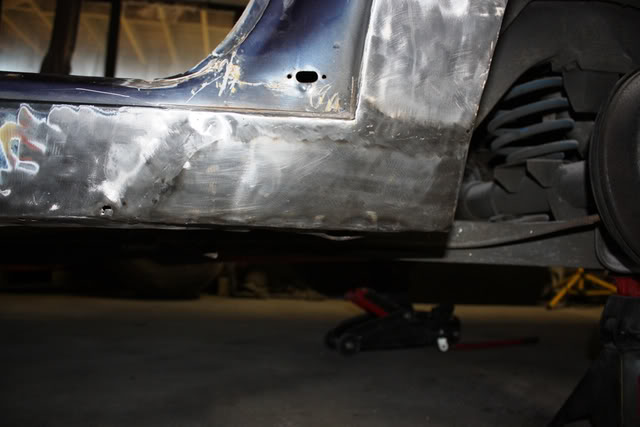
Back to some more work, fixed the poor repair on the rear of the passenger sill.

Posted Image

Posted Image

Posted Image

Posted Image

Now to sort that rear 1/4, after cutting it out the whole thing looked pretty nasty...

Posted Image

Had to rebuild the support & fit an inner section

Posted Image

Posted Image

Posted Image

And I better fix its bum while I'm at it...

Posted Image

Posted Image

#97 _nzstato_

_nzstato_
  • Guests

Posted 14 January 2011 - 01:07 PM

My apologies for not updating this sooner. Things have been a bit slow for my liking regarding progress over the break. Been trying to fix this 1/4, it was a bloody mess from previous repairs in the past but now I have it more or less straight and solid metal in it.

Posted Image

Been doing a bit of work in this area too, top of the guard was in pretty bad shape and there was rust under the lead seam

Posted Image

However I need some help, I'm trying to get the profile of this 1/4 right, should it be straight between the swage lines or is there a concave to it? The shape at the front by the pillar indicates a curve but I am unsure? Could someone with a statesman (Quagmire???) post some pictures with a ruler across the panel so I can work out the contour? Cheers guys


Posted Image

#98 _Quagmire_

_Quagmire_
  • Guests

Posted 14 January 2011 - 04:45 PM

if the parts car is still at joshes i'll try and get some photos tomorrow or next weekend (motorvation is on and i think he may be going to impress everyone)

#99 _nzstato_

_nzstato_
  • Guests

Posted 14 January 2011 - 06:09 PM

if the parts car is still at joshes i'll try and get some photos tomorrow or next weekend (motorvation is on and i think he may be going to impress everyone)


Cheers mate, there's no rush for it as I'm going to be away from the shed next week.:surrenderwave:

#100 _Bomber Watson_

_Bomber Watson_
  • Guests

Posted 14 January 2011 - 06:31 PM

Looking good thus far mate.

Cheers.


0 user(s) are reading this topic

0 members, 0 guests, 0 anonymous users