it's threads like this that get me motivated to get stuck in and so this kind of stuff myself
the progress is looking great, keep up the good work


Posted 18 January 2011 - 07:13 PM
Posted 18 January 2011 - 07:16 PM
Posted 18 January 2011 - 11:11 PM
Posted 20 January 2011 - 11:15 AM


Posted 26 January 2011 - 06:10 PM
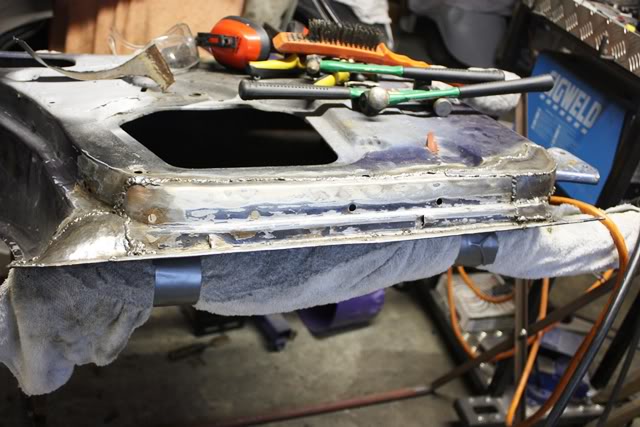
Posted 27 January 2011 - 06:56 PM
 )
)
Posted 27 January 2011 - 07:19 PM
Edited by Quagmire, 27 January 2011 - 07:21 PM.
Posted 28 January 2011 - 05:13 AM
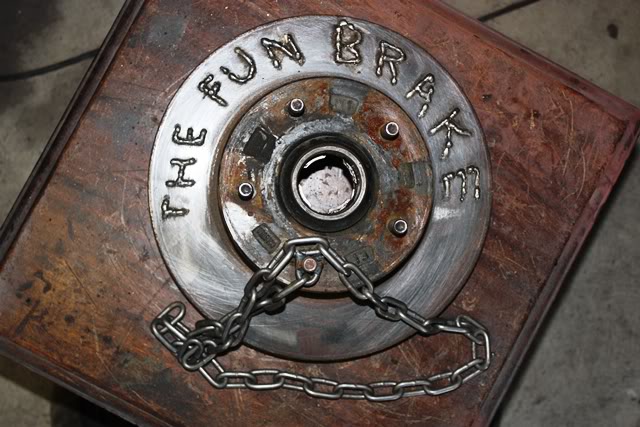
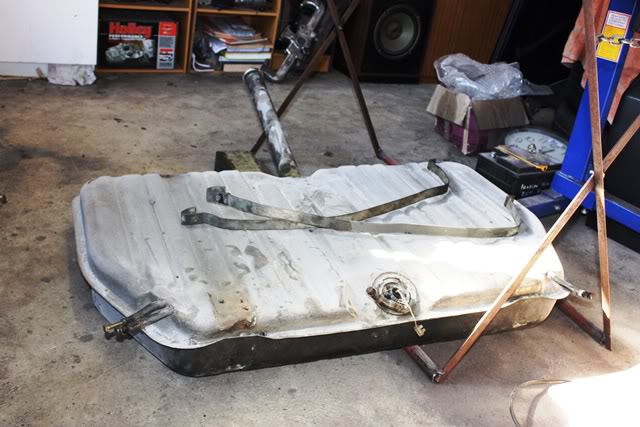
the parts car should have that and i'm sure mine are good
you want to get a quote on postage from 6111 perth western australia and i'll cut it off and pack/post it for ya?
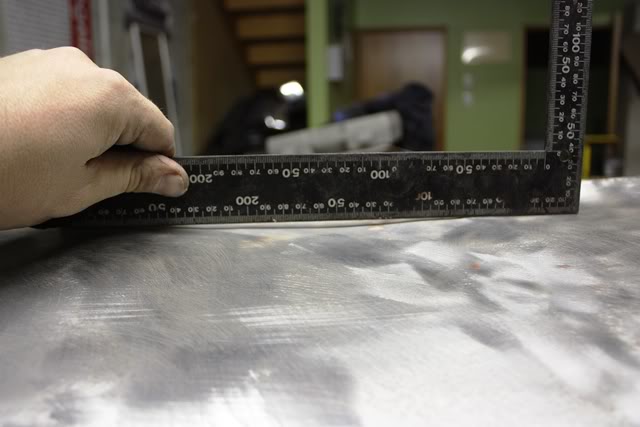
(with measurements/referance points of course)
Posted 29 January 2011 - 11:23 AM
Posted 31 January 2011 - 06:44 PM
Posted 01 February 2011 - 07:08 PM
Posted 01 February 2011 - 07:16 PM
.
Posted 19 February 2011 - 08:24 PM
Posted 19 February 2011 - 08:33 PM
Posted 21 February 2011 - 05:47 AM
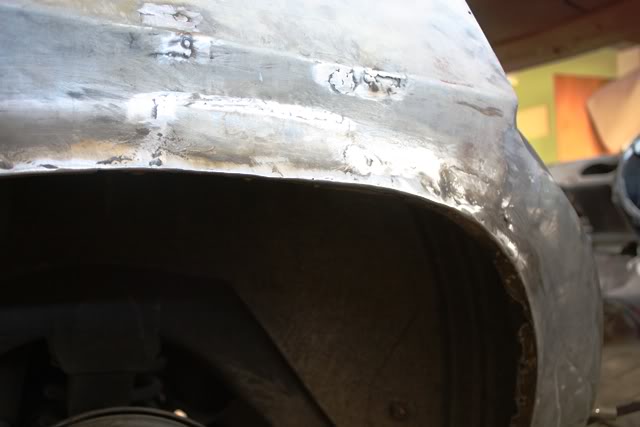
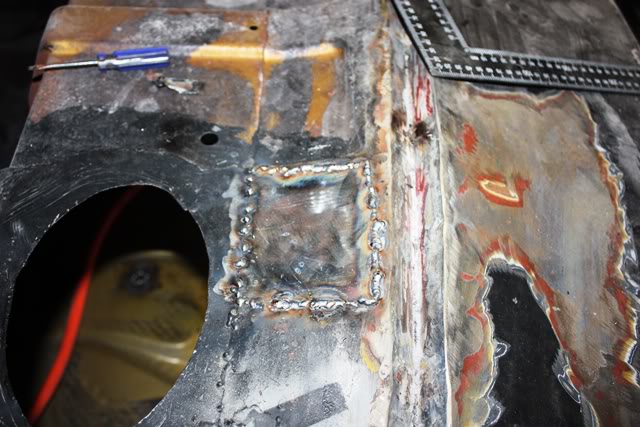
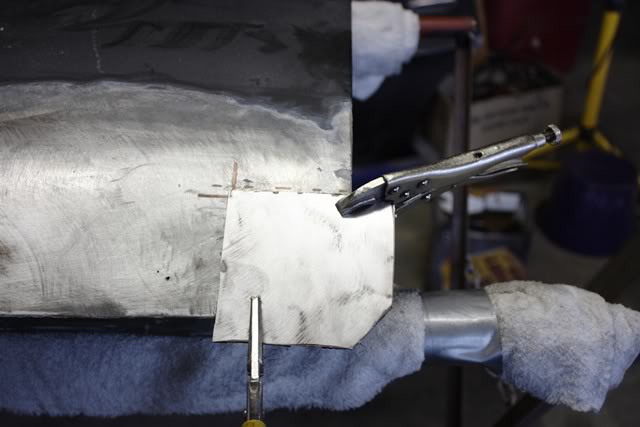
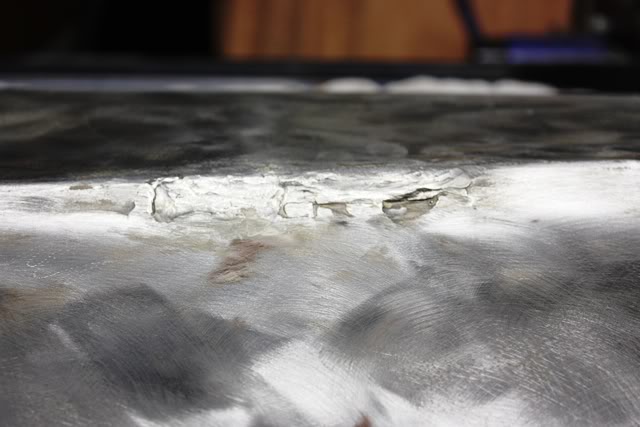
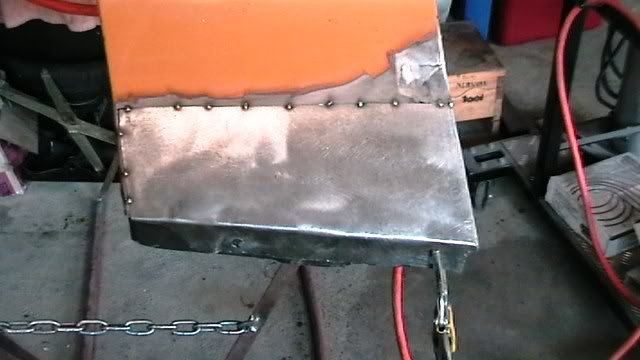
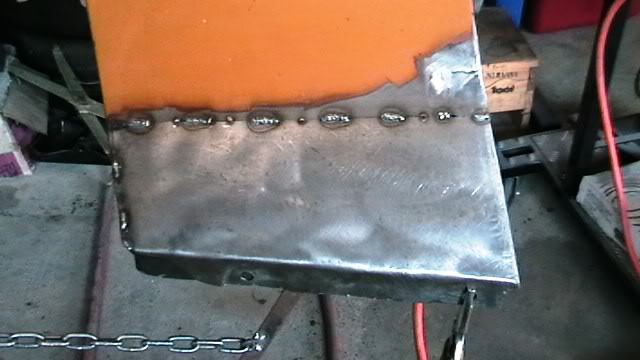
You learned to heat shrink yet???
Its easy, fun, and effective.
Cheers.
Posted 21 February 2011 - 07:36 AM
Edited by nicko61, 21 February 2011 - 07:38 AM.
Posted 21 February 2011 - 10:23 AM
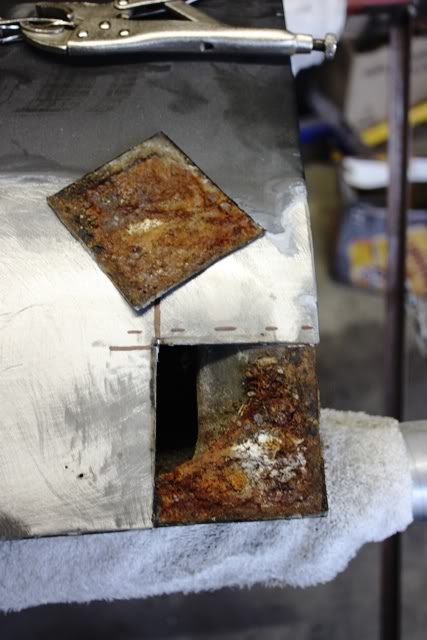
why not make your own shrinking disc,heres great instructions on how,
http://allshops.org/...d=9980121727059
mods might like it enough to make a sticky as there is an enormouse amount of body repair info on this site
Posted 21 February 2011 - 12:54 PM
You learned to heat shrink yet???
Its easy, fun, and effective.
Cheers.
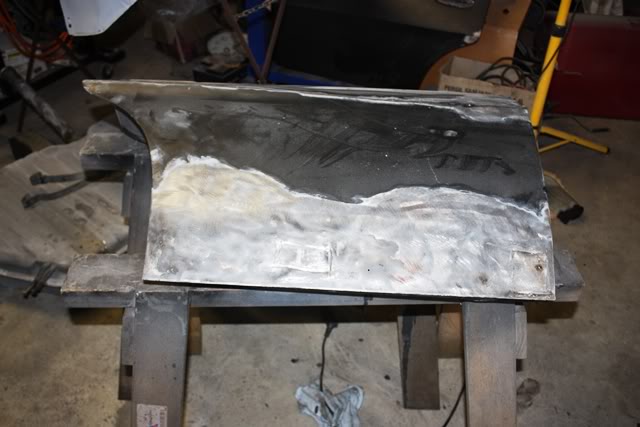
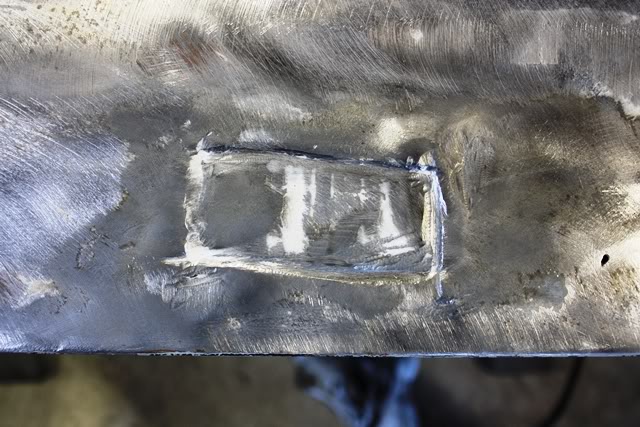
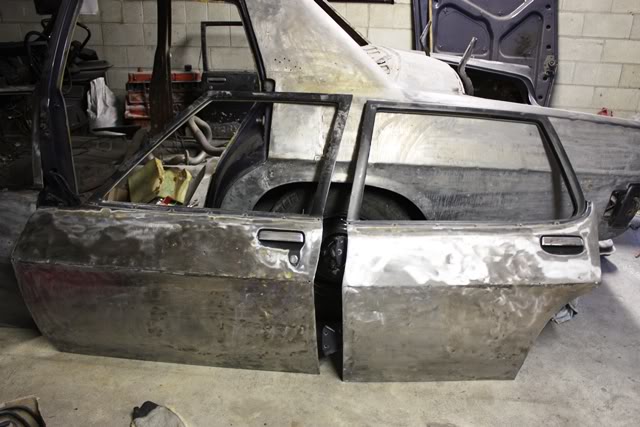
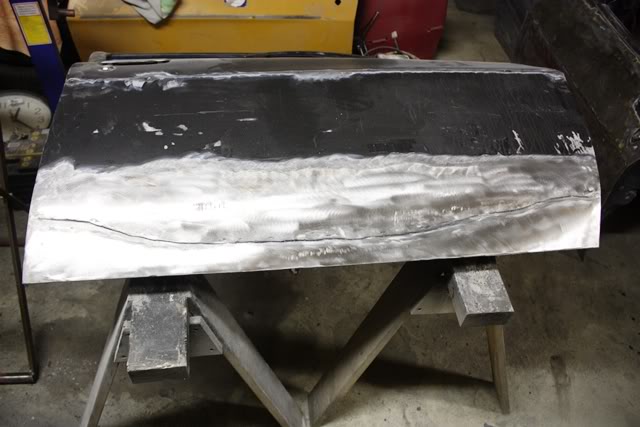
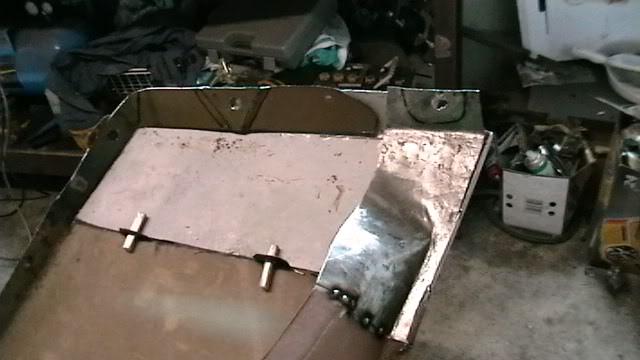
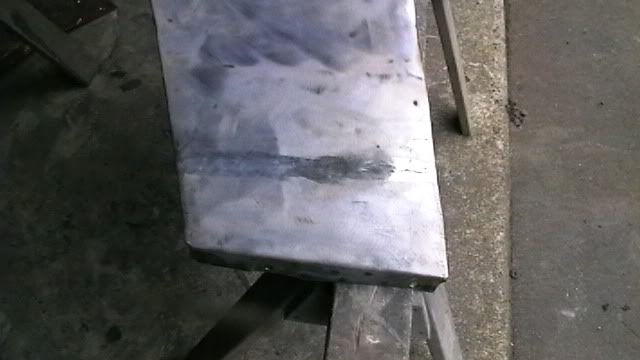
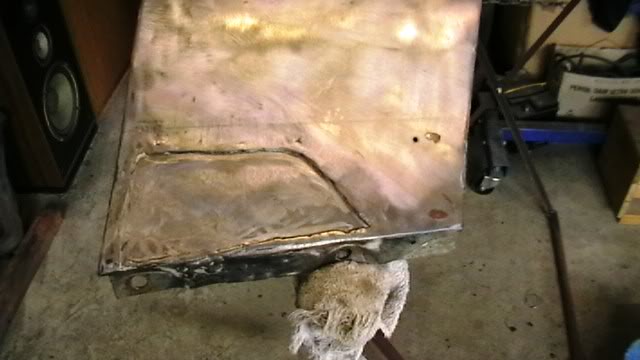
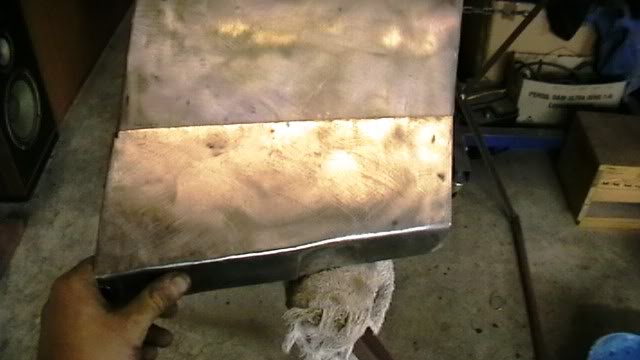
Kind of, am beating the other rear door at the moment and had to heat shrink a spot I had a bit high, I was amazed I didnt screw the whole thing in the process. Would really like a shrinking disc one of these days.
Posted 25 February 2011 - 06:34 PM
Posted 12 March 2011 - 01:29 PM

Posted 17 March 2011 - 12:16 PM
Posted 17 March 2011 - 01:48 PM
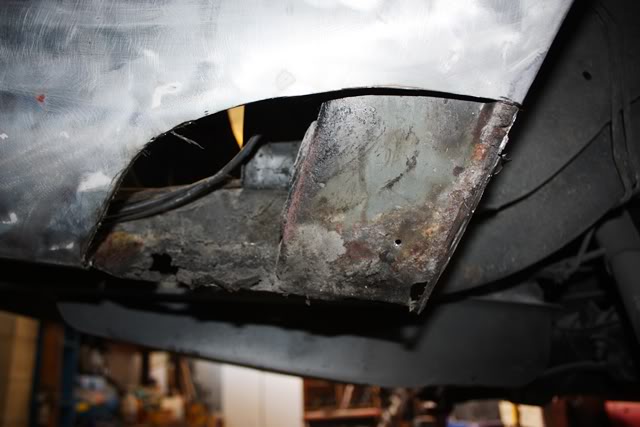
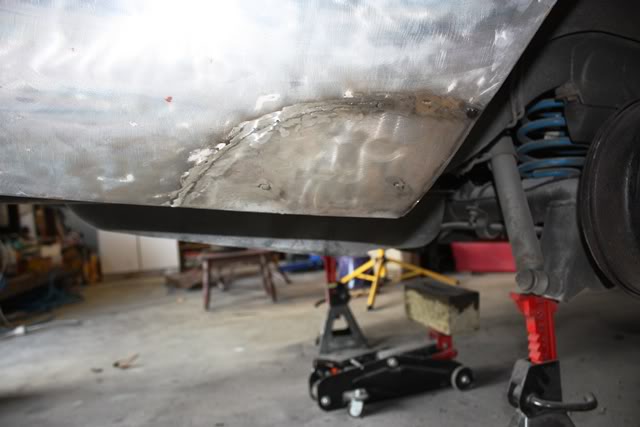
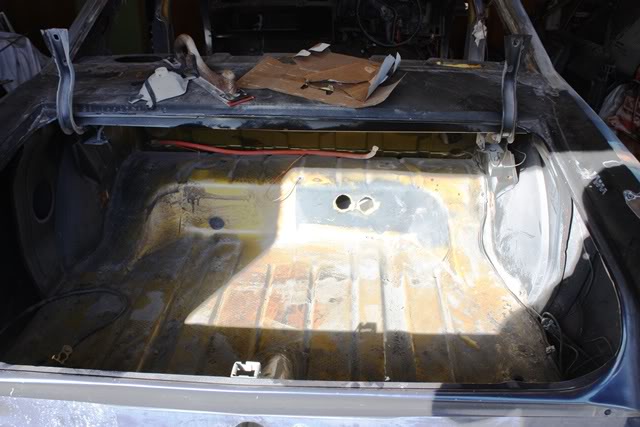
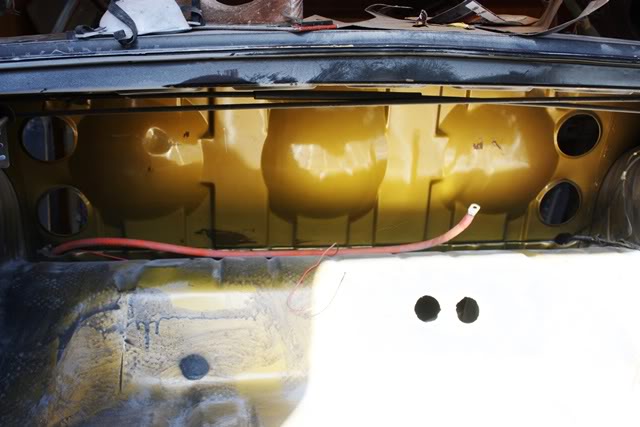
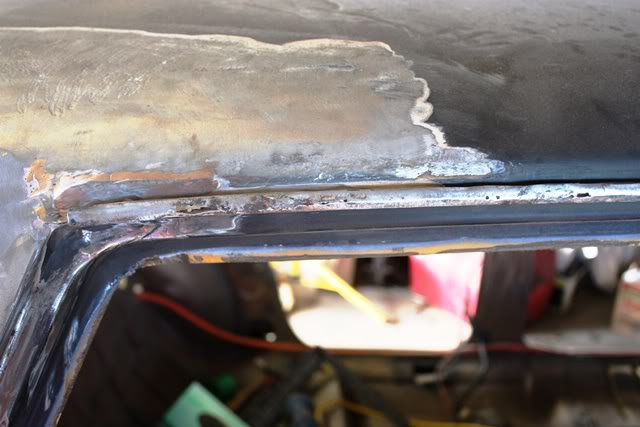
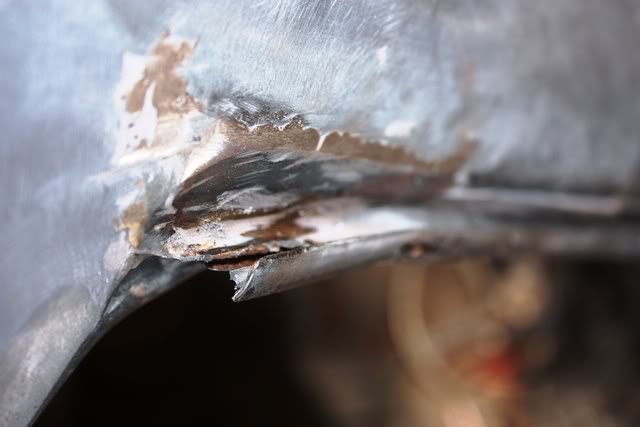
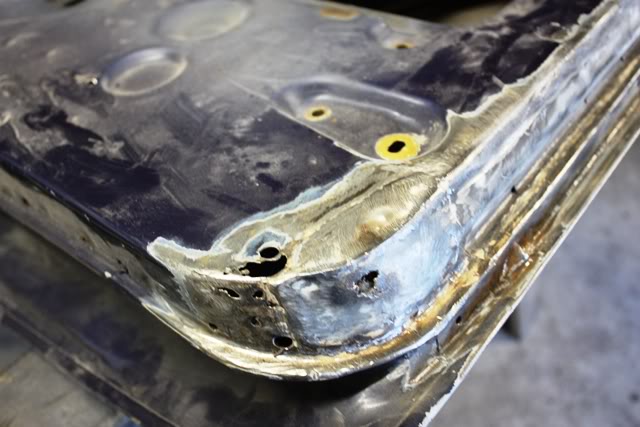
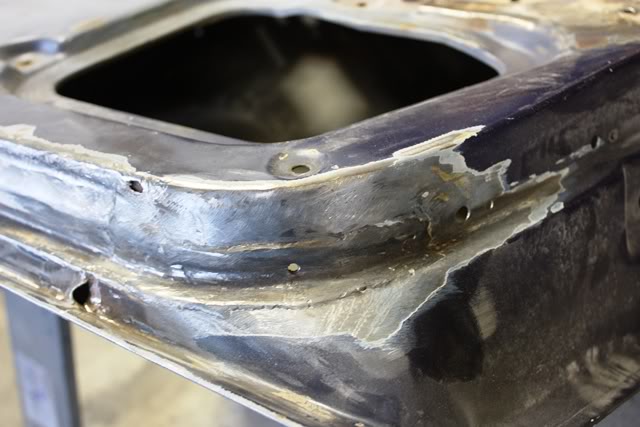
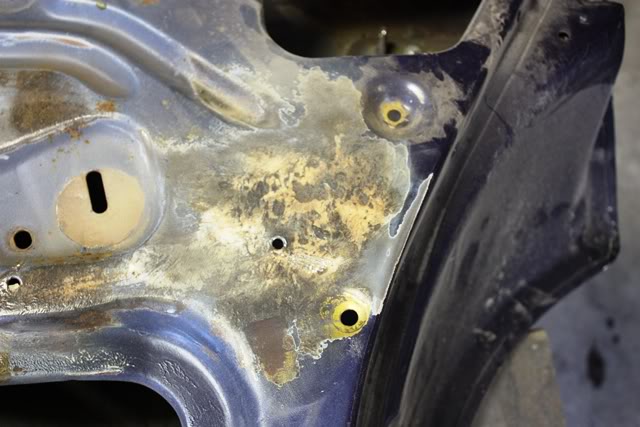
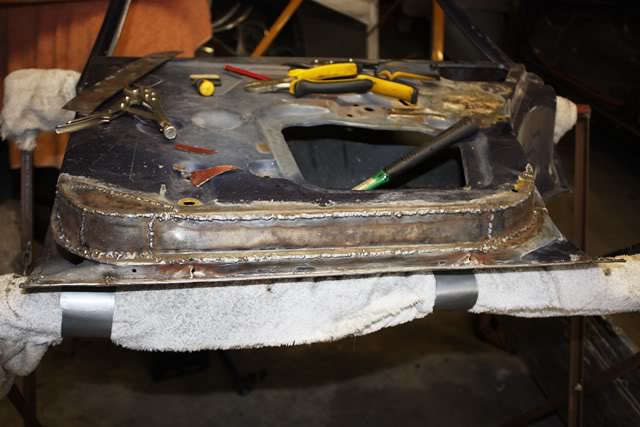
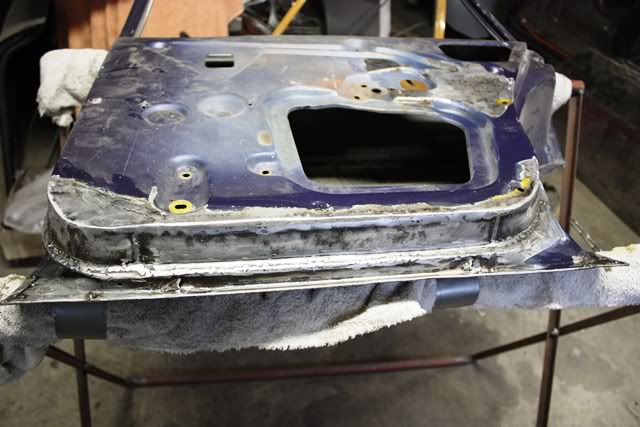
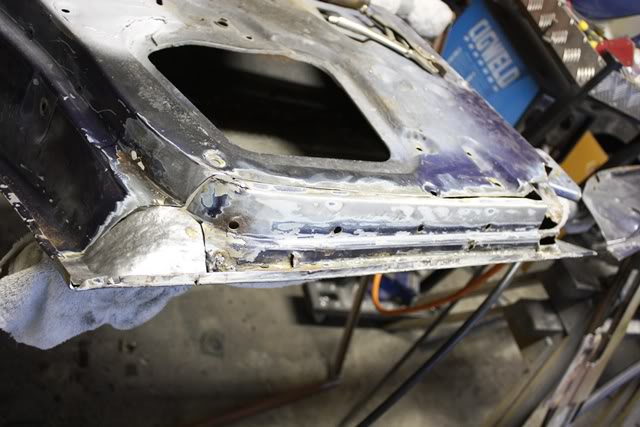
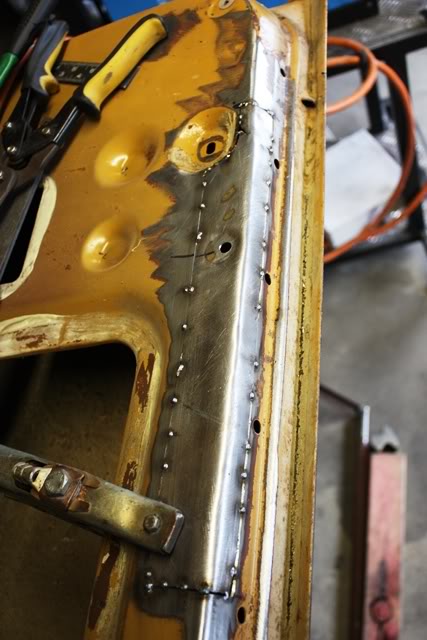
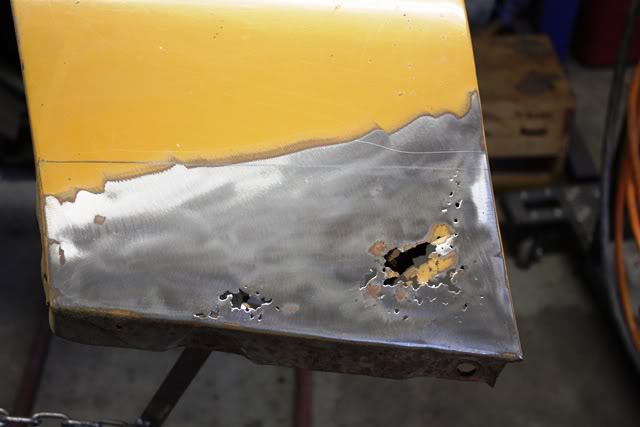
Geez you're doin a great job there.. I'm amazed at the amount of repair required once you started
stripping the paint back.. Well done mate! Did you know the car was this bad underneath when you started?
Posted 17 March 2011 - 10:08 PM
Posted 17 March 2011 - 11:55 PM
Posted 18 March 2011 - 06:21 AM


0 members, 1 guests, 0 anonymous users

