Jump to content


- - - - -

Liam's LX 4 Door Rebuild.


  • Please log in to reply
211 replies to this topic

#1 _Liam_

_Liam_
  • Guests

Posted 31 January 2011 - 10:27 PM

Gday fellas I thought as my shed is about to get erected in the next two weeks, I should share with you what my build has been like thus far (or rather where I had to leave it 2 years ago.).

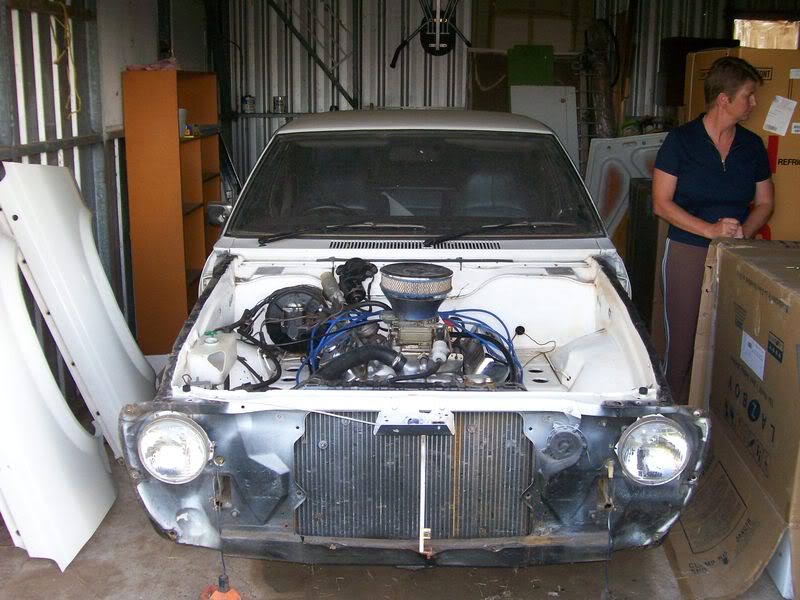
So this is the car I bought from a member some 7 years ago. (yeah I know, loooong time. I was 15 at the time.) It seemed like a pretty good buy for what it was...

Posted Image
Posted Image
Posted Image

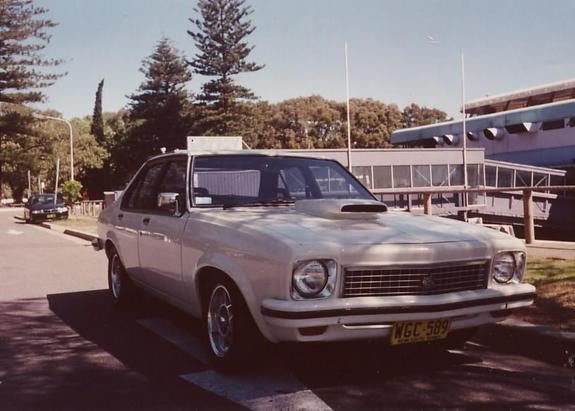
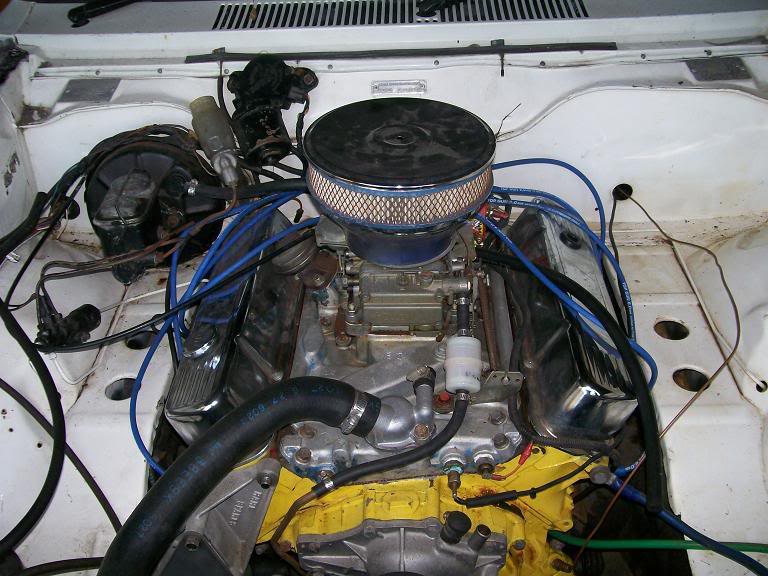
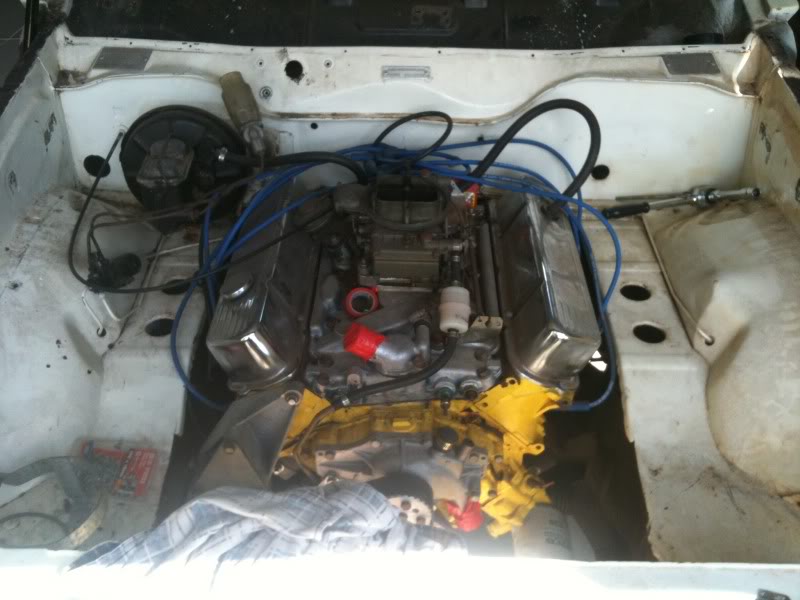
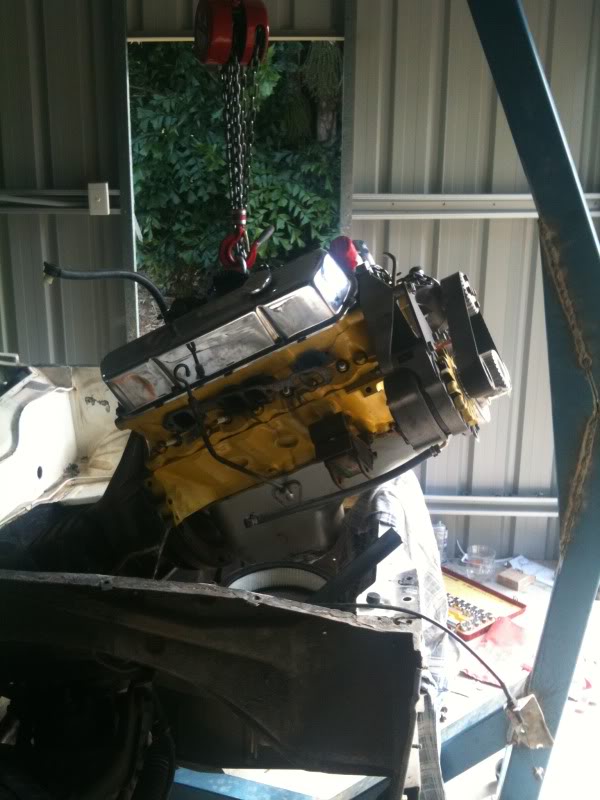
With a 253 V8 with L34 Heads, Flat top pistons, gilmer belt drive, 465 holley, Aussie 4 speed.

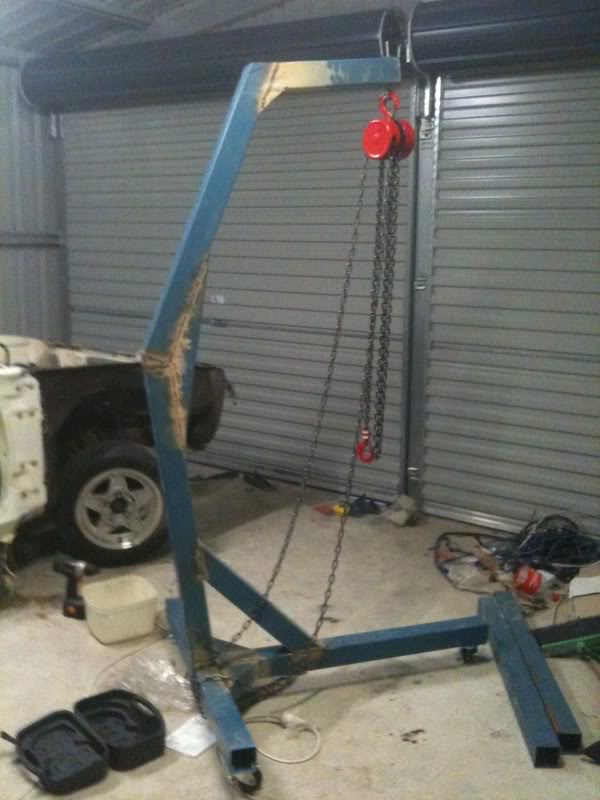
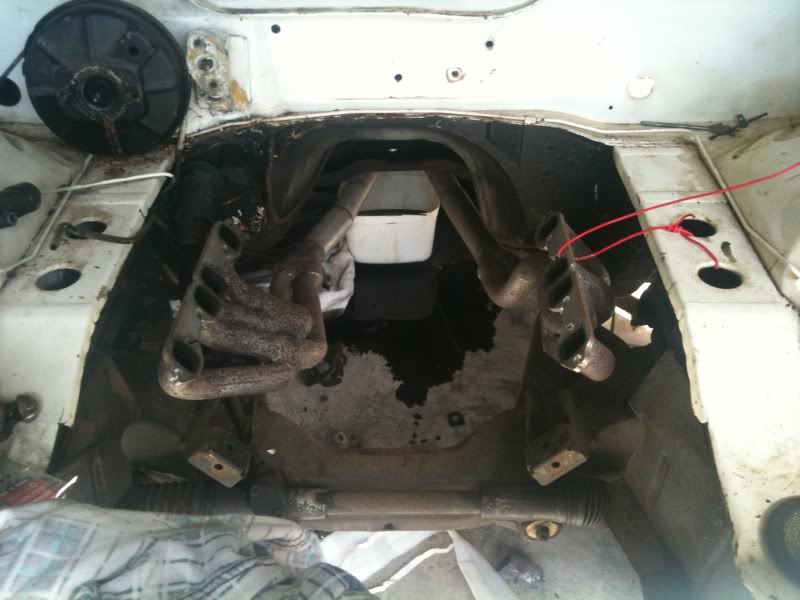
When it arrived, we started it and took it into the shed. Checked some things, and the oil had water in it. Great. Head gasket set later, she was running again but not properly... Holley was flooding tried to adjust floats. Broken. Great. Rebuilt carby later and it still didn't work, got the shits and thought frOck it, these are bastard carbs. Bought a quaddy didn't get around to fitting it so it sat for a long time, while I pondered things to do to it. Eventually I settled on stripping it right down and rebuilding it. Right down to the metal.

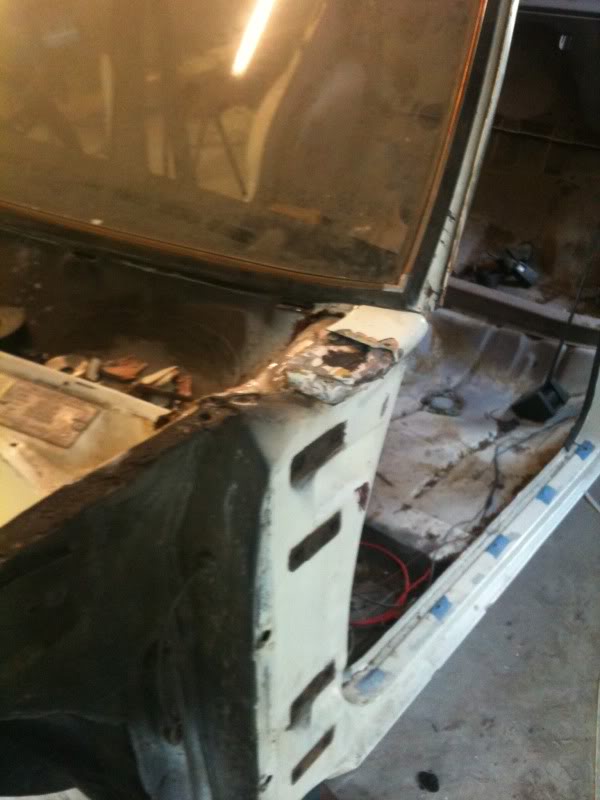
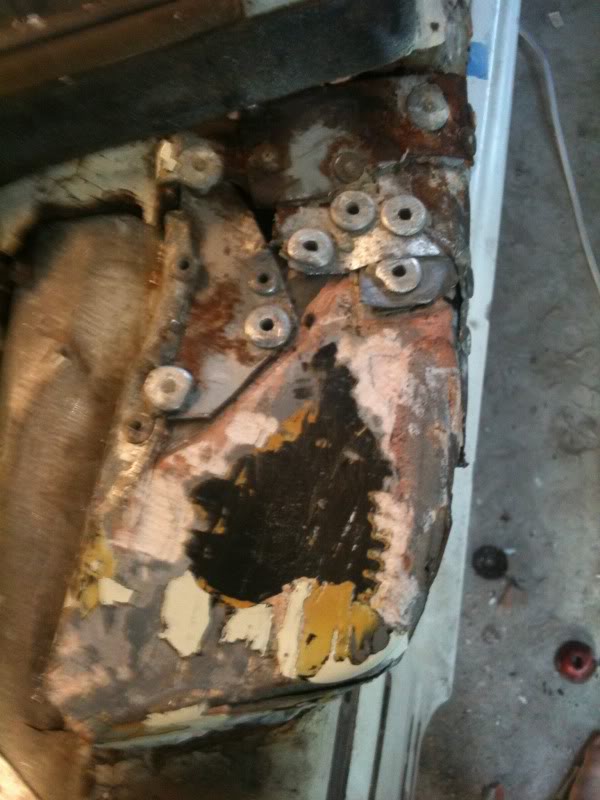
So first off were the flares and bonnet and nose cone etc, it looks reasonably straight, when I stripped the paint and saw what was underneath it all to be repaired. See pics.

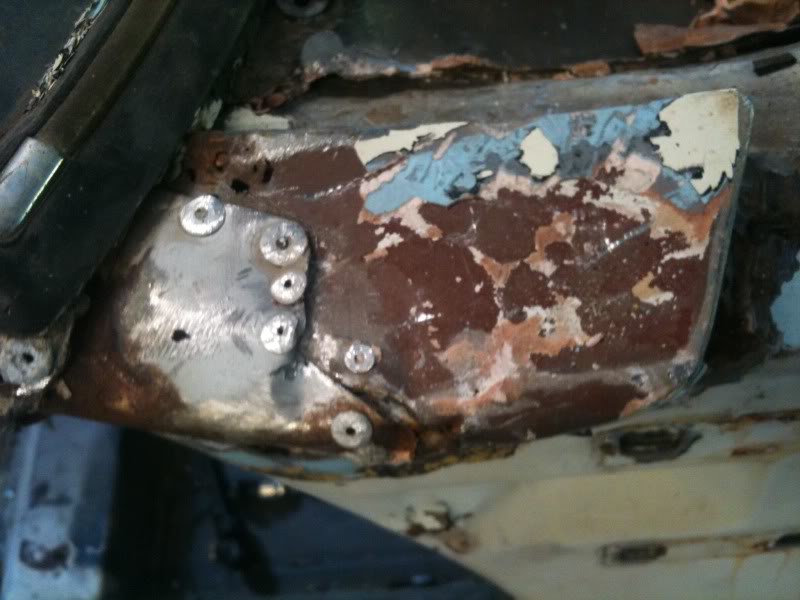
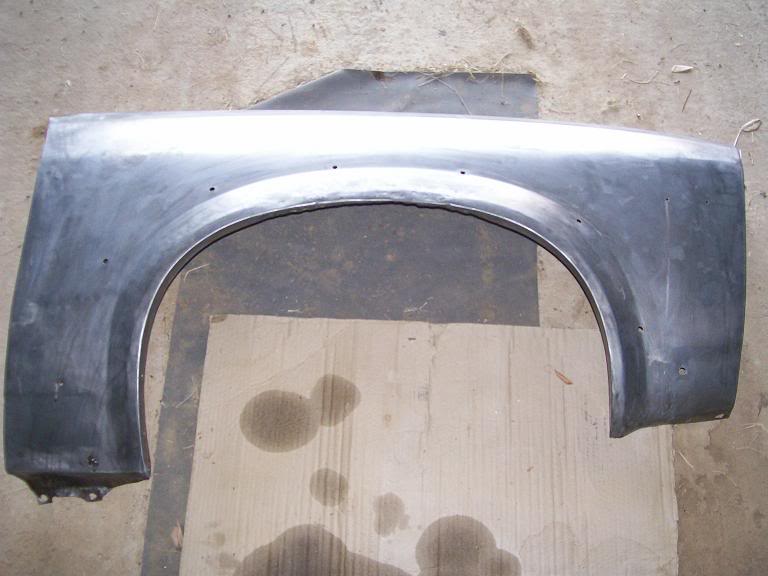
LH Guard before stripping
Posted Image

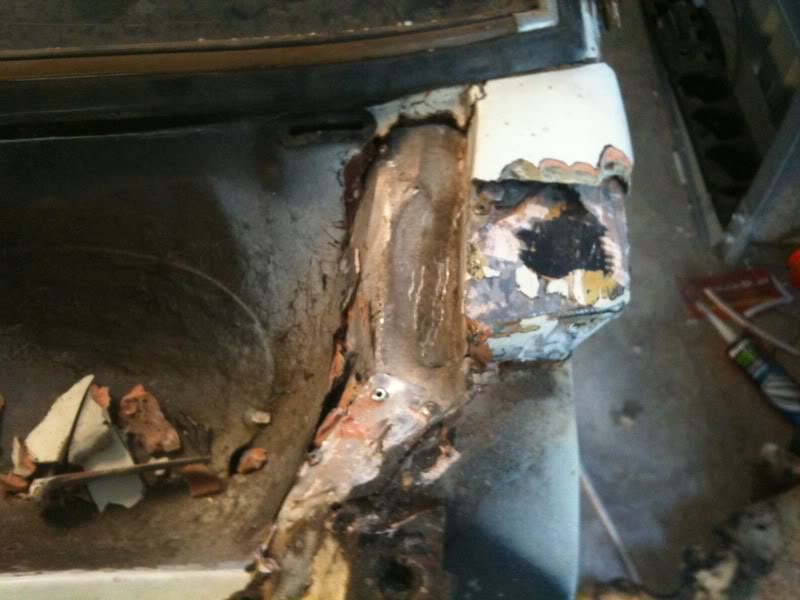
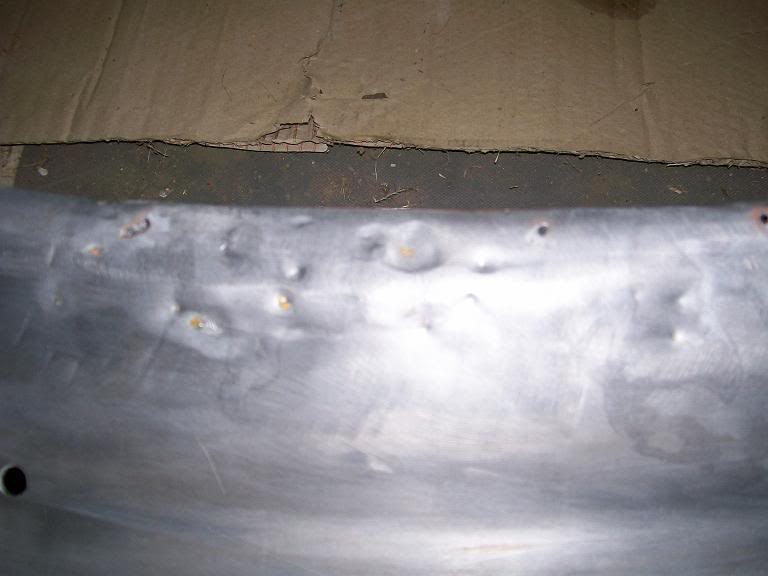
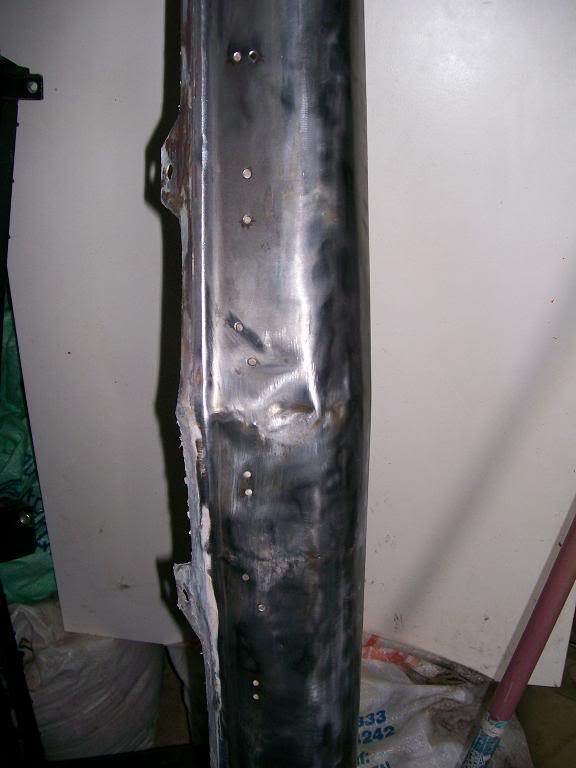
LH Guard after stripping
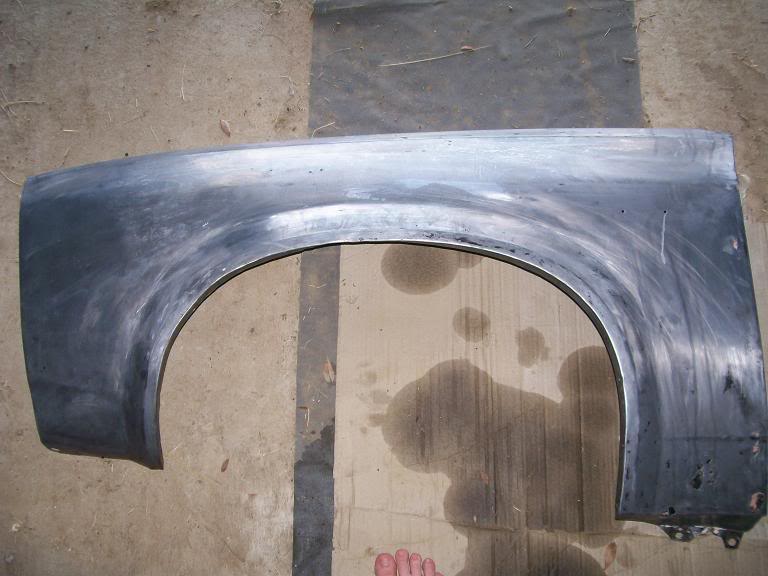
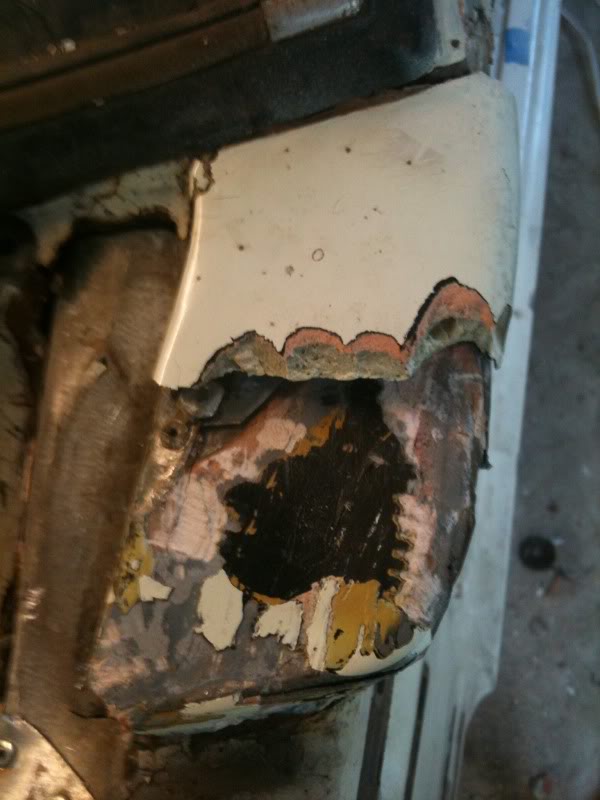
Posted Image

It's damage
Posted Image
Posted Image

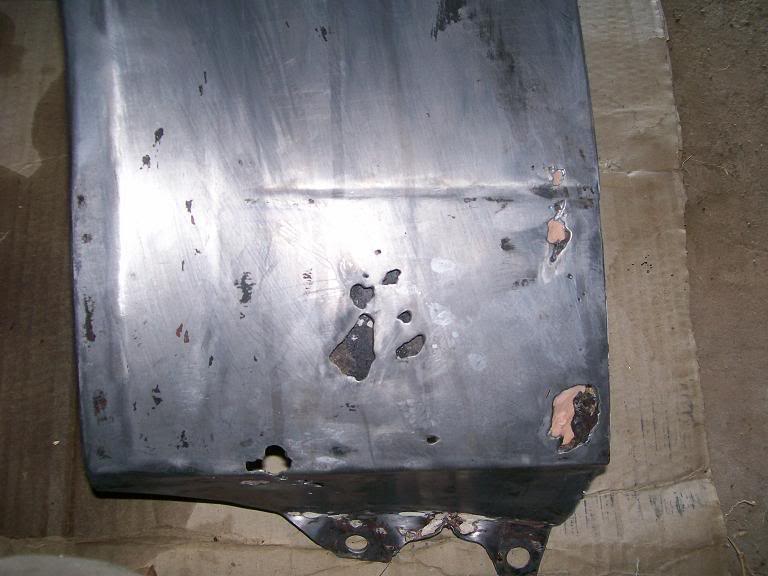
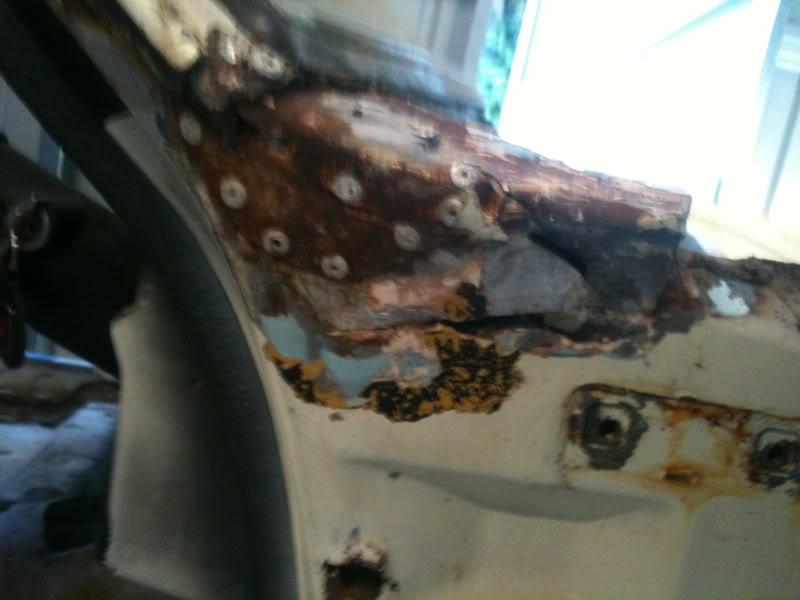
RH Guard Before stripping
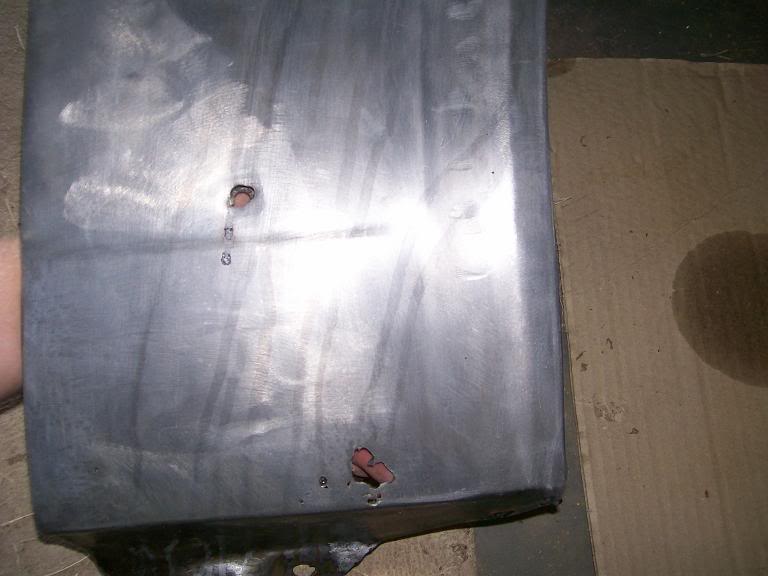
Posted Image

After Stripping
Posted Image

It's damage
Posted Image
Posted Image

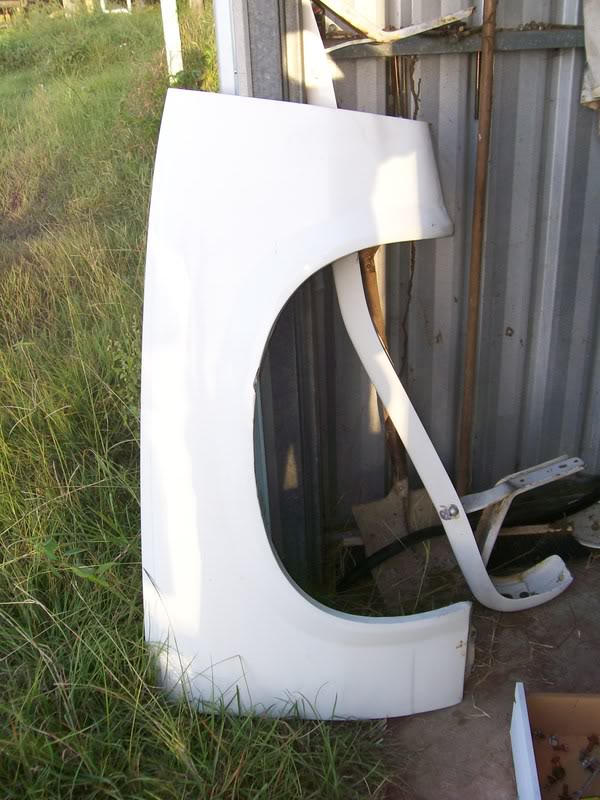
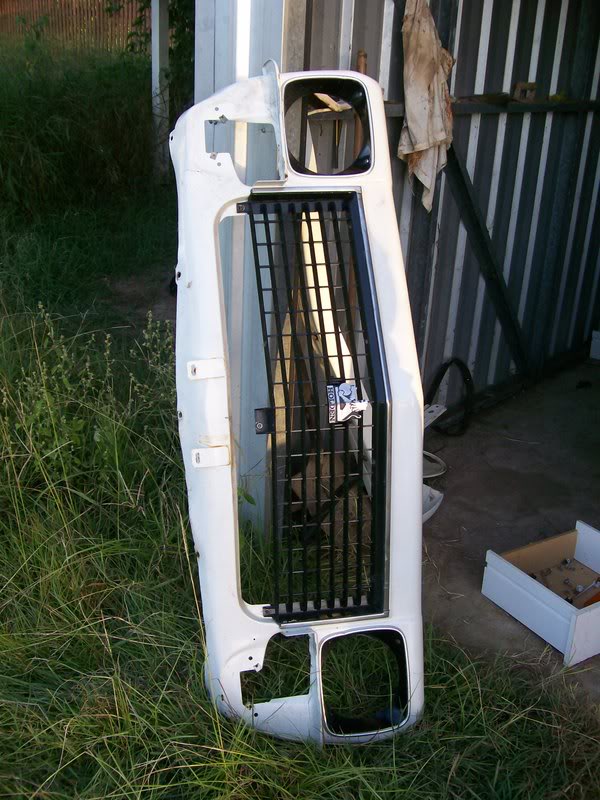
Nose cone before stripping
Posted Image

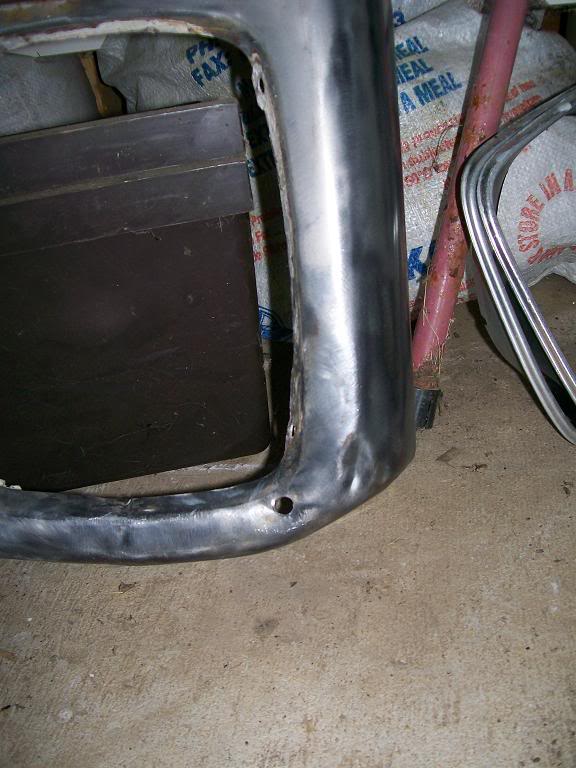
Nose Cone after stripping
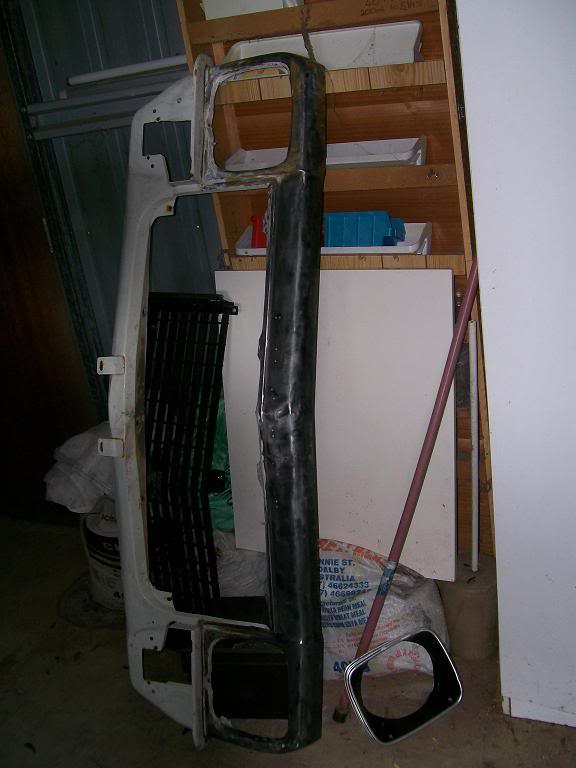
Posted Image

It's damage
Posted Image
Posted Image
Posted Image

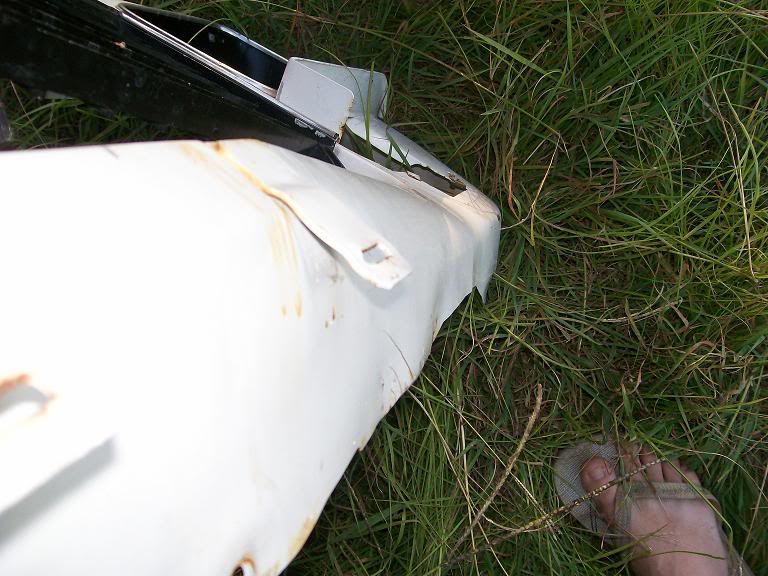
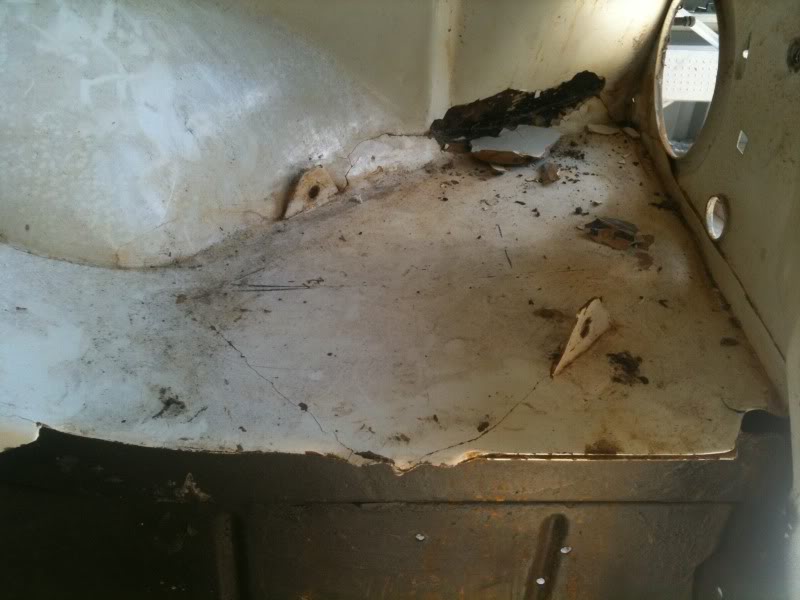
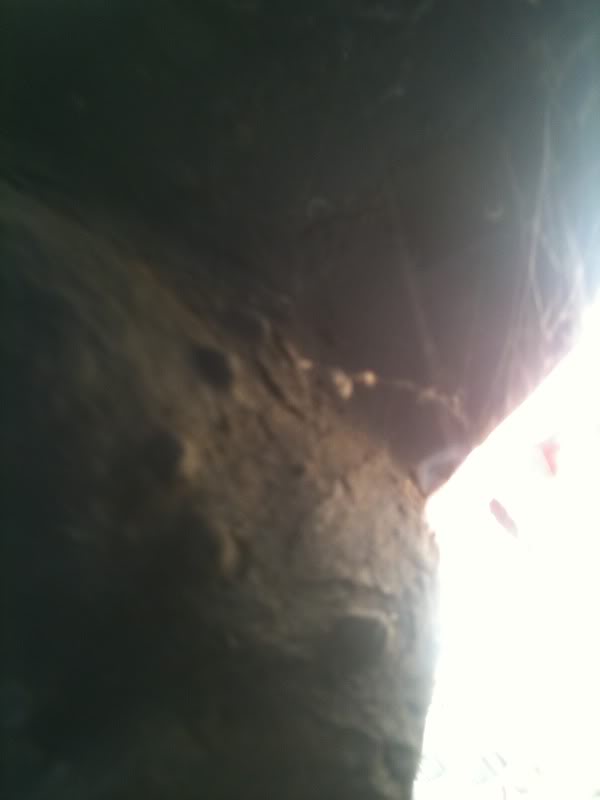
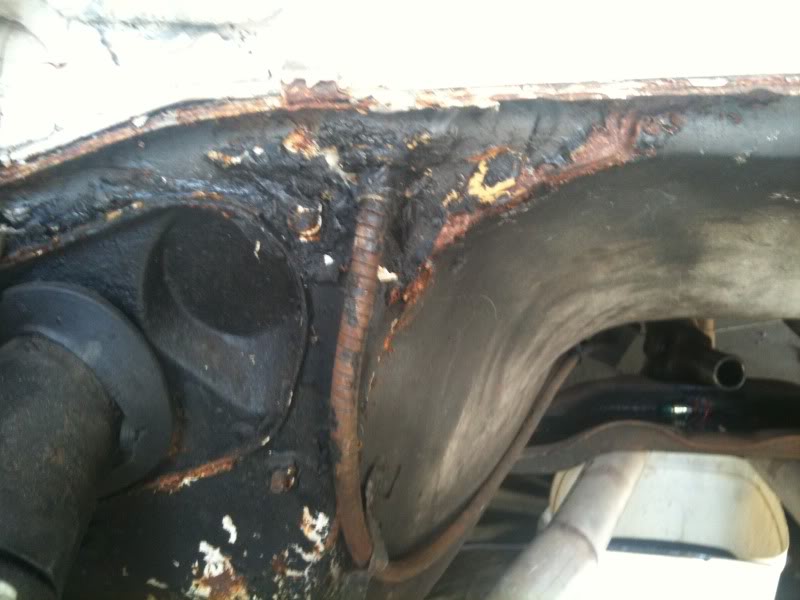
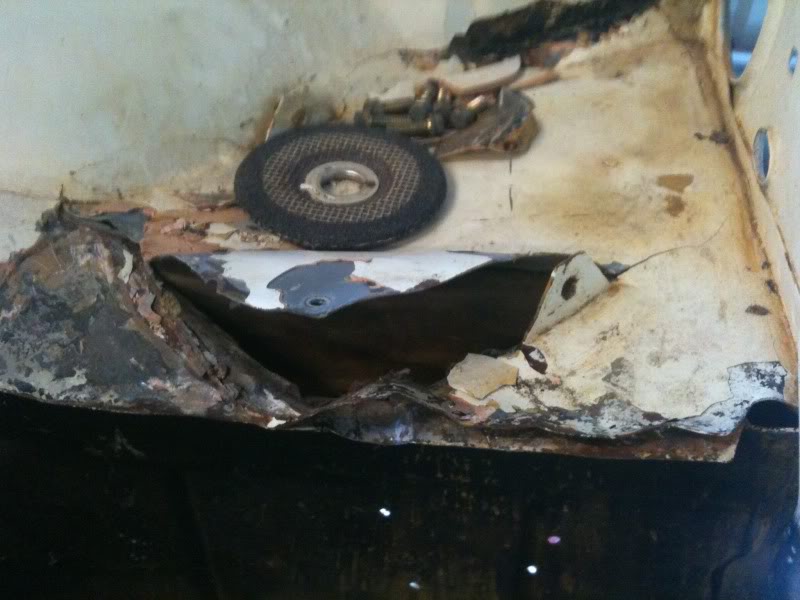
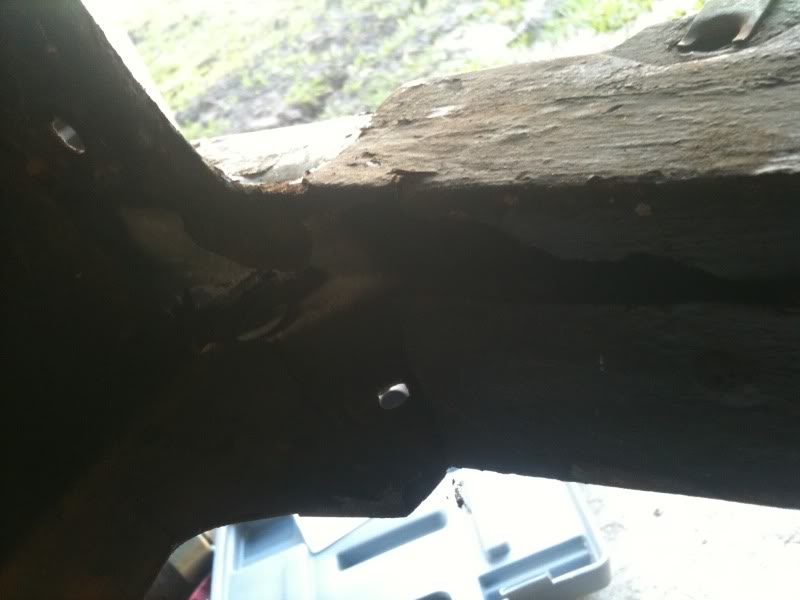
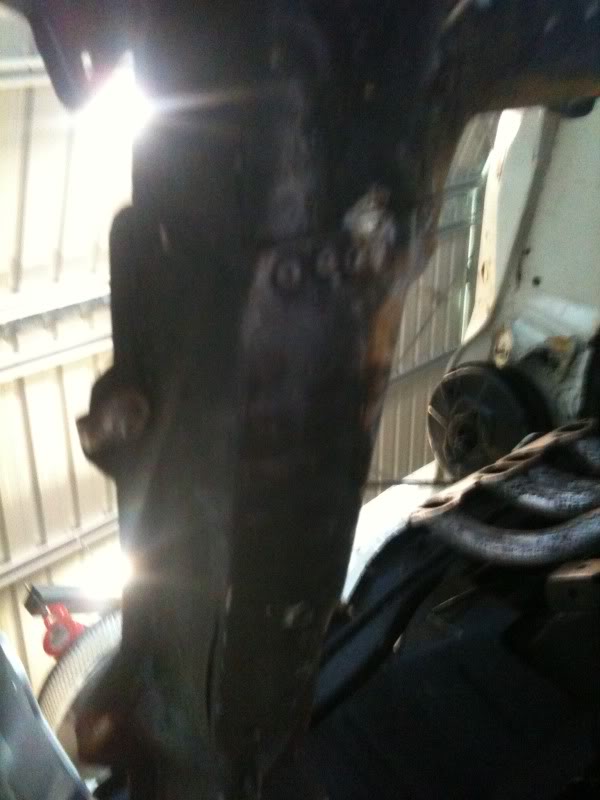
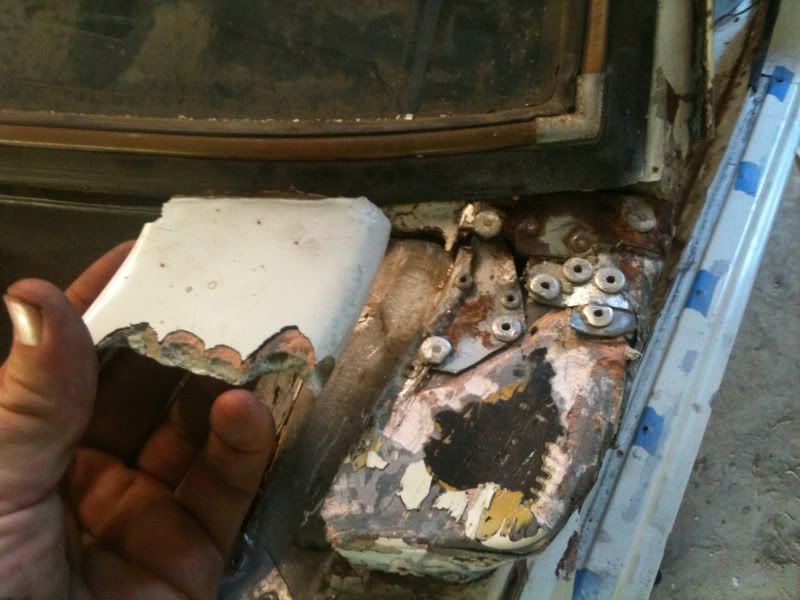
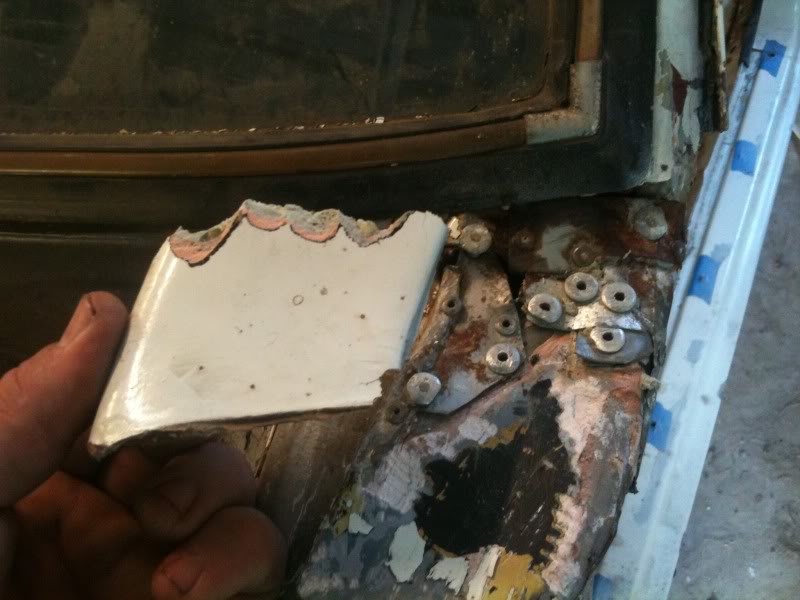
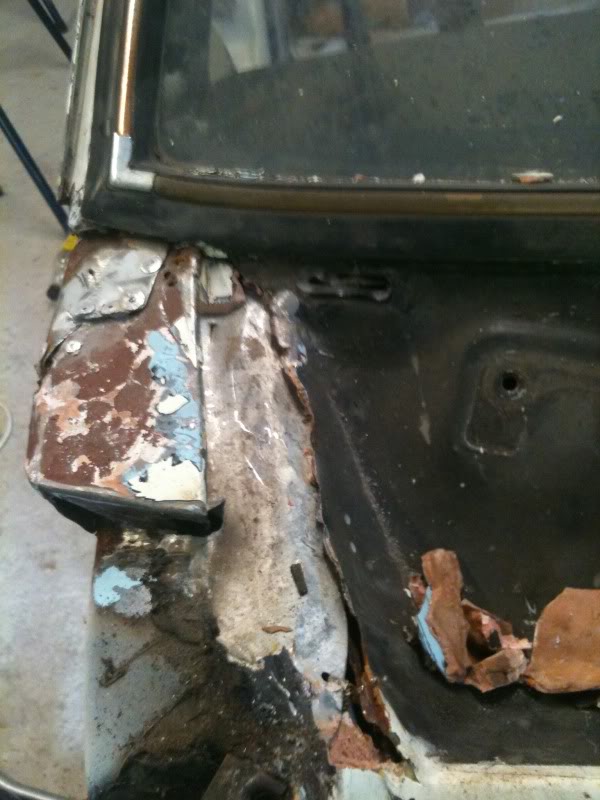
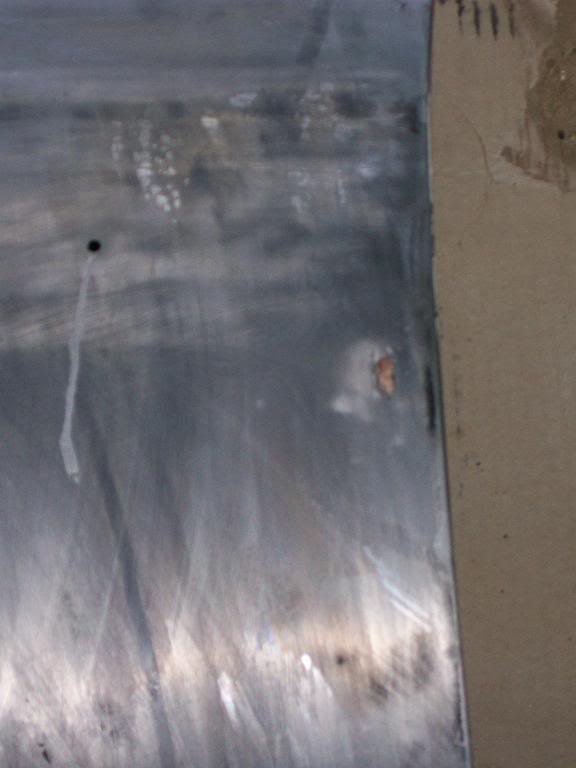
Didn't get any pics of bonnet and other little bits and pieces but will get them soon. As you can see by the pics the damage isn't unfixable, but the nose cone is pretty fr0cked, it was basically all bog on the bottom. I also noticed that the part where the bonnet backs onto was a little iffy looking. As you can see

Posted Image

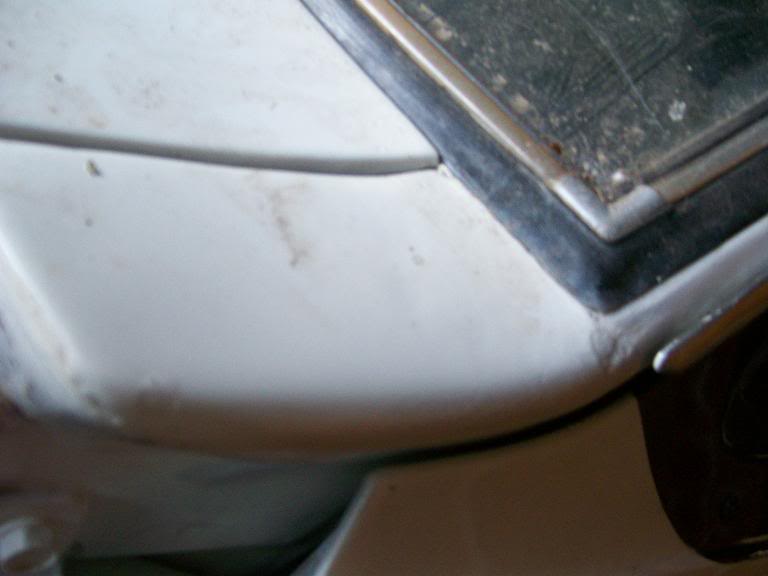
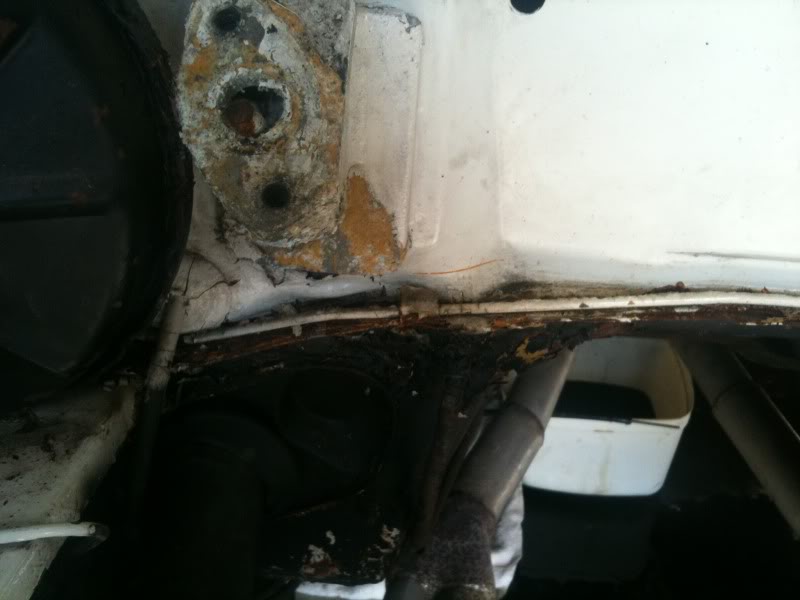
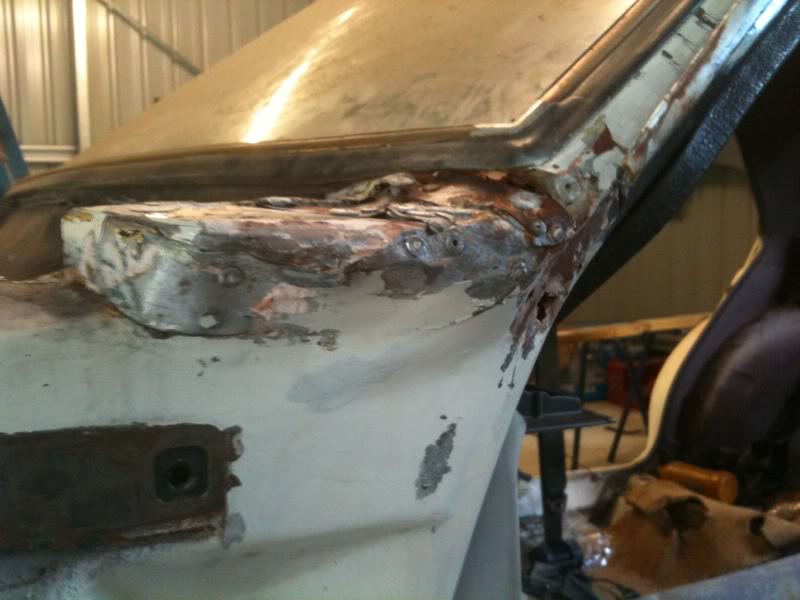
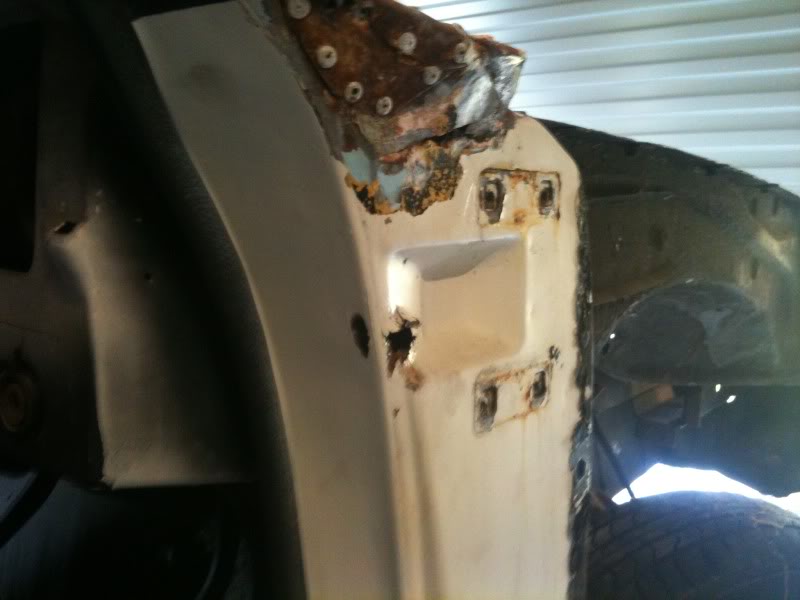
And I also noticed the rust splitting the paint on rear wheel arch, as you can see.
Posted Image

This is how it sits now.
Posted Image

And thats it for now, til I get some more pics up for you all.

Plans do include,

383 CI Chev with around 550-600 HP.
Tremec TKO 600 5 speed.
Ford nine inch diff 4.11 with a Lokka installed.
Ford AU stud pattern with 290 Discs on the back and 330 Discs on the front with aftermarket master cylinder.
Koni shocks, lovells springs, SuperPro bushes all around.
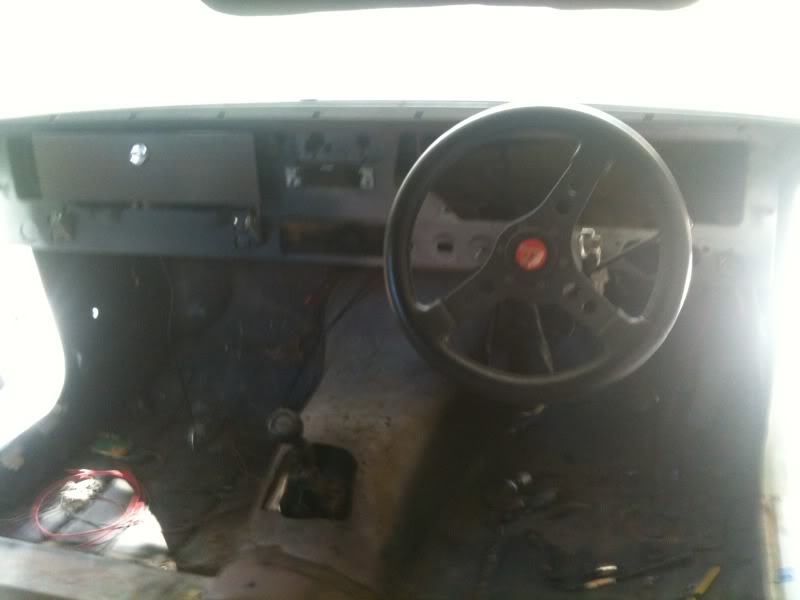
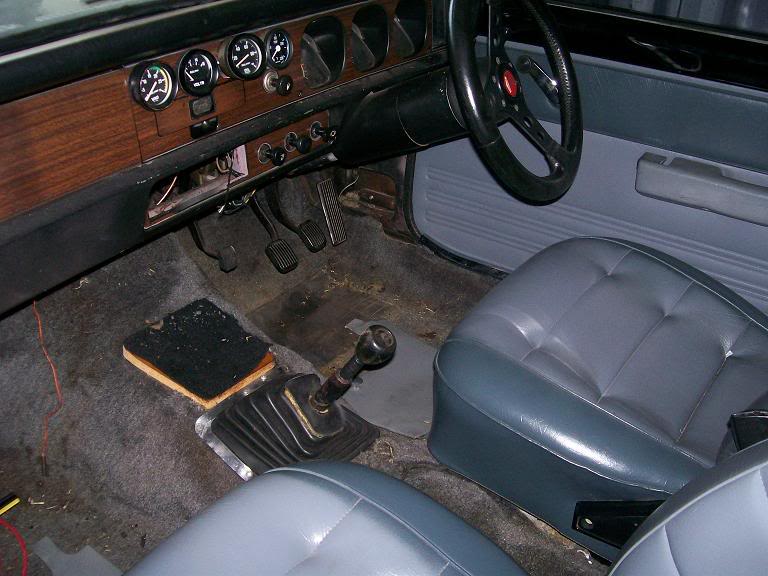
Interior will be kept as original as possible.
Flares of course...
Colour will be Sting red, with black bonnet.

Edited by LX Torry Freak, 31 January 2011 - 10:39 PM.


#2 _Kush_

_Kush_
  • Guests

Posted 01 February 2011 - 01:12 PM

Good one, Liam.
Looks like the bodywork is going to be easy enough. The car seems to be an excellent base to start from. :)
Are you going to smooth out the engine bay?

Edited by Kush, 01 February 2011 - 01:17 PM.


#3 Heath

Heath

    I like cars.

  • Administrators
  • PipPipPipPipPipPipPip
  • 18,396 posts
  • Name:Heath
  • Location:Eastern Suburbs, Melbourne
  • Car:Heavily Modified UC Sunbird Hatchback
  • Joined: 07-November 05
Garage View Garage

Posted 01 February 2011 - 02:45 PM

Am I reading this correctly in that you stripped a flareless guard down to find it had a full set of flare bolt holes in it? Or did you drill those holes? lol

I hope i'm not looking at a wooden panel that sits over a hole in the floor (infront of the shifter?)

Also, the standard heater being removed... Do the side vents on the dash work or anything?

Looks like a pretty easy project (considering you haven't mentioned any problems with the shell?)

#4 _Liam_

_Liam_
  • Guests

Posted 01 February 2011 - 04:01 PM

Kush: Yeah thanks mate. I'm hoping it won't have too many surprises underneath the paint... But who knows. It is a Torana after all lol. Yeah except I will probably have to put the heater back on, for registration issues.

Heath: Yeah mate you heard correct, stripped it down to find flare holes... Funny thing is I never held a flare up to it to see how she sat lol. Regarding the wood, no. It's glued on to the carpet, the console I have slips over it leaving a little carpeted open hole. But yeah no dents that I have noticed, no emerging rust, no bubbles, on the crack on the rear arch which I think may be on the other side but not to worry, the rear arches are getting cut up to fit my hoops in there.

#5 _Liam_

_Liam_
  • Guests

Posted 01 February 2011 - 04:03 PM

Oi Kush will be coming up your way in the next few days I think. I work for Ergon and we are getting all hands on deck up north to help out with the cyclone. Sounds like its going to be worse than the Innisfail cyclone...

#6 _Liam_

_Liam_
  • Guests

Posted 01 February 2011 - 04:34 PM

I just realised you can see the bonnet in the background of my last pic. Nothing wrong with it, not one spot of rust in it, just 8 layers of paint lol. I accidentally dented it when I was handling it somehow, so gonna have to hammer/dolly it out. Any tips? It's tiny like someone hit it with a centre punch.

#7 _Kush_

_Kush_
  • Guests

Posted 01 February 2011 - 08:54 PM

I just realised you can see the bonnet in the background of my last pic. Nothing wrong with it, not one spot of rust in it, just 8 layers of paint lol. I accidentally dented it when I was handling it somehow, so gonna have to hammer/dolly it out. Any tips? It's tiny like someone hit it with a centre punch.


I would dolly it out if it's easy to get at. But if it was on top of one of the reinforcing channels, I'd put a spot weld over it then smooth it over.

Ps. I'm about 1000 kms west of Townsville nowadays. No cyclones here, just 40+ degree heat and sulfur in the air :)
If ergon do send you out to the sunny Isa, drop me a line and I'll throw a carton in the fridge

Edited by Kush, 01 February 2011 - 09:01 PM.


#8 _Kush_

_Kush_
  • Guests

Posted 01 February 2011 - 08:56 PM

.

Edited by Kush, 01 February 2011 - 09:04 PM.


#9 _Liam_

_Liam_
  • Guests

Posted 01 February 2011 - 09:56 PM

You would still get some wicked good winds and rain from it though. Easily. They reckon it's going to affect from Mackay upwards.

#10 _Eedman_

_Eedman_
  • Guests

Posted 03 February 2011 - 09:41 AM

Dontcha just love the wooden burger holder above the shifter on the trans hump! rofl!

Tell me you are gonna keep that mod.

seriously, looks like a nice resto project, ive seen a lot worse than that, good luck with it.

#11 Heath

Heath

    I like cars.

  • Administrators
  • PipPipPipPipPipPipPip
  • 18,396 posts
  • Name:Heath
  • Location:Eastern Suburbs, Melbourne
  • Car:Heavily Modified UC Sunbird Hatchback
  • Joined: 07-November 05
Garage View Garage

Posted 03 February 2011 - 04:40 PM

^ HAHAHAHAHA

#12 _Liam_

_Liam_
  • Guests

Posted 04 February 2011 - 10:08 PM

Haha eedman mate I assure you it looks alot better with the console in place. Lol I'm in Townsville ATM bout to head up to Tully in the morning. Lucky me... How'd you go with the storms kush?

#13 _Kush_

_Kush_
  • Guests

Posted 04 February 2011 - 10:15 PM

Nah no storms mate, bit of rain and a tree fell over. That tree made the front page of the paper because that's all we got. We're too far out to get anything serious. :)

#14 _Liam_

_Liam_
  • Guests

Posted 19 May 2011 - 01:52 PM

Gday fellas just a bit of an update. So over the past two weeks I've been on holidays... It's been awesome not looking forward to going back to work. Anyways most of the holidays has been me ripping into the Torry and getting it to a point where I can work on it more. First I had to run power to the shed, what a pain, seeing it was wet and hard to trench. The rest was relatively easy. Finally got the power connected on Monday. And now the fun began.

If you have seen my thread in the Fabrication section I designed and built an Engine Hoist, which I found today worked and absolute treat. So here's a few more pics of where I'm at.

Torana in it's home.
Posted Image

Whilst I was waiting for the power I then removed all the wiring, all the dash and all the useless stuff in the Torana which I didn't need ie Brakes etc...
From this.
Posted Image
To this.
Posted Image

Dash.
Posted Image

When I removed all the crap in the engine bay I saw all the dodgy arse "repairs" they had done...
Posted Image

This is what is holding the Radiator support on.... F0ck me.
Posted Image

Then used my fancy new hoist... :buttrock:
Posted Image
Posted Image

Was at this point for a while til I realised that the Gearbox Shifter linkage was caught on the tunnel, as was the clutch mount bracket.
Posted Image

Then out it came.
Posted Image
Posted Image

Sprung a leak when I pulled the tailshaft out. Whoops. But still looks alot better I reckon. :buttrock:
Posted Image

Inspection under the booster showed that the leaking brake fluid stripped the paint and has began rusting out the firewall and lip... :Headbang2:
Posted Image
Posted Image

This is where I'm up to ATM. Getting some sheetmetal and some gas for the welder to begin the awesome progress of stripping panels, repairing rust and reinstating the panel etc.

#15 _Quagmire_

_Quagmire_
  • Guests

Posted 19 May 2011 - 02:30 PM

ha ha the old oil on the floor trick
just some advice for next time and cleaning up
if you leave the tailshaft yoke in you will avoid all that cleean up
sawdust works well as does the non clumping kitty litter (not the clay based stuff)
but my favourite is just to paint the floor with paving paint and bondall ..........put on the kitty litter/sawdust and sweep/wash it all away :)
looks like you got some fun times ahead m8t


#16 _Liam_

_Liam_
  • Guests

Posted 19 May 2011 - 02:32 PM

Ahh tell me about it, I don't know how to dismantle the tail shaft at the yoke otherwise I would have... :surrenderwave:

Re: The clean up... We have proper spill kits at work, will borrow some good stuff from there. :buttrock:

#17 _Quagmire_

_Quagmire_
  • Guests

Posted 19 May 2011 - 02:45 PM

Ahh tell me about it, I don't know how to dismantle the tail shaft at the yoke otherwise I would have... :surrenderwave:

Re: The clean up... We have proper spill kits at work, will borrow some good stuff from there. :buttrock:


don't let it soak to long m8t
it will stain and get everwhere


ok i'll let you in on a dodgey way but i didn't tell you ok :)
put a couple of shovel loads of sand on it
working outside in (create a moaat like the spill kits )
and "dispose of carefully " :)
those spill kits ain't that flash anyway
see them demonstrated at one of my old jobs
looks just like treated saw dust mixed with kitty litter to me

Edited by Quagmire, 19 May 2011 - 02:46 PM.


#18 _Liam_

_Liam_
  • Guests

Posted 19 May 2011 - 03:16 PM

The ones we have at work are good stuff, we had a Transformer that we broke (whoops) oil everywhere and we chucked the spill kit absorbtion bag on it and it worked really well. That dodgy way is how I did years ago when I dropped the oil and it missed the bucker haha.

Slab is going to get painted with the non slip paint soon(ish?). So I'm not too worried. Thanks Quag.

#19 _Liam_

_Liam_
  • Guests

Posted 21 May 2011 - 09:50 PM

Just a question, where do you get beaver panel repair panels?

#20 _Liam_

_Liam_
  • Guests

Posted 22 May 2011 - 02:25 PM

Just a quick little update, just went to the shed and did a little bit of recon in the engine bay area for parts to fix. Well I think I'll just let the pictures do most of the talking.

Remember this? I thought it looked strange.
Posted Image

Well began trying to remove it... It's got screws, rivots and bog on this nasty little repair.
Posted Image

Was then checking out the rad support, the usual bit of rust. :dontknow:
Posted Image

But it's been sorta repaired/screwed and what do you know? More rivots.
Posted Image
And underneath.
Posted Image

So this looks like its going to be a pretty extensive repair.

I then turned my attention towards this little doovy that I said earlier looked iffy...
Posted Image

So I began chipping it away and found that it had been repaired previously, quite well in fact.
Posted Image
Posted Image
Posted Image
Rivots!!
Posted Image
Posted Image
Posted Image
Posted Image

Woeful as it was, it's probably repairable, so I thought I'd check the other side to see what it's condition was like.
Posted Image
Posted Image
Posted Image
Nice little rust hole where the channel runs to the door mount.
Posted Image

So there you have it, you don't need to weld and get smooth etc, nah just use some rivots and bog the hell out of it. Haha.

This week begins the awesome week to transform this engine bay...
Posted Image
To Kush's level of smoothness! Wish me luck fellas, will get back to yas with progress as it happens.

#21 Gump

Gump

    Paisty White

  • Members
  • PipPipPipPipPip
  • 1,146 posts
  • Name:Russell
  • Location:Bridgetown WA
  • Car:LX SL hatch
  • Joined: 15-November 05

Posted 22 May 2011 - 05:12 PM

well this has been a "riveting" build so far, good luck with the rest of the build man

#22 _Bomber Watson_

_Bomber Watson_
  • Guests

Posted 22 May 2011 - 05:46 PM

Bullshit, you didnt find that under the bog, they are your repairs.

Tell the truth :tease:

Cheers.

#23 _Liam_

_Liam_
  • Guests

Posted 22 May 2011 - 05:53 PM

Bullshit, you didnt find that under the bog, they are your repairs.

Tell the truth :tease:

Cheers.


Haha, nah not me Bomber I'm a tek screw and sikaflex man...,

#24 _Kush_

_Kush_
  • Guests

Posted 22 May 2011 - 06:05 PM

Nice to see ya gettin stuck into it!
Those pop rivets are a bit of a concern..... I wonder how many more of them you'll find?
Oh well, more work for you, more stuff for us to gawk at! :) it's a win/win situation all round I reckon!

#25 _Liam_

_Liam_
  • Guests

Posted 22 May 2011 - 06:31 PM

Nice to see ya gettin stuck into it!
Those pop rivets are a bit of a concern..... I wonder how many more of them you'll find?
Oh well, more work for you, more stuff for us to gawk at! :) it's a win/win situation all round I reckon!


Endless amounts, as Wot said must have had a special on rivots. Just annoying that people who don't know how to repair it, don't even attempt to do it correctly, just do it the dodgy way to save some money and effort for a few years before it re-emerges much worse. One things for sure, my panel repair skills will be vast when this is over lol.

Yeah Kush I'm more than happy for you fellas to check out my dodgy car transforming into something decent.

It is all going to be stripped inside and out anyway to bare metal, just so I can find anything they may have done like this. Getting some sheet metal tomorrow, gas either tomorrow or Tues and then it's go time. :buttrock:


1 user(s) are reading this topic

0 members, 1 guests, 0 anonymous users