 but its good to see it will get the proper attention it needs now, will be watching with a close eye
  oh and good luck with the build


Posted 22 May 2011 - 07:02 PM
but its good to see it will get the proper attention it needs now, will be watching with a close eye oh and good luck with the build
Posted 22 May 2011 - 07:20 PM

Posted 22 May 2011 - 08:09 PM
Posted 22 May 2011 - 08:16 PM
Posted 22 May 2011 - 08:18 PM
Forum Fan


 View Garage
Posted 22 May 2011 - 08:28 PM

Posted 22 May 2011 - 08:43 PM
Posted 23 May 2011 - 05:06 PM


Posted 23 May 2011 - 05:45 PM
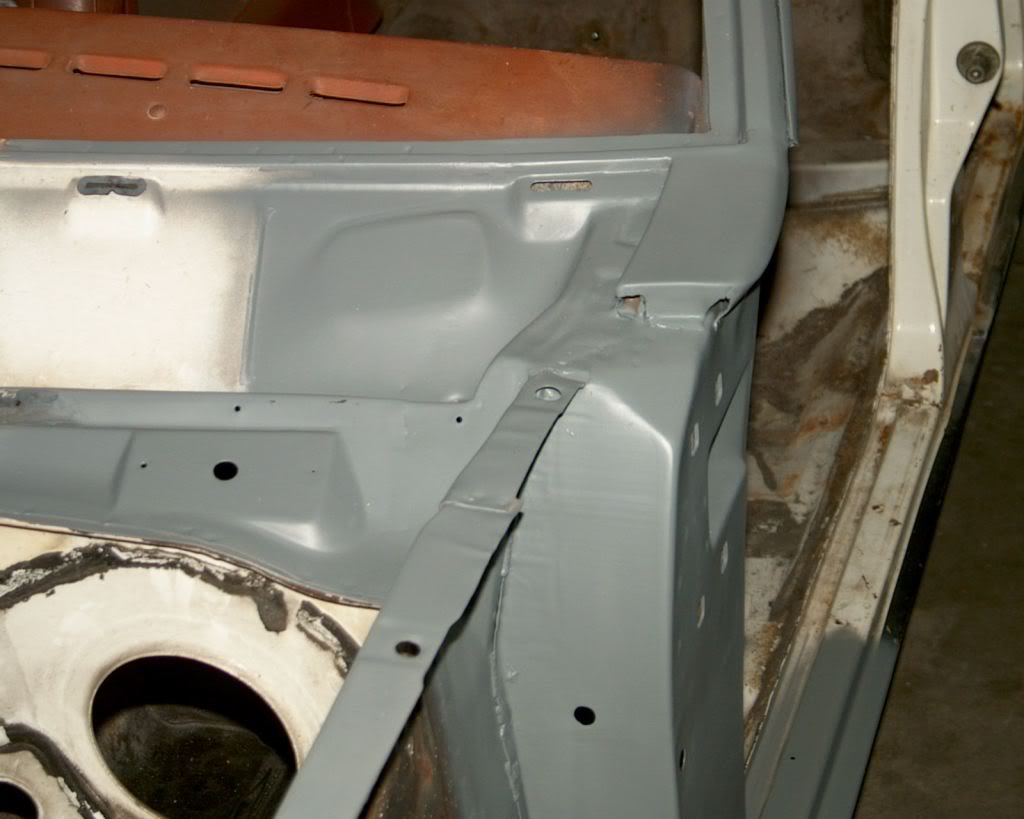
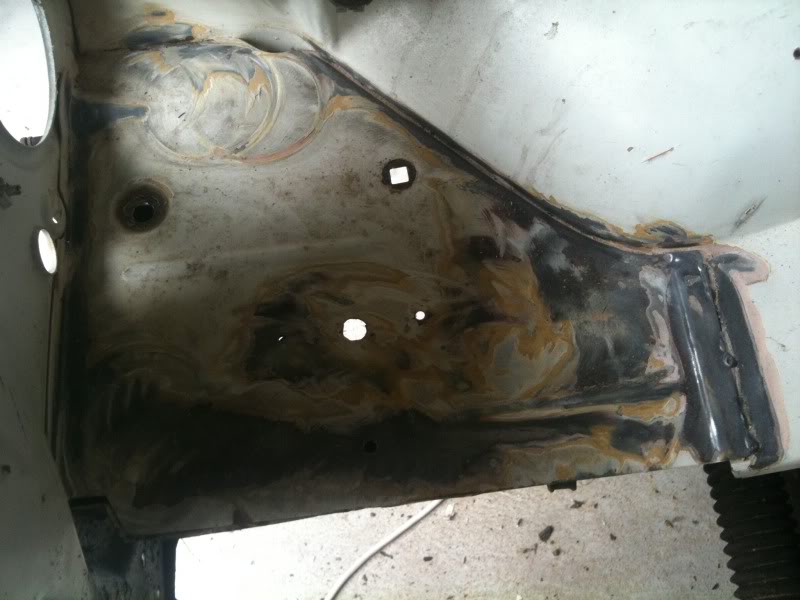
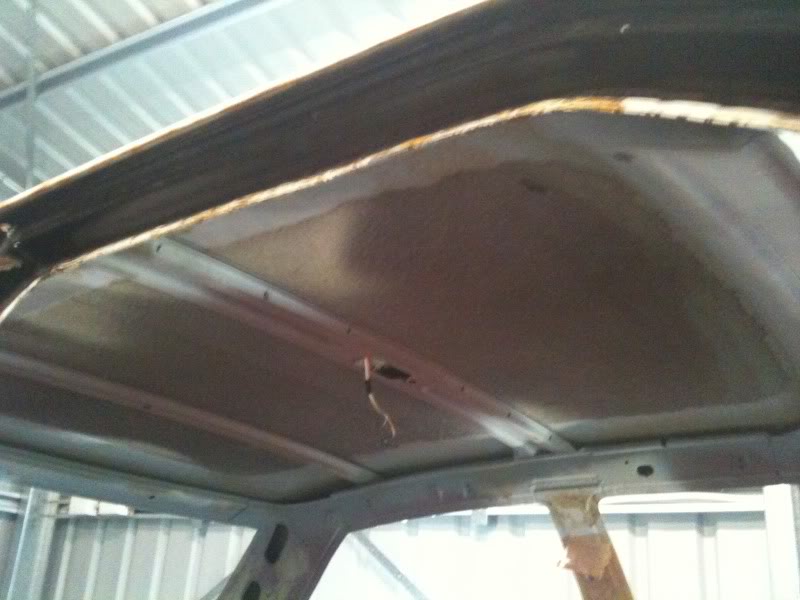
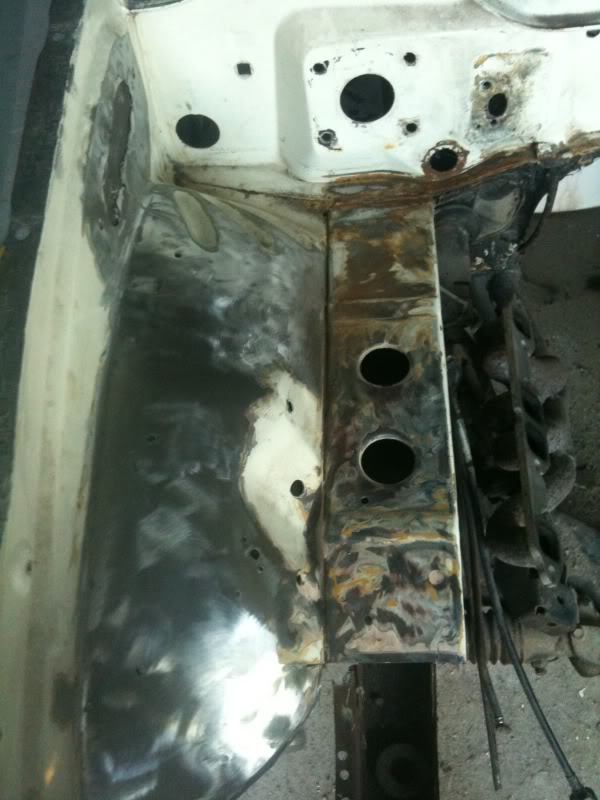
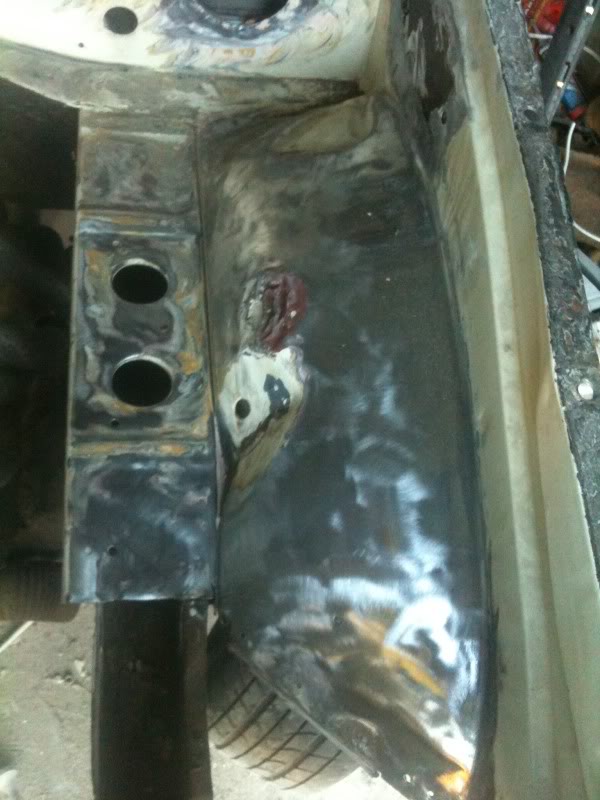
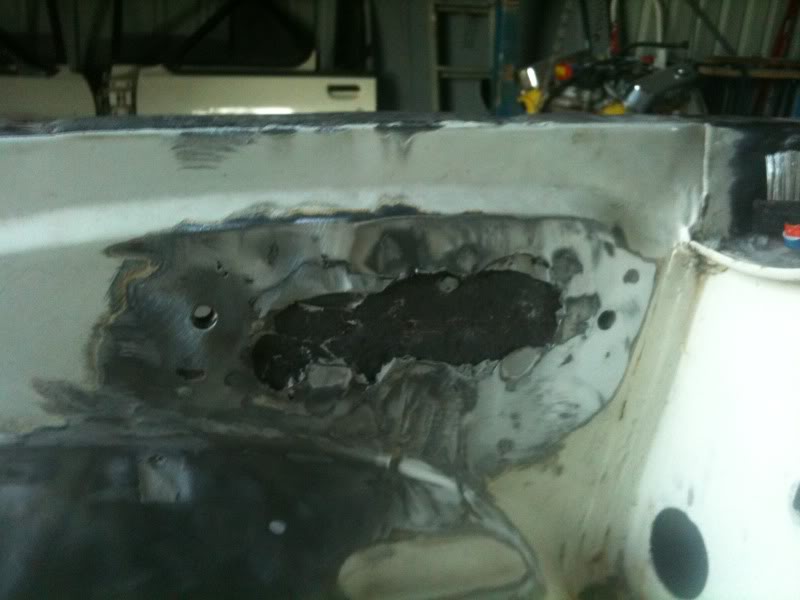
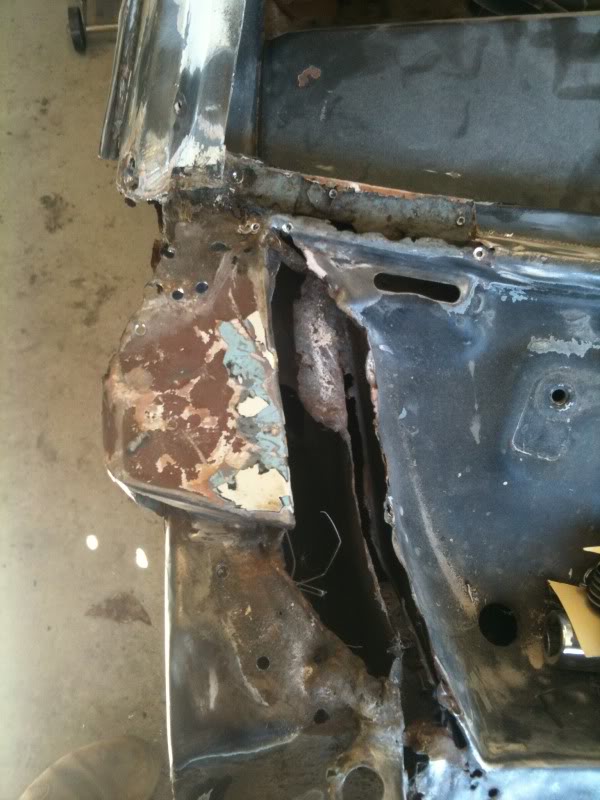
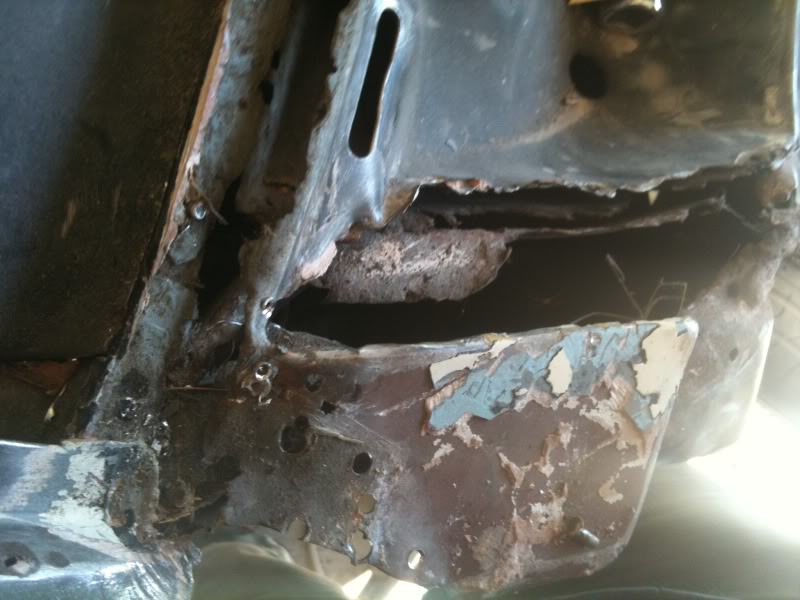
 its amazing what paint and other things can hide

Edited by nial8r, 23 May 2011 - 05:47 PM.
Posted 23 May 2011 - 06:05 PM
Oh My, Don't you post alot

Posted 23 May 2011 - 07:05 PM
Posted 23 May 2011 - 07:13 PM

Posted 23 May 2011 - 07:20 PM
Posted 23 May 2011 - 07:30 PM


Posted 23 May 2011 - 07:39 PM
Posted 27 May 2011 - 04:12 PM
Posted 27 May 2011 - 04:16 PM
 .
.
Posted 27 May 2011 - 04:59 PM

Posted 27 May 2011 - 05:19 PM
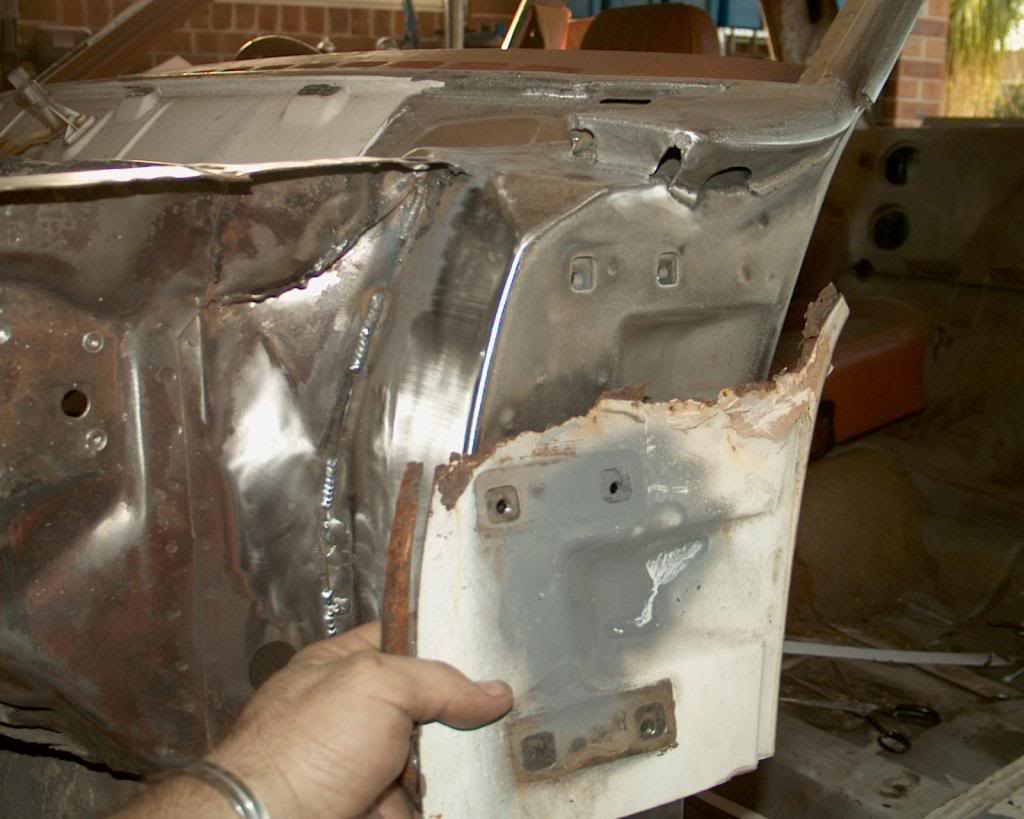
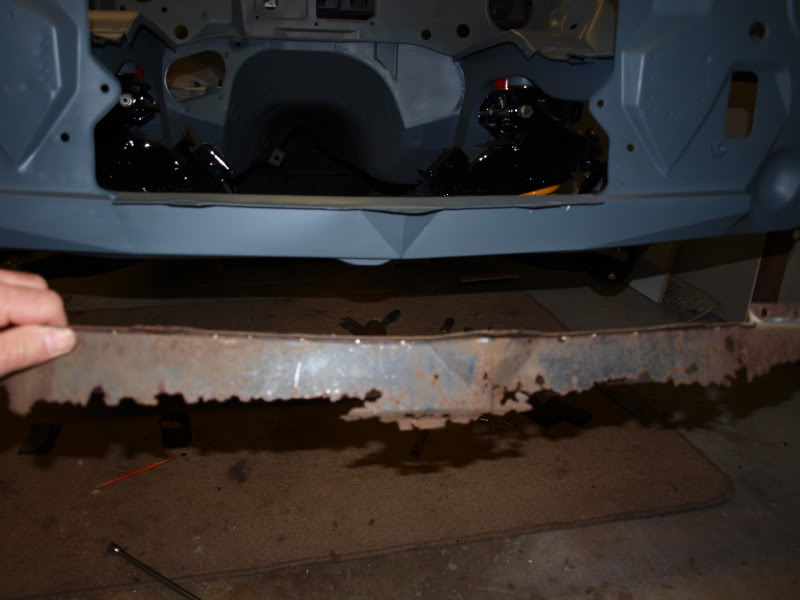
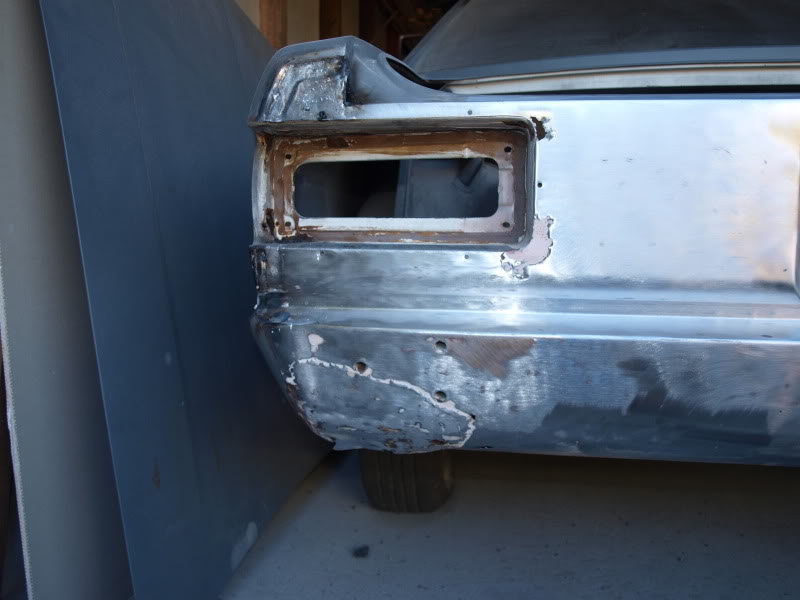
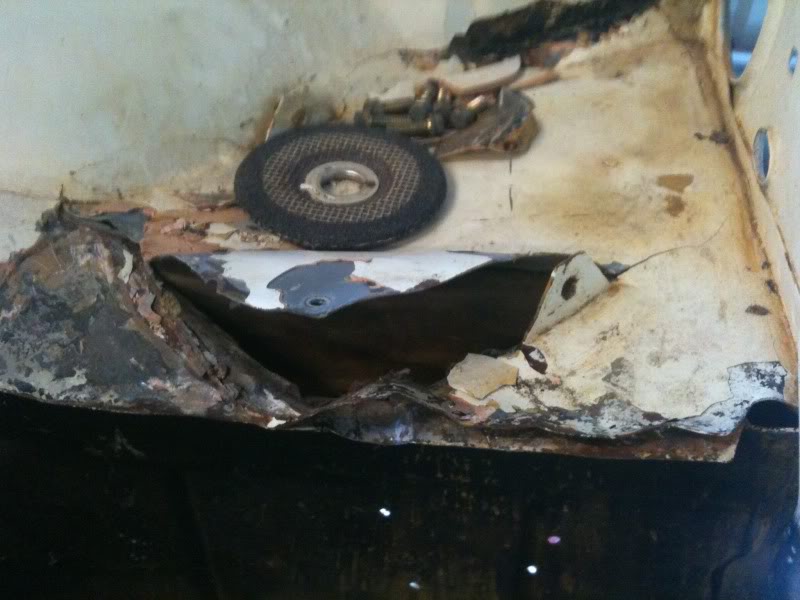
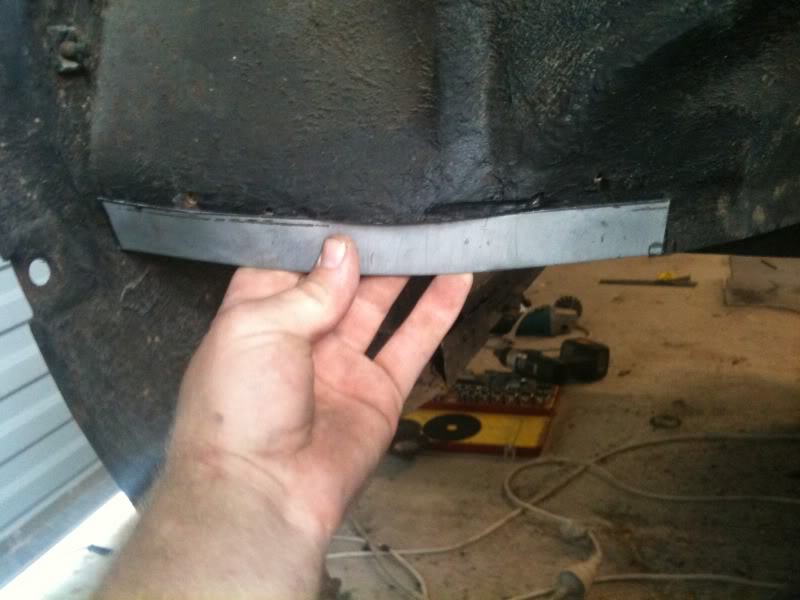
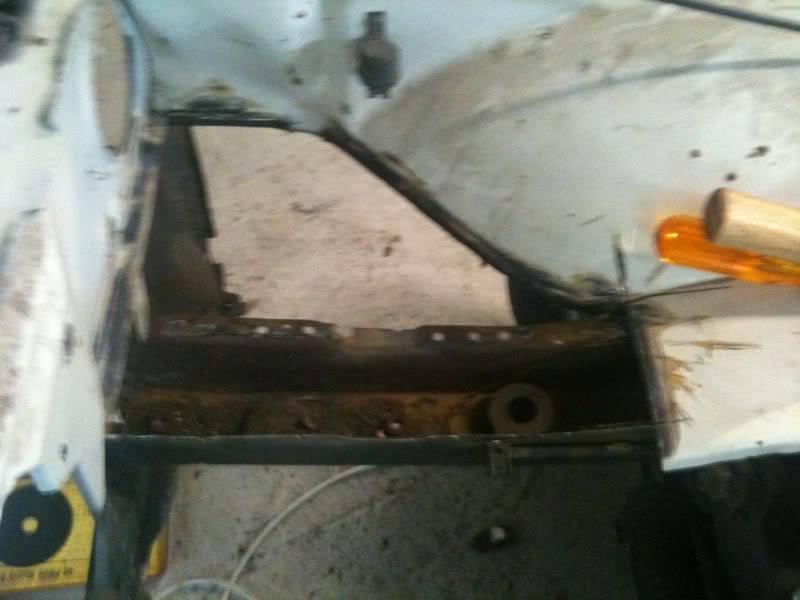
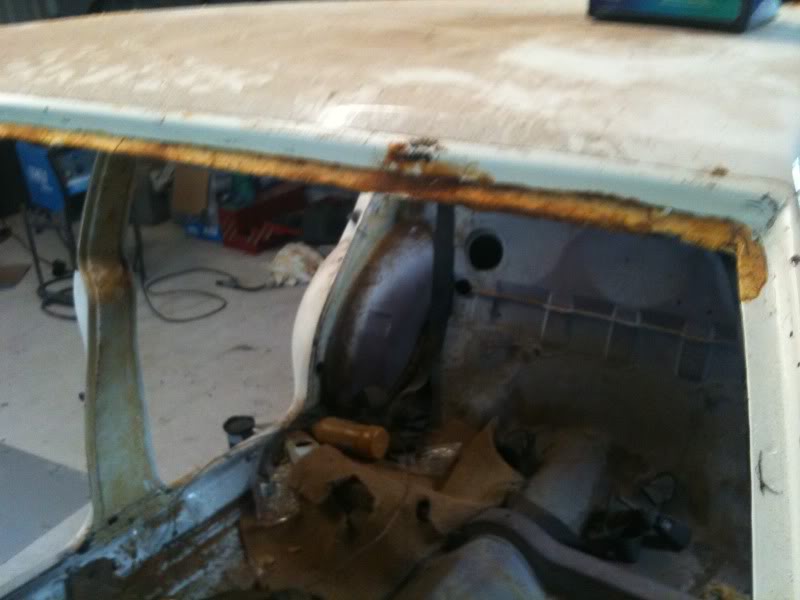
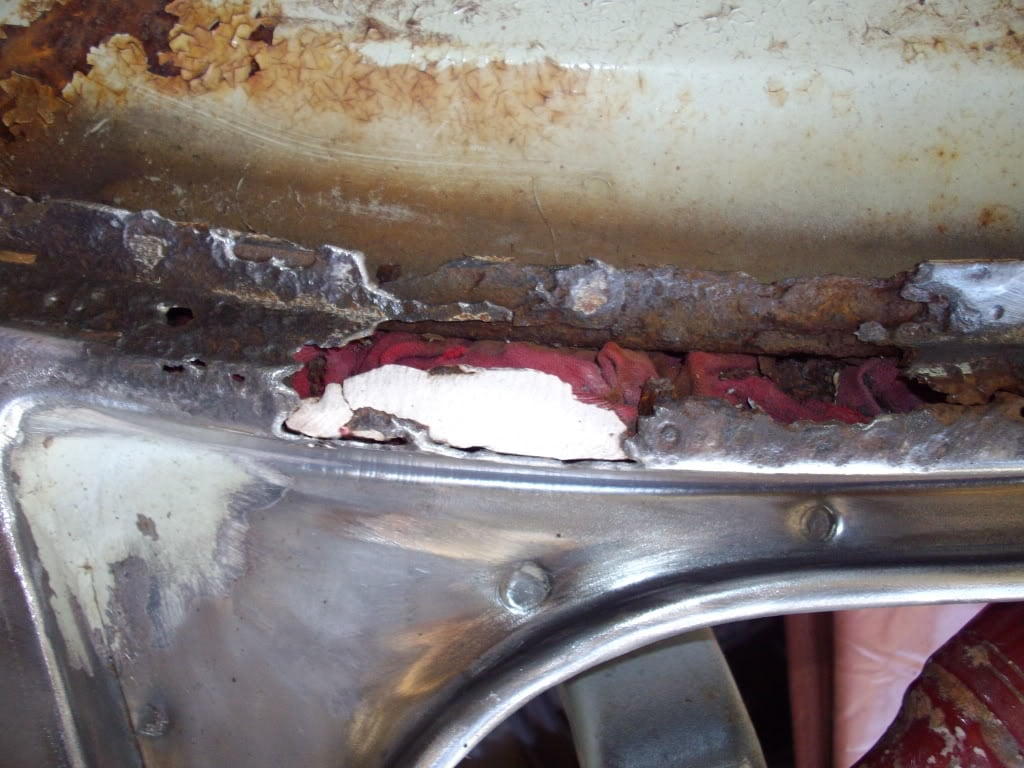
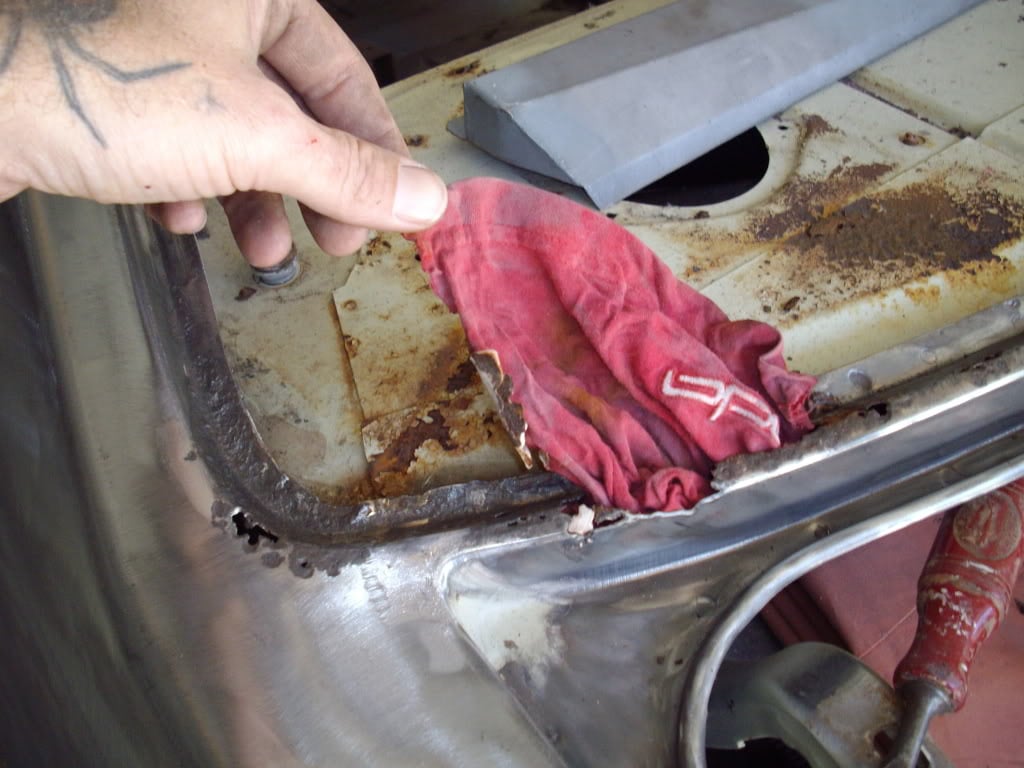
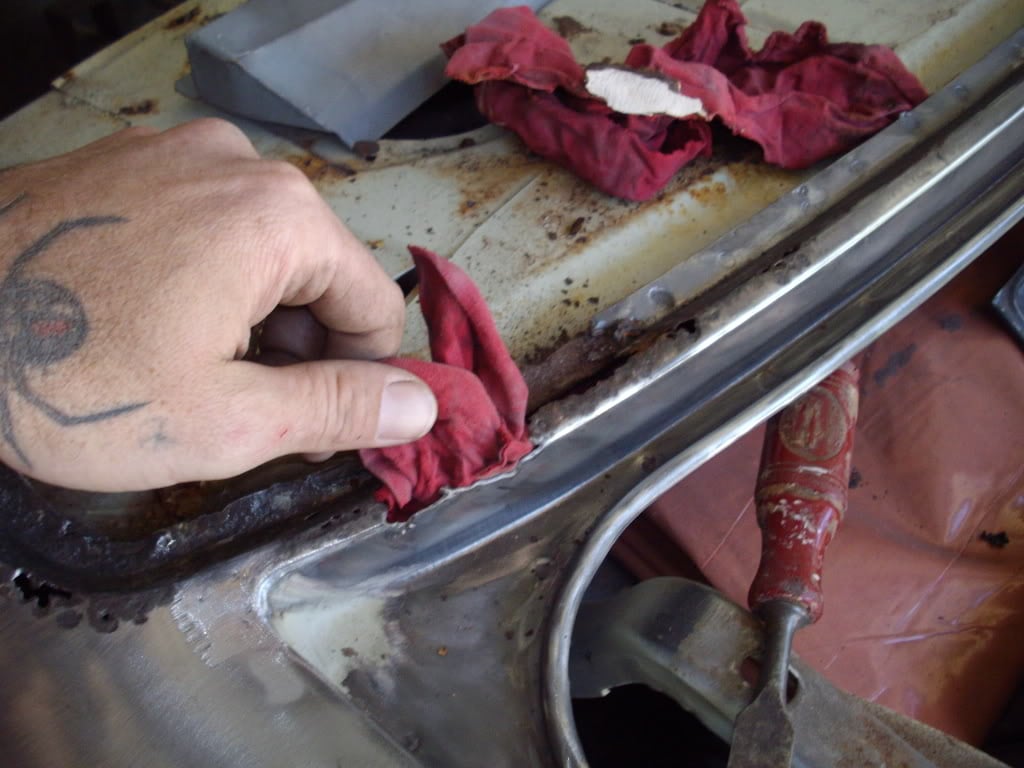
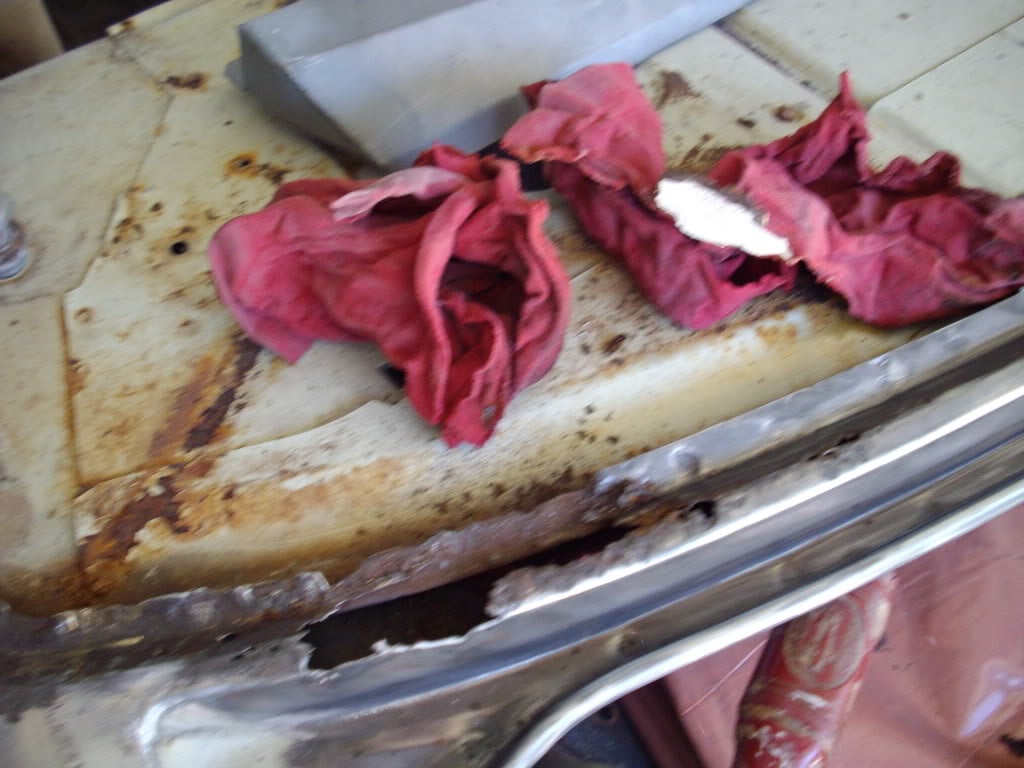
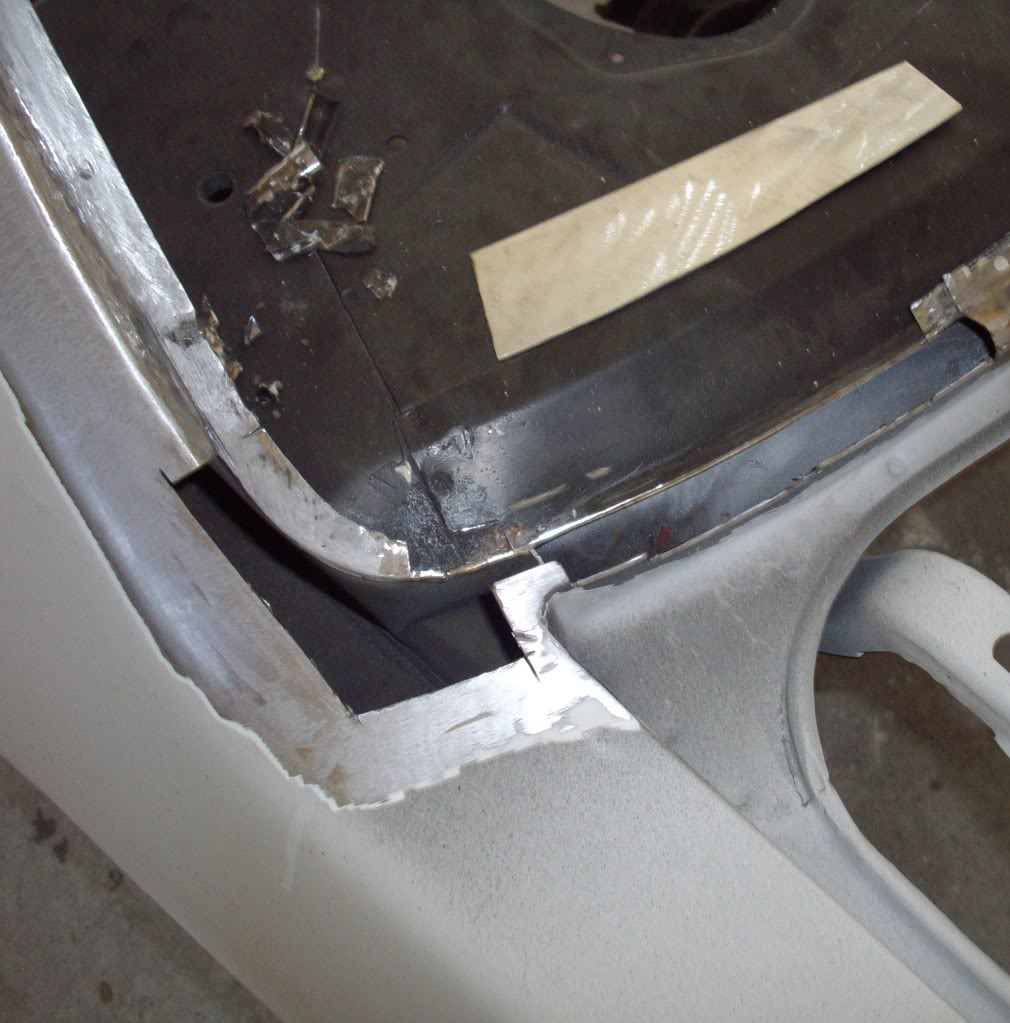
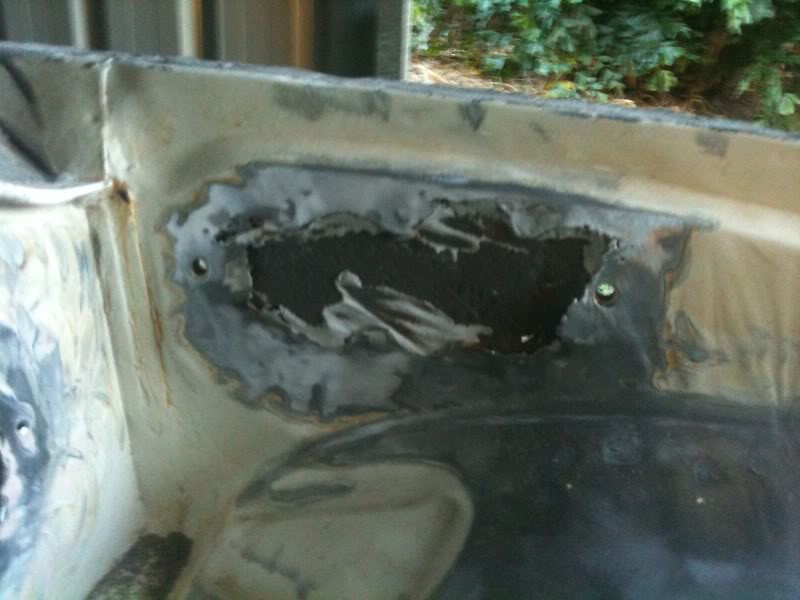
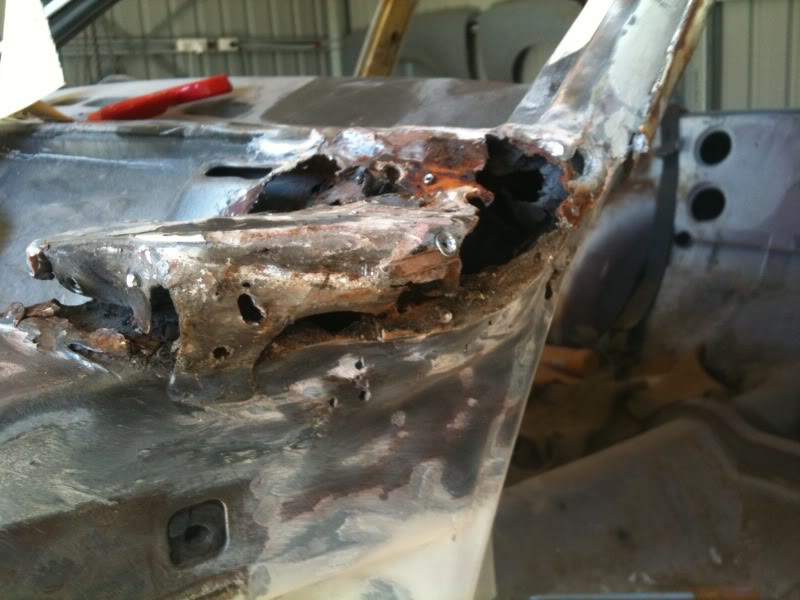
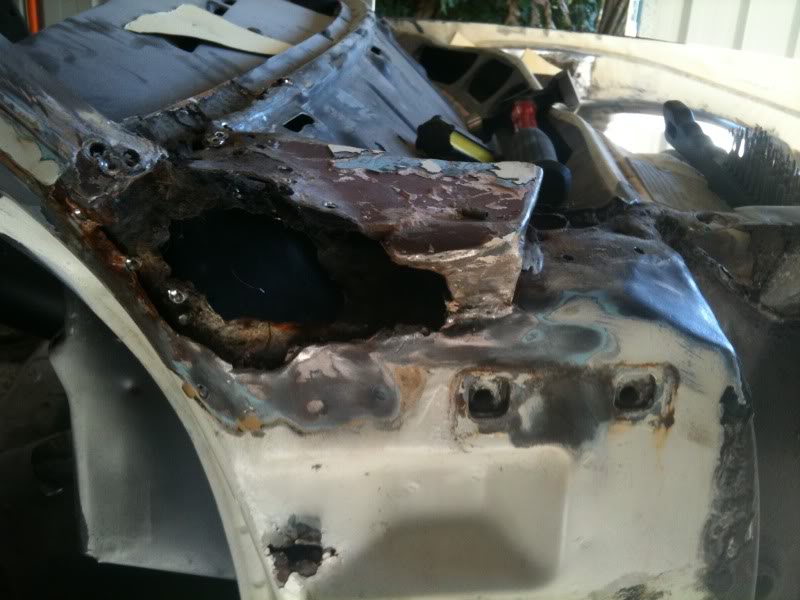
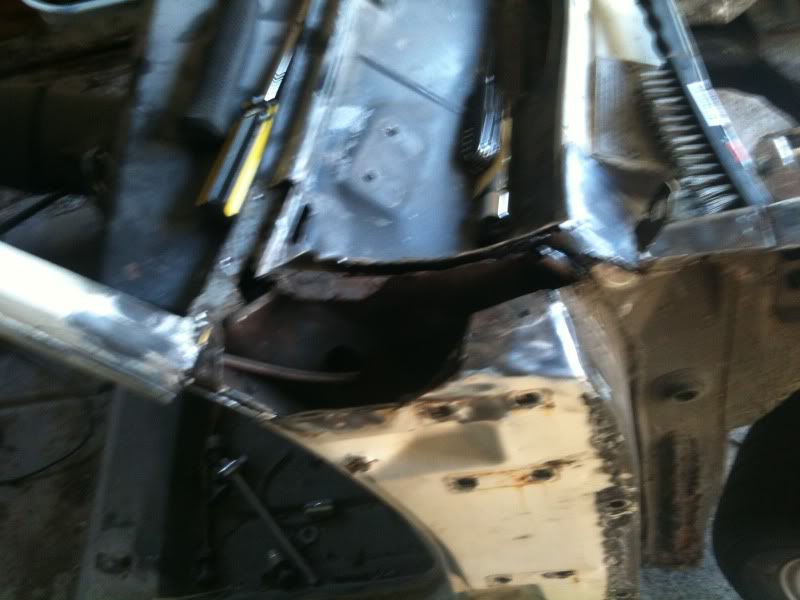
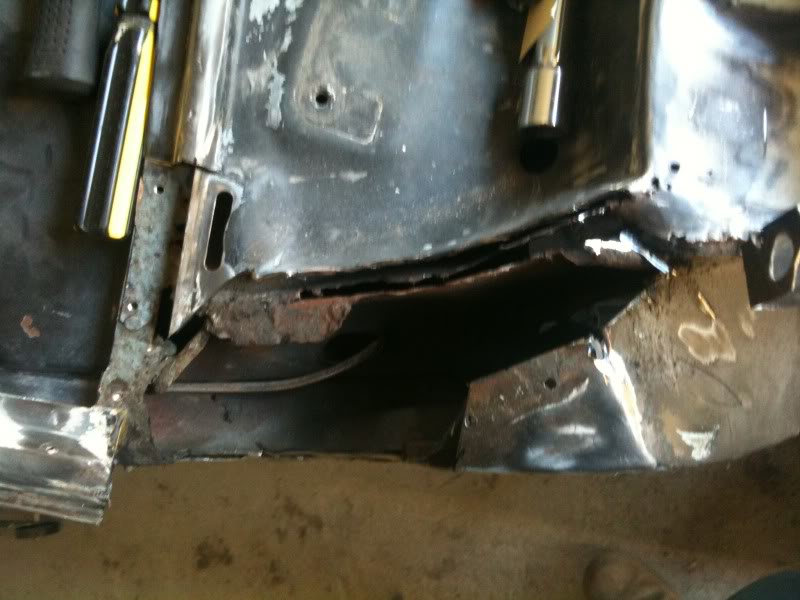
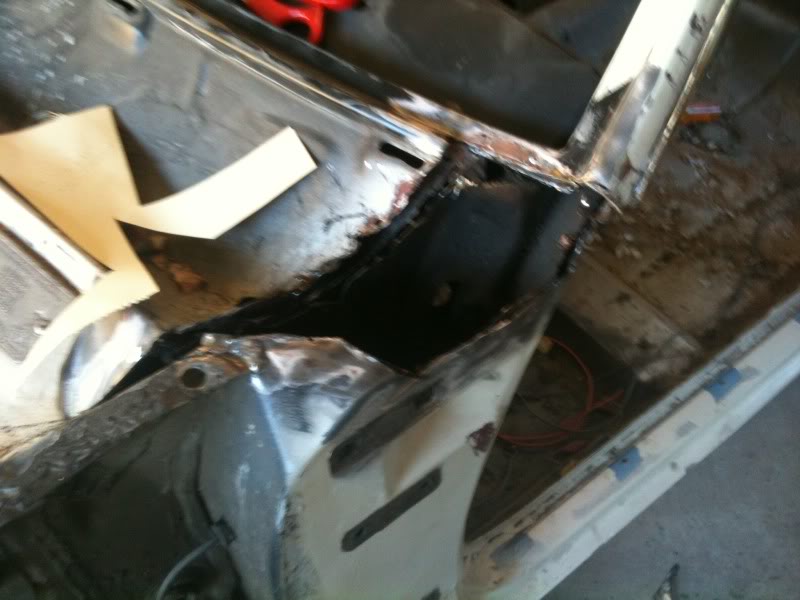
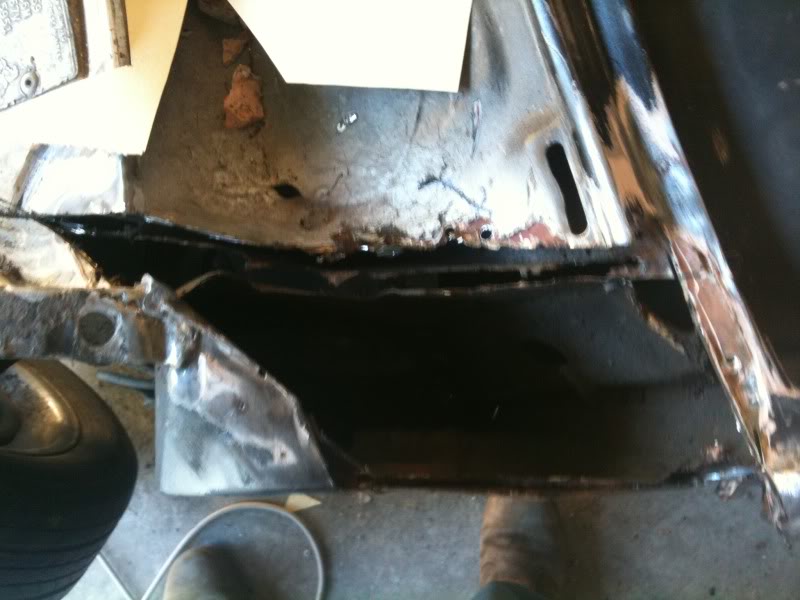
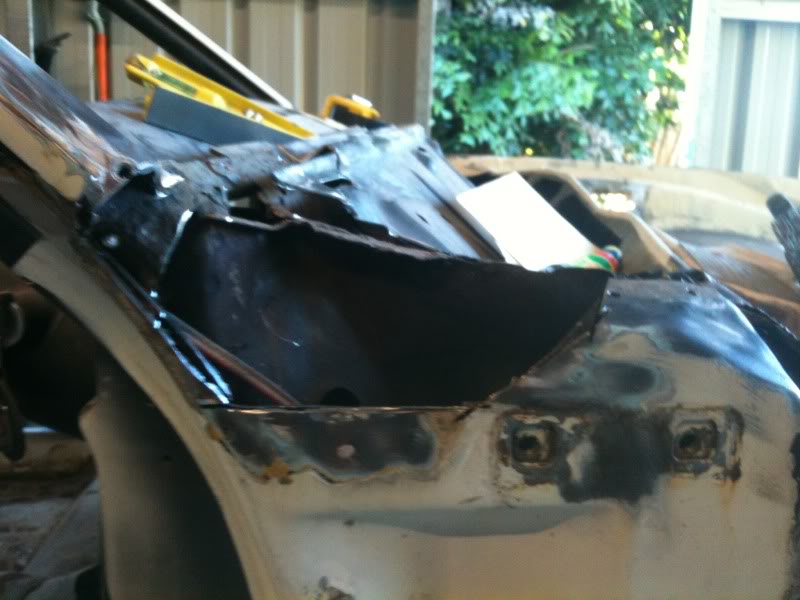
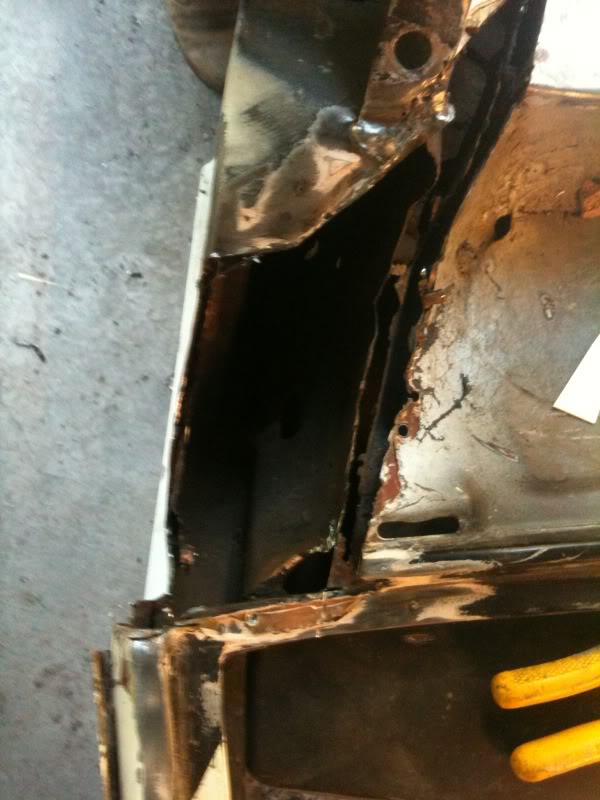
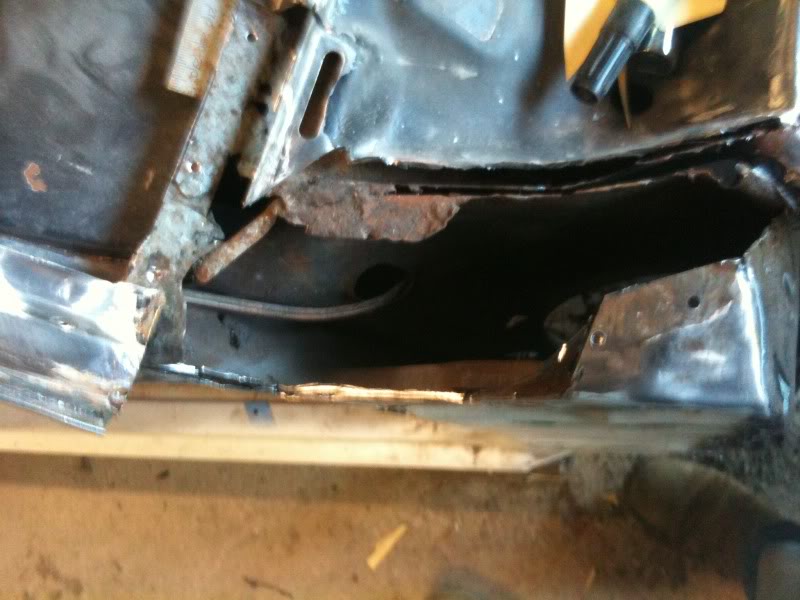
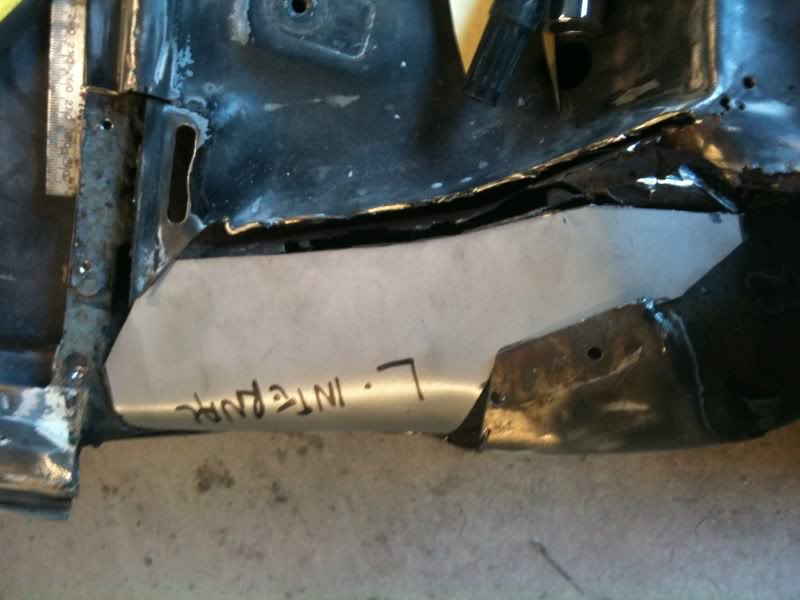
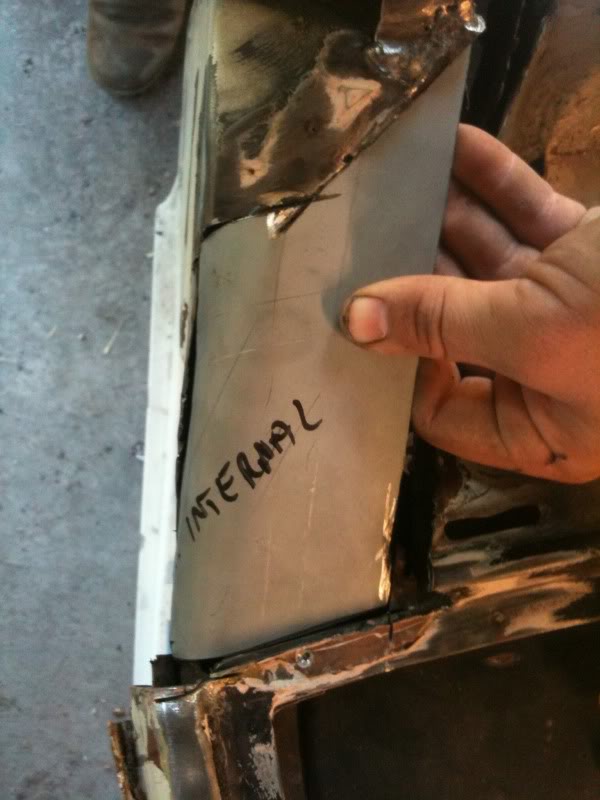
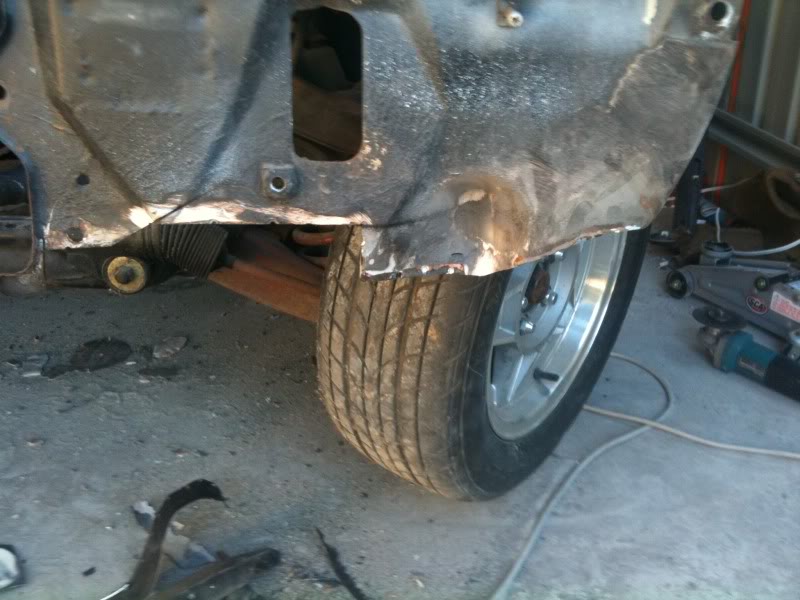
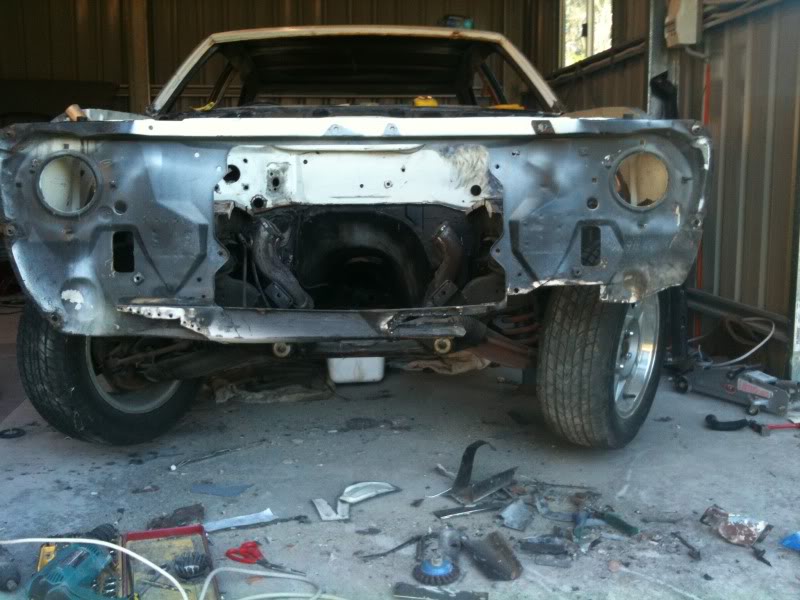
shit there is some full on rust in them plenium/A pilar section
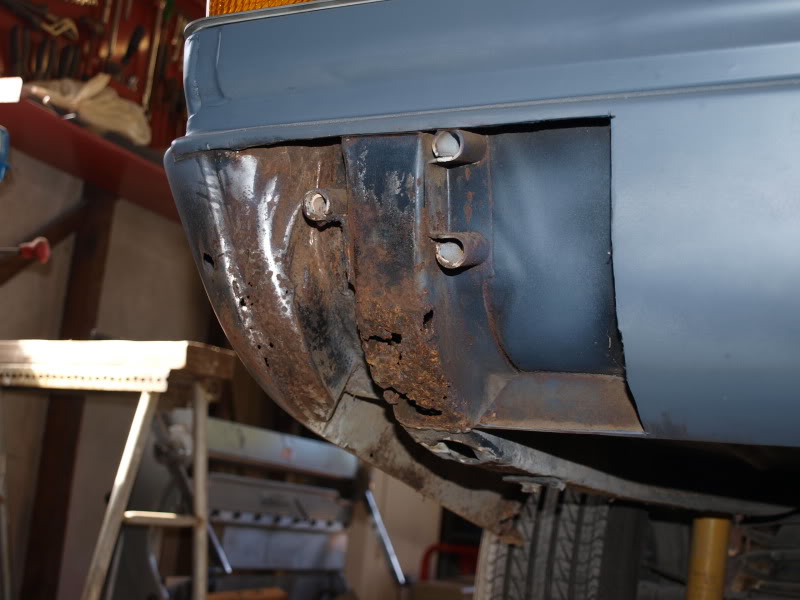
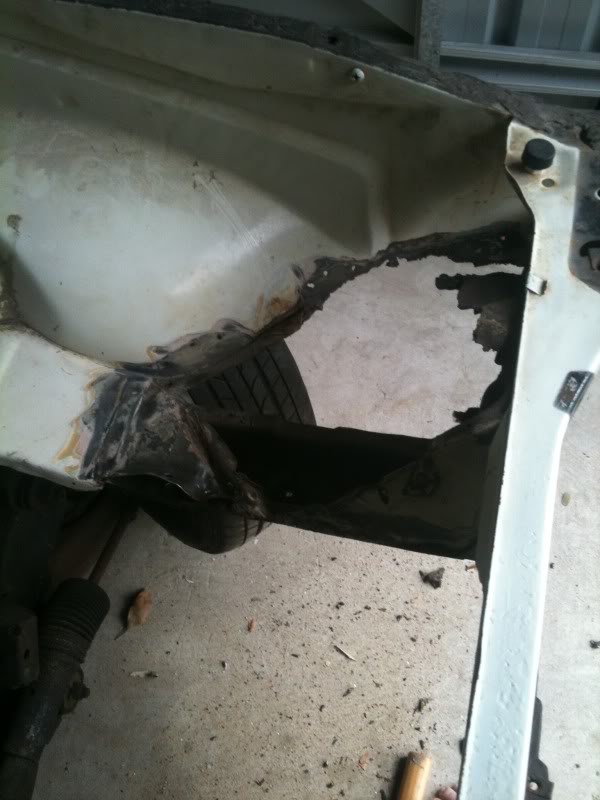
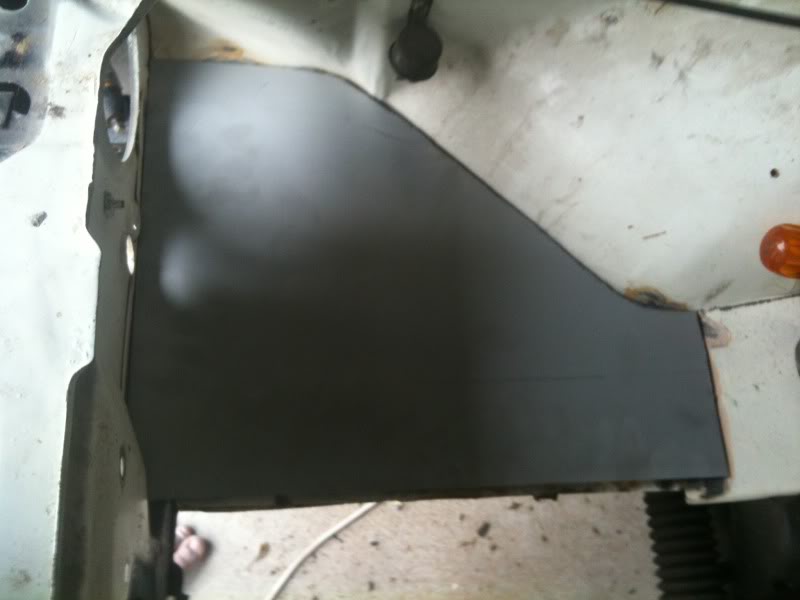
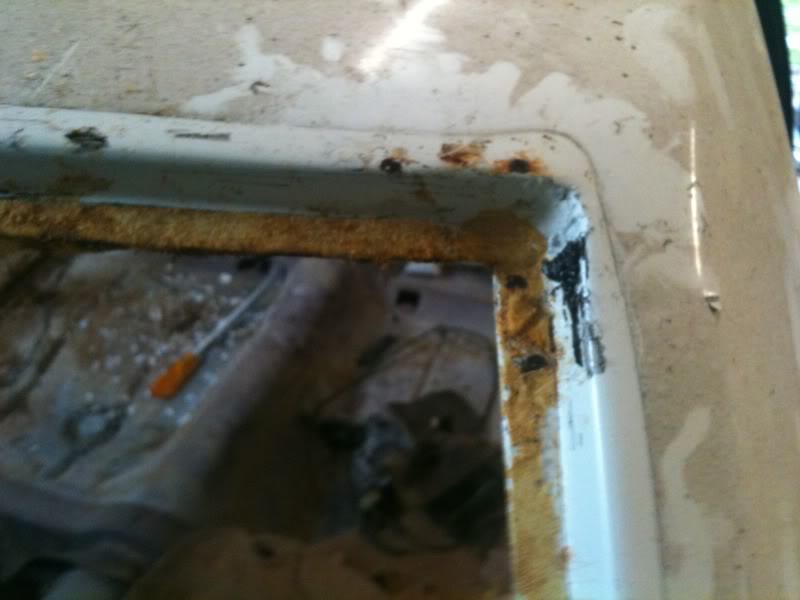
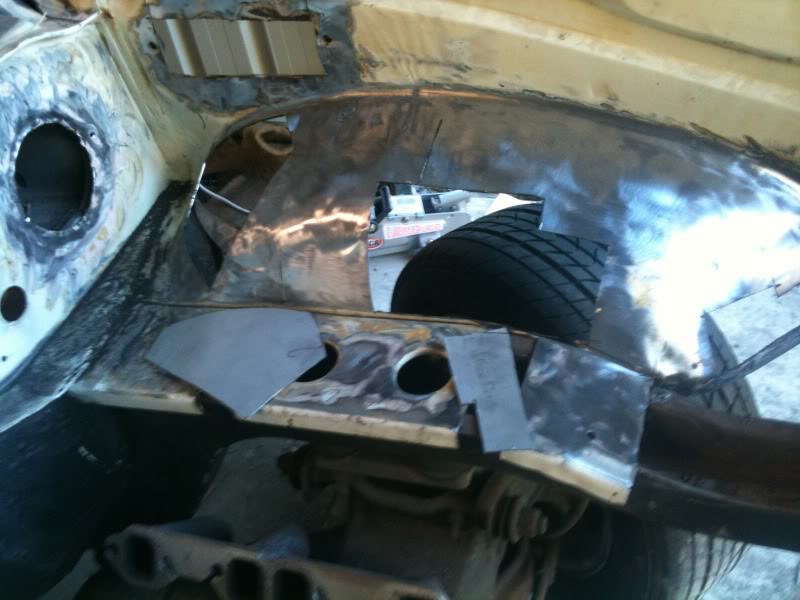
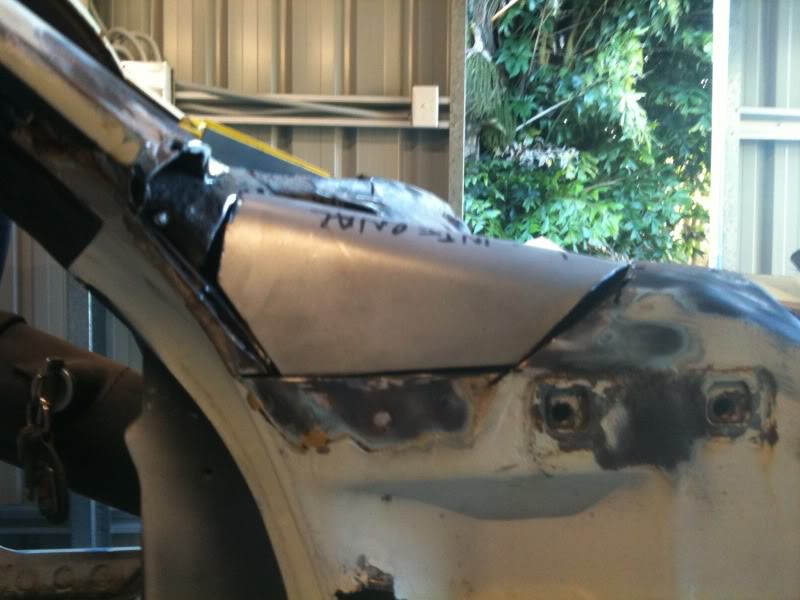
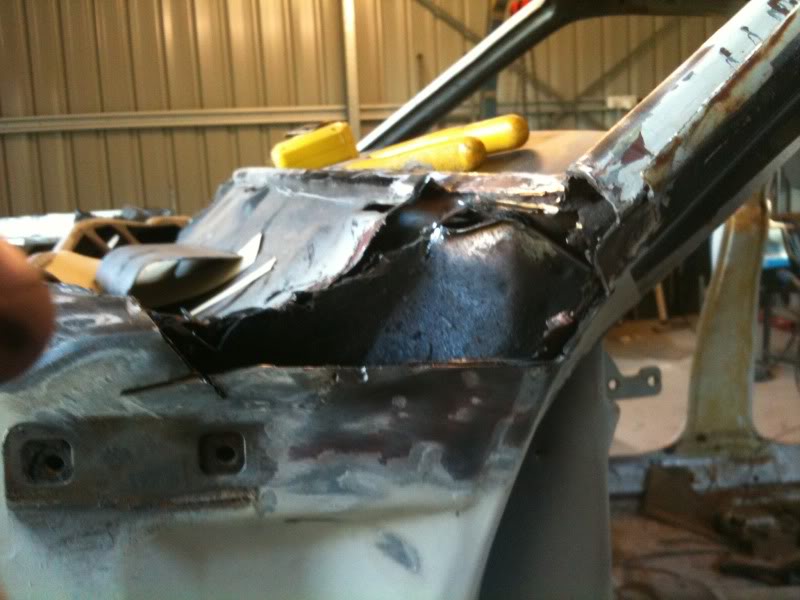
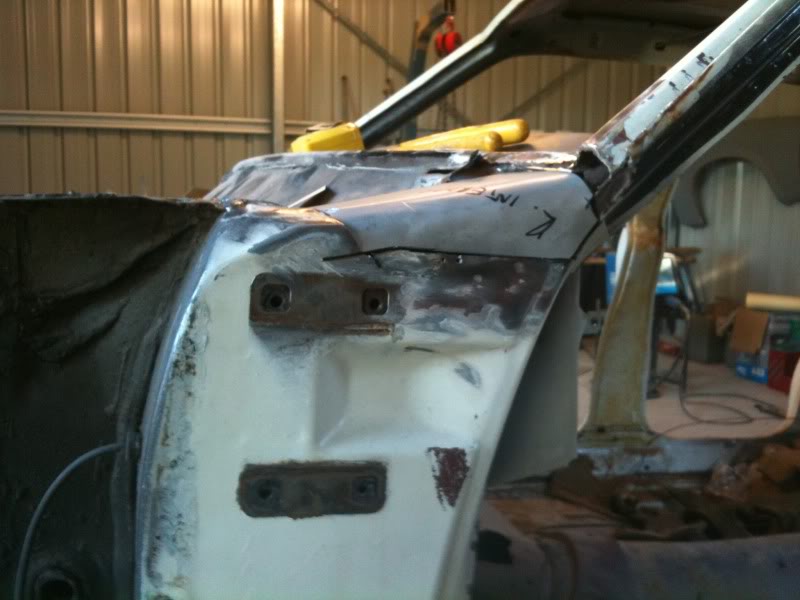
with the innner gaurds where the brake lines run through i see you are going for the smooth look aswell, IMO i made the big mistake of cutting them out were i should have done it like Kush and a few others and just just bumped them smooth with a hammer and dolly. im very worried that once its all back together ( filler & colour ) that the filler might crack under body twist
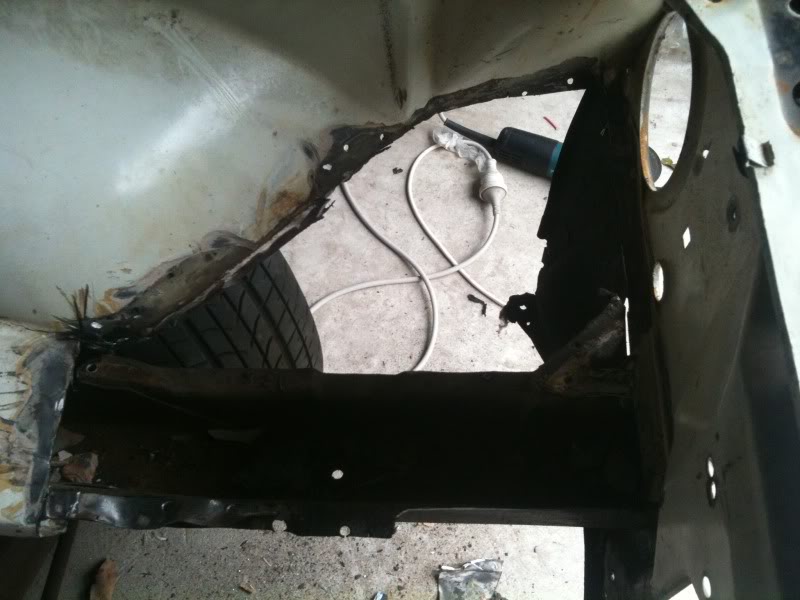
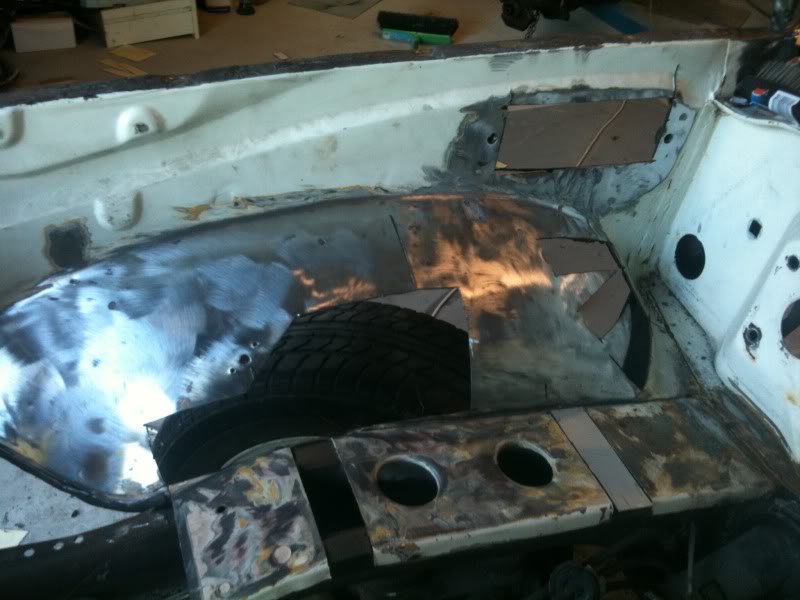
cant wait to see some pic's after you have started to get some welding done and it all starts to come back together, god work, keep it up
Forum Fan

Posted 27 May 2011 - 05:27 PM
Posted 27 May 2011 - 05:45 PM
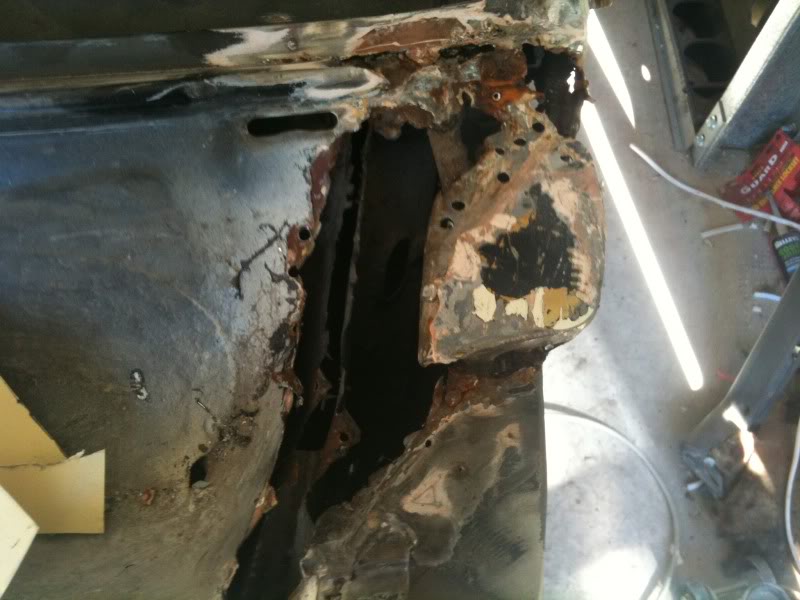
Great work mate. Honestly if my hatch had that amunt of rust in in i would have taken it to the tip. I looked at a couple of hatches that rusty before i found mine. If it wasn't for someone like you cars like these would end their lives in the crusher. Keep up the good work.
Had I known of it's condition I would probably had gone elsewhere...
Posted 27 May 2011 - 06:55 PM
another hatch will live to see the roads again for a long time to come 


0 members, 0 guests, 0 anonymous users


