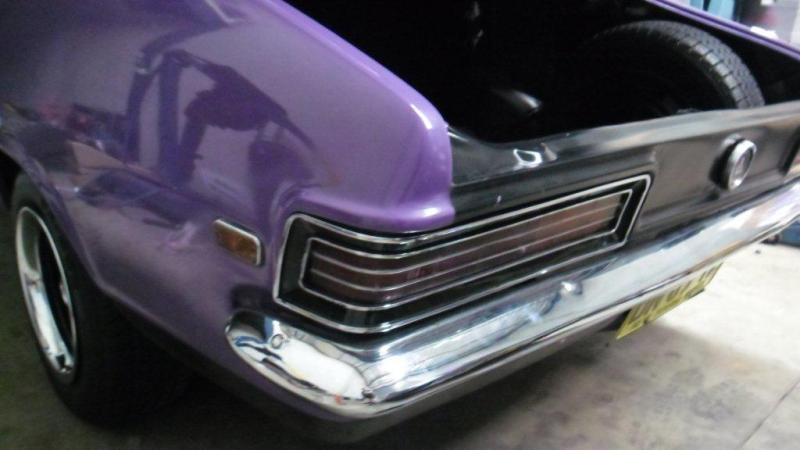
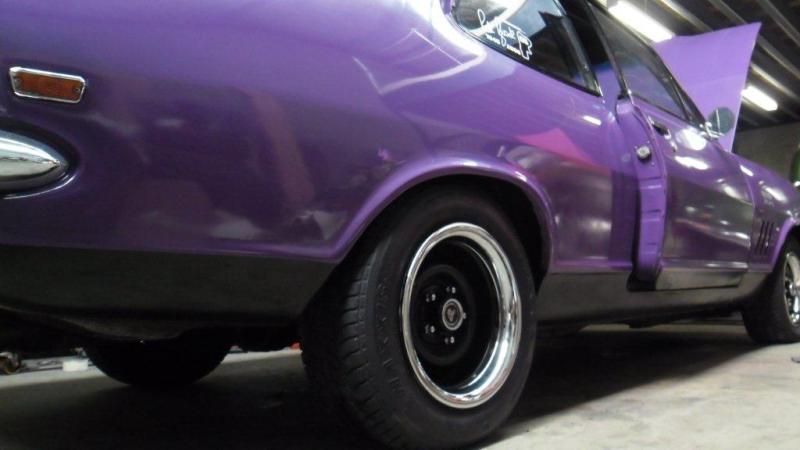
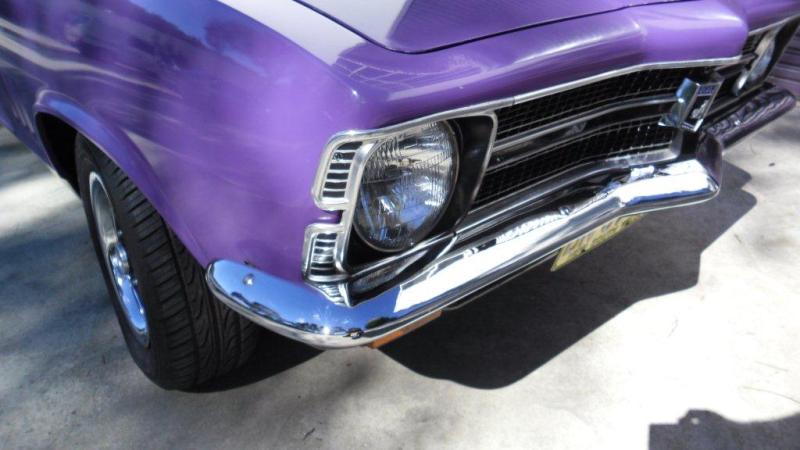
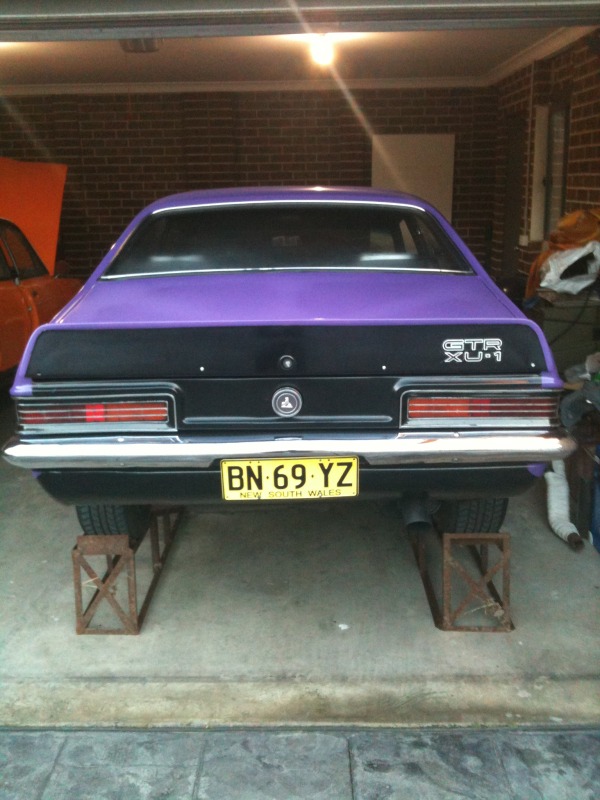
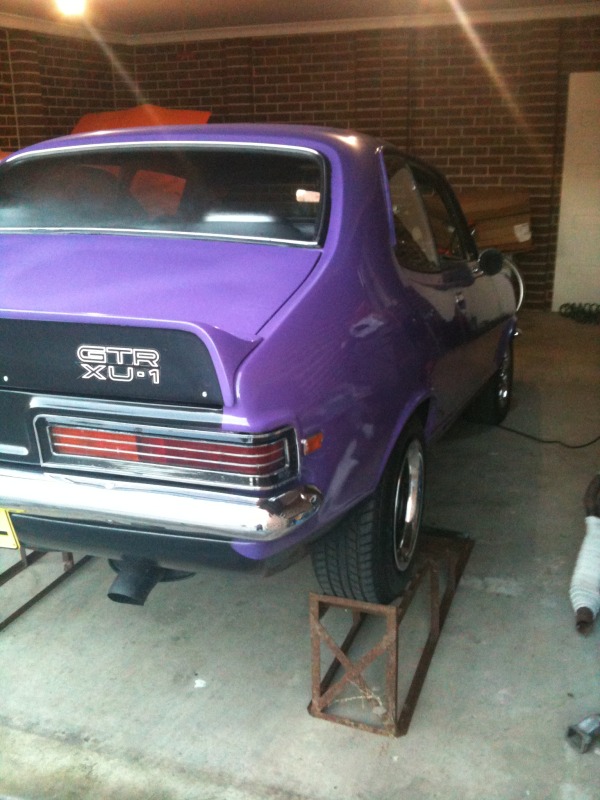
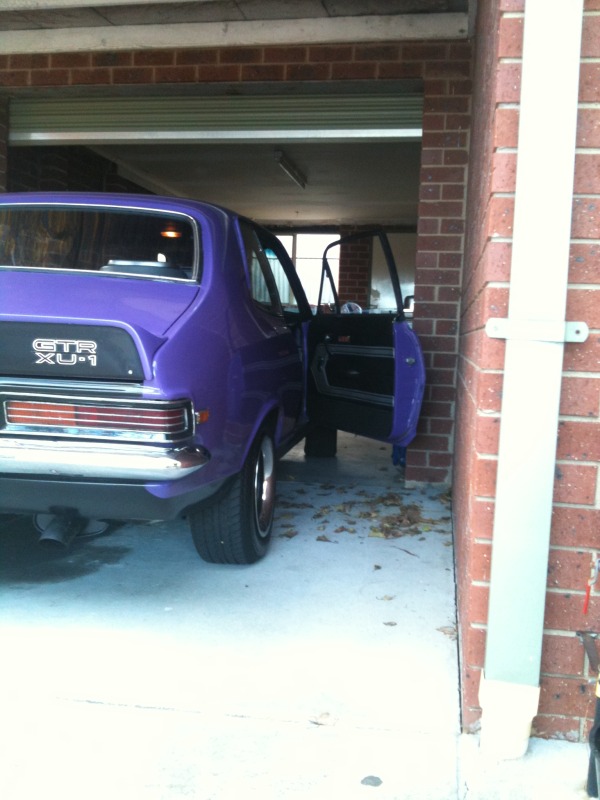
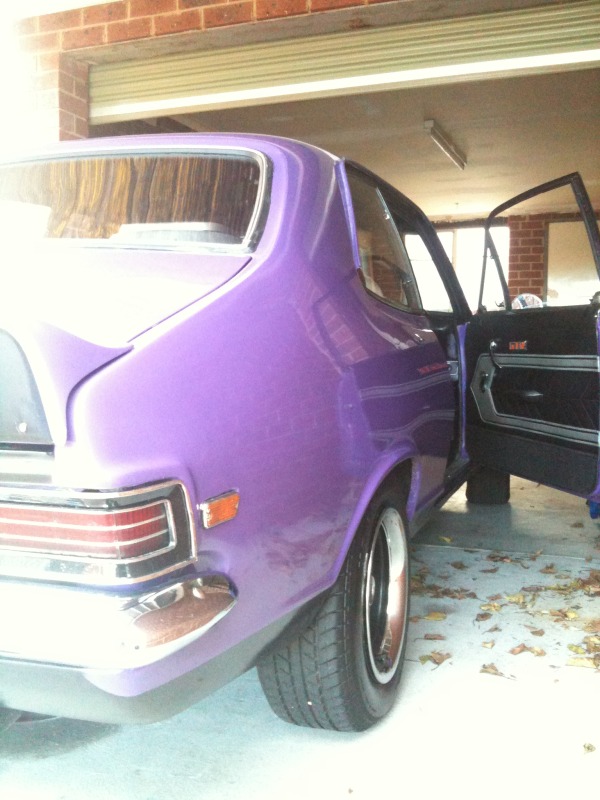
All in all car is actually pretty good. Very happy with the interior and body in general, as well as the exterior trims. The good thing about this car is that it is complete and registered. This means i can actually enjoy something for once instead of having it sit in the garage waiting to be finished. The idea behind this was to be a work in progress with a quick freshen up in the very near future. Like i said i like the fact that i can actually drive it, and it still turns many heads in it's current condition. I will gradually work on it and make small improvements, but overall there is not much that needs to be replaced. I have made up an extensive list and everything will pretty much get pulled apart and repainted, with the exception of the headliner and carpet which will be replaced (already have new ones). As for purchases, it really doesn't need anything, perhaps some new glass (pm me if you have windows for sale) and some chrome door trims as well as drip tray moldings. The grill is probably one of the best ive seen and will end up going to Vinny's to be refinished (anodised i think) along with the headlight surround. Tail lights are pretty good and will need a clean up, and some new silver stripes drawn on the lenses. Cars came with many goodies, and had a V8 in it about 15 years ago, or so i am told. I'm currently negotiating with the NSW RTA to get some more information which is proving difficult.
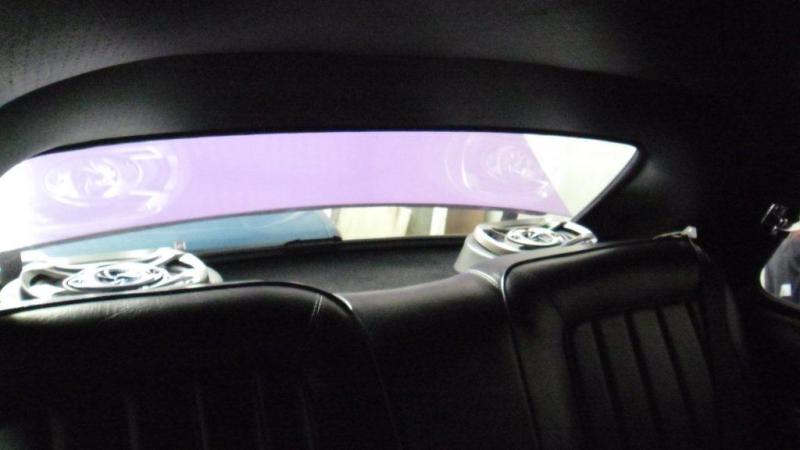
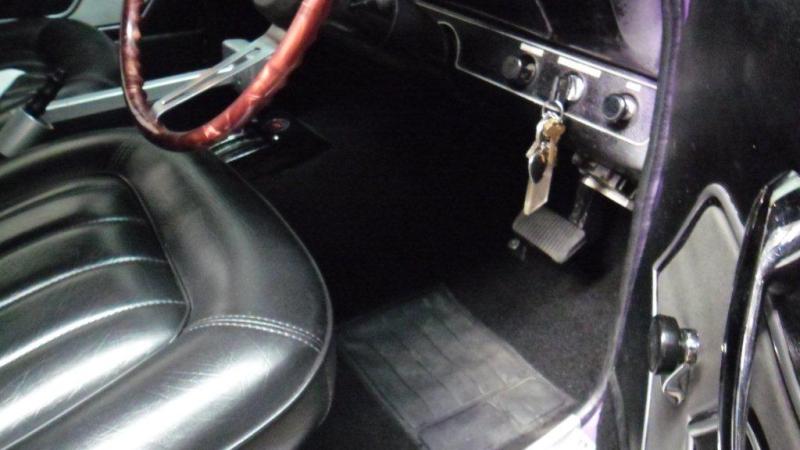
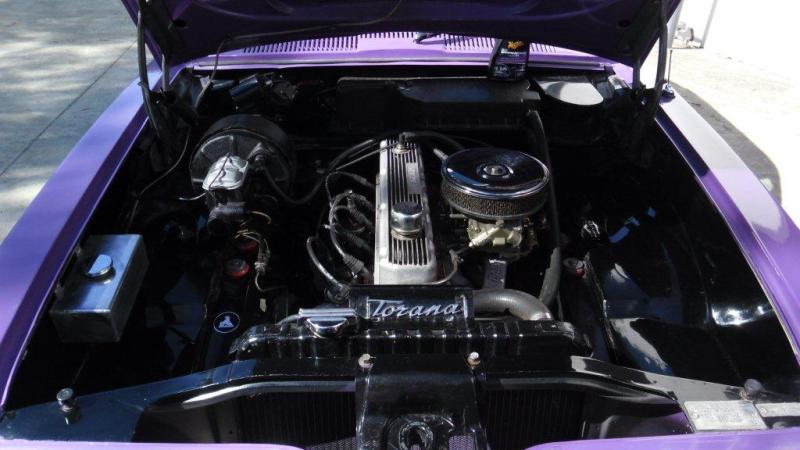
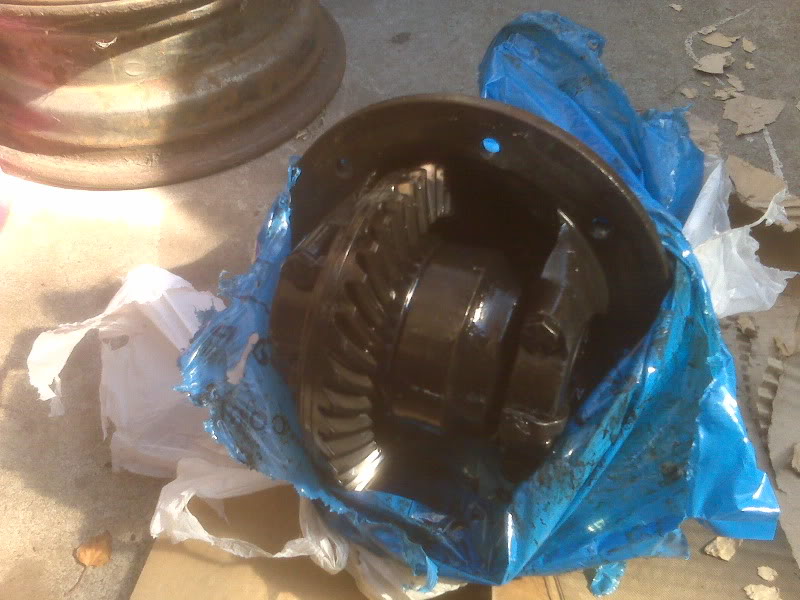
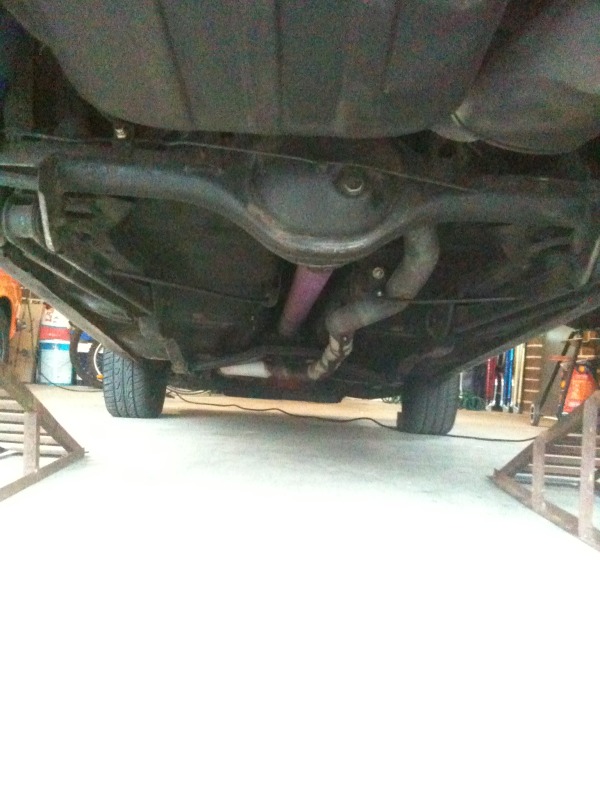
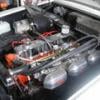
The car is a bit of an XU1 mockup which i quite like, has a few goodies like fuel cap, bob tail, gtr trim, pearled gtr steering wheel. Seats are absolutely 100% immaculate, and from an LJ GTR if i am not mistaken. Car is a 202, 500 holley, auto but will soon be fitted with manual gear and a 3.36 LSD, all of which i have sitting in the garage. It came with 6x9's in the parcel shelf which will have to go as they cant be flush mounted, will hide them somewhere and fit my brand new parcel shelf cover and kick panel trims.
I think that's about it, ill probably get stuck into it real soon, want to have it ready for summer. Absolutely love driving it as is but cannot wait until it's finished. The only thing i am concerned about is repainting it. Definitely needs a respray as it lacks gloss, but not sure how to go about it as i can't do it right away and don't want it to sit stripped for months on end. I was thinking about finishing the interior but instead of removing the windscreen, tucking the new headlining in to the rubber as much as i can just for the time being until the windows comes out and the car gets painted. That way i can just tuck in the headliner properly when it's done.
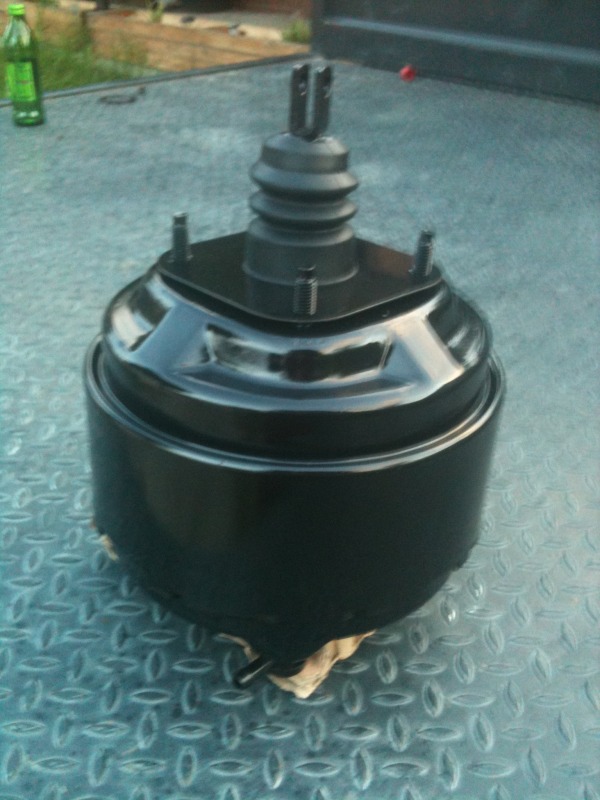
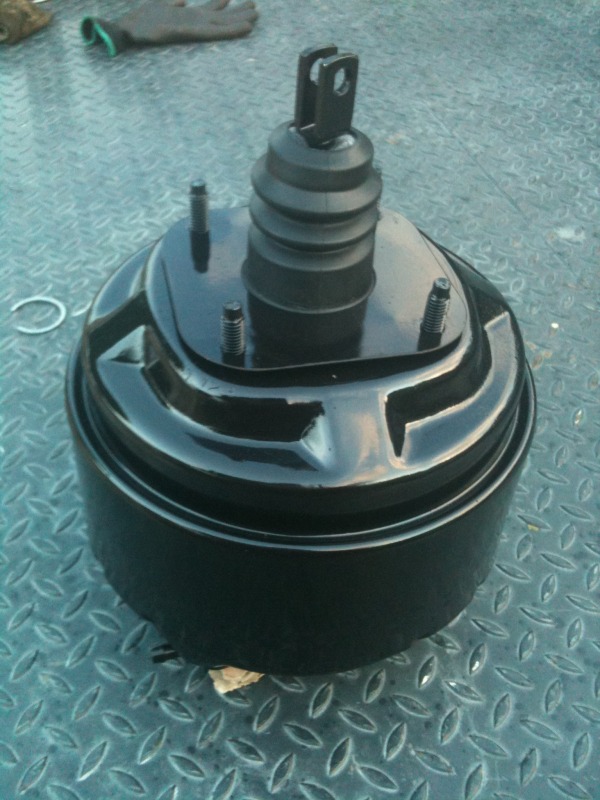
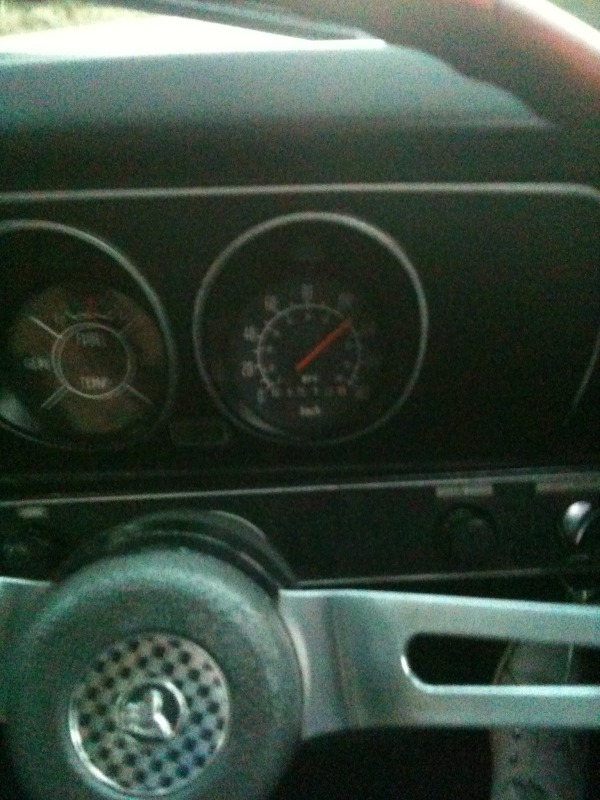
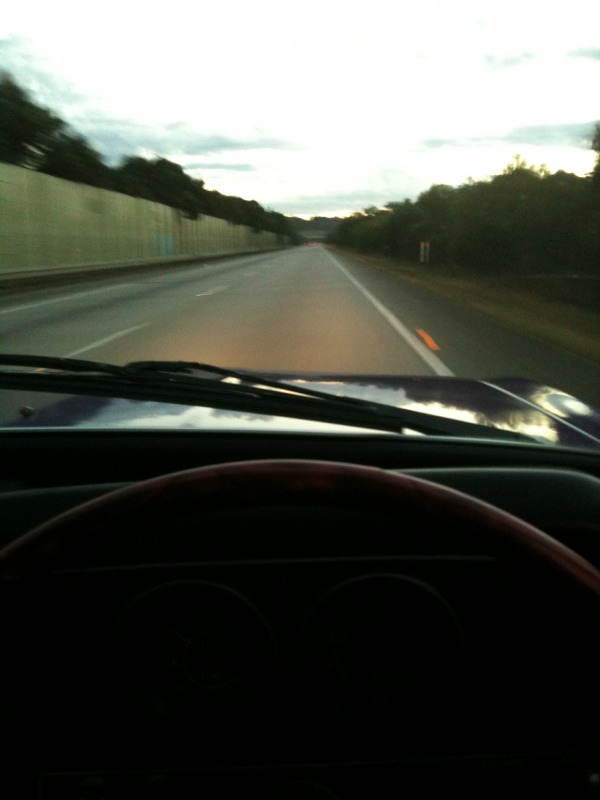
driving home... speedo got stuck, fuel gauge couldn't decide where it wanted to be (bad sender perhaps??). Brake booster shit itself, car overheated once but bought some coolant from the servo and never happened again. throttle cable came off its bracket and couldnt start the car for 2 hours after parking on a hill. great trip hey!!
how do they finish the steering wheel like that?
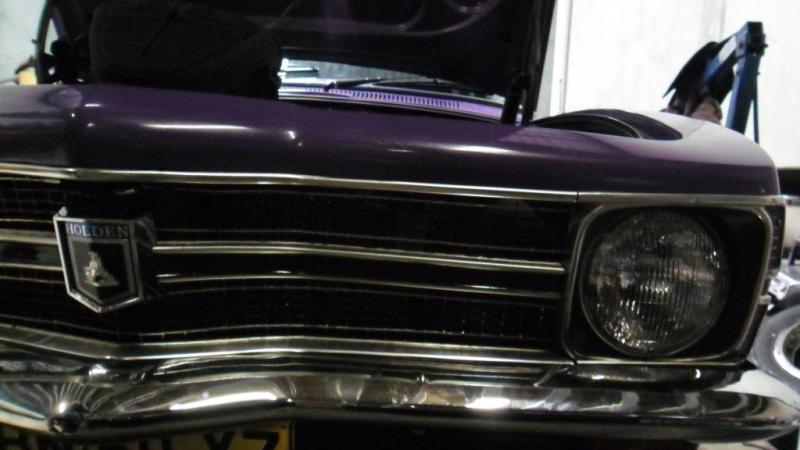
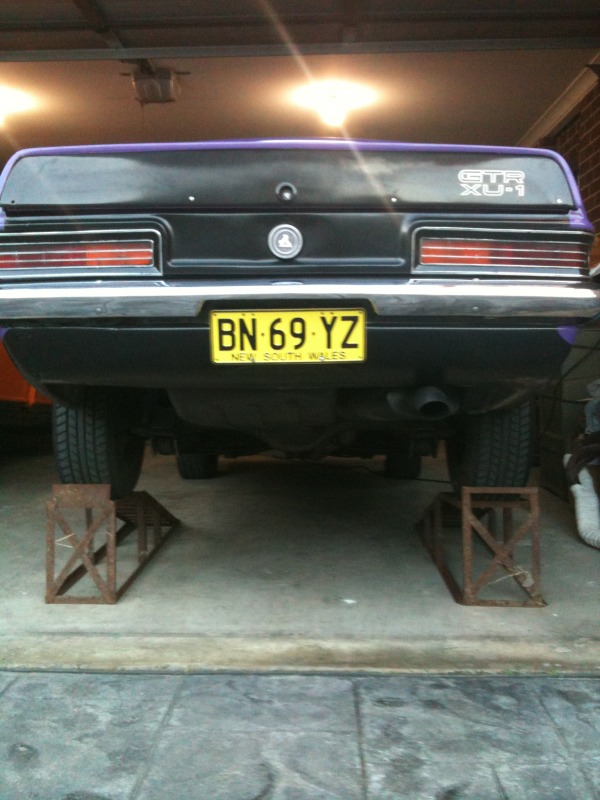
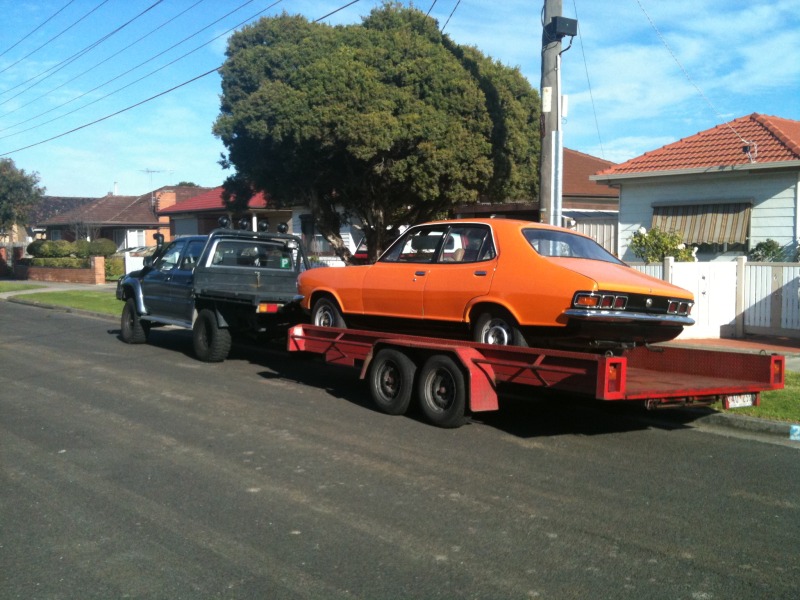
home sweet home
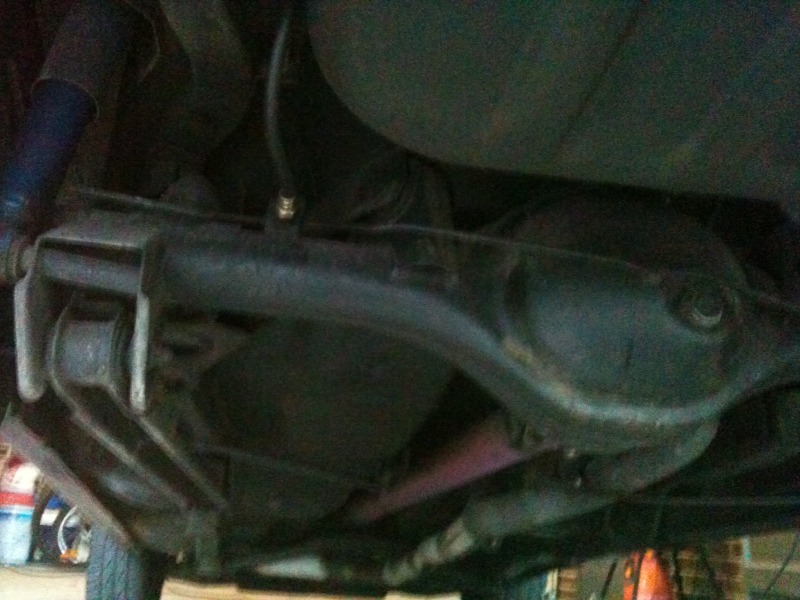
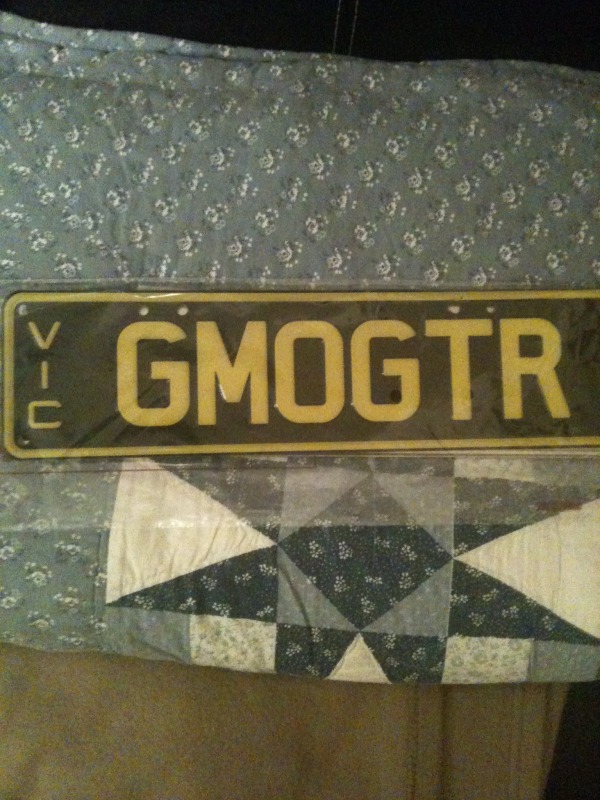
what could it be?
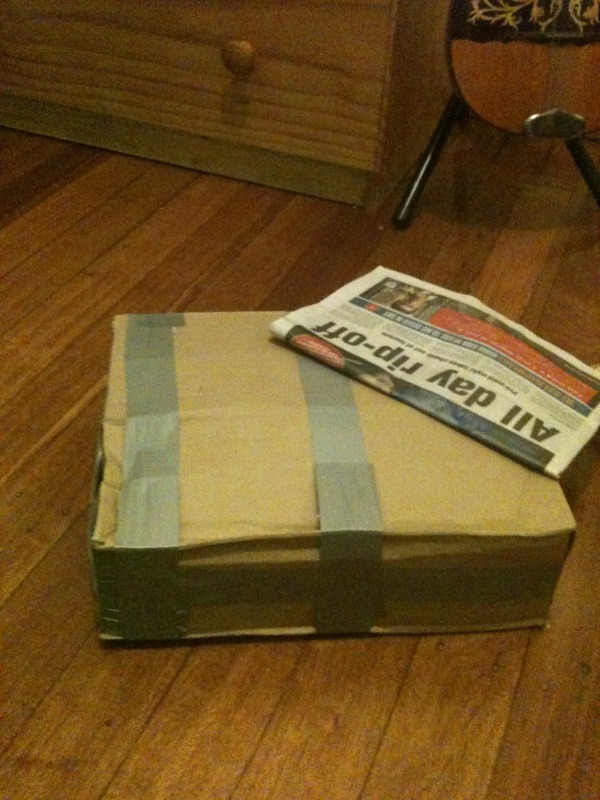
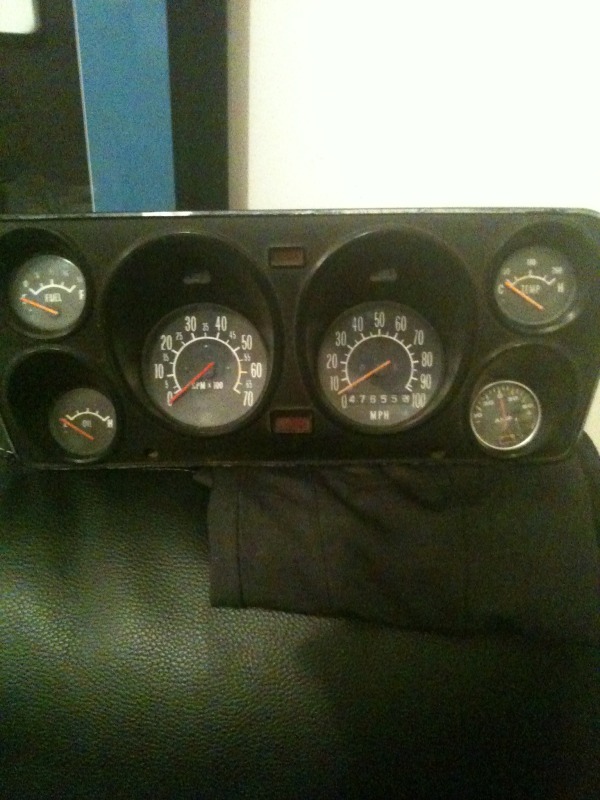
think its an LJ dash. 2/73 and 11/71 + late model amp meter
dont even know why i bought these. they were cheap tho!
Yeah so thats about it. dash will get a nice clean up and paint, satin black is the right colour isnt it? the only thing is i'm not sure what the extra light is for? factory cutout but the red lense looks to be a home job. Not going to bother changing the later VDO gauge but will have to take off the chrome ring it doesnt look right. Anyone have ideas on how to restore the clear lenses and what to paint the needles with?
As for installing the dash i have NO idea, could someone shed some light? im guessing i would need an oil pressure sender, amp sensor of some sort and temp sender? are these found on the car or aftermarket purchases? also what about the RPM gauge what do i do there!
First thing on the cards is the booster. Will be taken off this week and sent away to get done, will be able to stop for the first time woohoo! Will put in the manual shortly too, very excited. Little but confused though as im not sure how to set up the clutch and bearing thing.
Thanks
Jacob