My LC 2dr project!
#1
Posted 03 June 2008 - 03:08 PM
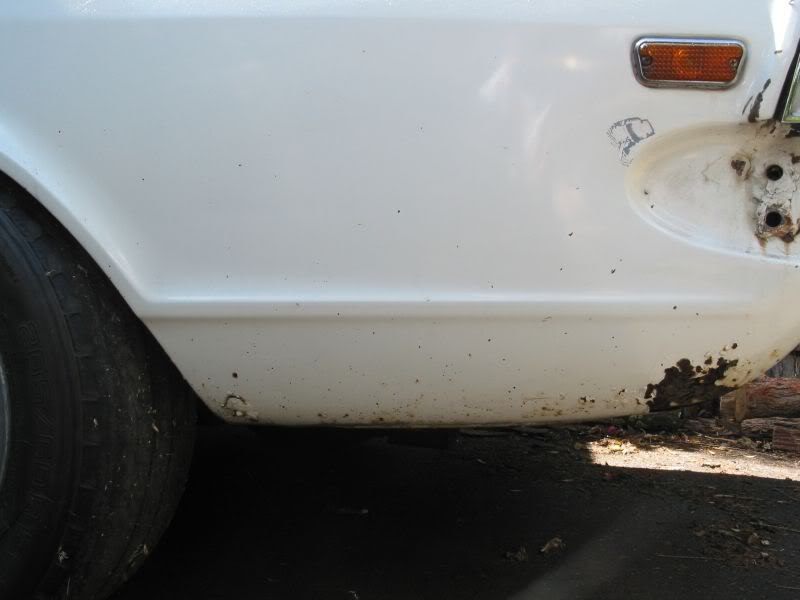
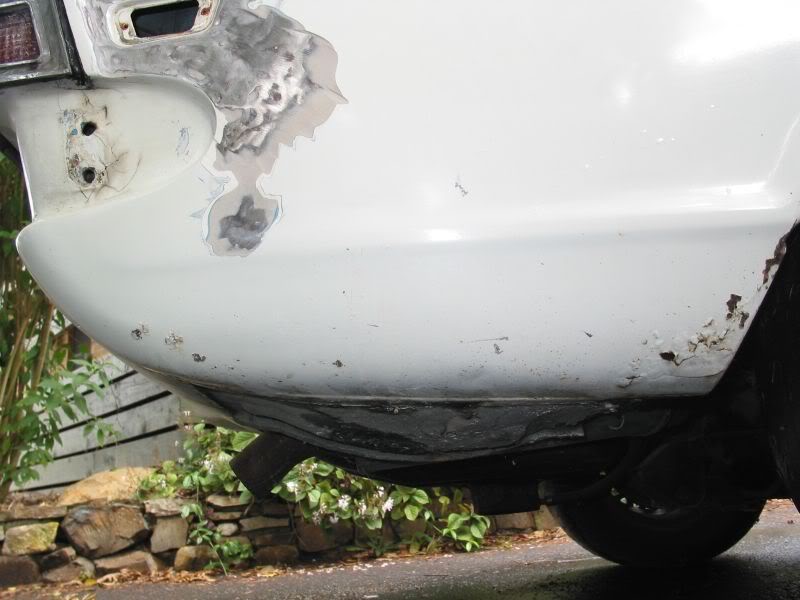
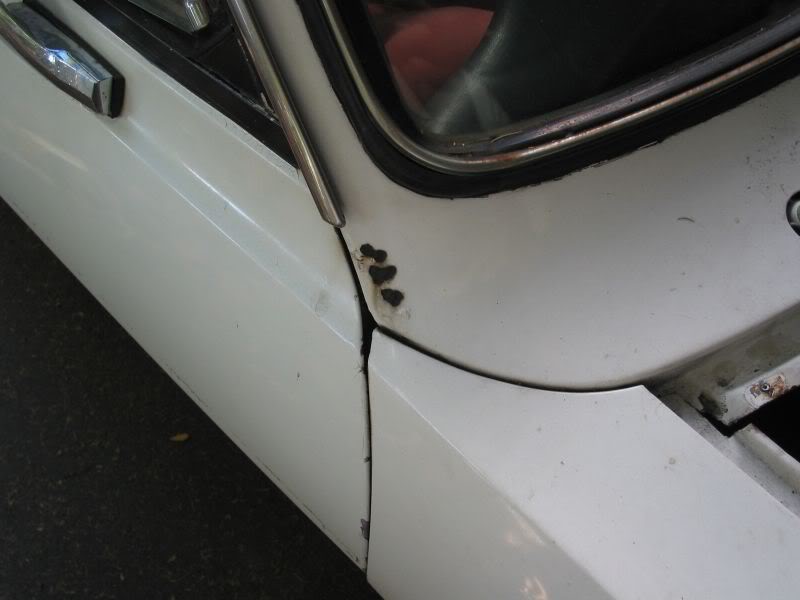
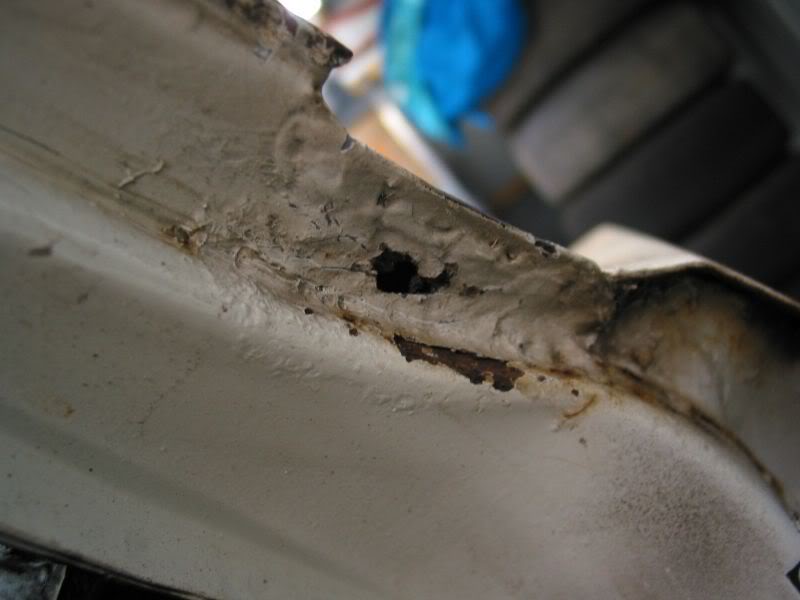
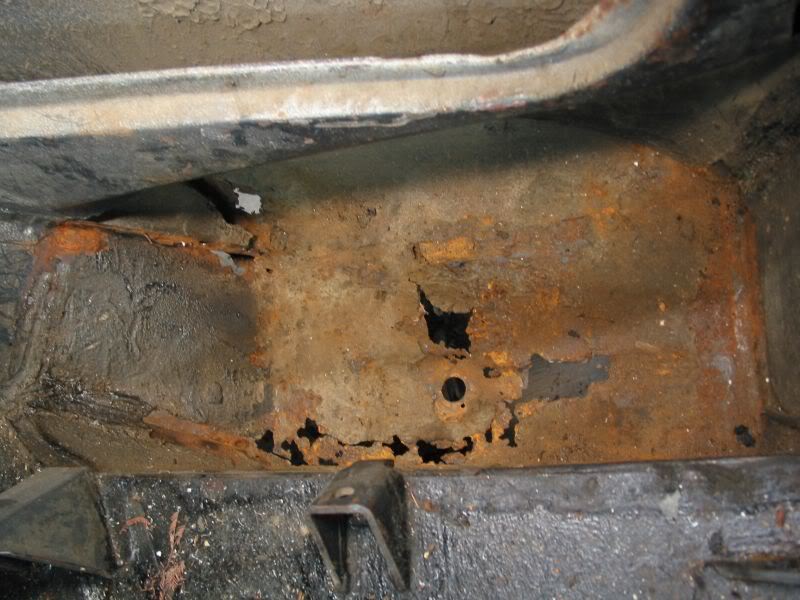
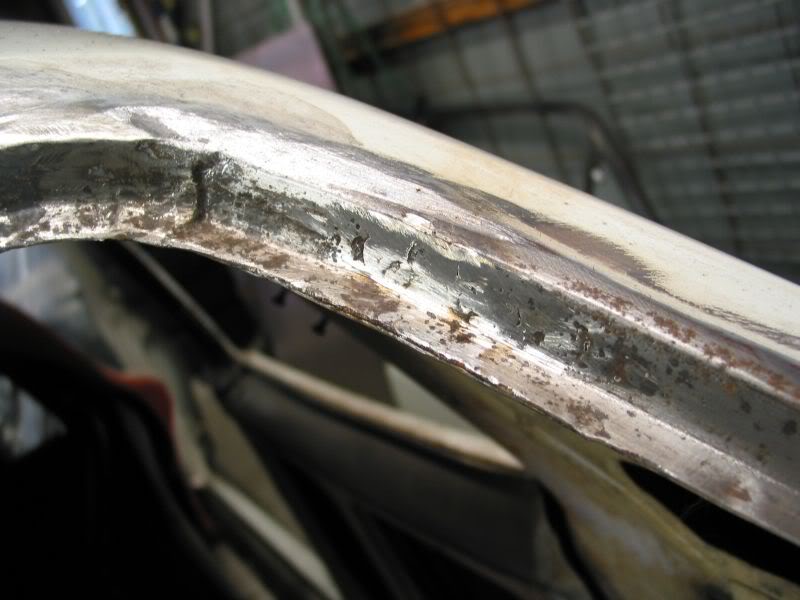
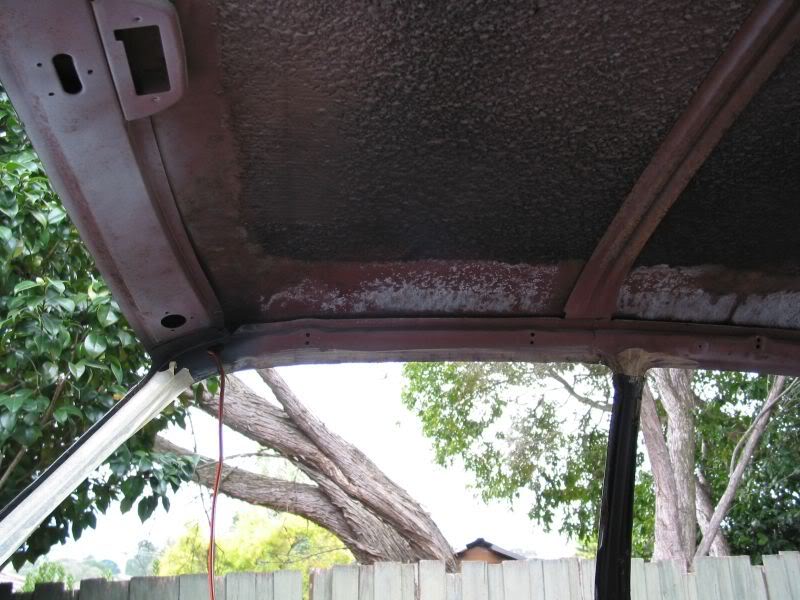
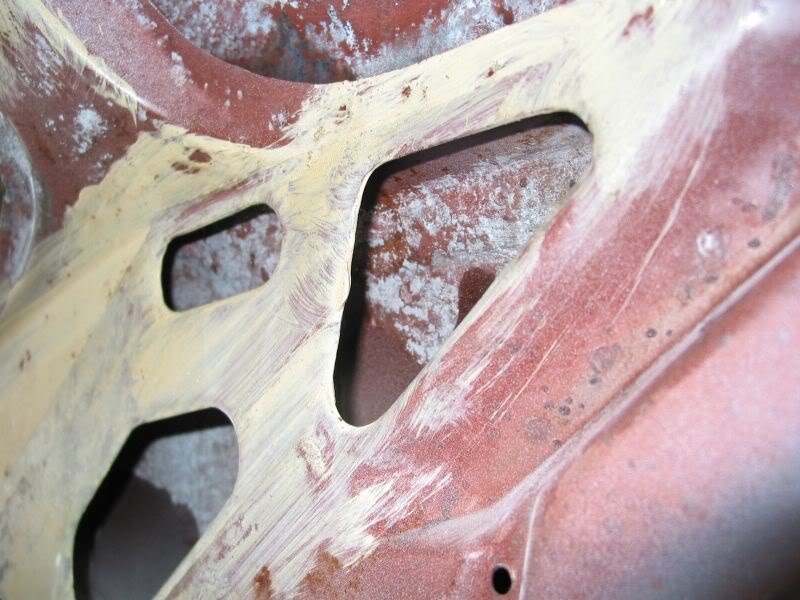
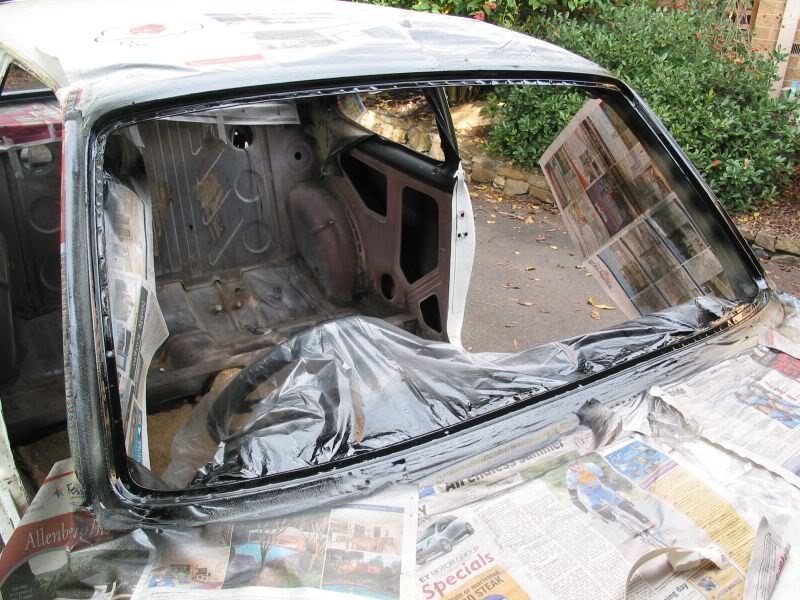
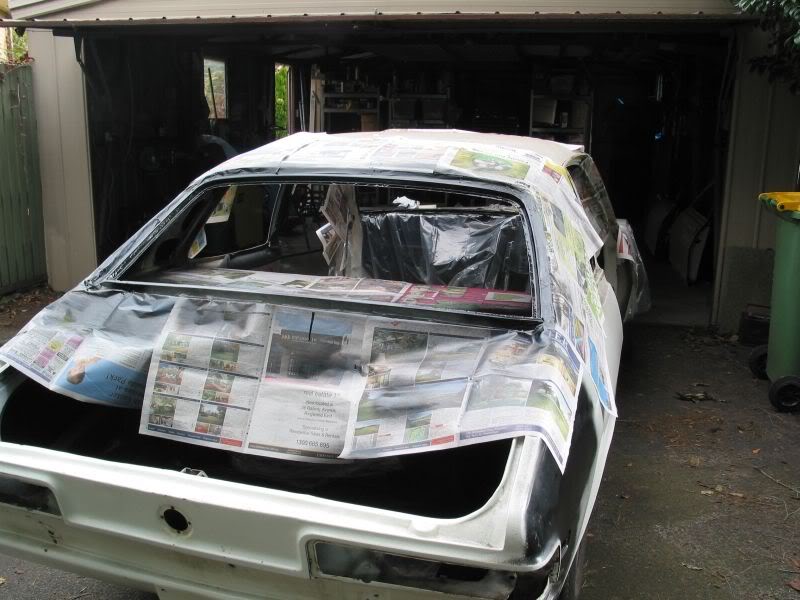
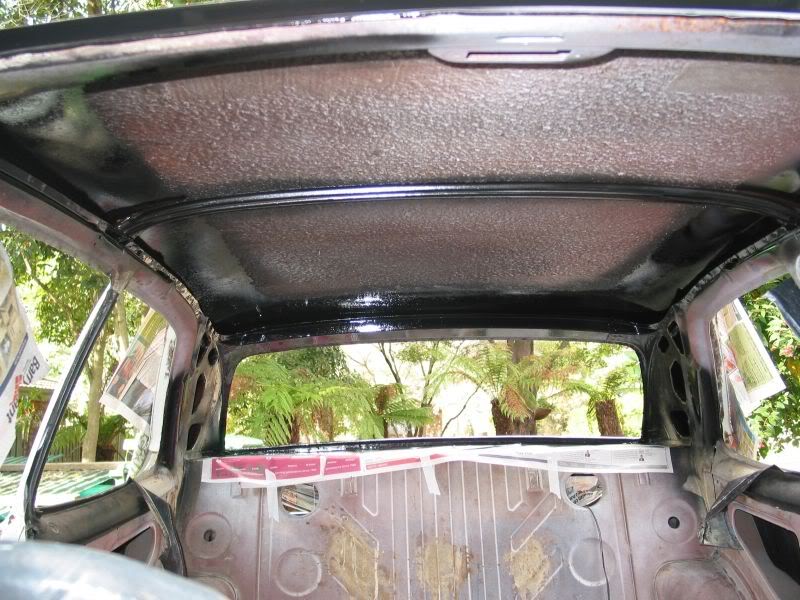
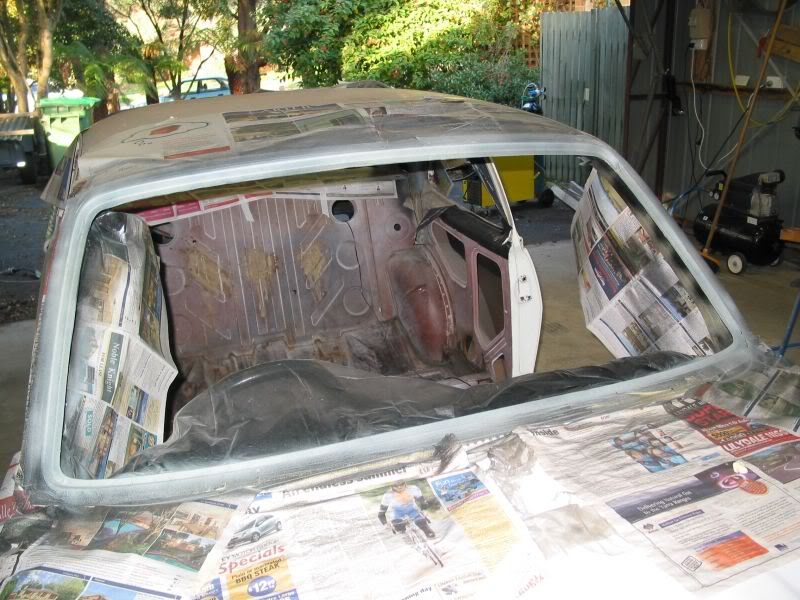
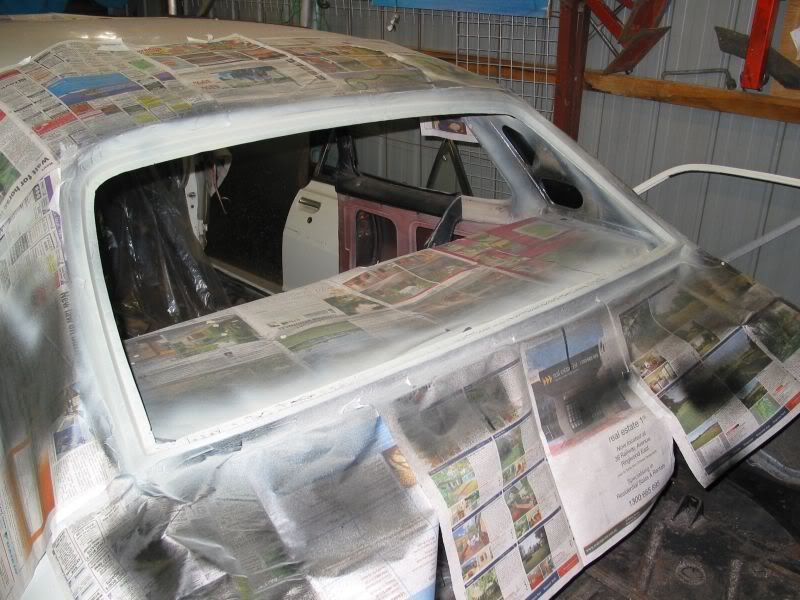
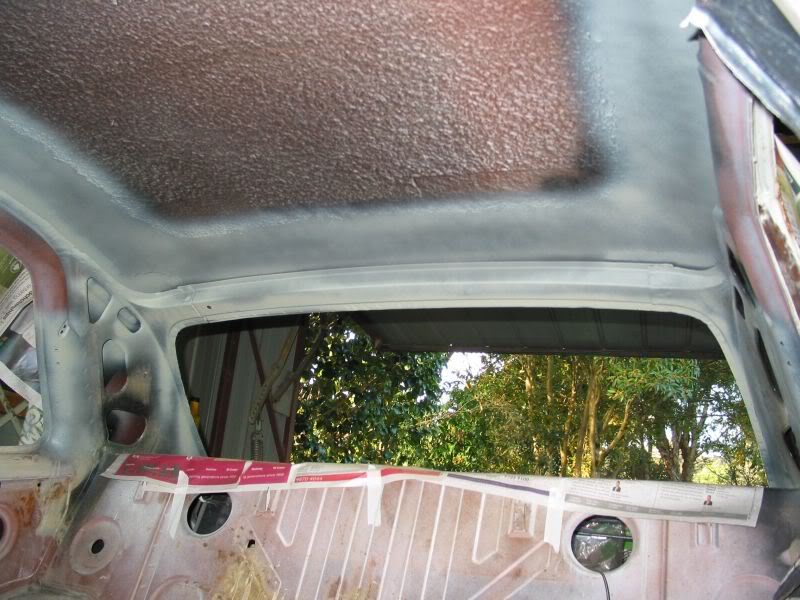
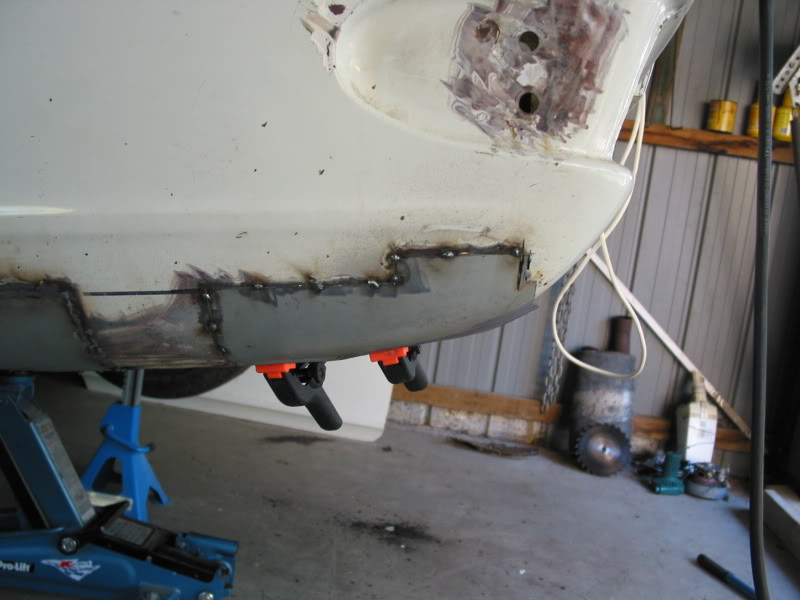
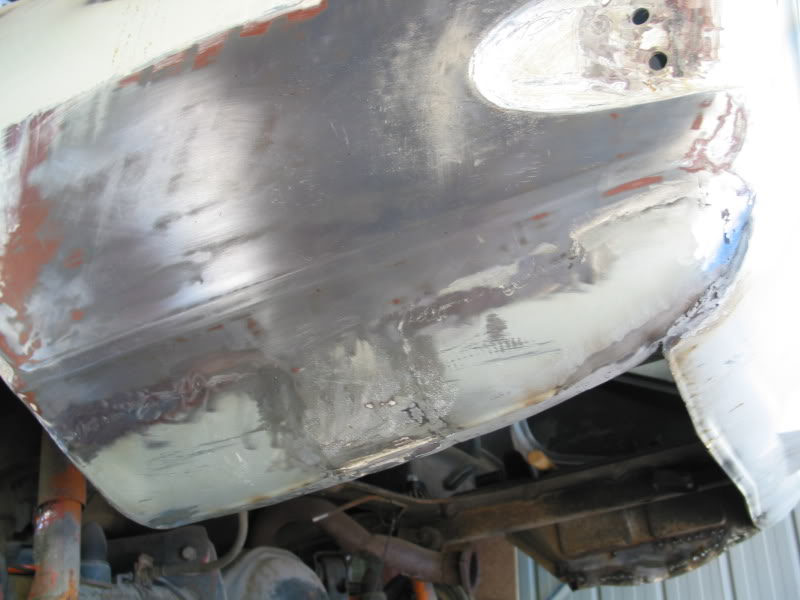
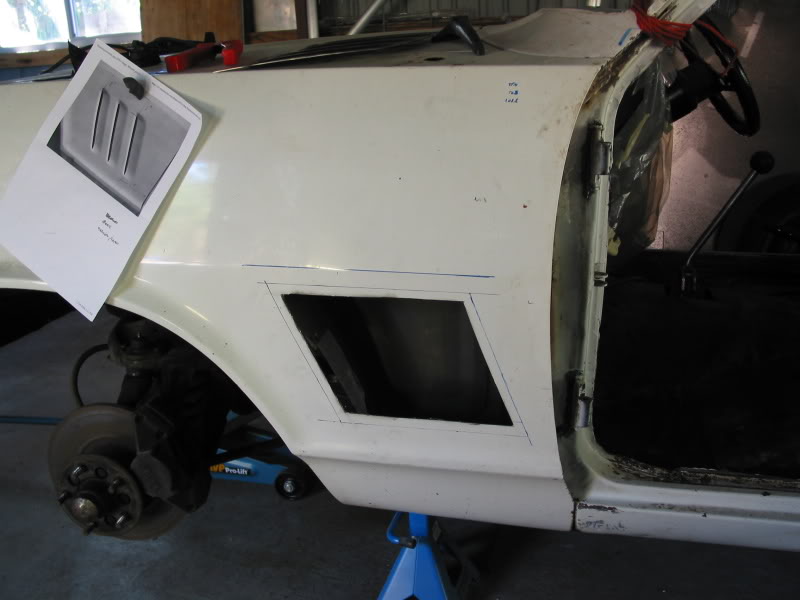
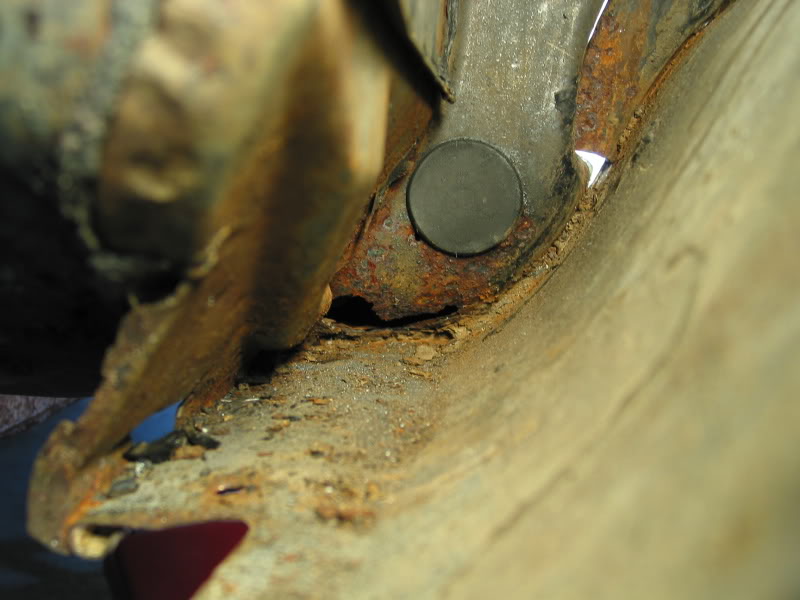
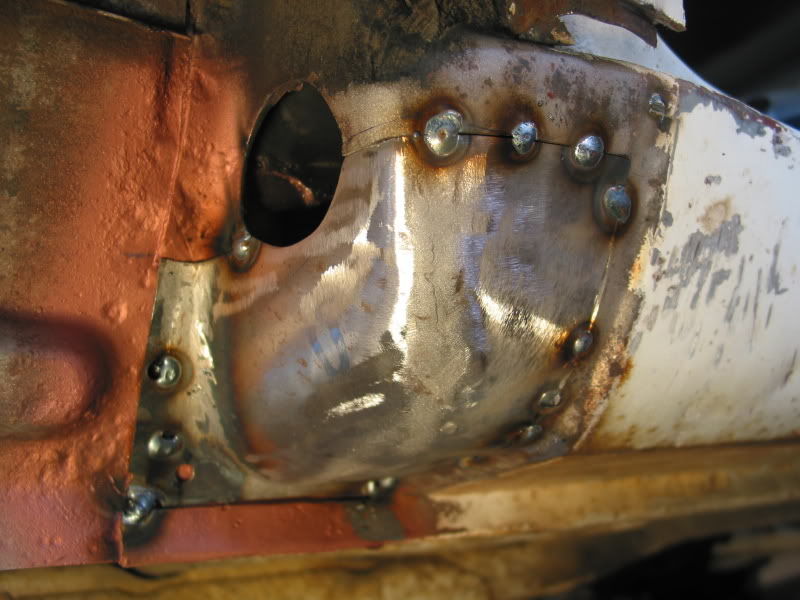
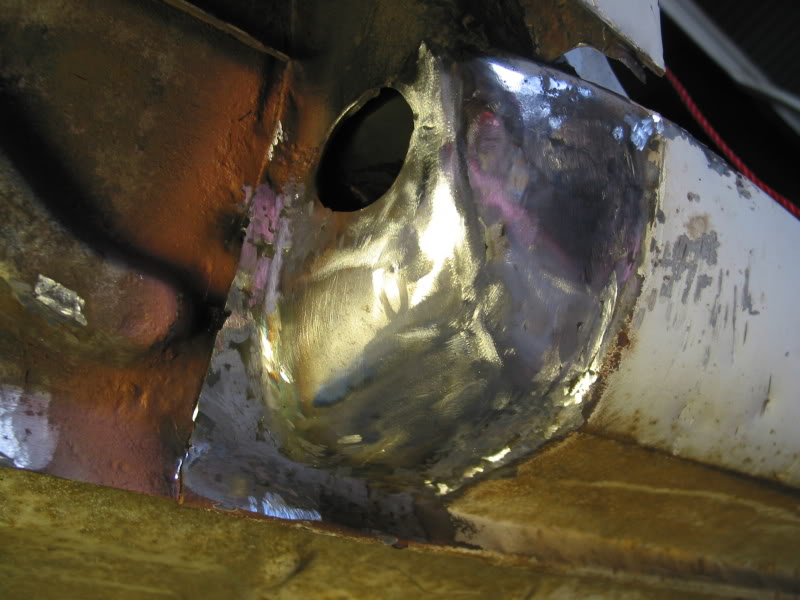
I've been a bit slack since my introductory post and I thought it's about time I posted some pics of the project at hand.
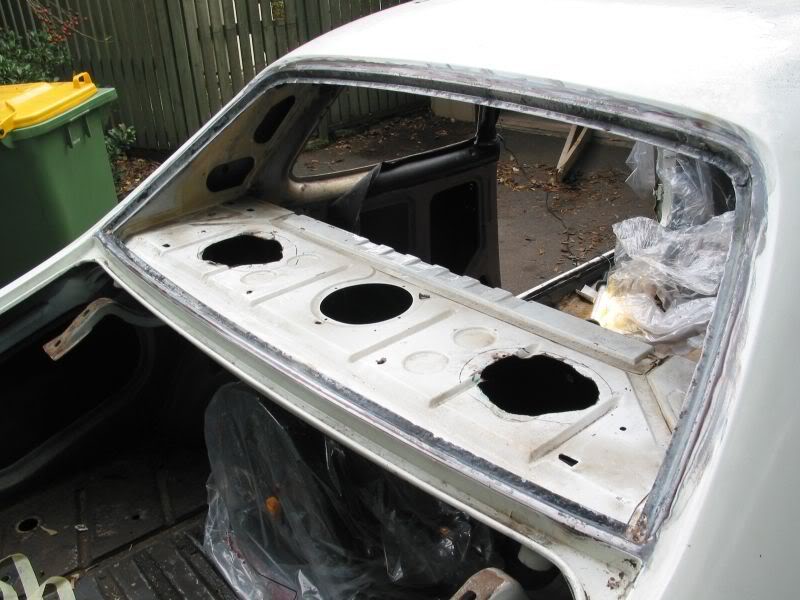
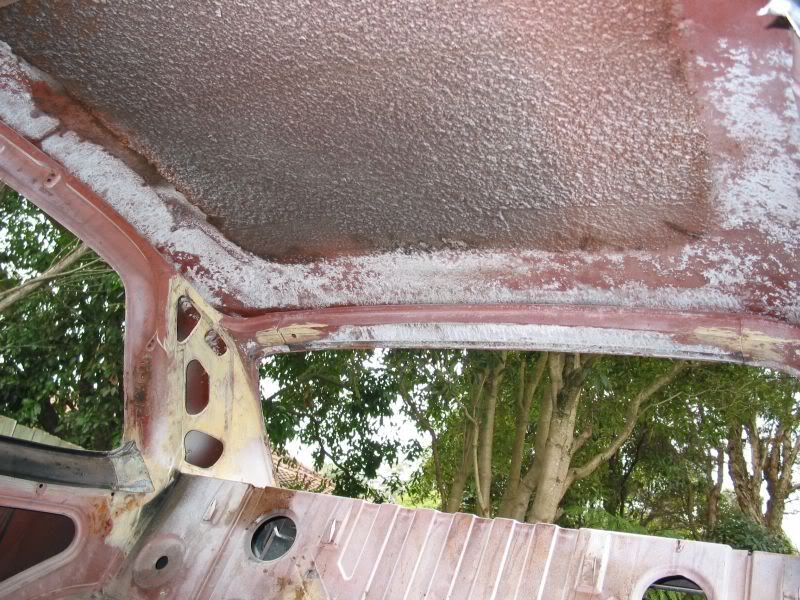
The start...
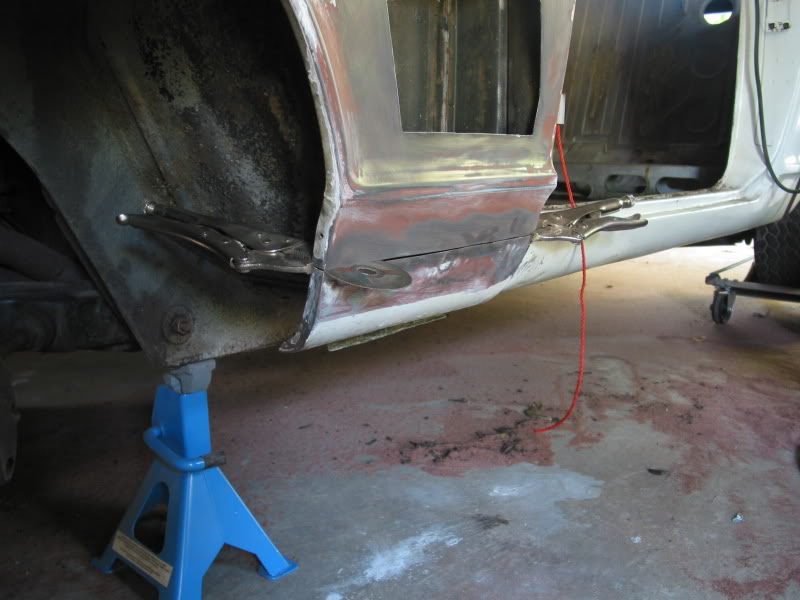
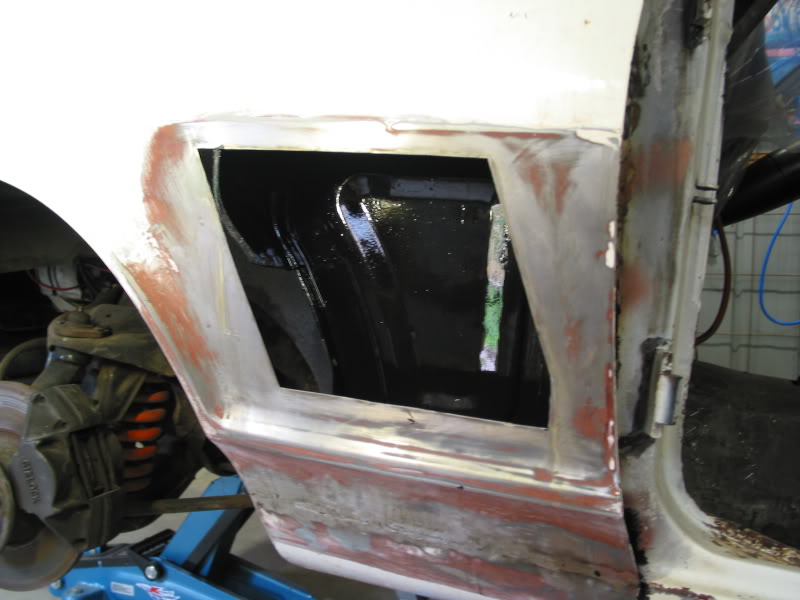
Swapping engine, front & rear suspension, etc. at my mates place...
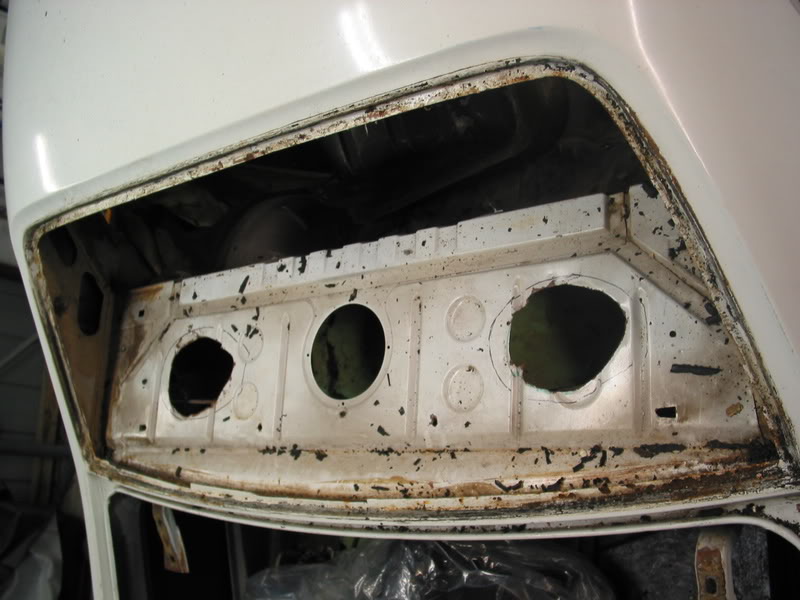
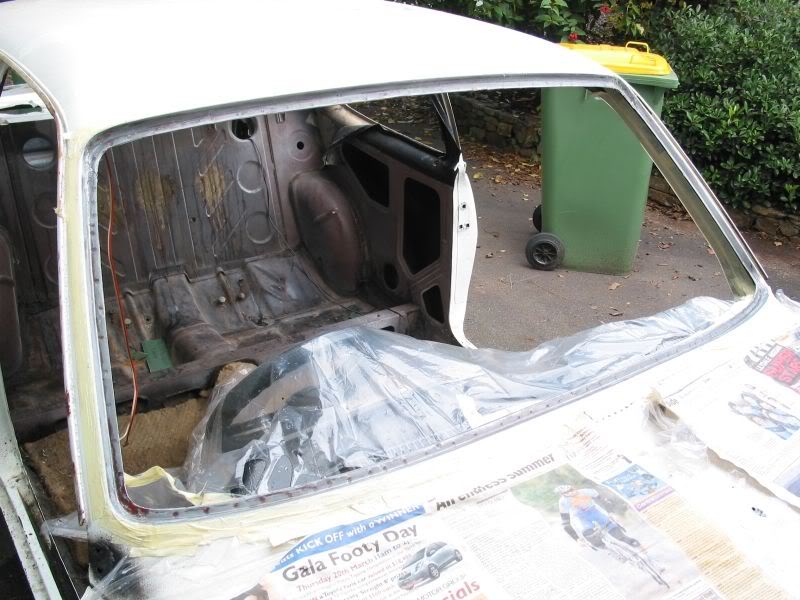
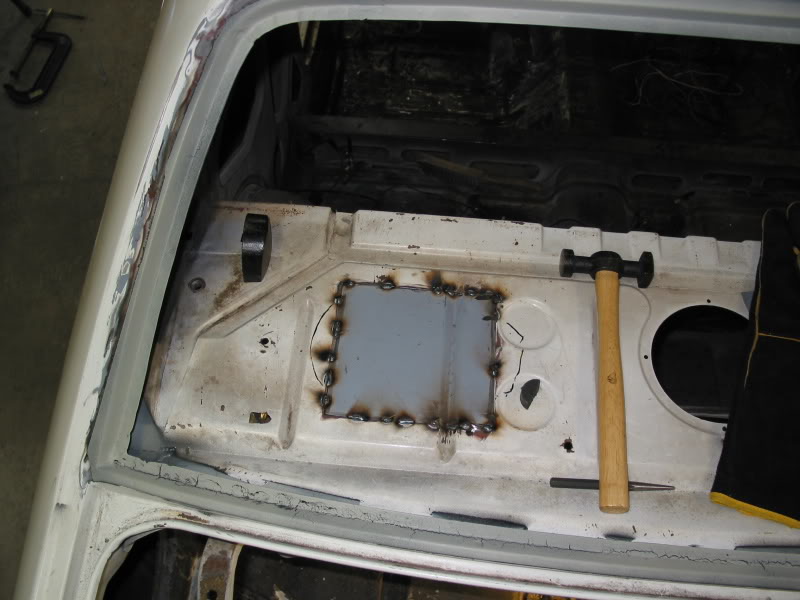
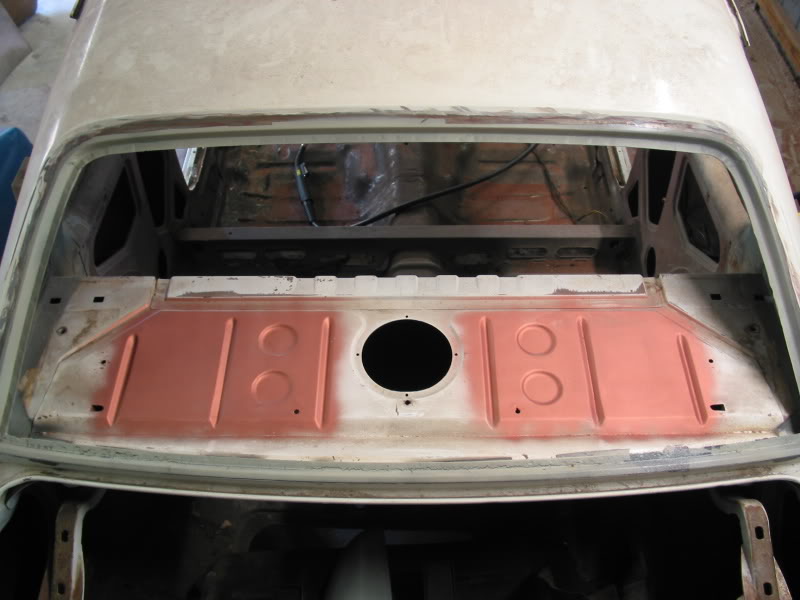
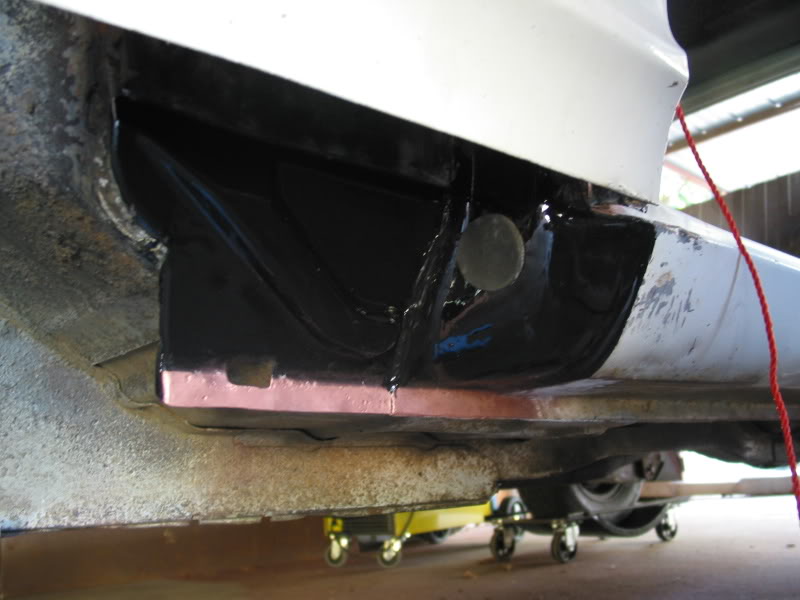
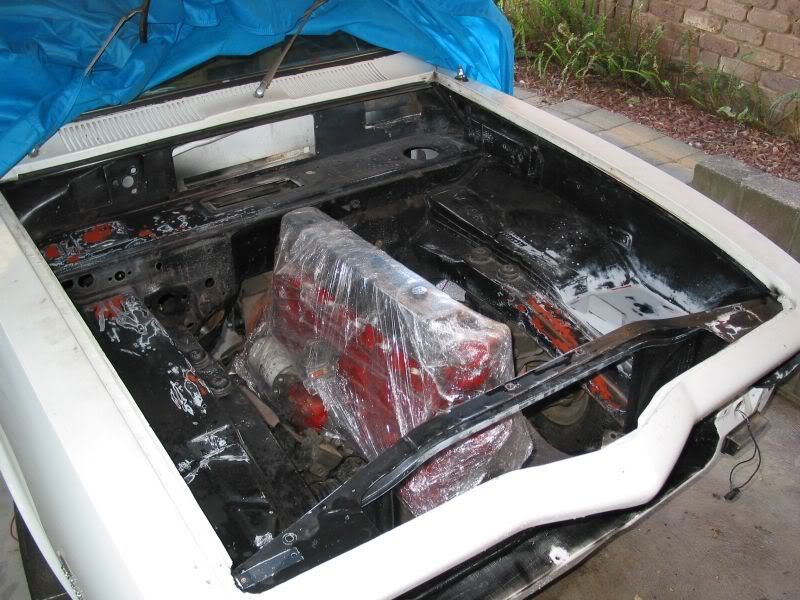
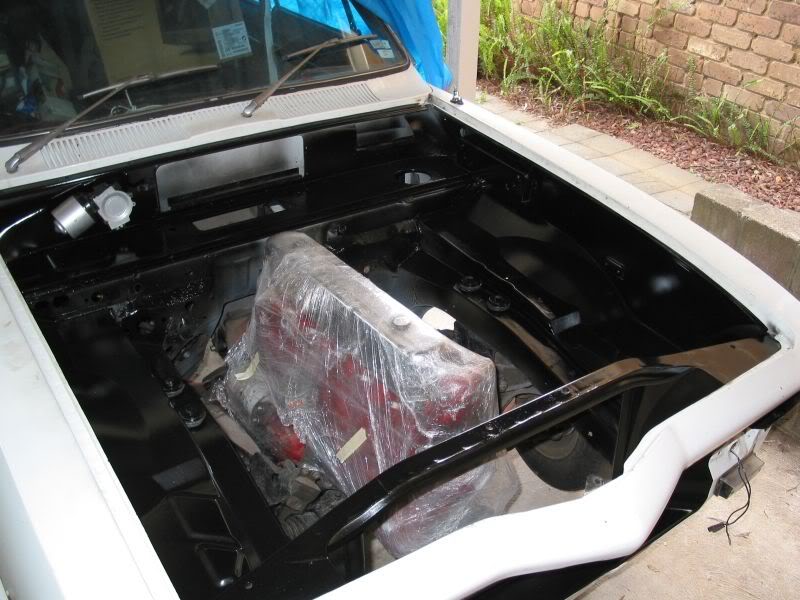
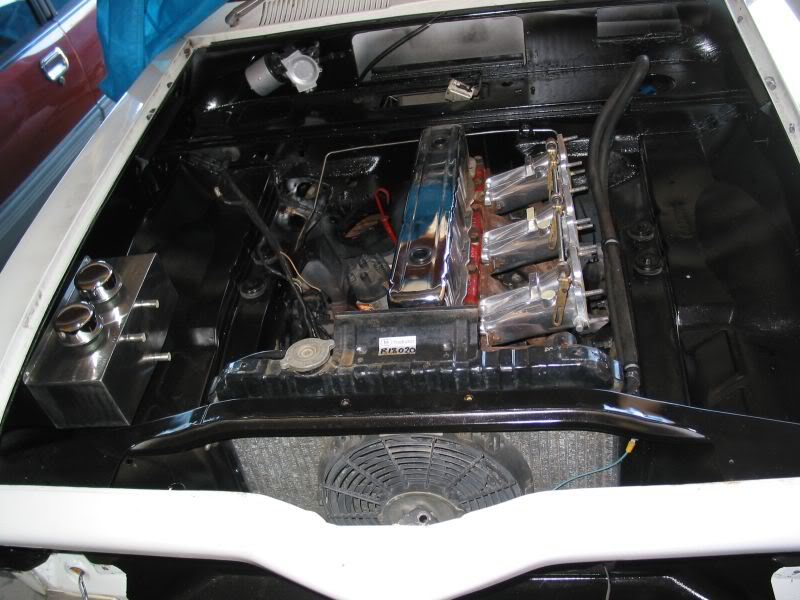
Cleaned up the engine bay... Not sure why I did it first as I now have to be careful not to mess it up
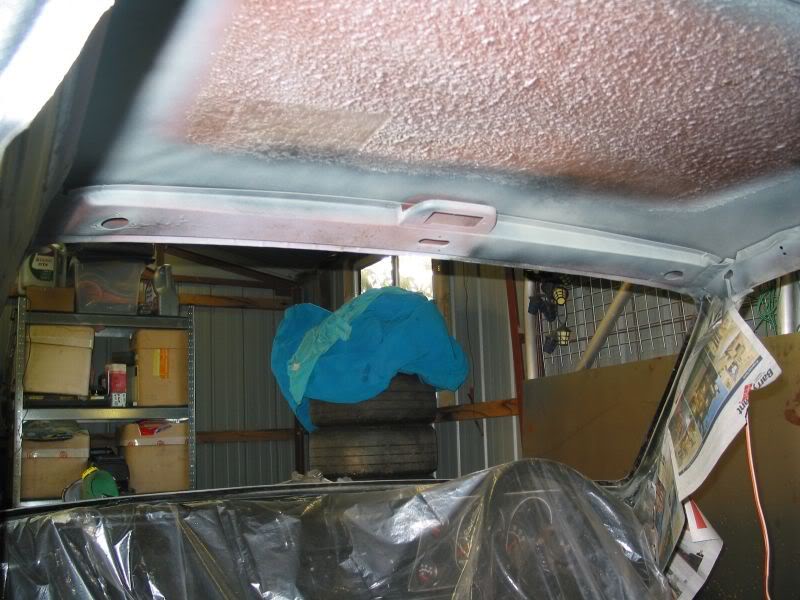
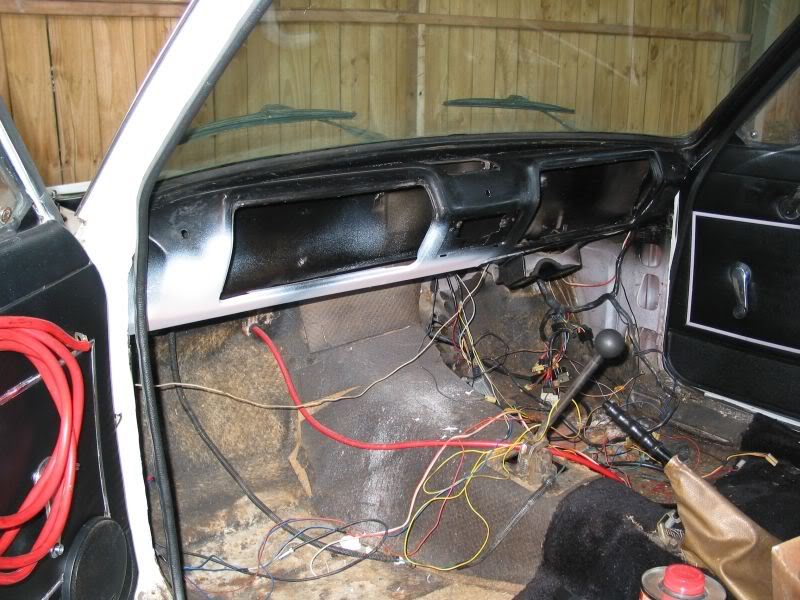
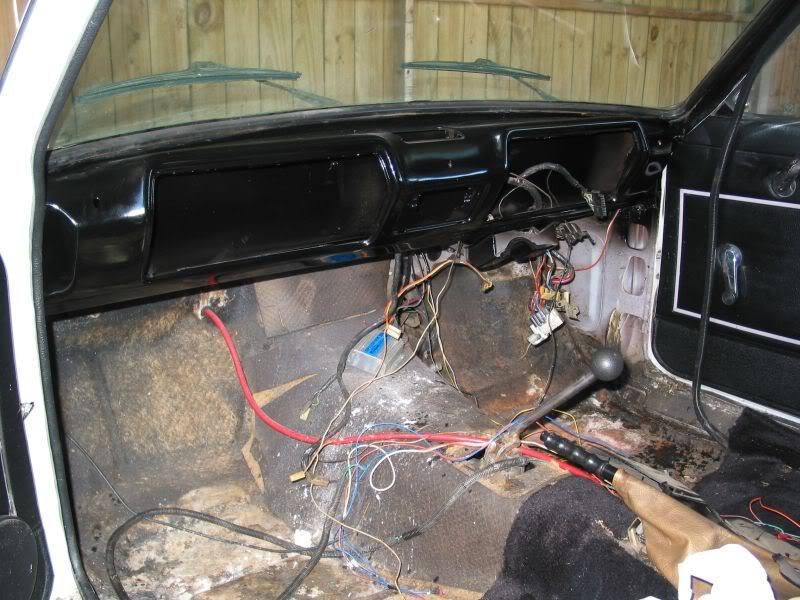
even cleaned up the dash...
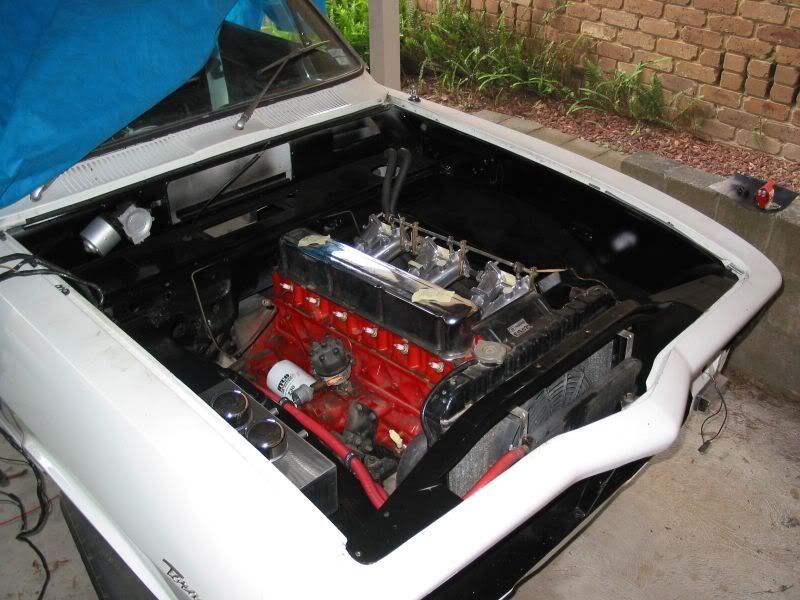
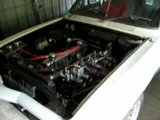
Fitting carbies and other goodies to fire it up after 12mths so it can be moved to our new house...
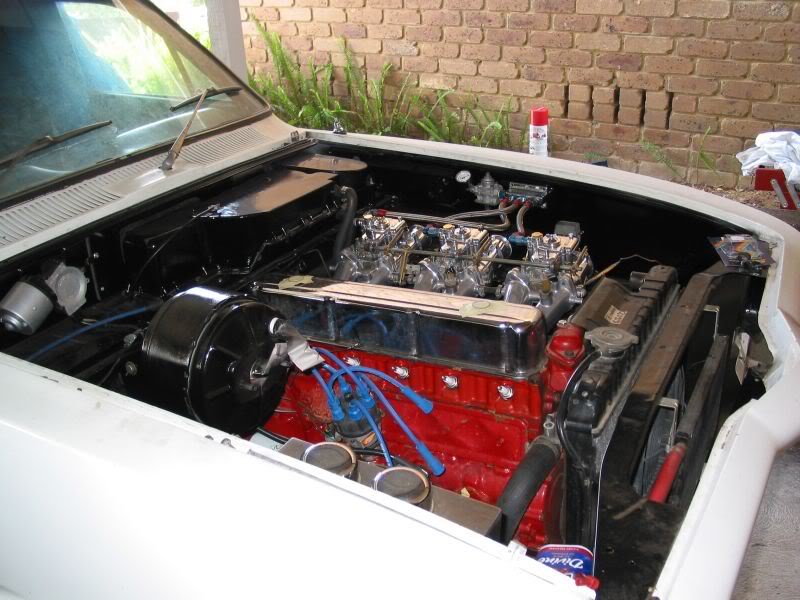
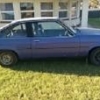
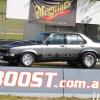
The beast purring like a kitten in its new home...
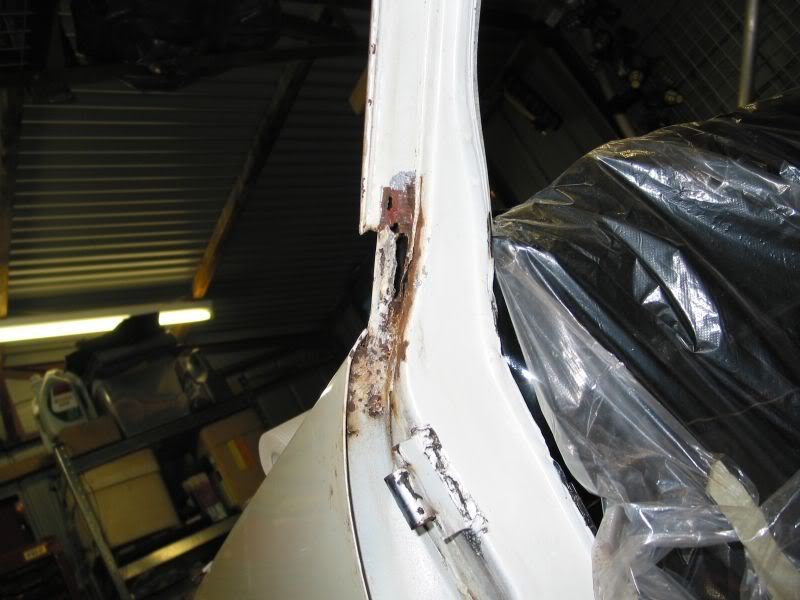
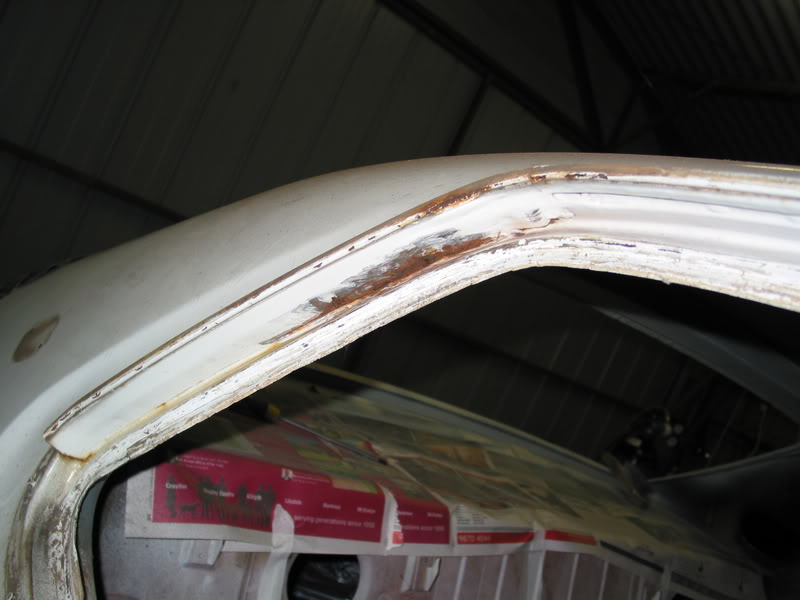
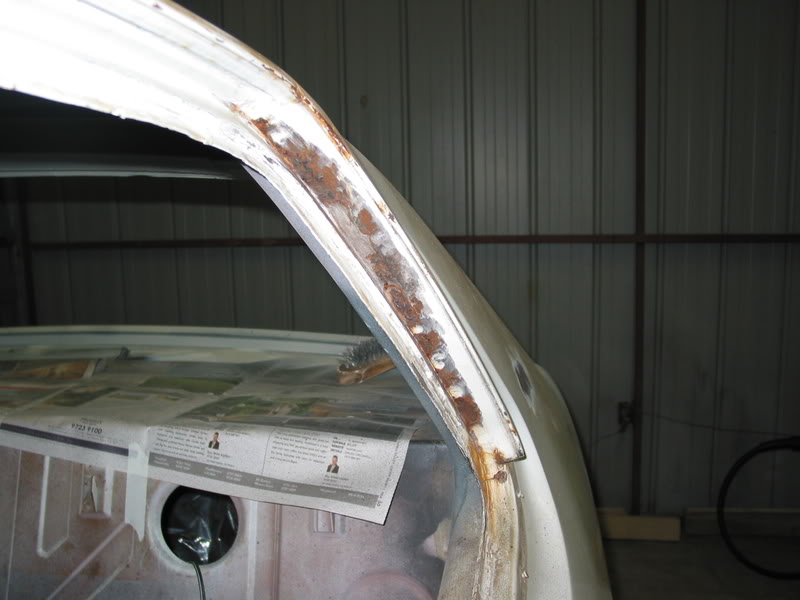
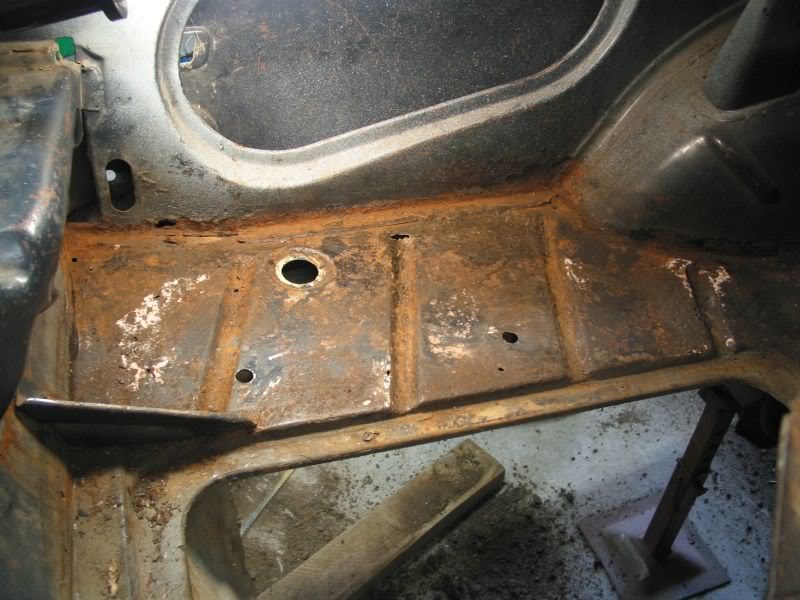
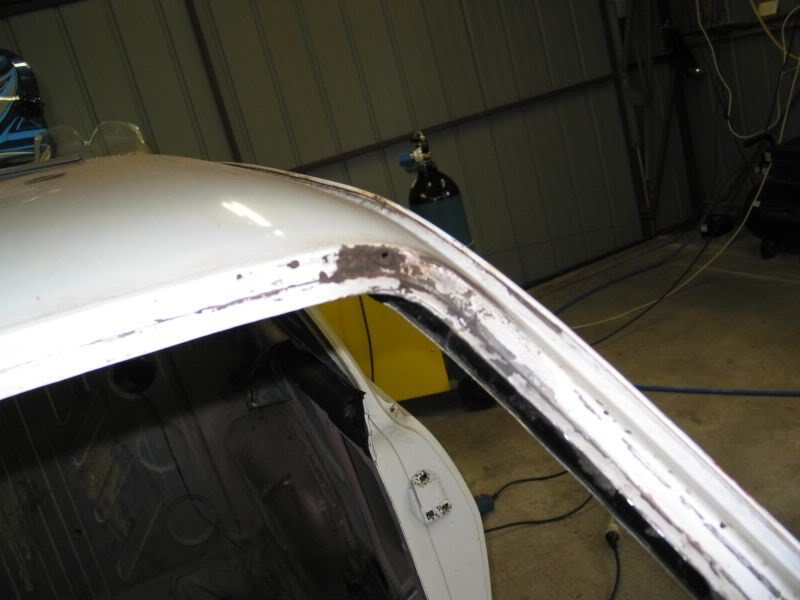
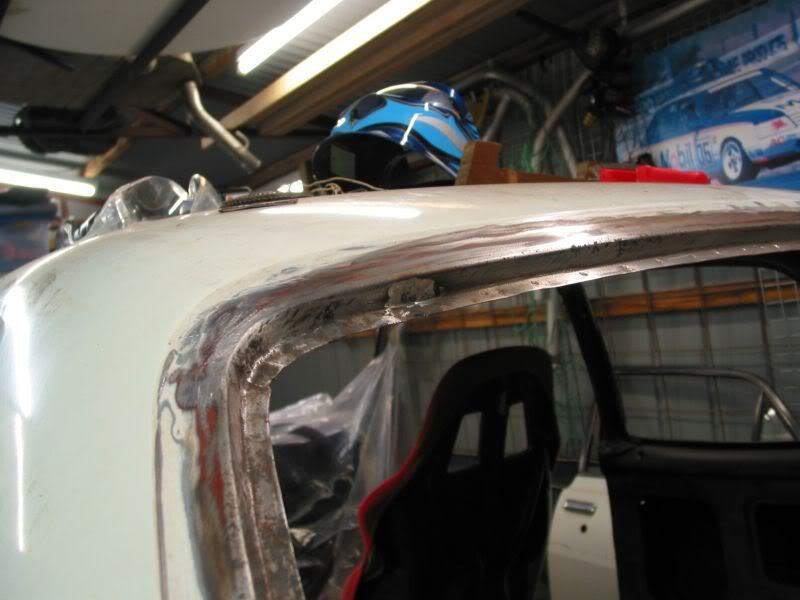
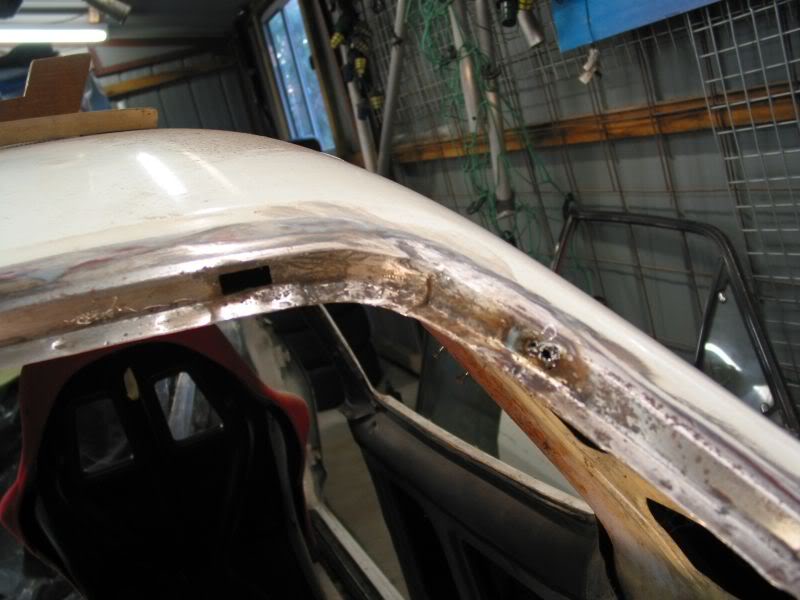
more pics to follow...
Cheers,
Jeff
#2 _Chriskoss-79uc_
Posted 03 June 2008 - 03:20 PM
#3 _UNVSM8_
Posted 03 June 2008 - 05:48 PM
#4 _panthervs_
Posted 04 June 2008 - 01:53 AM
#5 _studricho_
Posted 04 June 2008 - 03:14 AM
Your's look like webers, but they'd sound very similar. Your engine seems very smooth at idle, do you have a very mild cam?
By the way, love the car. I'd love an LC 2 door.
#6
Posted 04 June 2008 - 01:42 PM
The bay came up well too mate.
#7 _P51_
Posted 04 June 2008 - 02:05 PM
#8
Posted 04 June 2008 - 05:34 PM
Thanks panthervs. It was sprayed with Jet Black acrylic - the brand was Concept Paints I think.Looks awsome mate well done. What did you use to paint your engine bay??
#9
Posted 04 June 2008 - 05:43 PM
G'day studricho. Yeah, they are 45mm webers and they sound pretty cool at full noise.That engine sounds great. When i had triple dellorto's on my six it sounded so good at full noise in the car. You will love the induction sound, sounds like a nascar.
Your's look like webers, but they'd sound very similar. Your engine seems very smooth at idle, do you have a very mild cam?
By the way, love the car. I'd love an LC 2 door.
The engine has a reasonable size cam in it. It's a Heatseeker Stage 5 and has a duration of 310 on the inlet and 315 on the exhaust (246/251 @ .05 lift) - valve lift is .48in. The idle is fairly good but is set pretty high at the moment as I haven't bothered balancing the carbs since they were put on - it normally idles around 1100rpm.
#10
Posted 04 June 2008 - 05:48 PM
Some dodgy repairs on the A & C pillars...
And the usual boot floor rust. It took ages to get the crappy sound deadener and bog off from the previous owners attempted fix...
and what was the spare wheel well...
#11
Posted 04 June 2008 - 08:43 PM
should be nice little road rocket
#12
Posted 04 June 2008 - 09:04 PM
#13 _P51_
Posted 05 June 2008 - 12:14 AM
And how I wish I left my glass where it was..
#14
Posted 05 June 2008 - 02:36 PM
The front only had a small hole at the top right corner that was pretty easily filled with the MIG.
The rear was also pretty good with the bottom right being the only really bad bit. A couple of other spots need small patches inserted...
I'm a bit of an amateur at welding as I've only had the toy for a few months but we got there in the end.
#15
Posted 05 June 2008 - 02:51 PM
You have to clean the surfaces to remove grease, oil, etc and then apply Metal Ready to convert the rust and etch any bare metal.
Followed by 2 coats of POR15...
And then a light spray of undercoat before the POR15 dries completely...
Job done!
Now I have to choose the next bit to tackle.....
#16 _73LJWhiteSL_
Posted 05 June 2008 - 03:10 PM
Keep us posted.
Steve
#17
Posted 05 May 2009 - 08:00 AM
#18
Posted 05 May 2009 - 09:01 PM
Yeah, yeah - I know I've been a bit slack! I'll try and get some posted tomorrow.come on geoff put some new pics up and get some of the new plates
#19
Posted 08 May 2009 - 05:08 PM
Next thing on the list was to patch the holes in the parcel shelf as it's a good spot to hide my novice welds.
It turned out OK....
#20
Posted 08 May 2009 - 05:16 PM
#21
Posted 08 May 2009 - 05:40 PM
#22 _cruiza_
Posted 08 May 2009 - 06:02 PM
#23
Posted 08 May 2009 - 07:45 PM
Thanks cruiza. Yep, I am also looking forward to hearing the awsome induction noise again.... one day....Your doing a great job keep it up and keep posting those pics, looking forward to some incar video with that glorious 6 reved up a bit
#24
Posted 08 May 2009 - 08:18 PM
and stuck my head in the hole to find the end of the sill rusted.
After some deliberation, I decided to cut off the bottom of the guard rather than remove the whole thing...
Made up a repair section that was slightly larger than the rusted area. It was trimmed as it was tacked in....
Trimmed rusted section to roughly match the size of the patch...
POR15'd the inner end of the sill and primed the section to be welded. Also put some holes in the inner sill panel to apply cavity wax through once the car is painted.
Tacked patch before fully welding and grinding...
POR15'd the outer sill / floor area and primed the lower section where the bottom of the guard will be welded back...
Welded the bottom of the guard back on...
Just needs a bit of panel beating once the flutes are done to fix some warpage at the weld...
#25 _Barman_
Posted 09 May 2009 - 08:11 AM
keep it up
cheers Baz
1 user(s) are reading this topic
0 members, 1 guests, 0 anonymous users