Mate im the guy with the when your hot your hot tattoo on my arm.
Now that is frOcking random.l
Cheers.
well bugger me...


Posted 07 October 2012 - 04:59 PM
Mate im the guy with the when your hot your hot tattoo on my arm.
Now that is frOcking random.l
Cheers.
Posted 07 October 2012 - 09:38 PM
I like cars.


 View Garage
Posted 07 October 2012 - 11:28 PM
Oh My, Don't you post alot

Posted 08 October 2012 - 07:28 AM
Edited by yel327, 08 October 2012 - 07:29 AM.
Posted 08 October 2012 - 07:51 AM
Here's a donor chassis. COmplete with the rest of the car and a 350 Chev in it. In QLD unfortunately!
http://www.ebay.com....=item46085ca406
And another a bit closer:
http://www.ebay.com....=item27cb983d72
 . Mum and Dad have already kindly taken short term ownership of the wheels, tyres, fuel tank and a few other bits and pieces.
Oh My, Don't you post alot
Posted 08 October 2012 - 08:02 AM
Posted 08 October 2012 - 04:35 PM

Posted 08 October 2012 - 04:40 PM

Edited by Inj gtr202, 08 October 2012 - 04:52 PM.
Posted 09 October 2012 - 08:34 PM
Posted 09 October 2012 - 09:38 PM
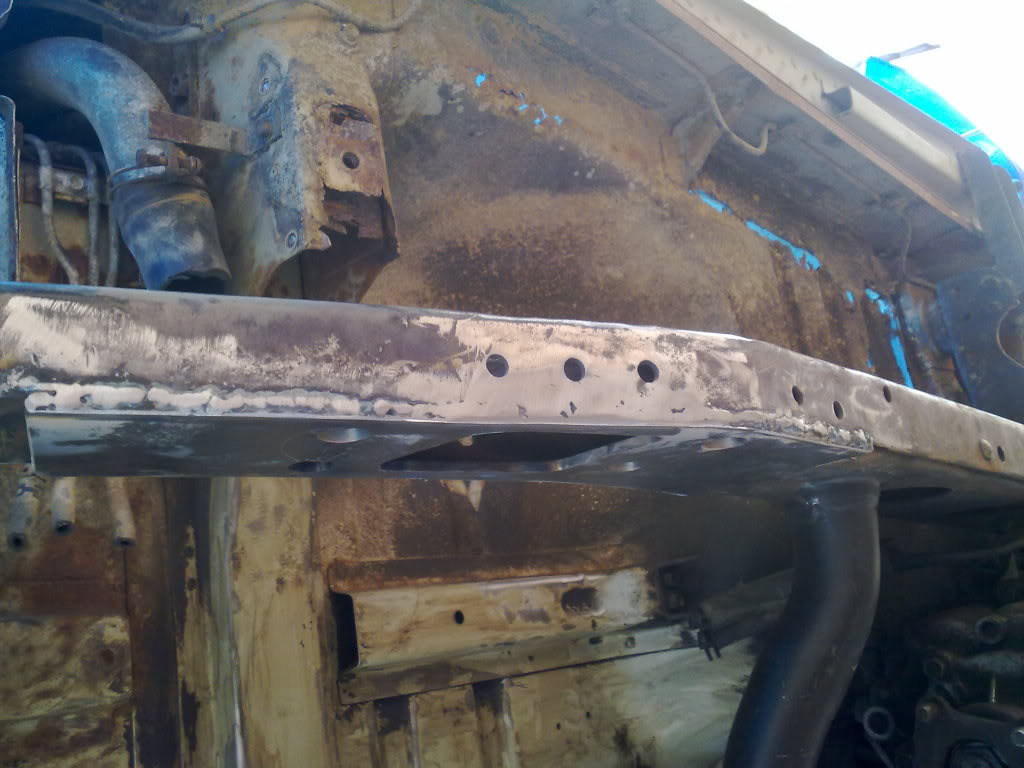
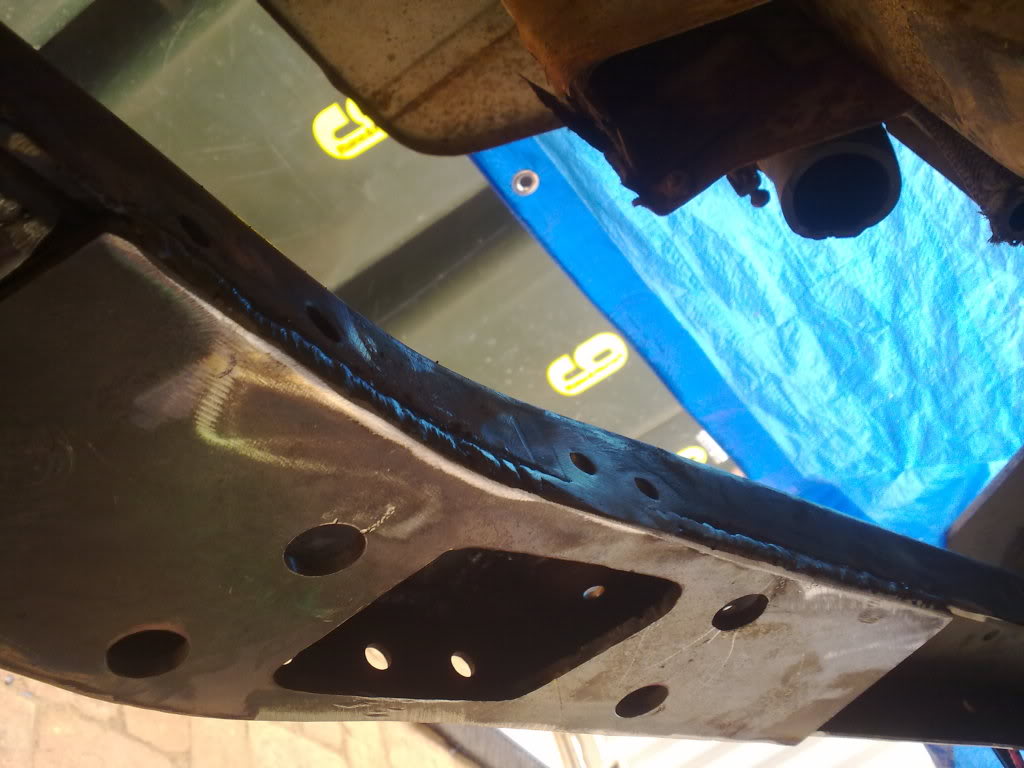
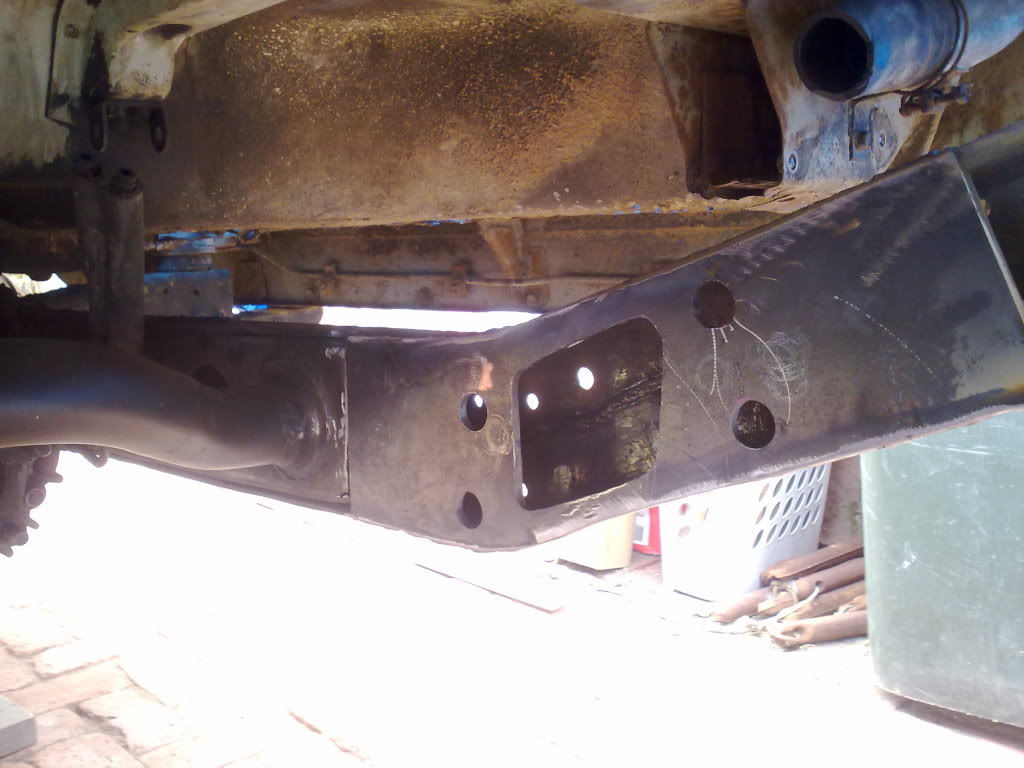
Posted 22 October 2012 - 05:30 PM
Edited by Inj gtr202, 22 October 2012 - 05:30 PM.
Posted 22 October 2012 - 05:34 PM
Posted 22 October 2012 - 05:38 PM

Posted 22 October 2012 - 08:15 PM
I like cars.
View Garage
Posted 24 October 2012 - 09:40 PM
Posted 31 October 2012 - 09:24 PM
Posted 02 November 2012 - 06:20 PM
Edited by Inj gtr202, 02 November 2012 - 06:21 PM.
Posted 02 November 2012 - 06:28 PM
Posted 02 November 2012 - 06:34 PM

Posted 03 November 2012 - 07:20 PM
Yes, yes I do post alot!

Posted 07 November 2012 - 10:05 AM
Posted 07 November 2012 - 04:59 PM
That is frOcking epic, give me an apprenticeship.
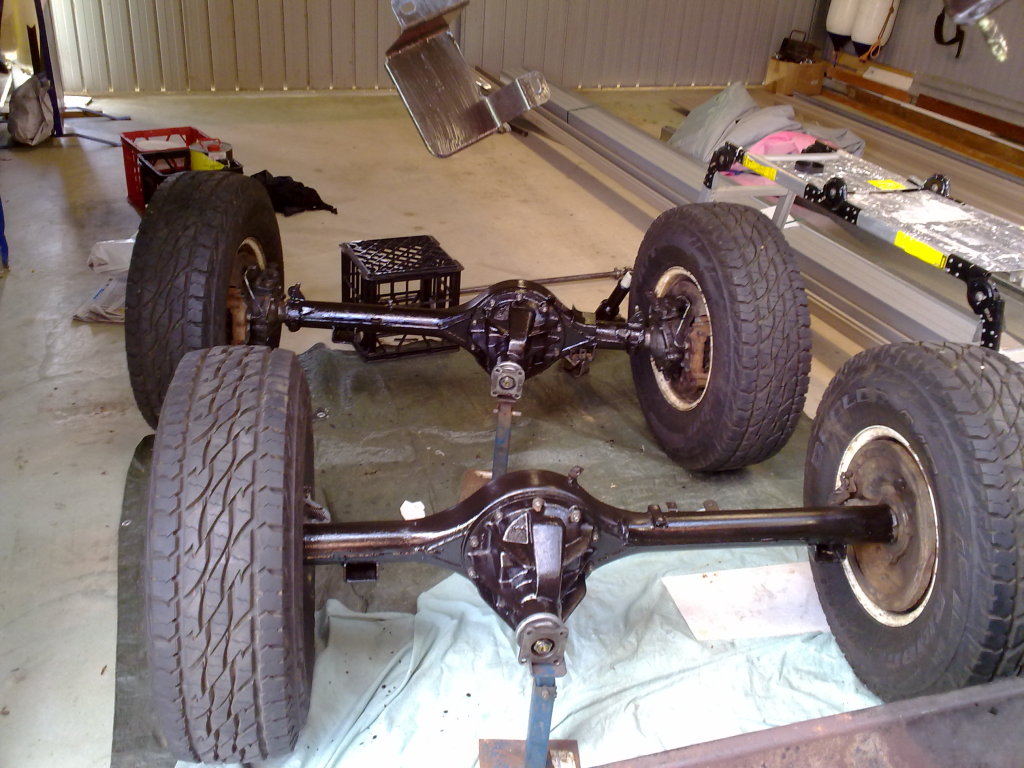
Also, those landcruiser diffs are frOckin heavy ey
Cheers.

Posted 29 November 2012 - 03:37 PM

Edited by Inj gtr202, 29 November 2012 - 03:39 PM.


0 members, 0 guests, 0 anonymous users

