


Posted 07 September 2009 - 08:04 PM
Posted 07 September 2009 - 09:15 PM
Posted 16 September 2009 - 04:27 PM
Posted 02 October 2009 - 01:48 AM
I like cars.


 View Garage
Posted 02 October 2009 - 11:32 AM
Posted 02 October 2009 - 05:30 PM
Posted 29 October 2009 - 12:41 PM
Forum Fixture

Posted 30 October 2009 - 09:17 AM
Posted 30 October 2009 - 09:26 AM
Posted 05 November 2009 - 11:38 AM
Posted 05 November 2009 - 12:11 PM
The Render Garage

Posted 05 November 2009 - 12:33 PM
Posted 13 February 2010 - 07:43 PM
Edited by squirralien, 13 February 2010 - 07:53 PM.
Posted 13 February 2010 - 07:51 PM
Posted 22 February 2010 - 01:42 AM
Posted 22 February 2010 - 02:11 AM
Posted 22 February 2010 - 05:14 AM
Posted 22 February 2010 - 07:48 AM
To advertise here, call 13TORANA

Posted 22 February 2010 - 05:44 PM
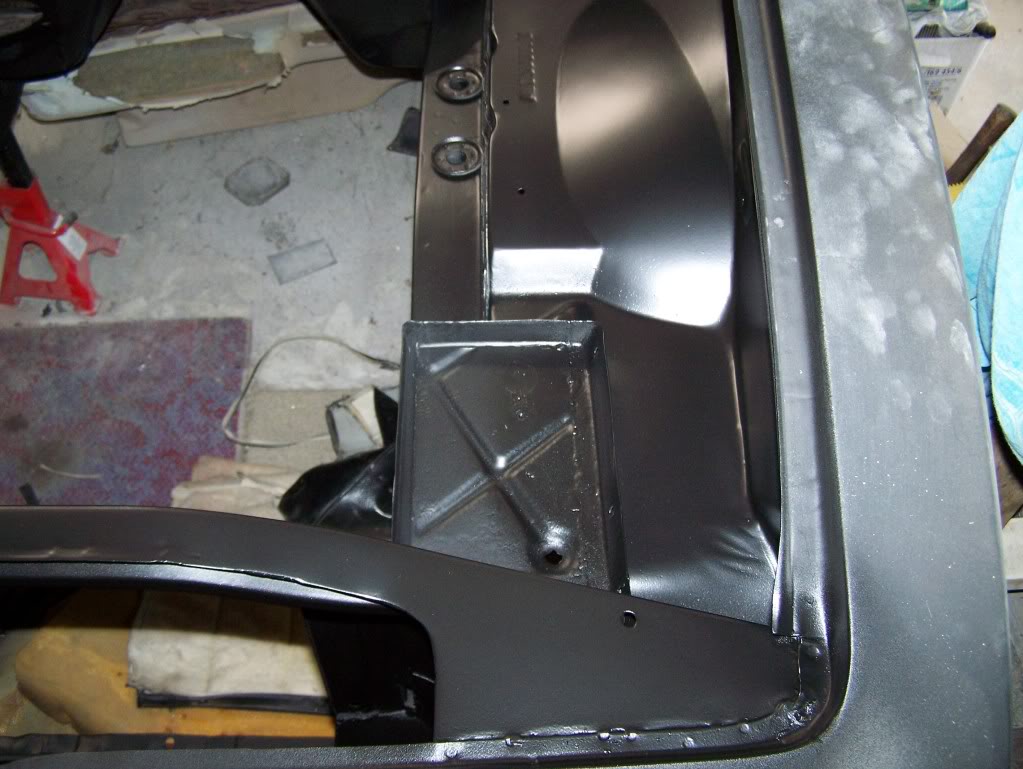
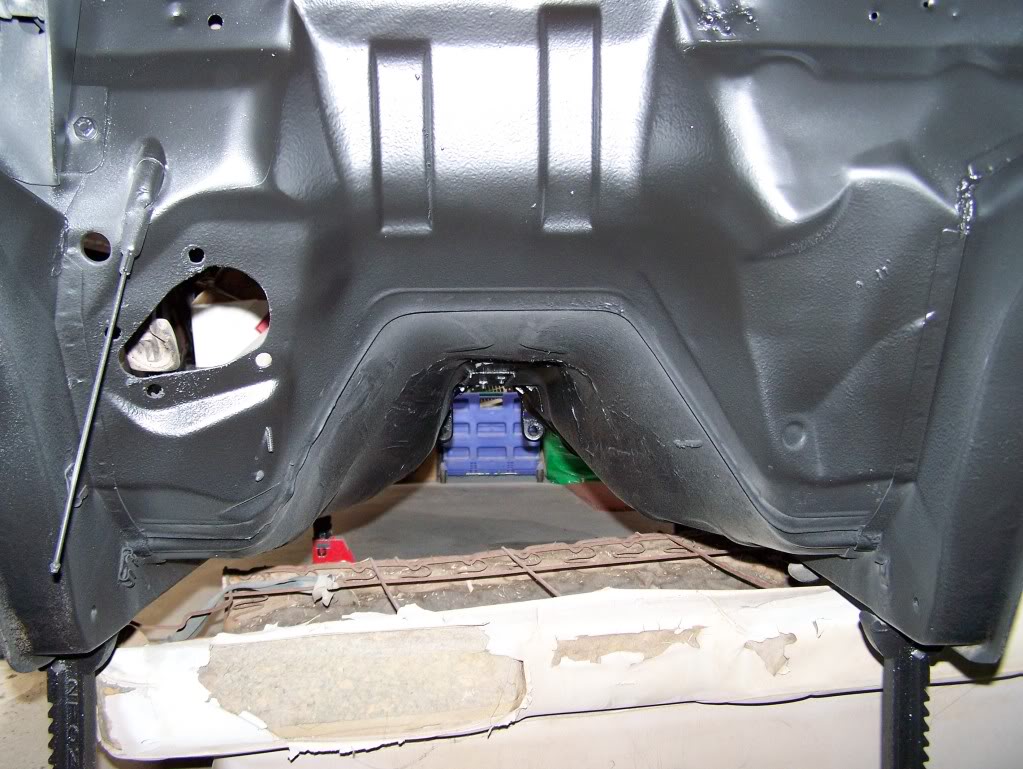
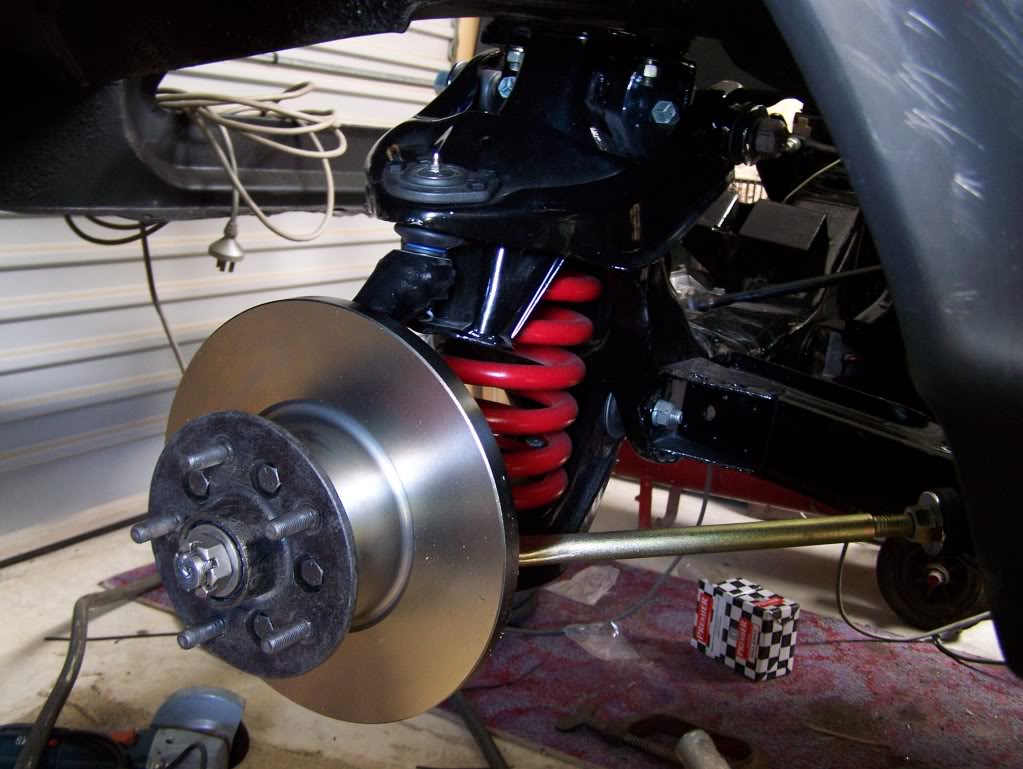
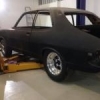
 front end.jpg 147.88K
41 downloads
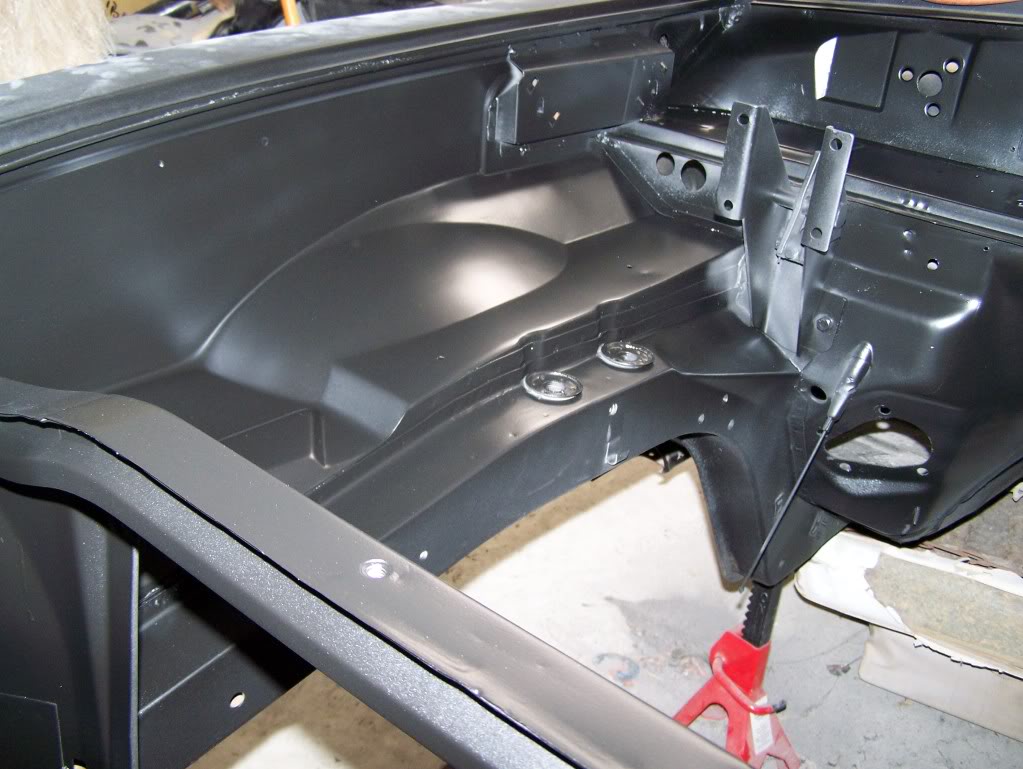
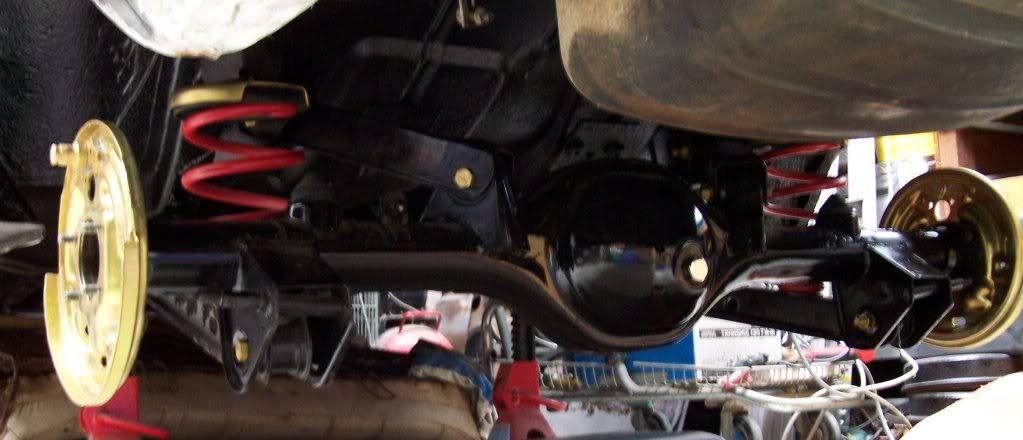
front end.jpg 147.88K
41 downloads
Posted 22 February 2010 - 06:07 PM
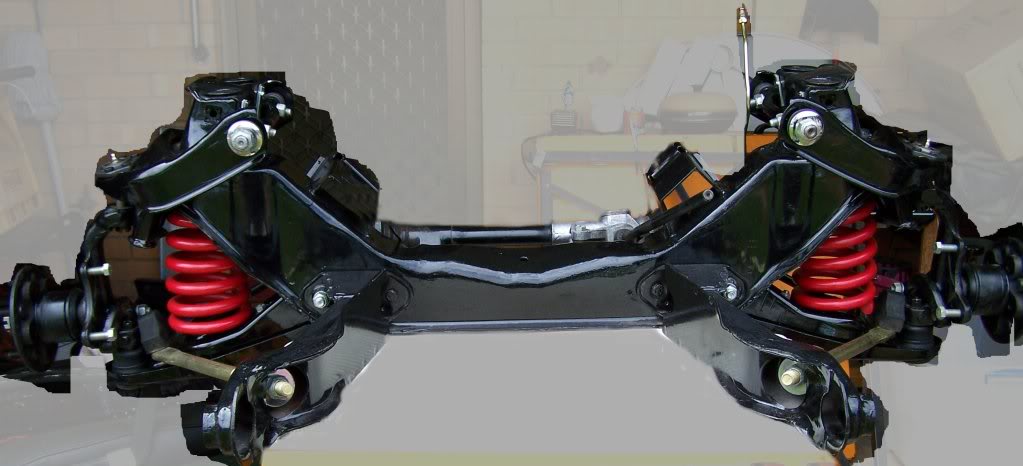
These nuts and bolts should be left loose and should only be tightened when the car is totally assembled and back on its wheels.
Best done on ramps.
Posted 27 March 2010 - 03:40 PM
Forum Fan
Posted 29 March 2010 - 05:26 PM


0 members, 0 guests, 0 anonymous users

