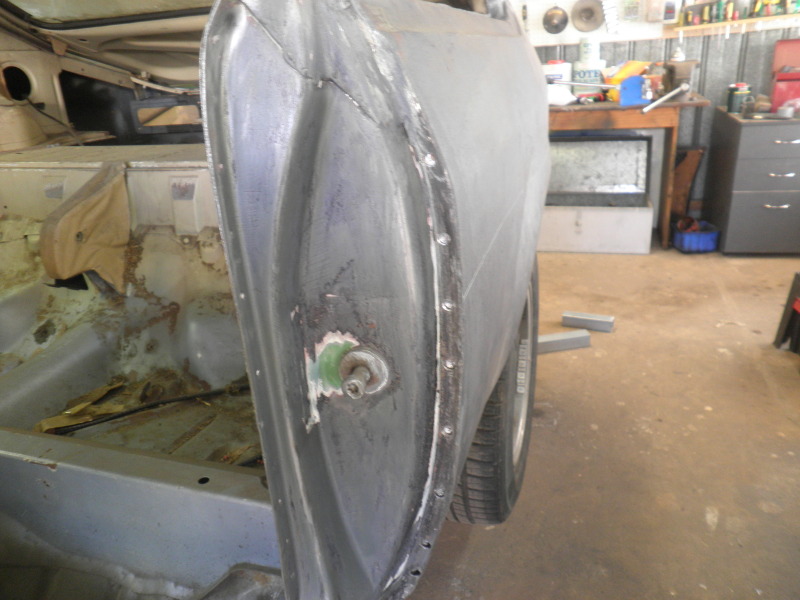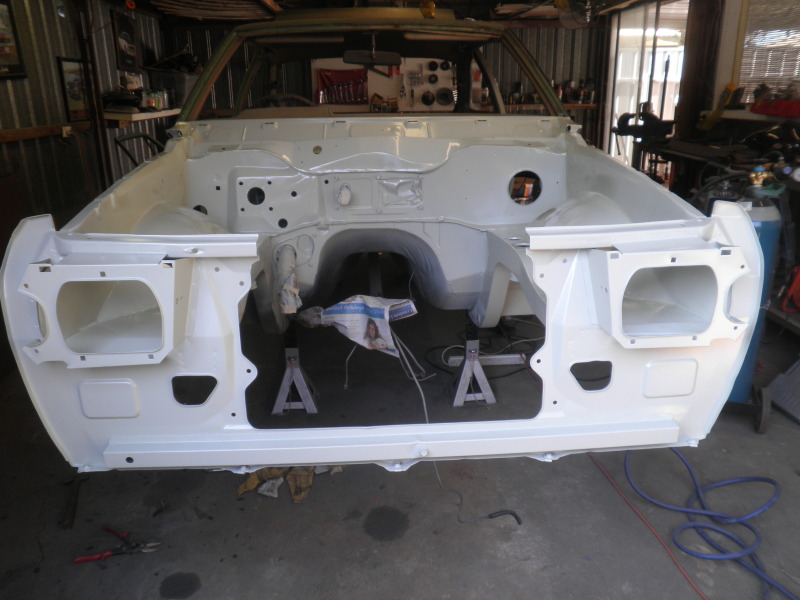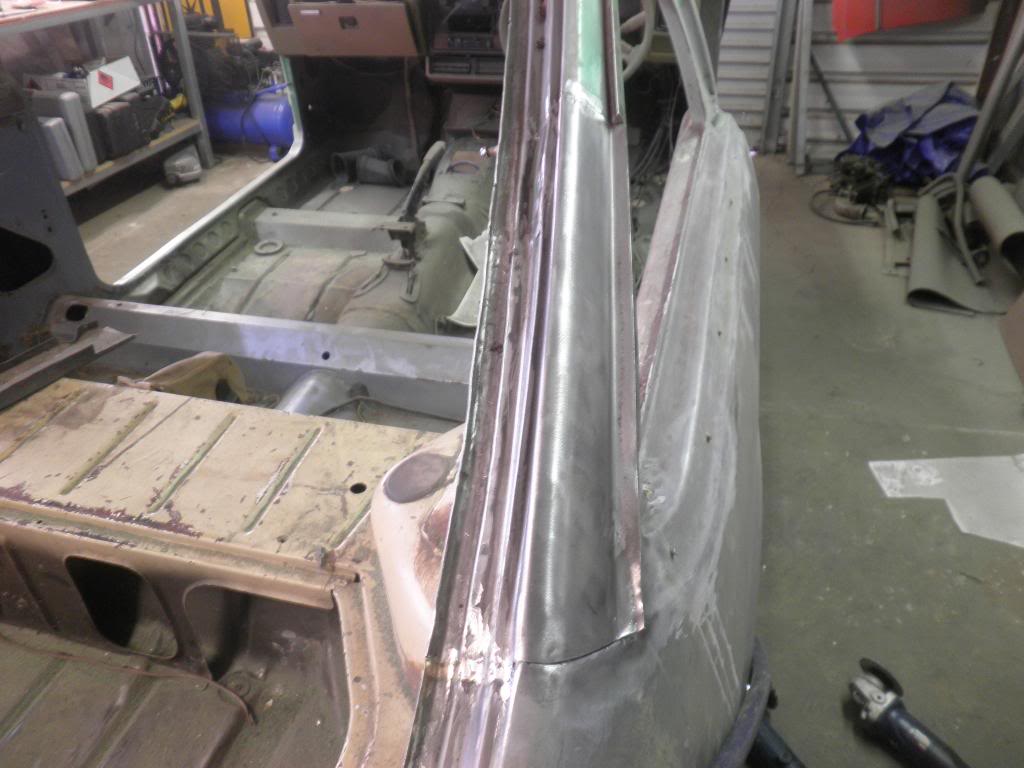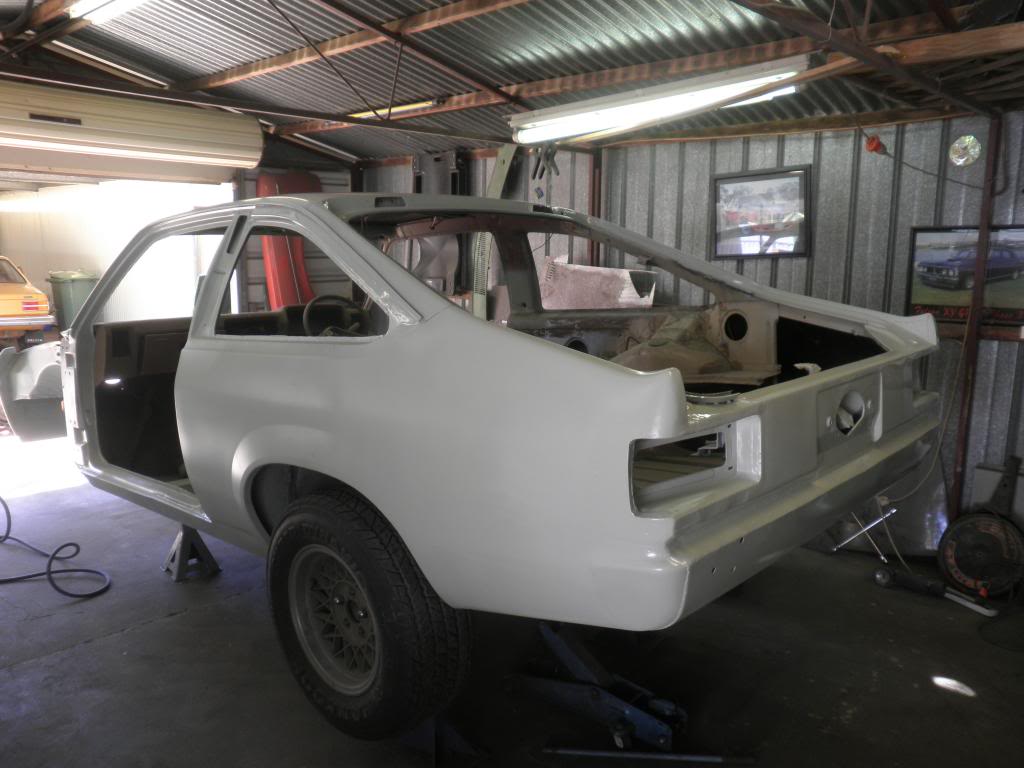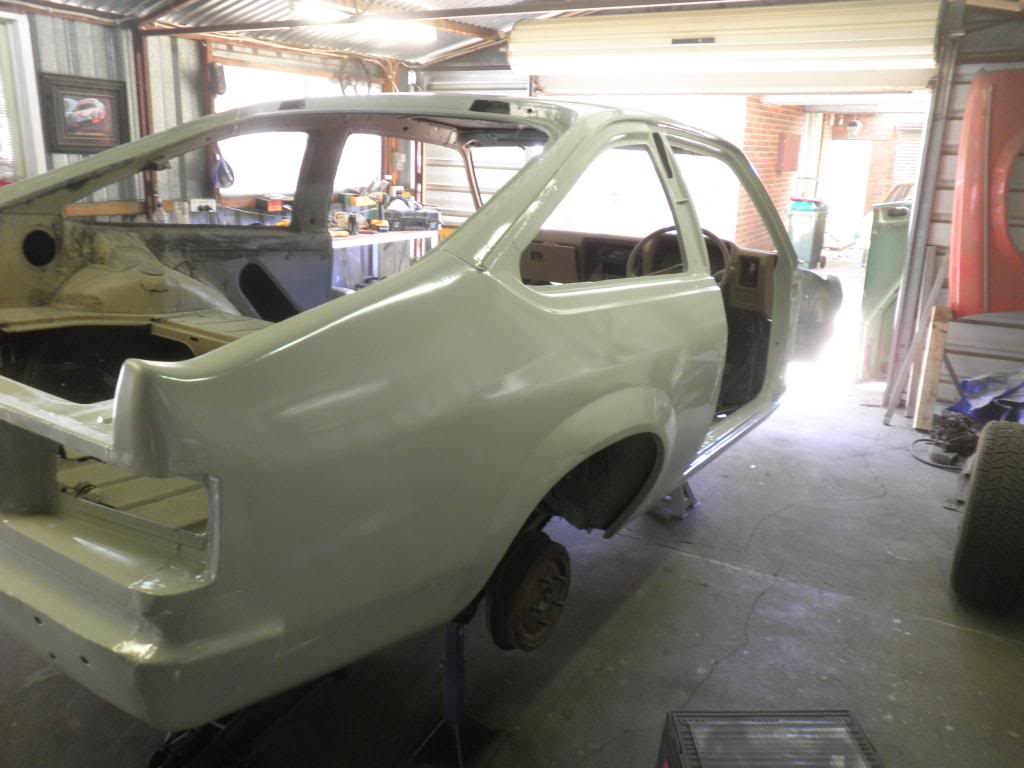


I was a bit worried that the flat tray would look crap.. but I don't mind it now

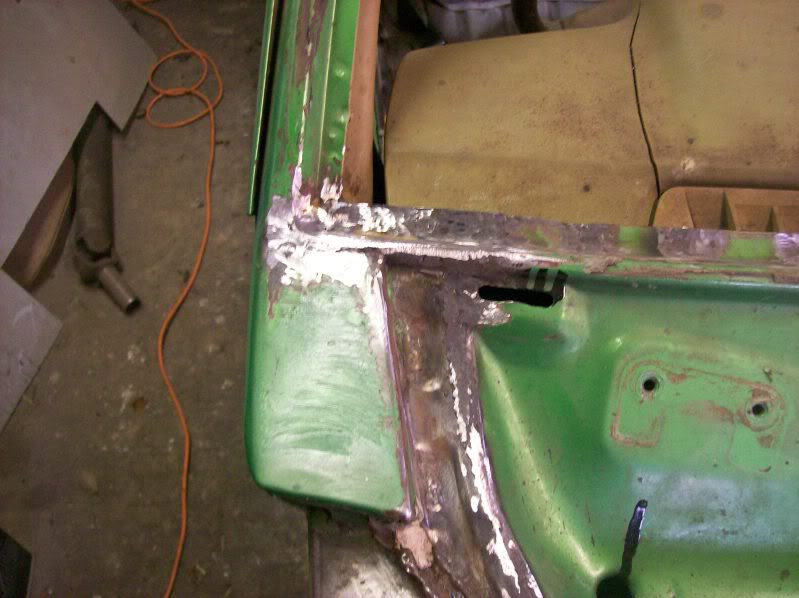
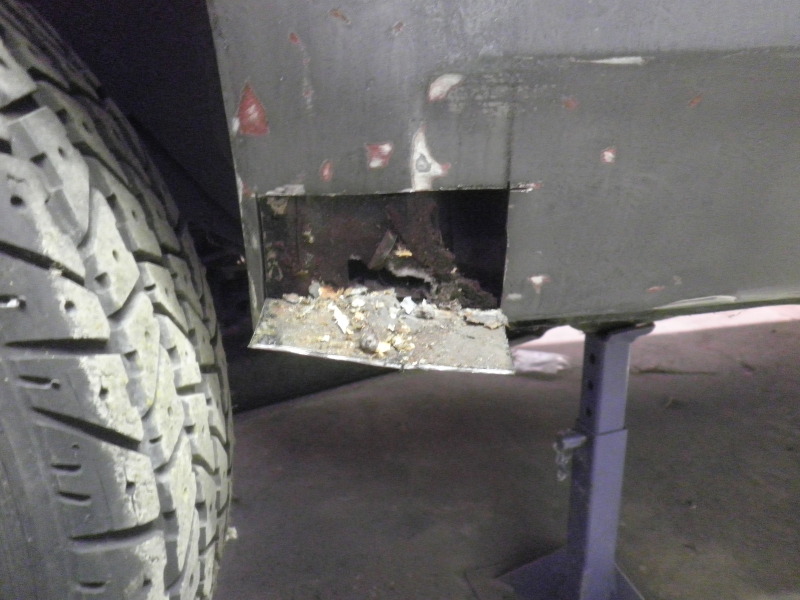
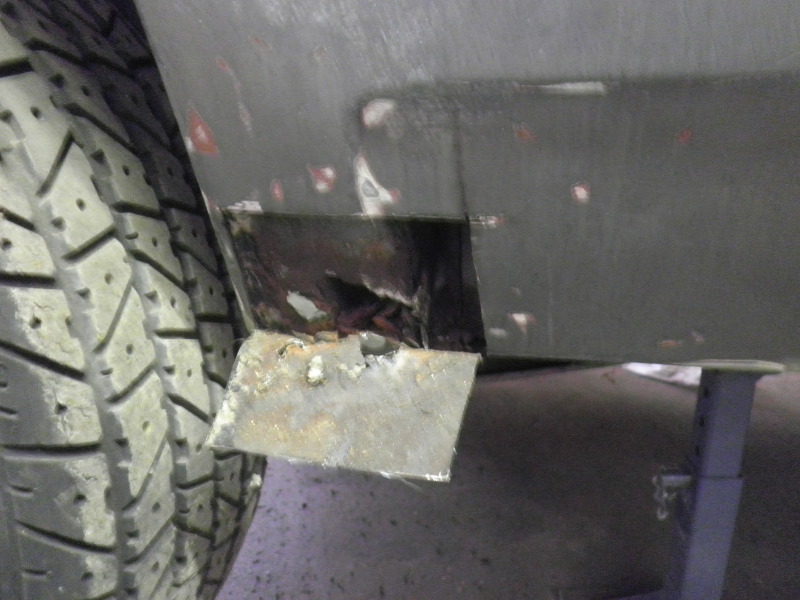
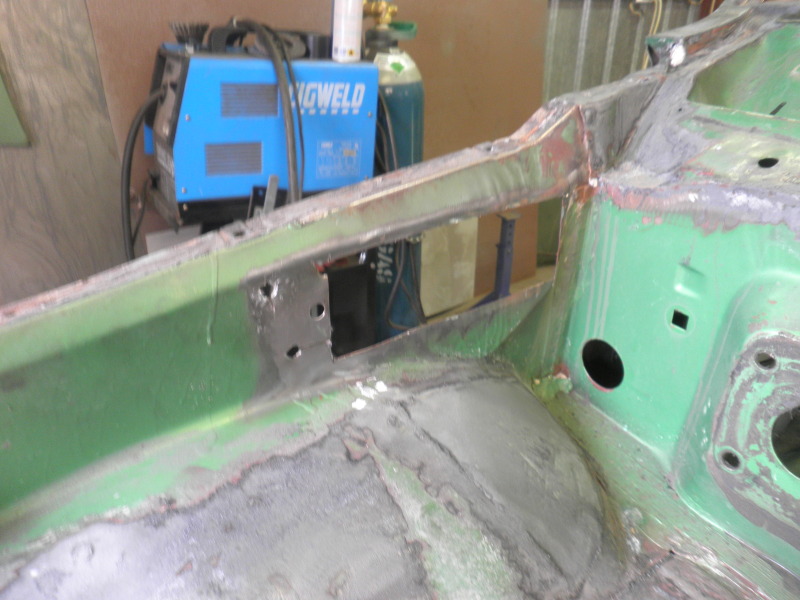
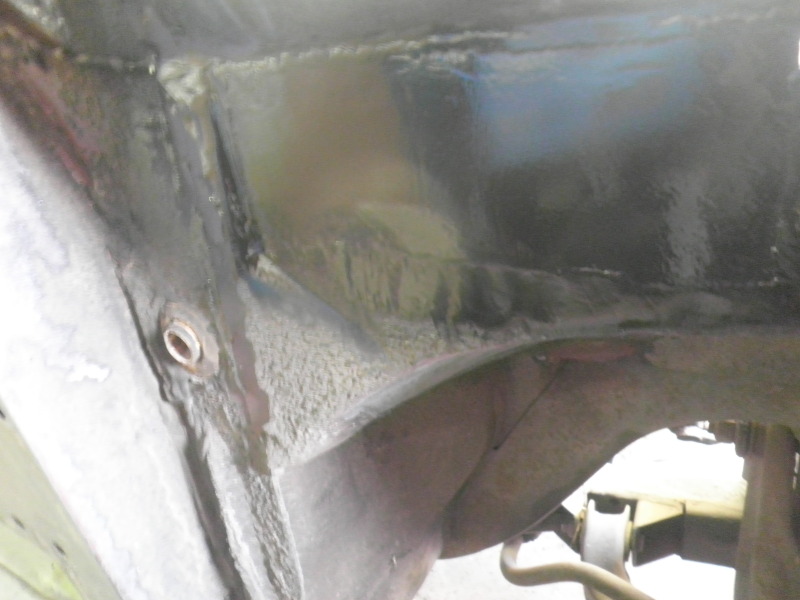
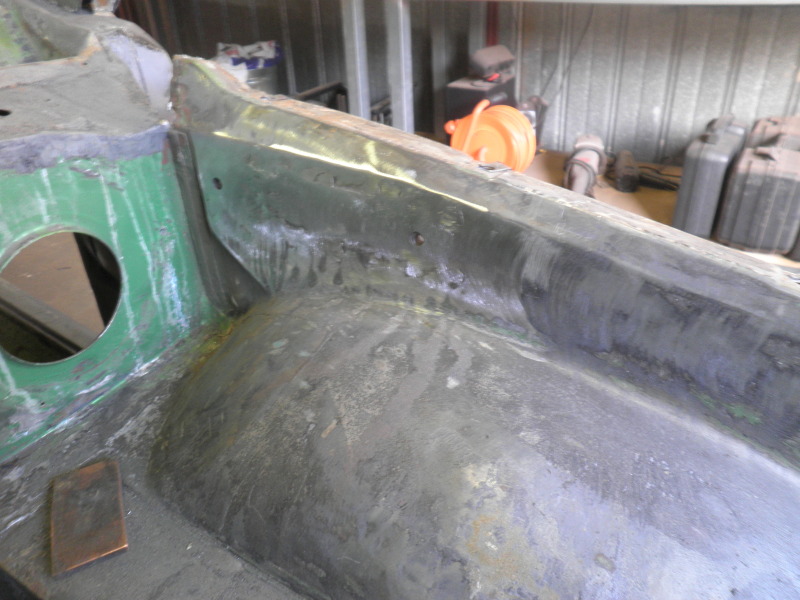
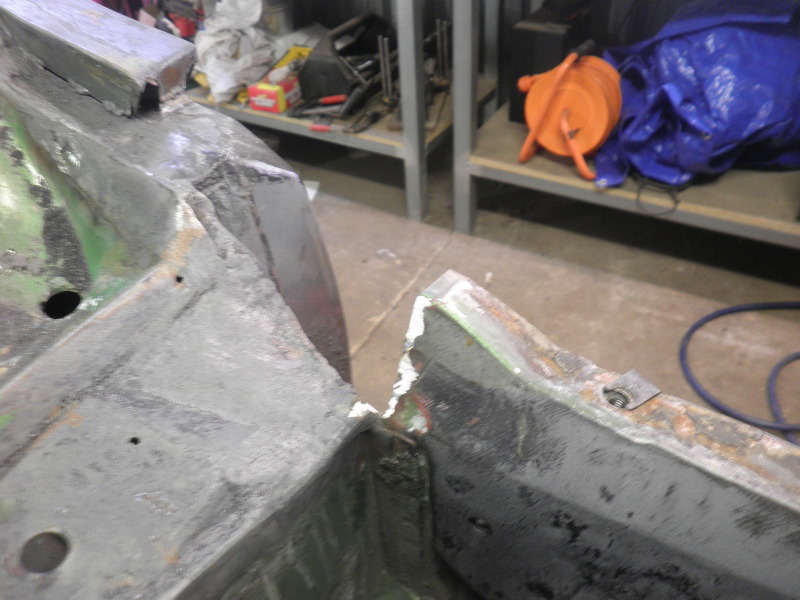
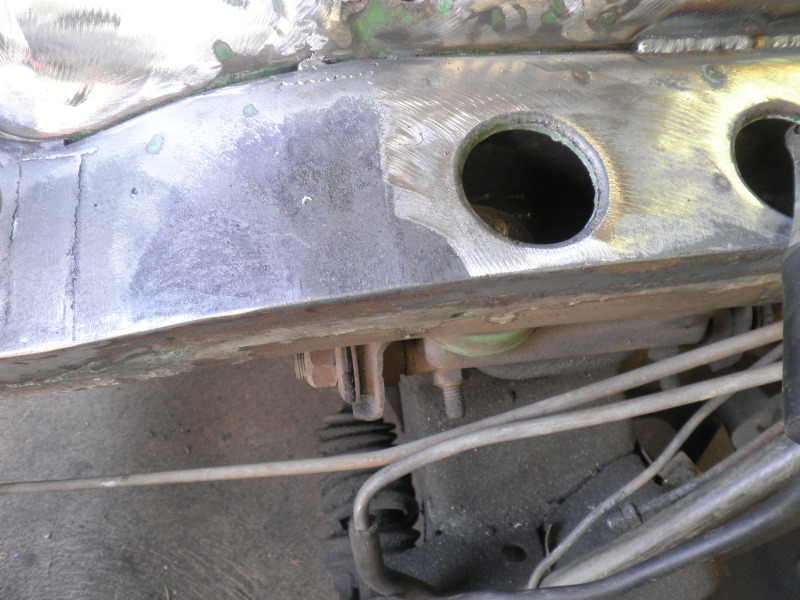
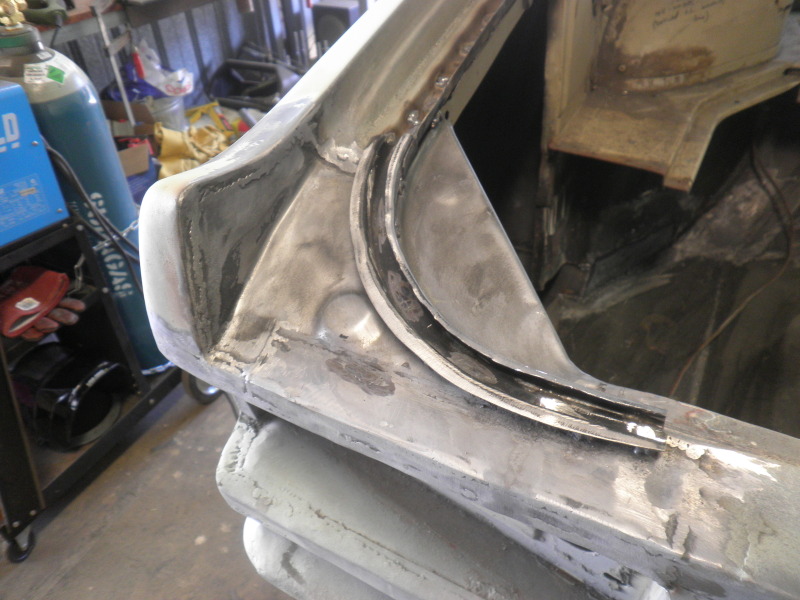
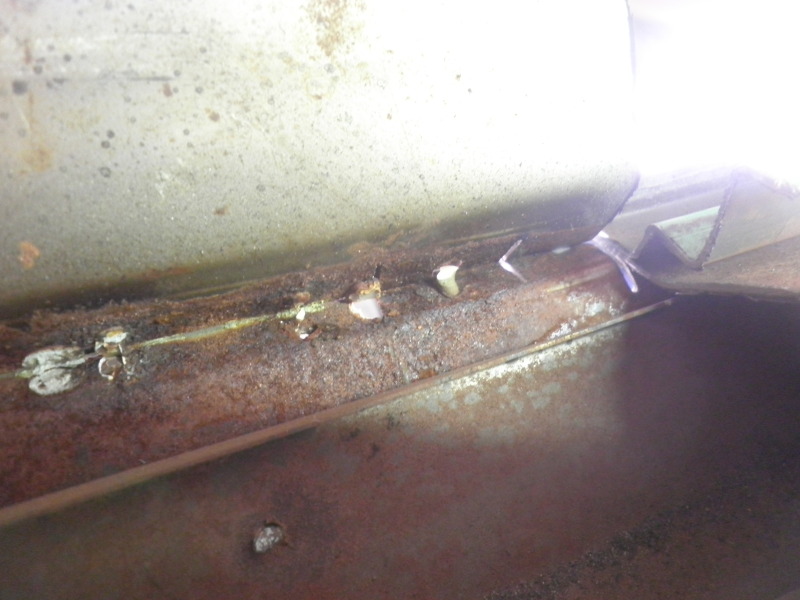
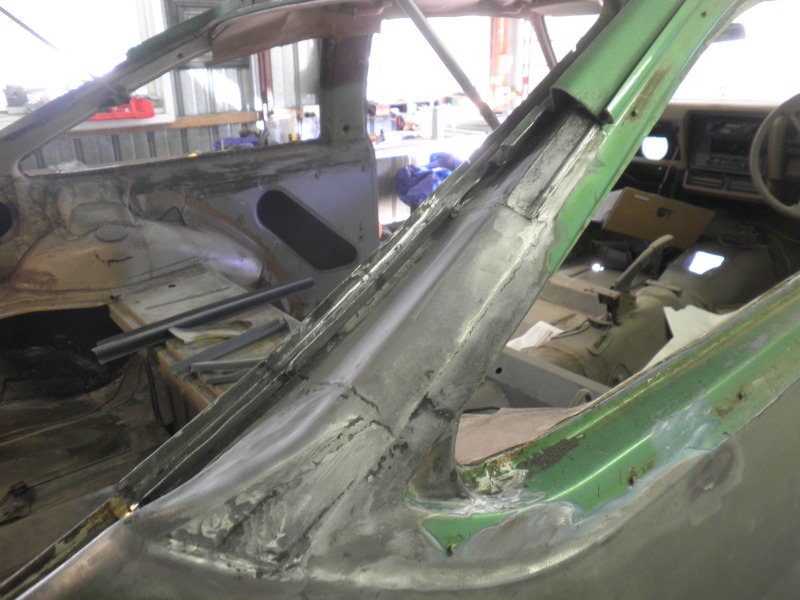
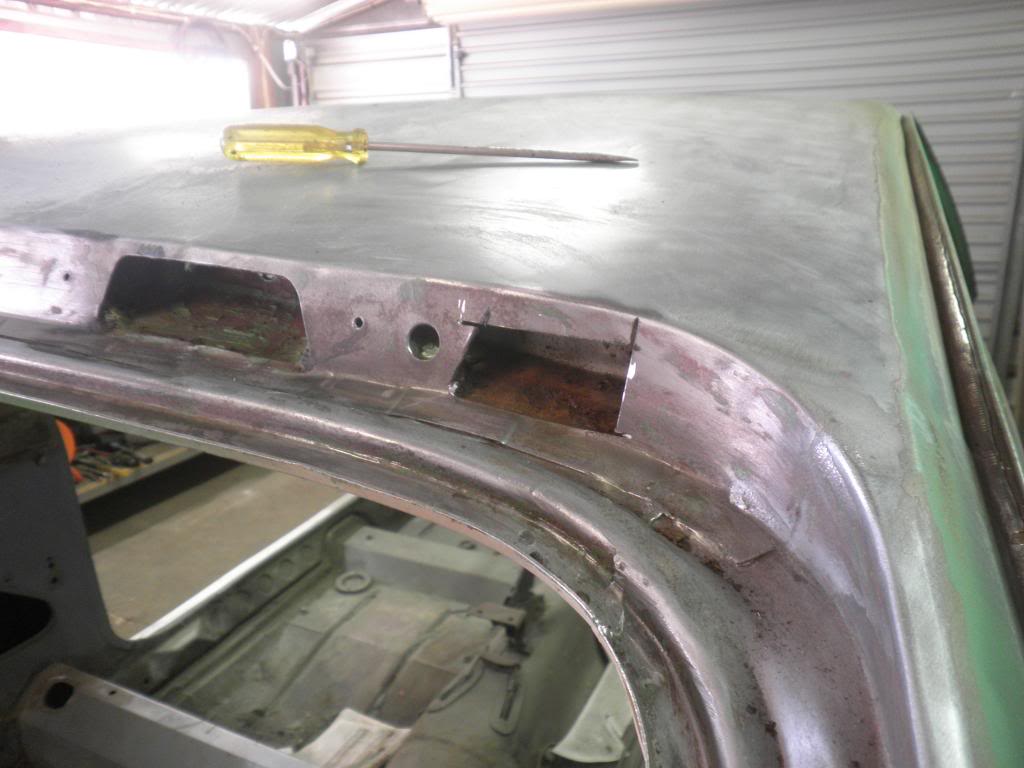
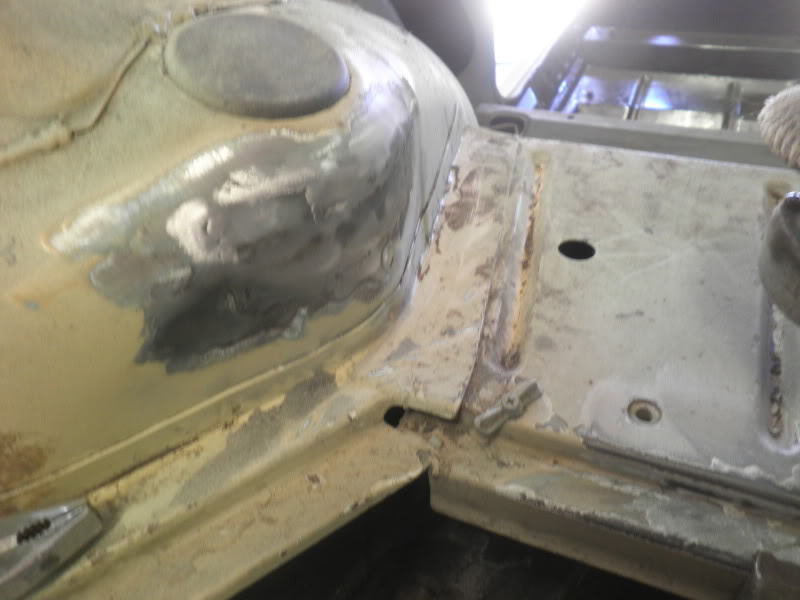
What did some of you guys out there do when it came to the little crevice between the inner wheel tub and the chassis rail? Did you weld, sikaflex or bog? or leave it?


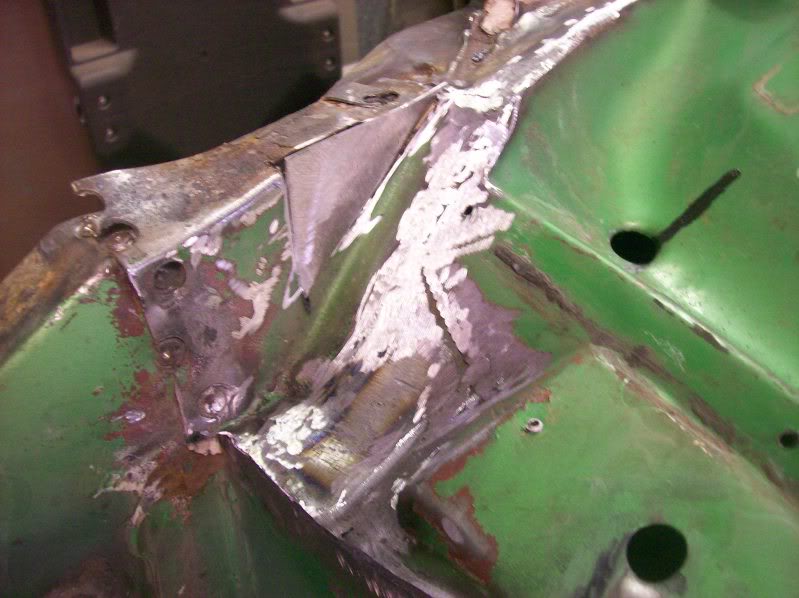
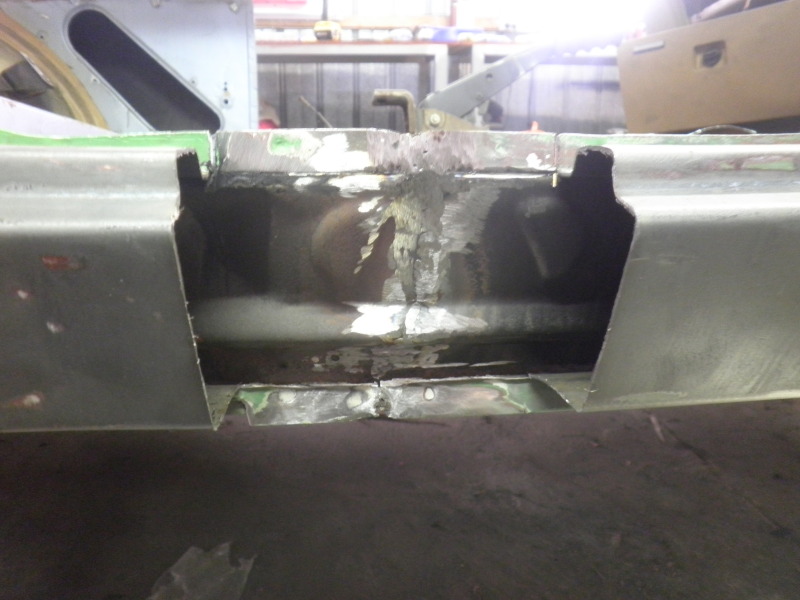
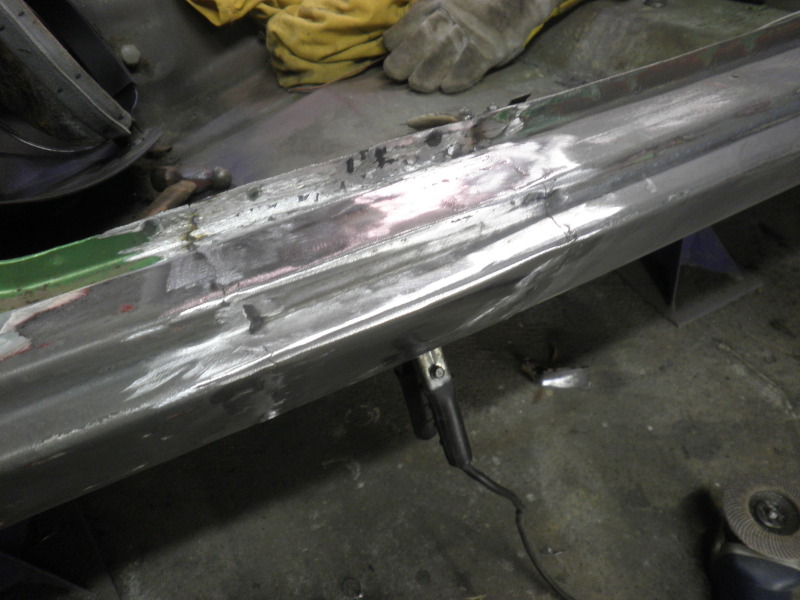
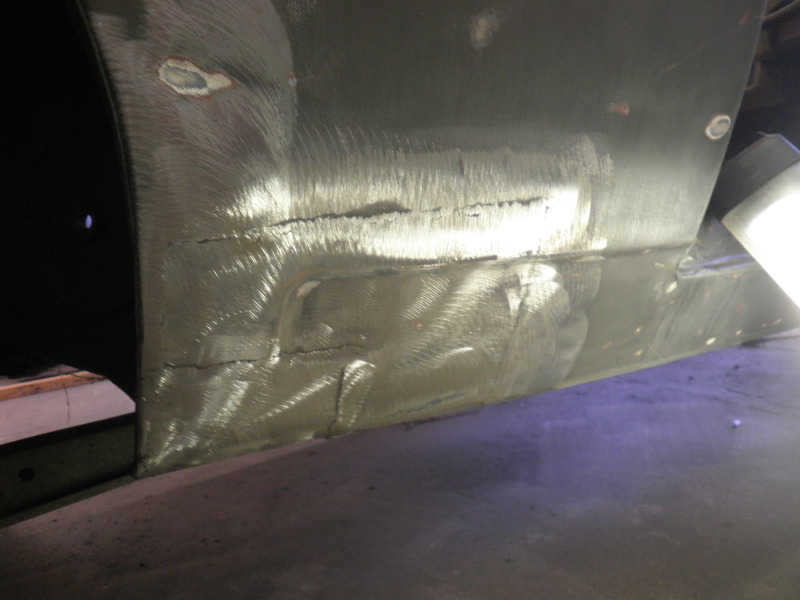
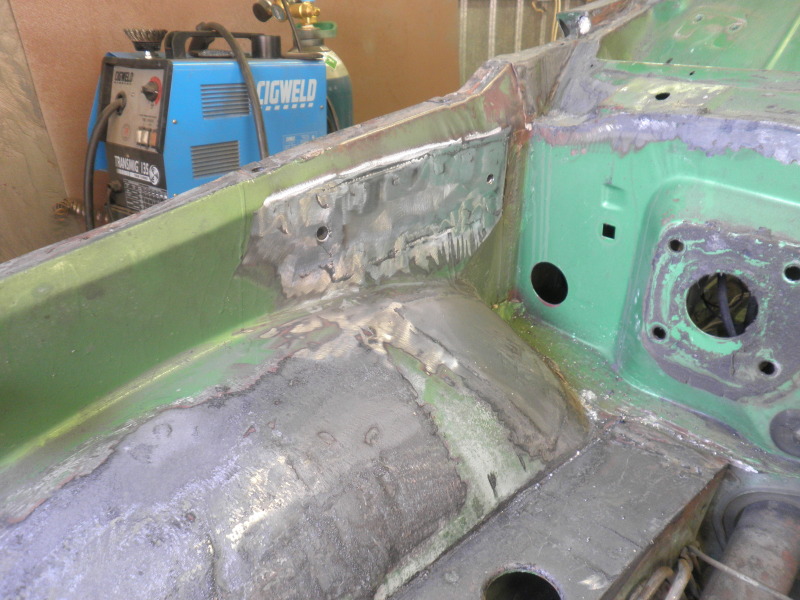
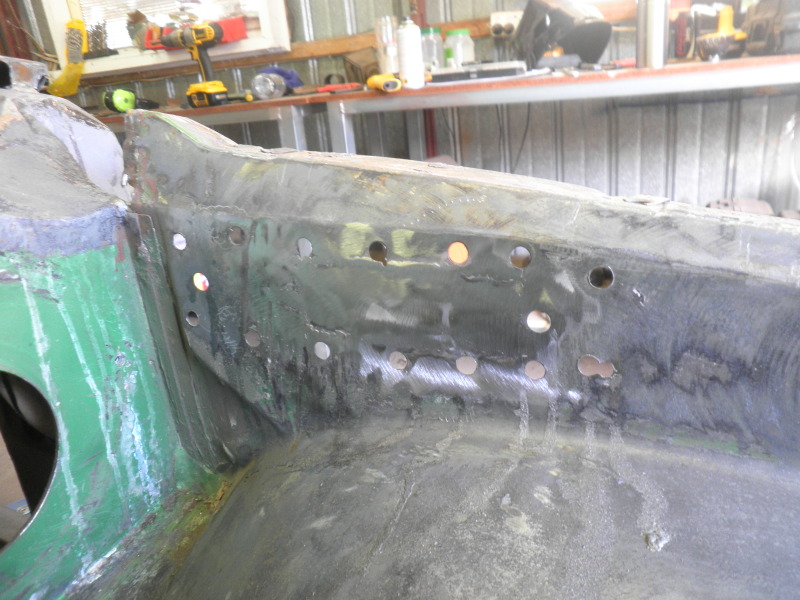
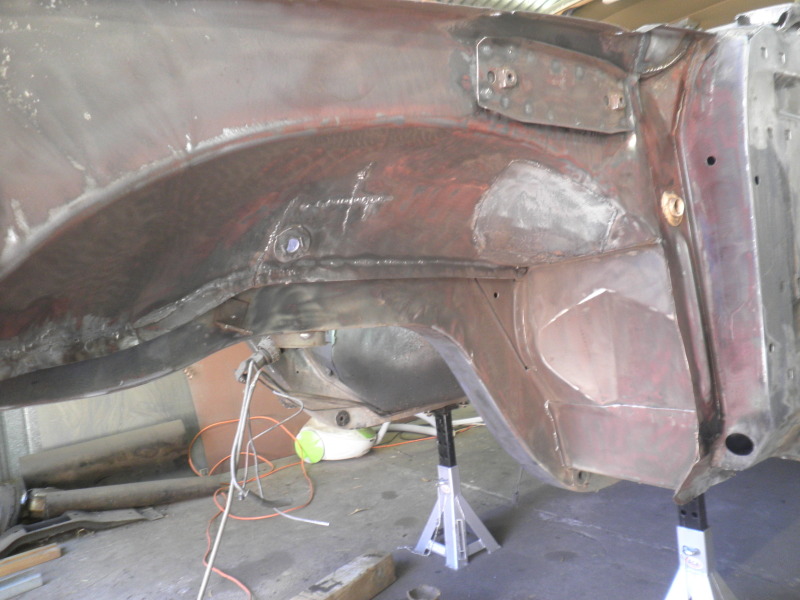
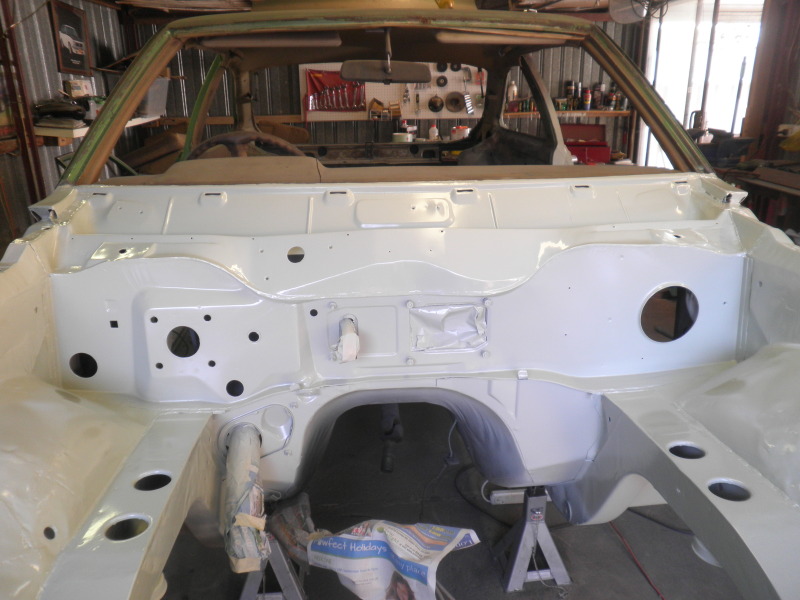
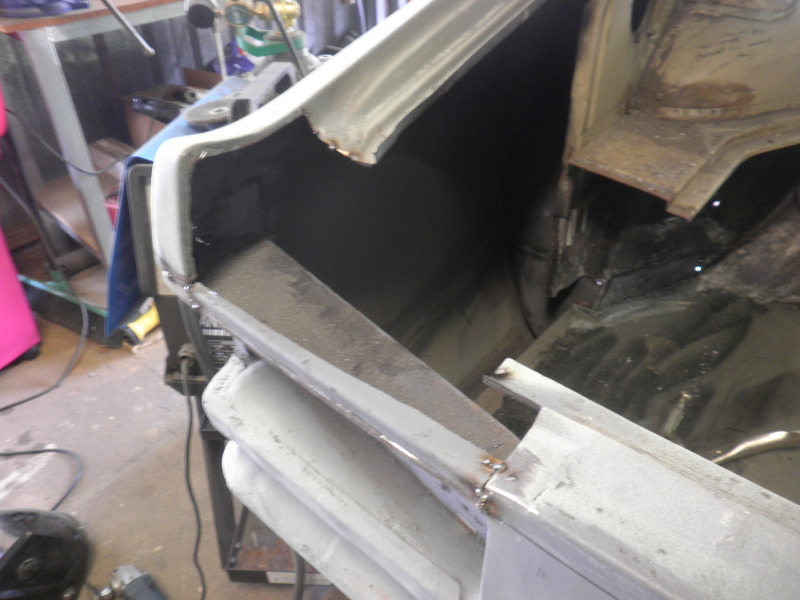
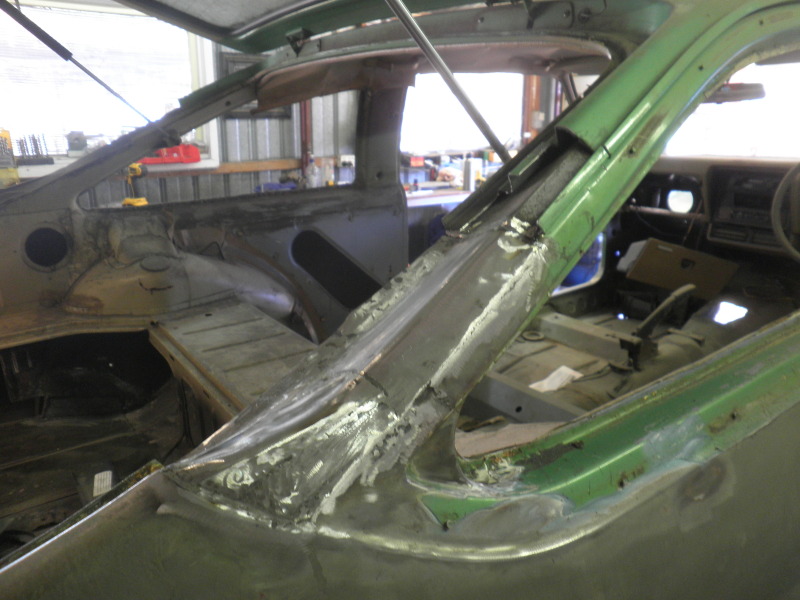
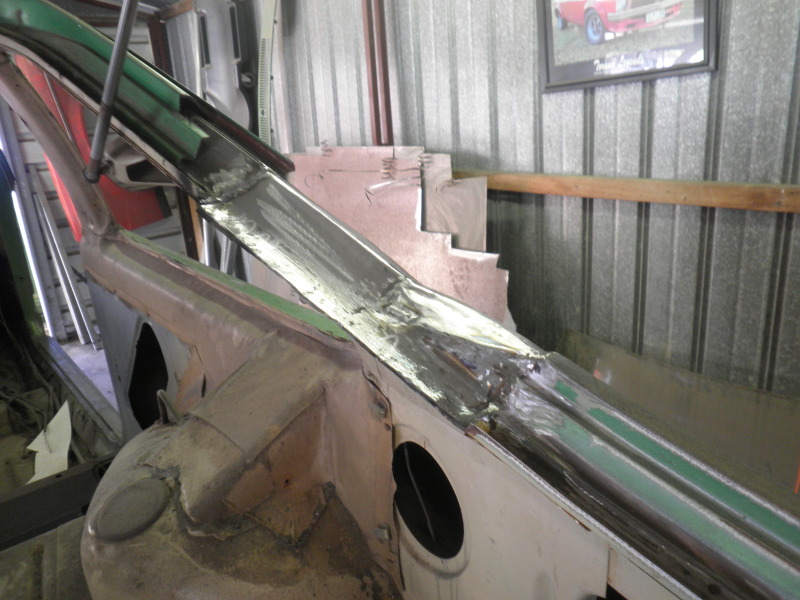
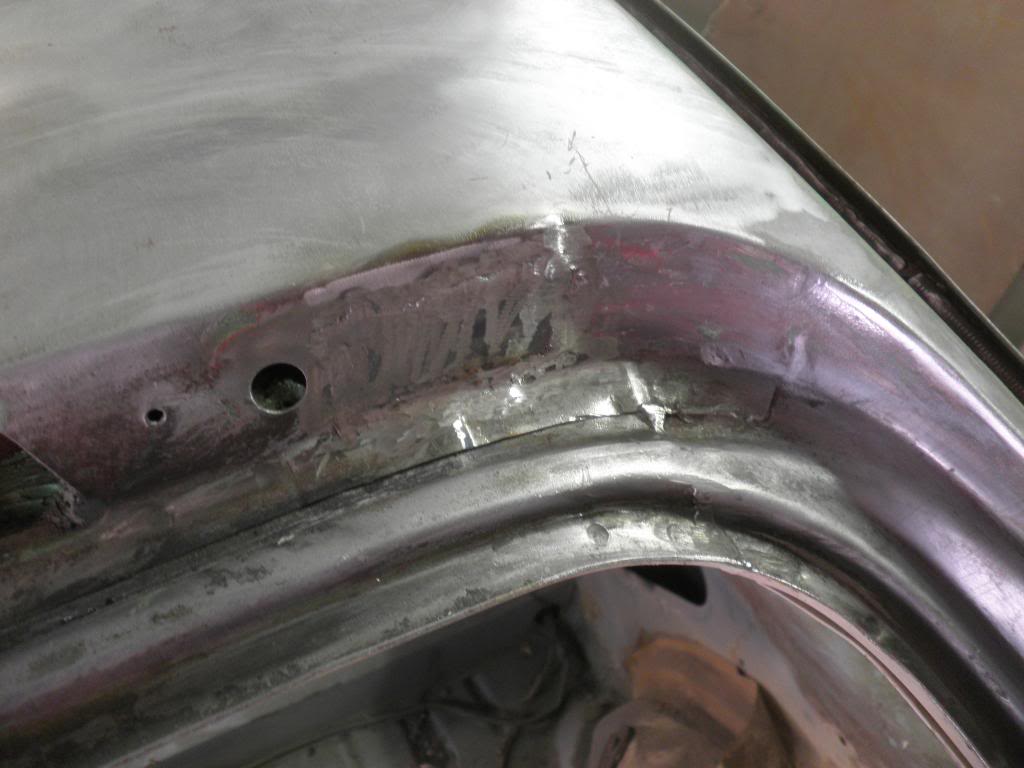
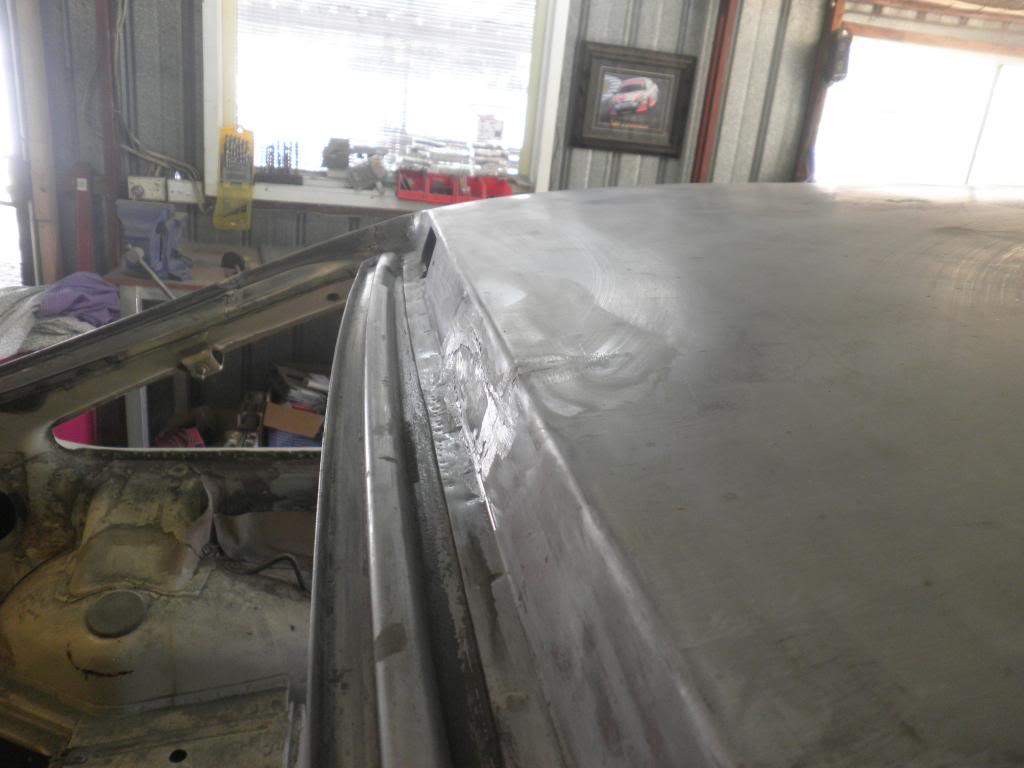
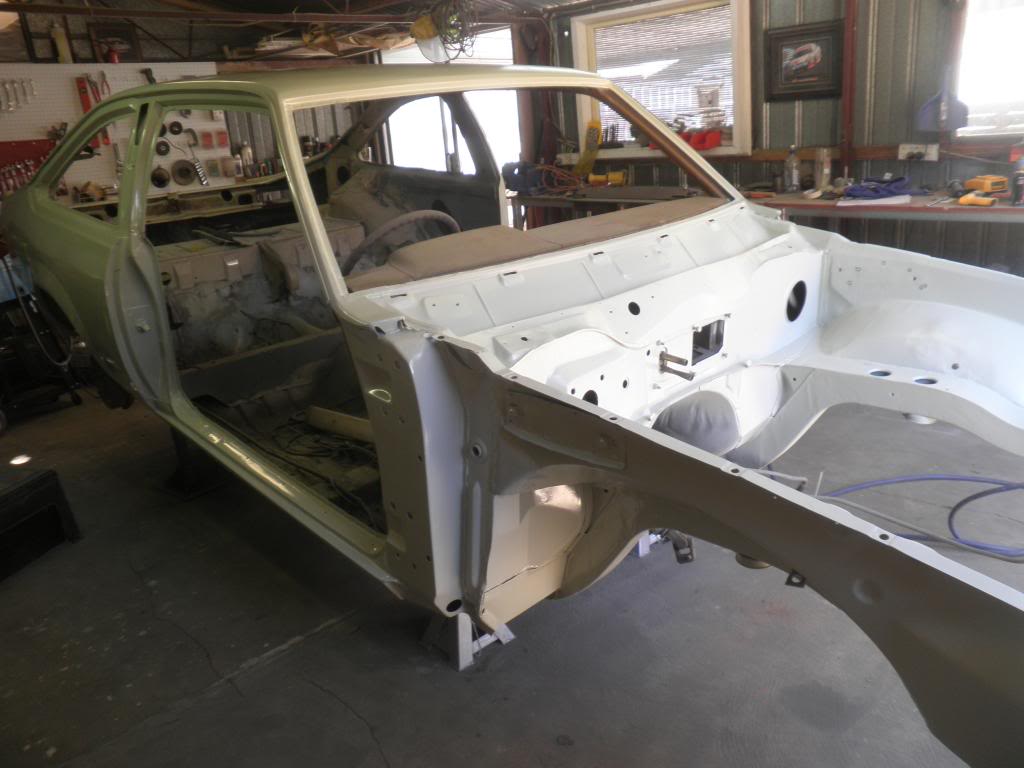
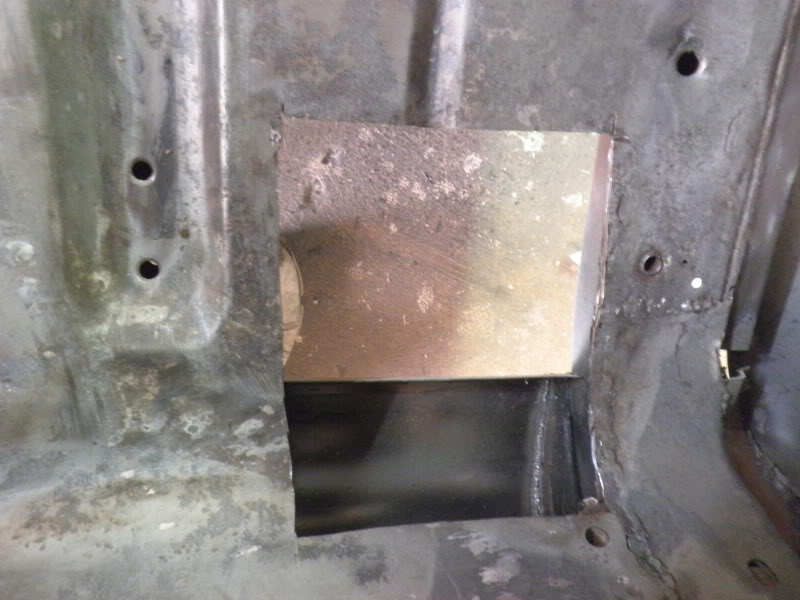
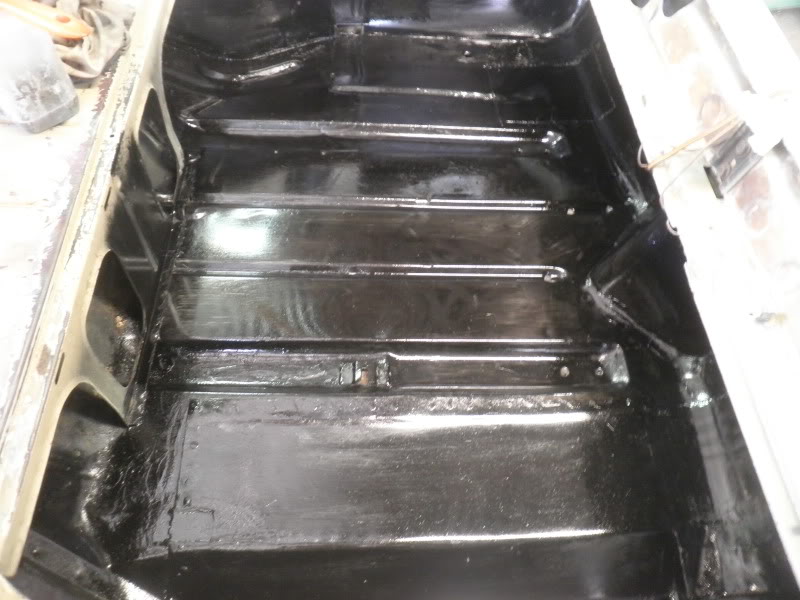
all sealed up ready for the top skin..

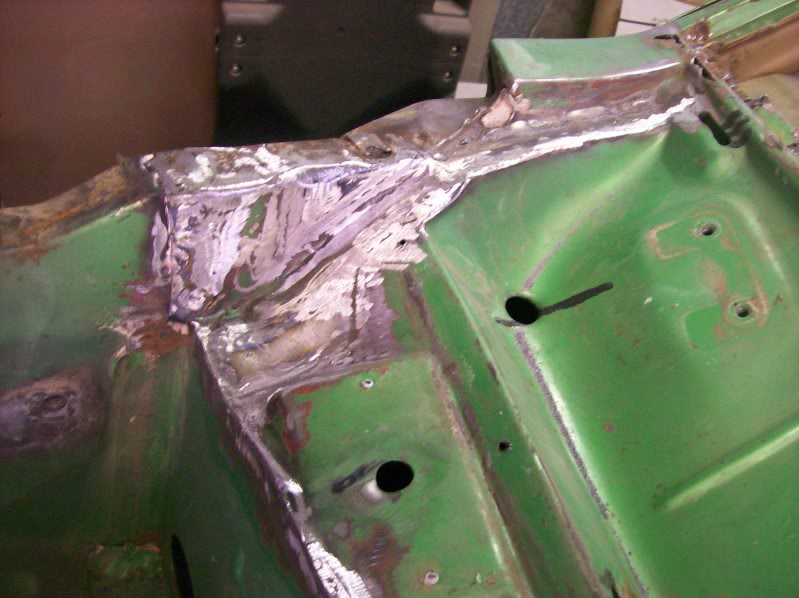
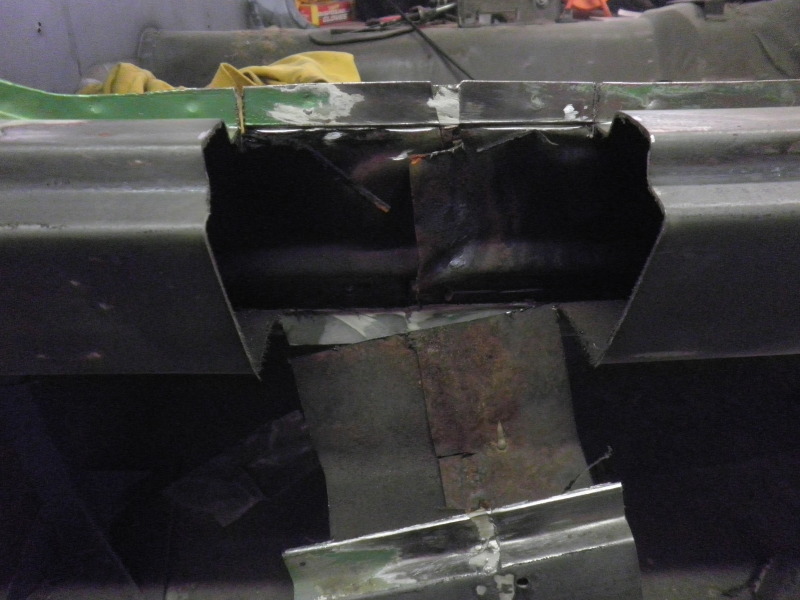
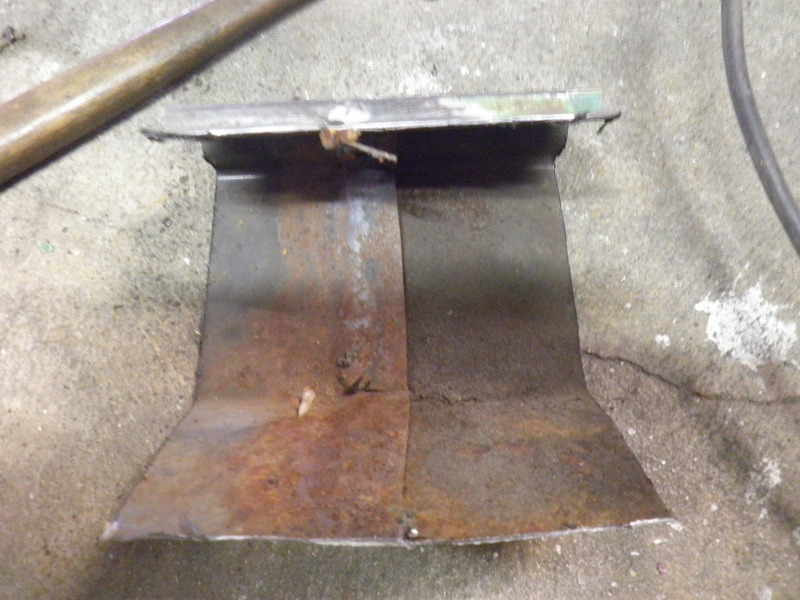
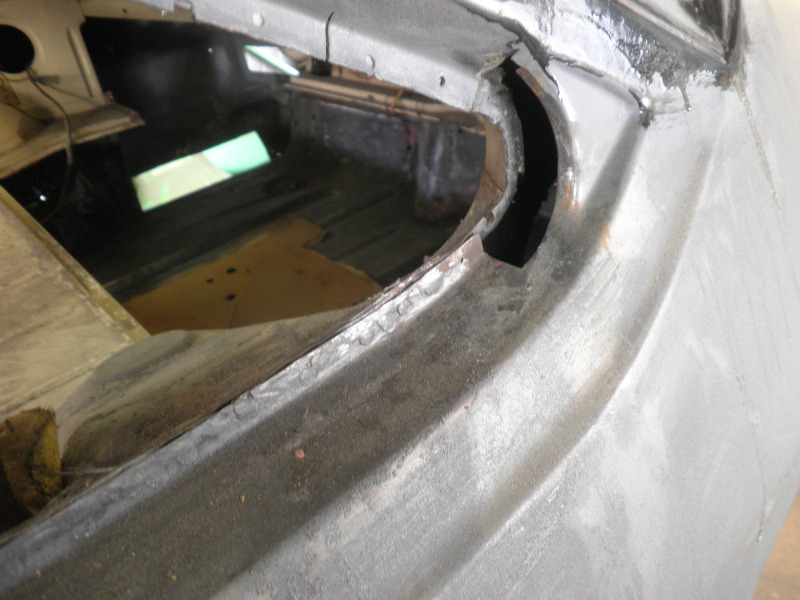
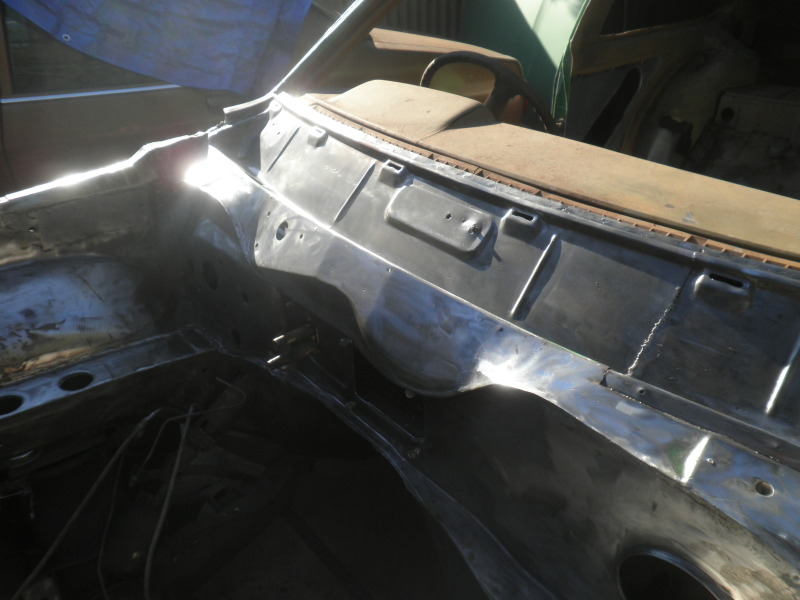
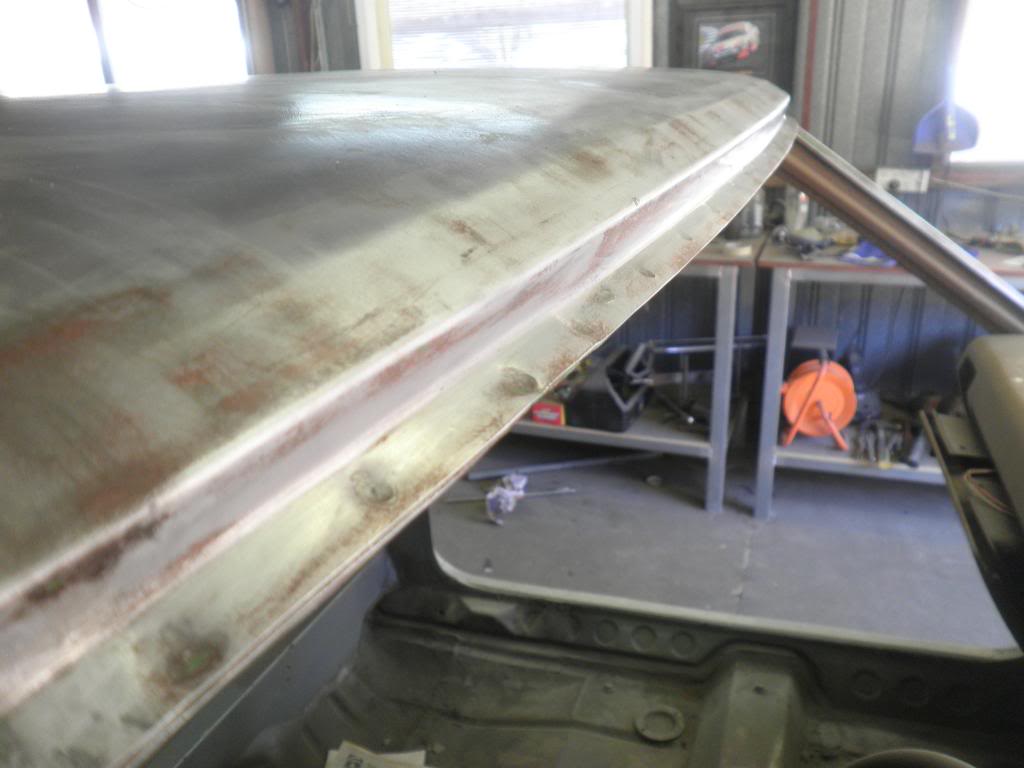
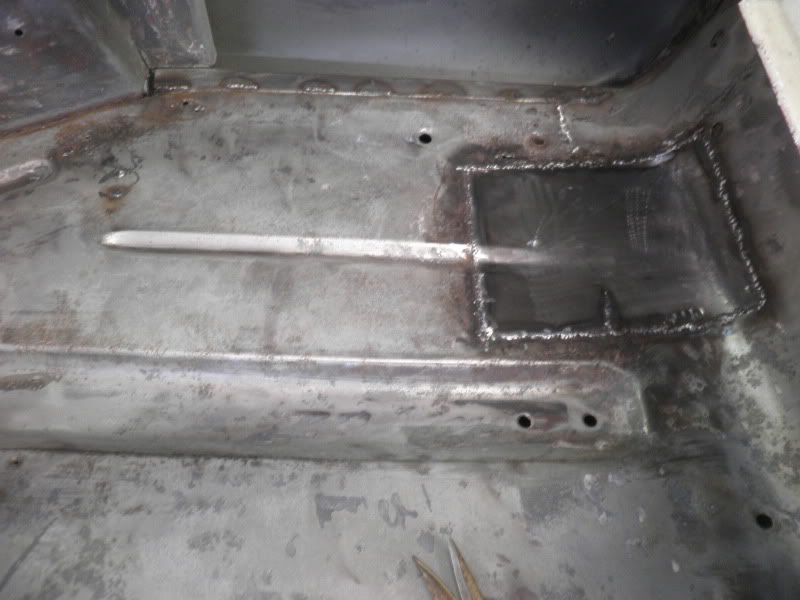
preparing the top skin..

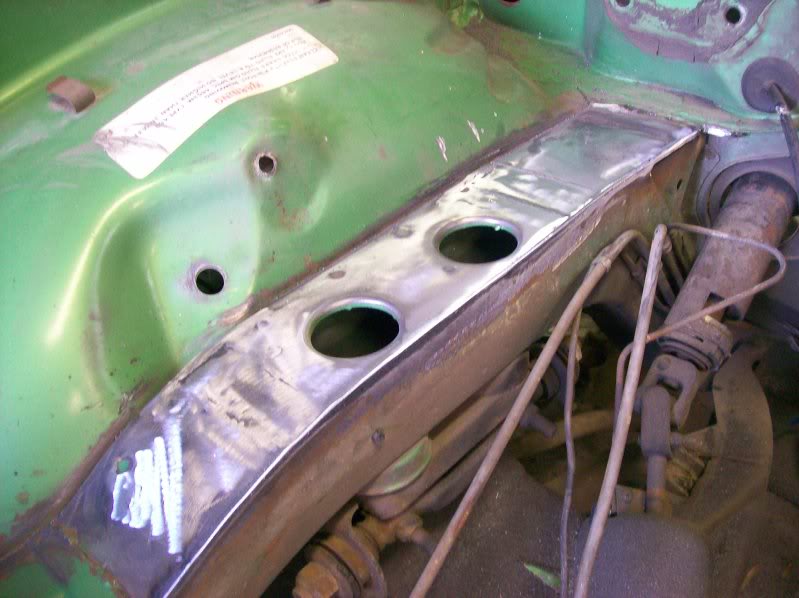
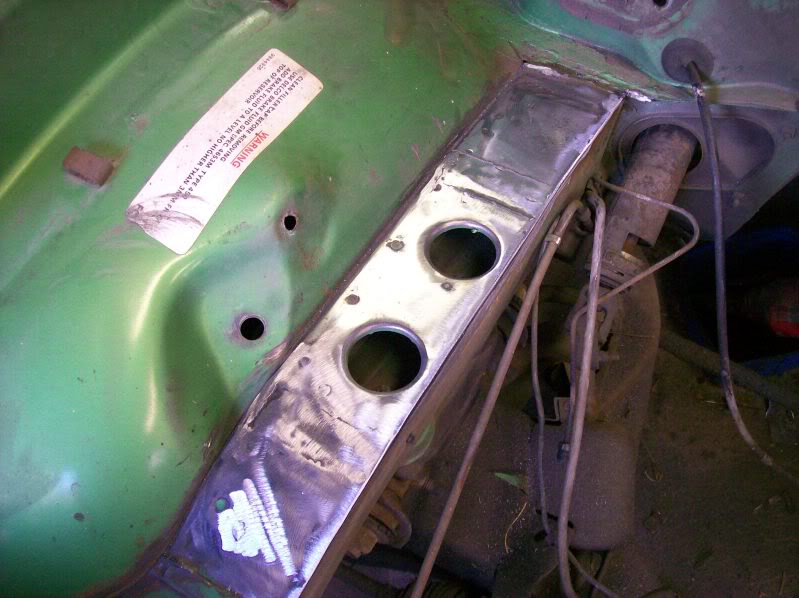
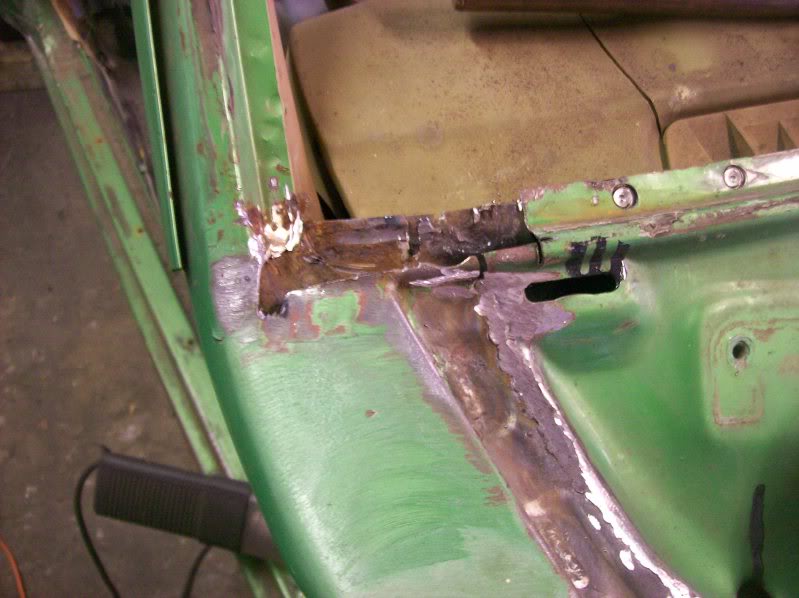
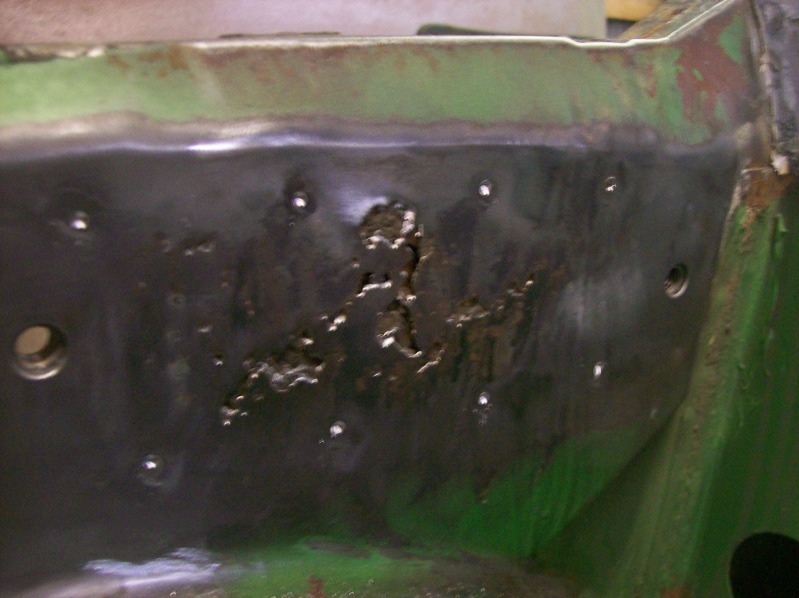
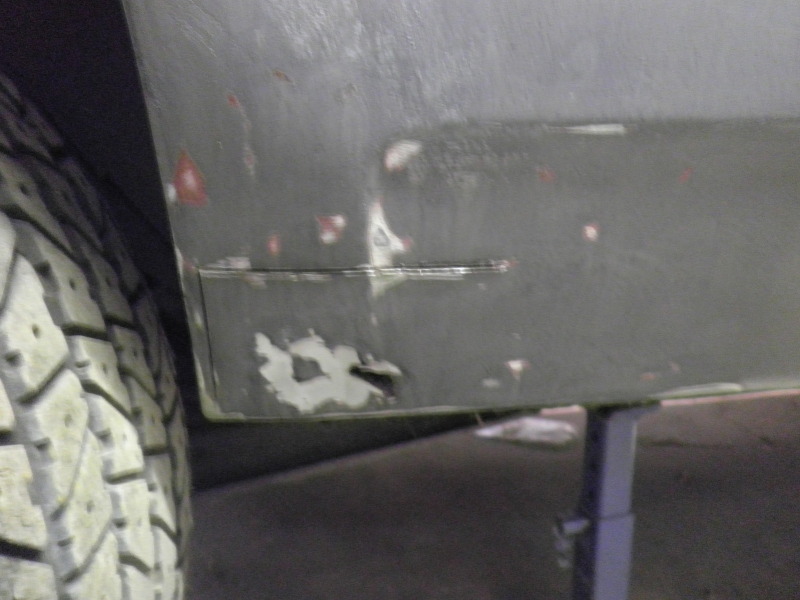
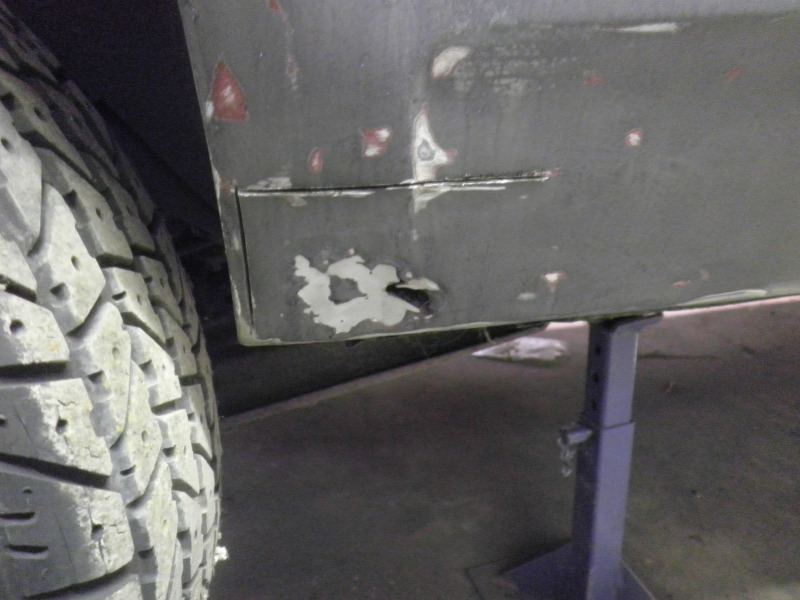
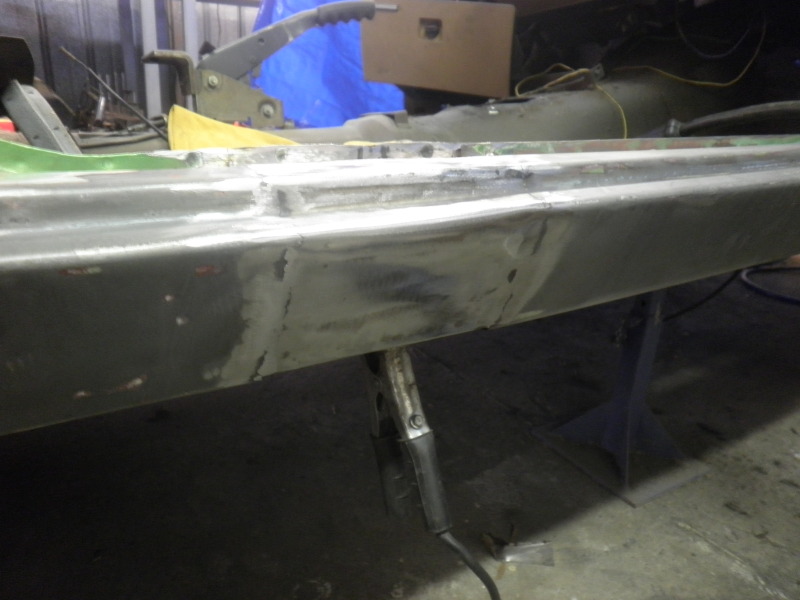
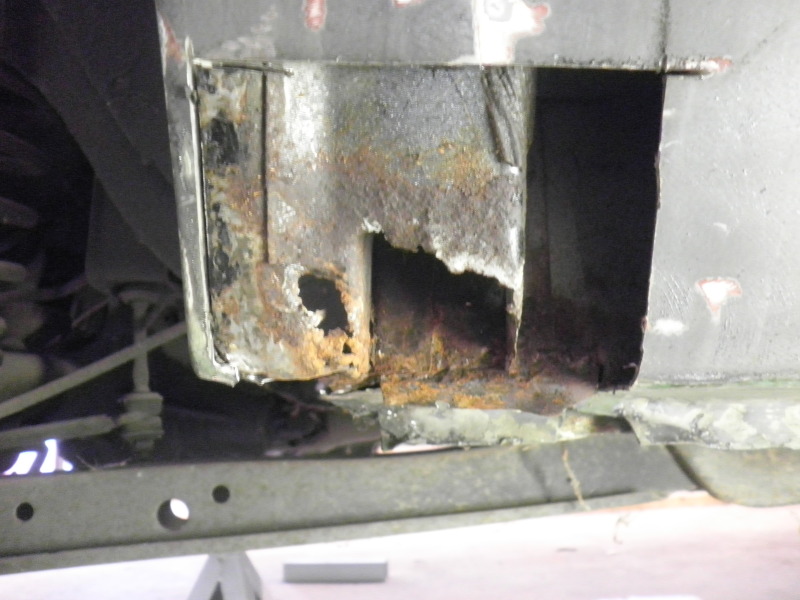
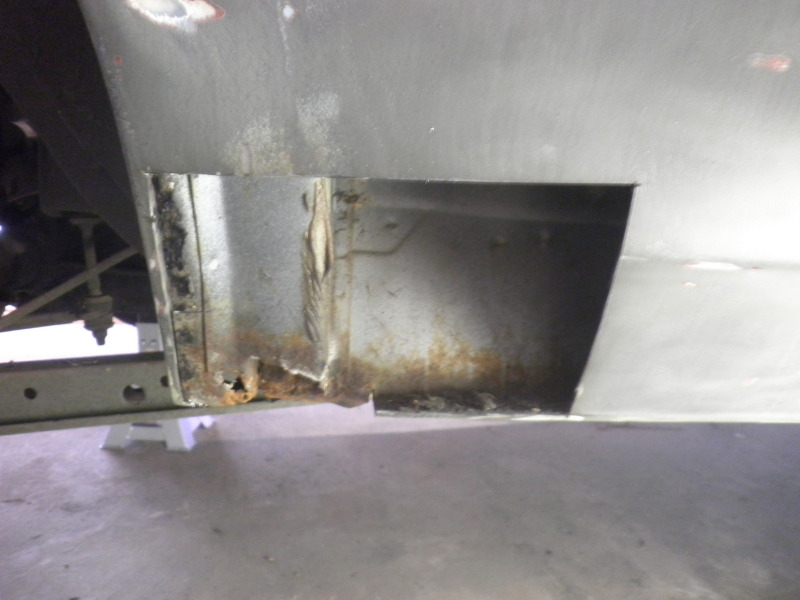
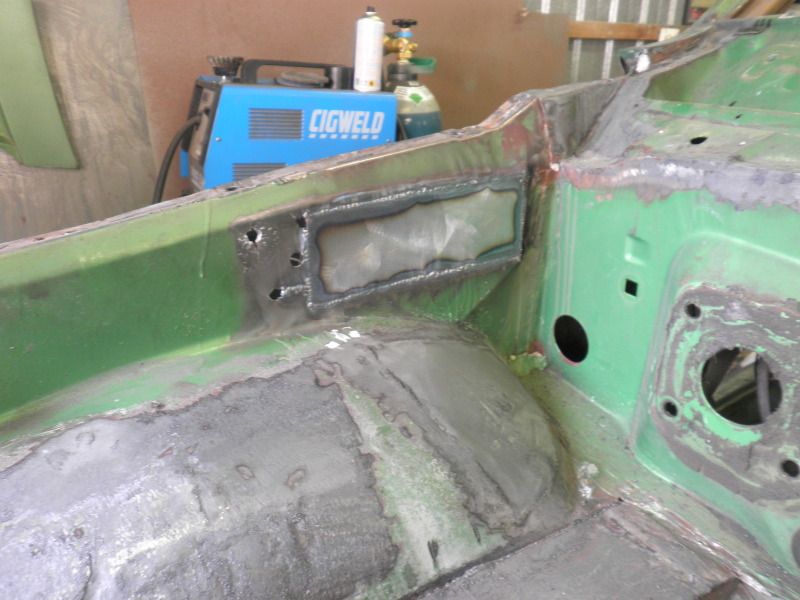
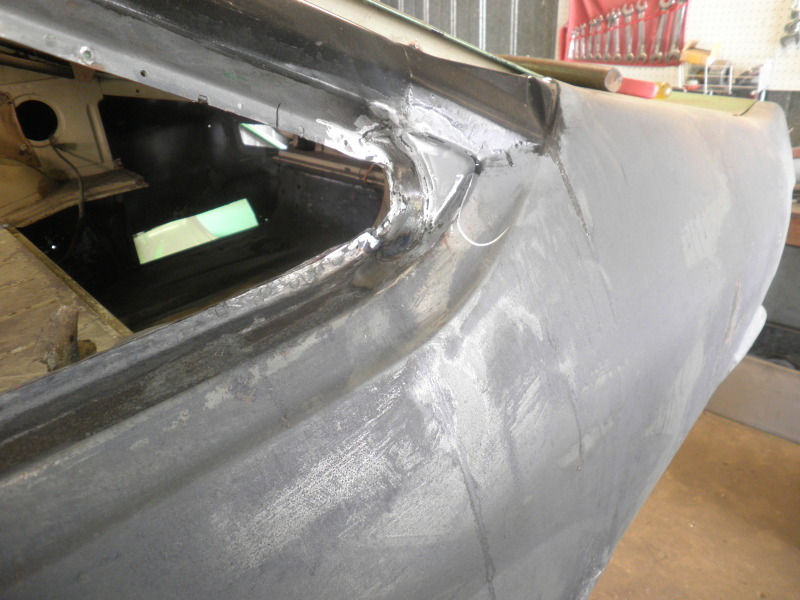
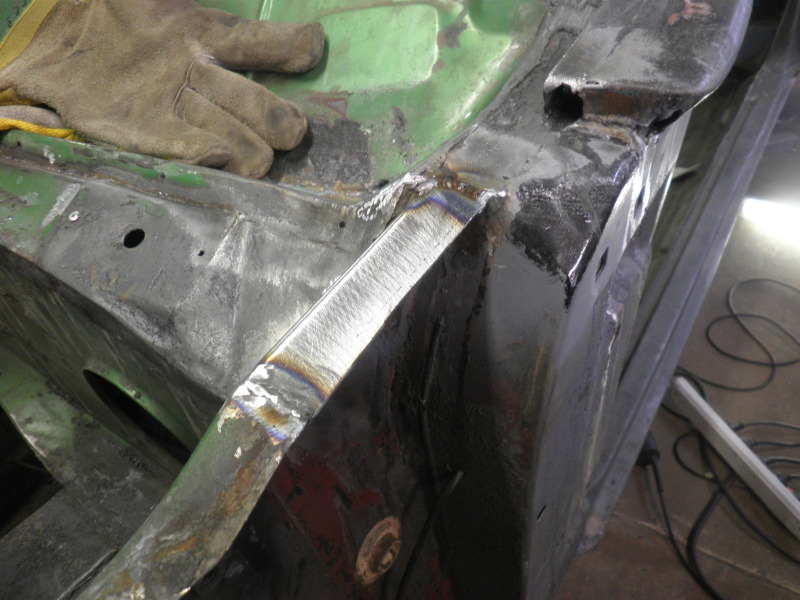
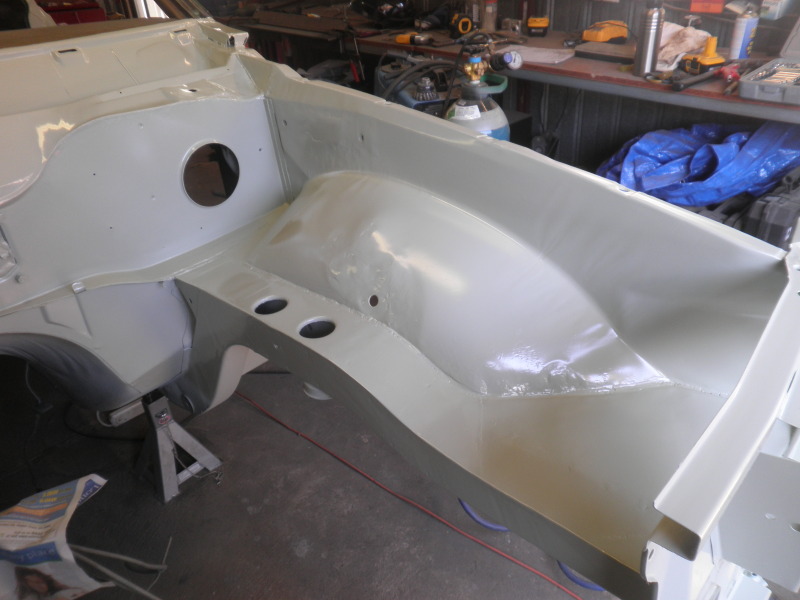
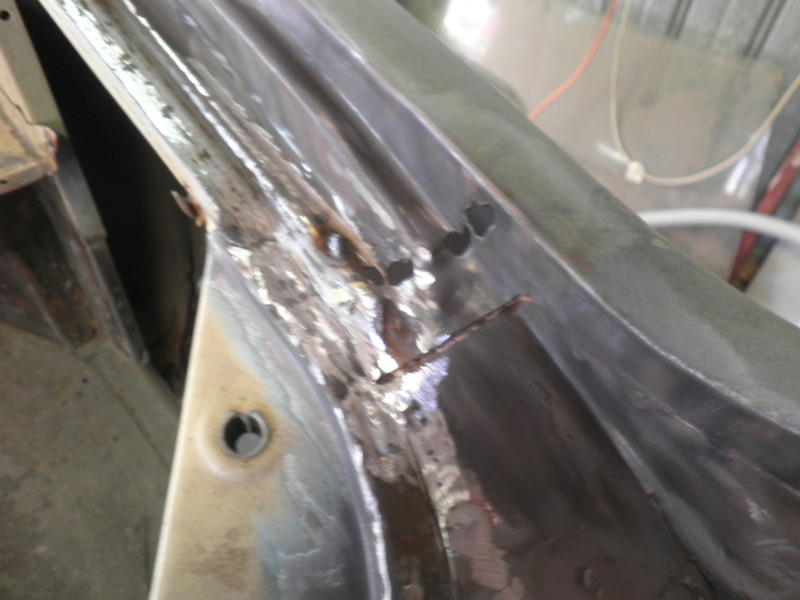
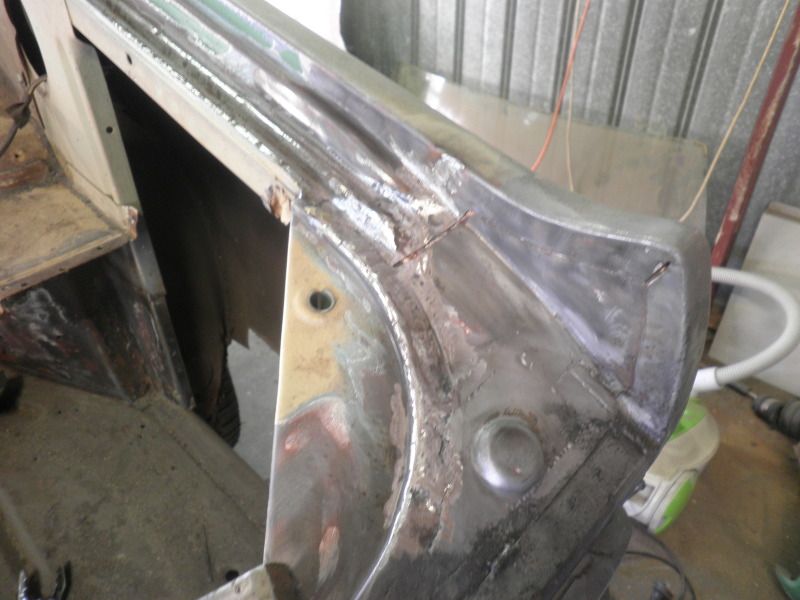
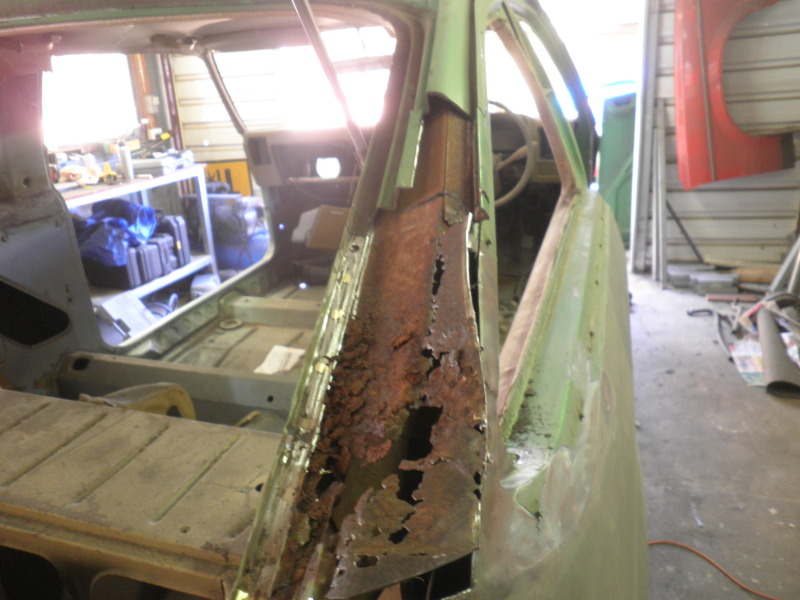
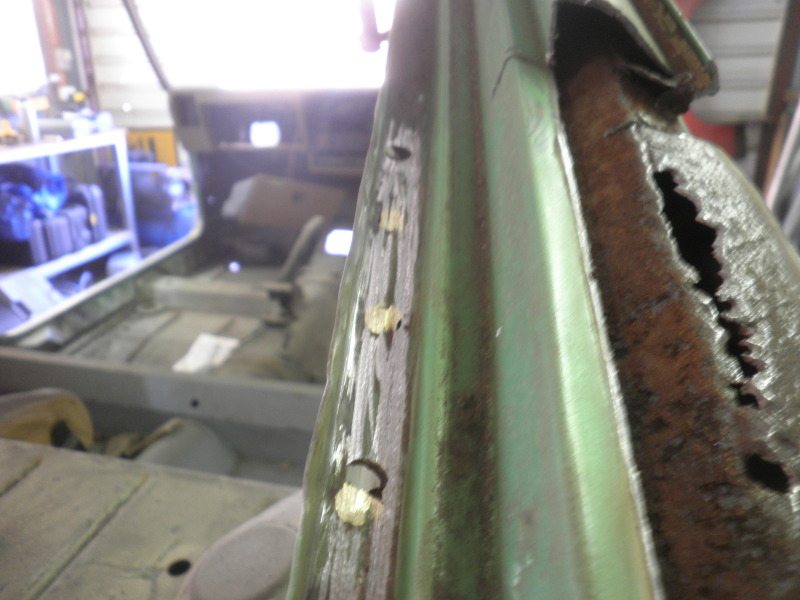
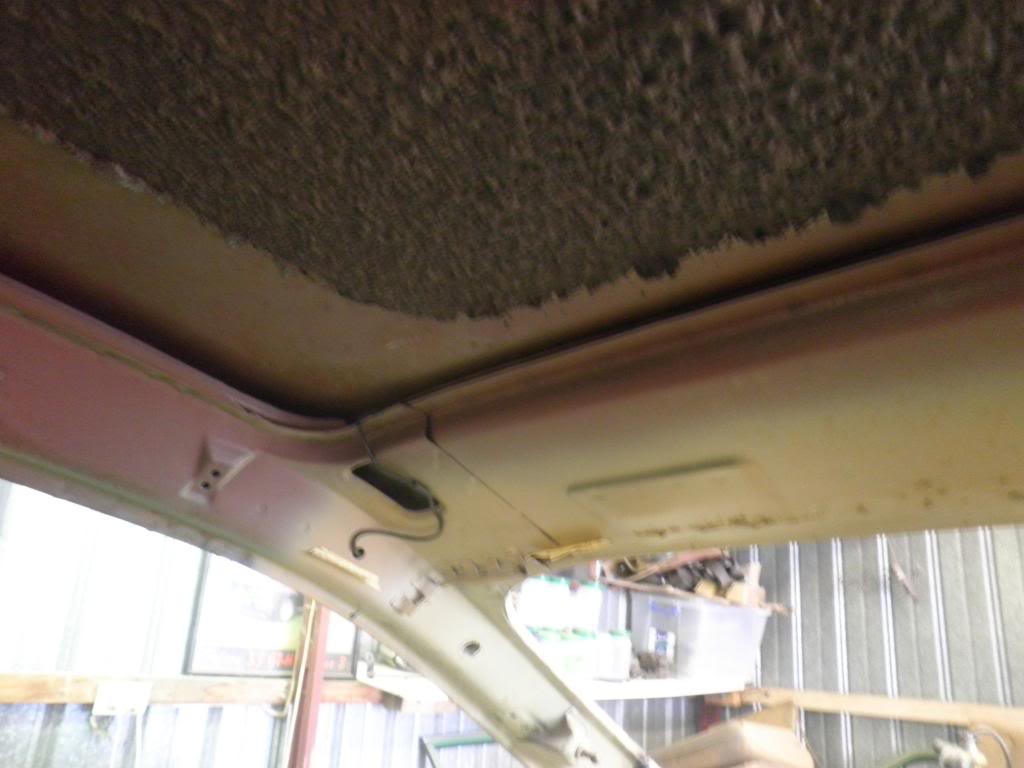
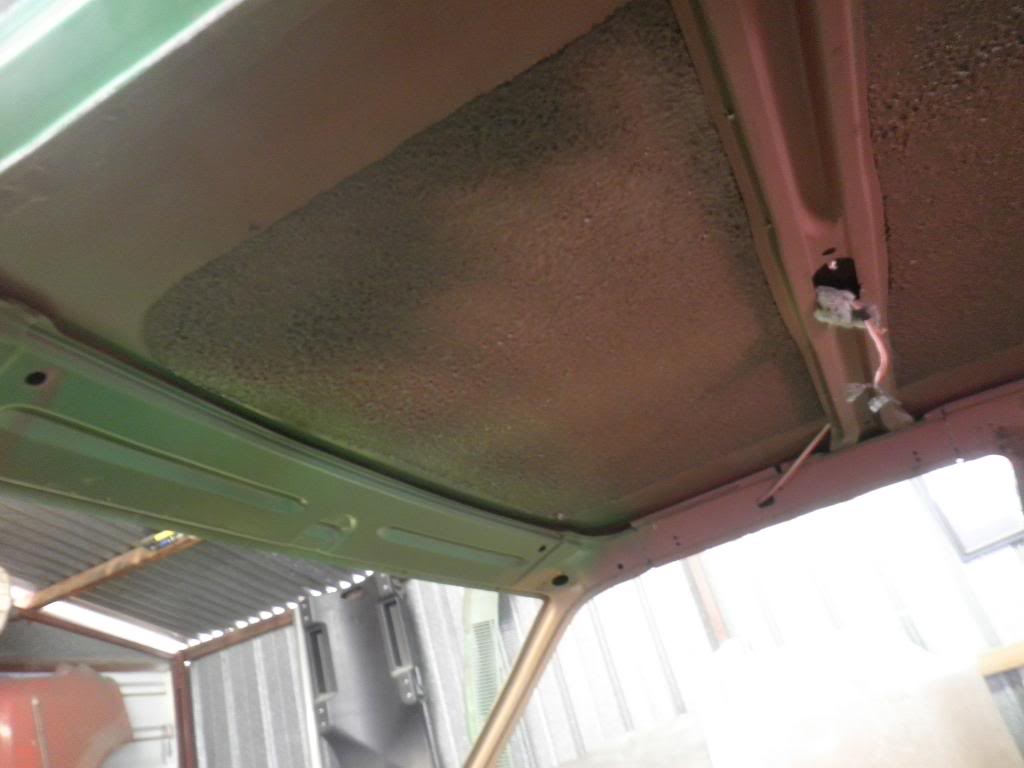
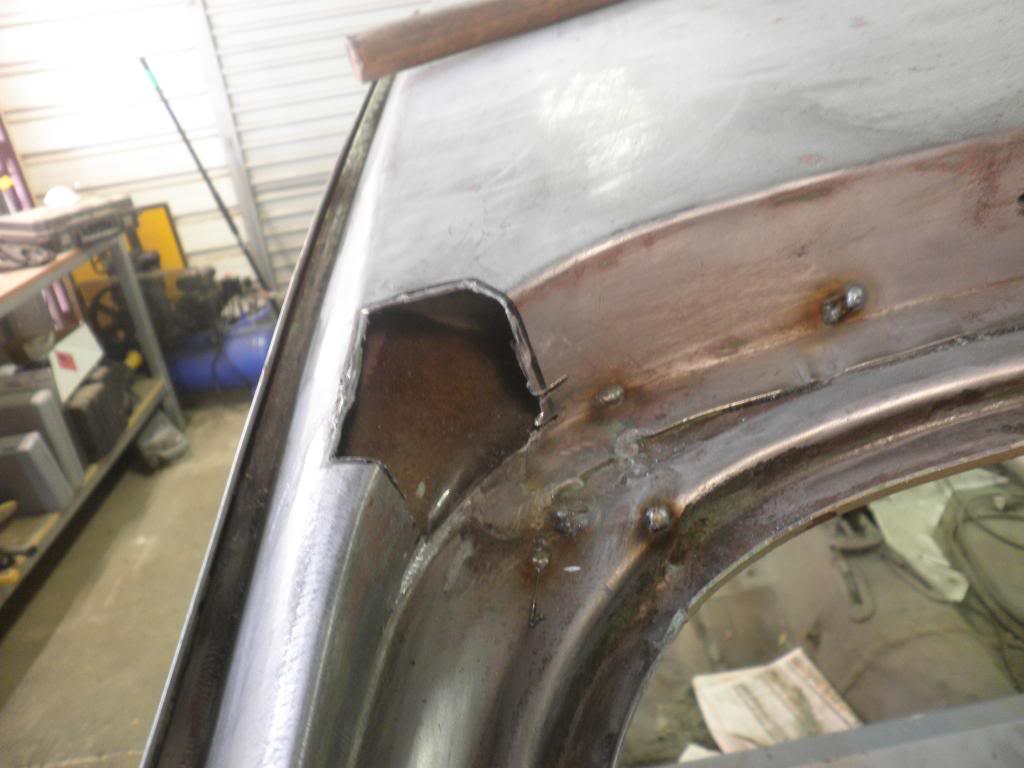
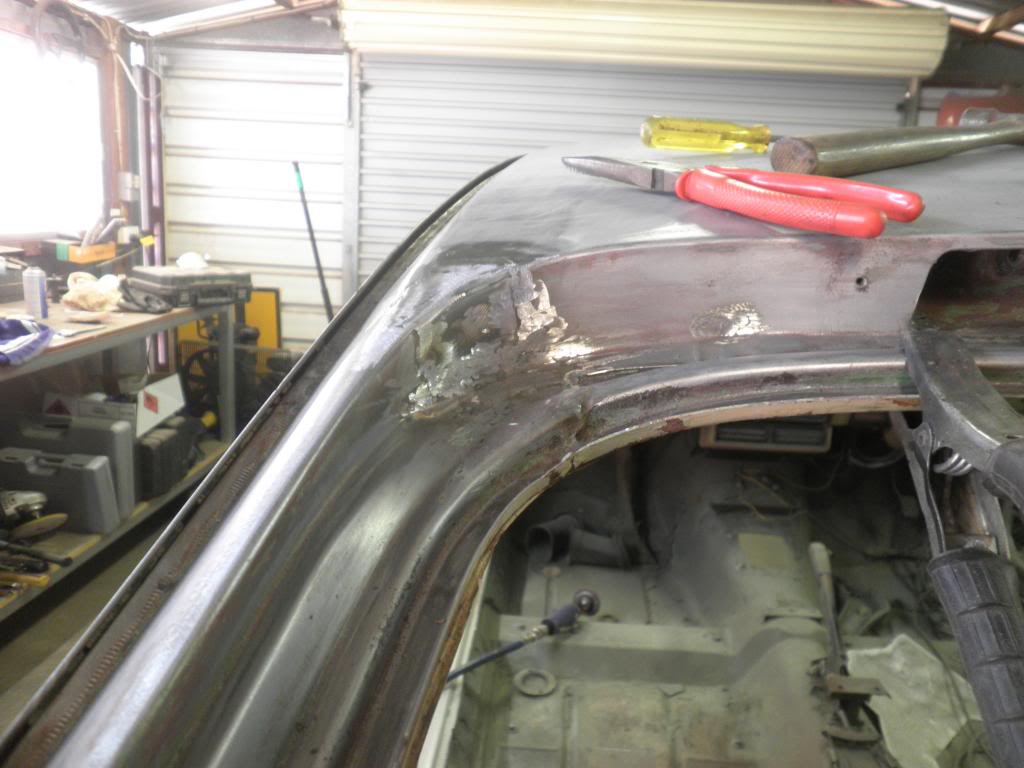
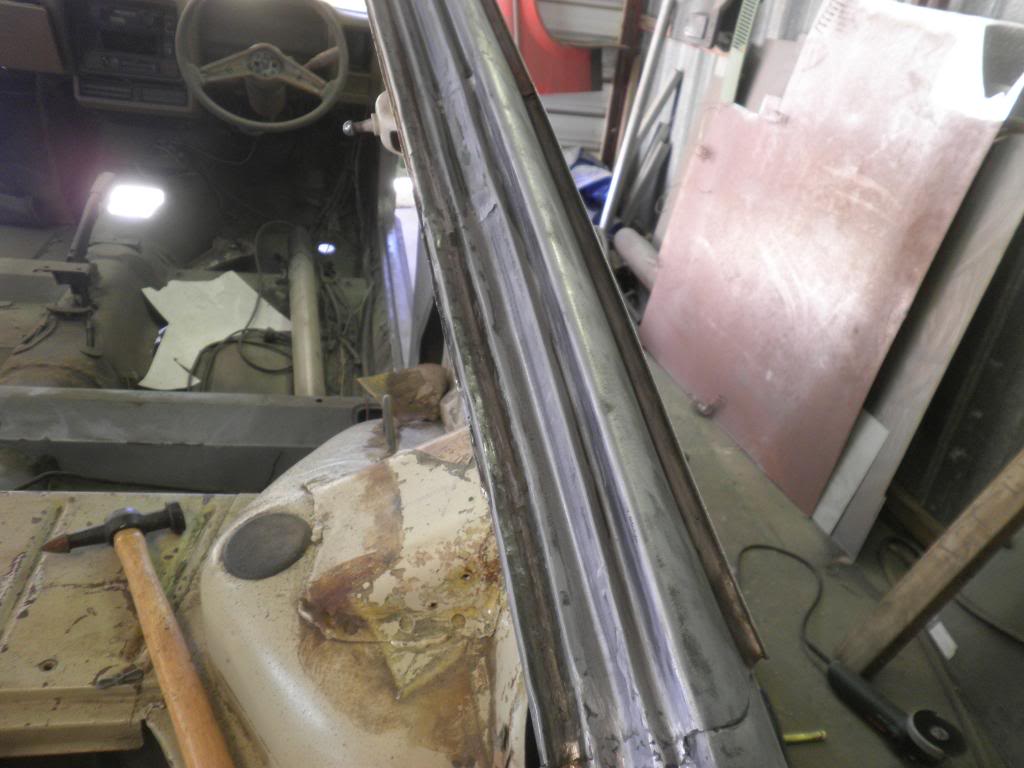
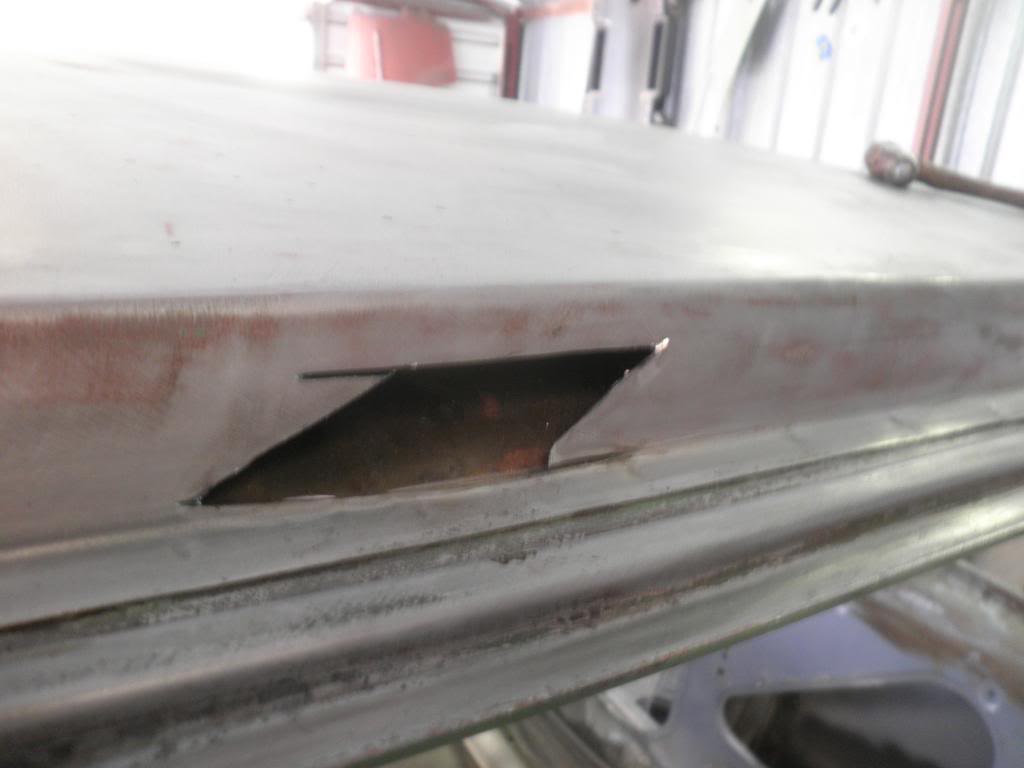
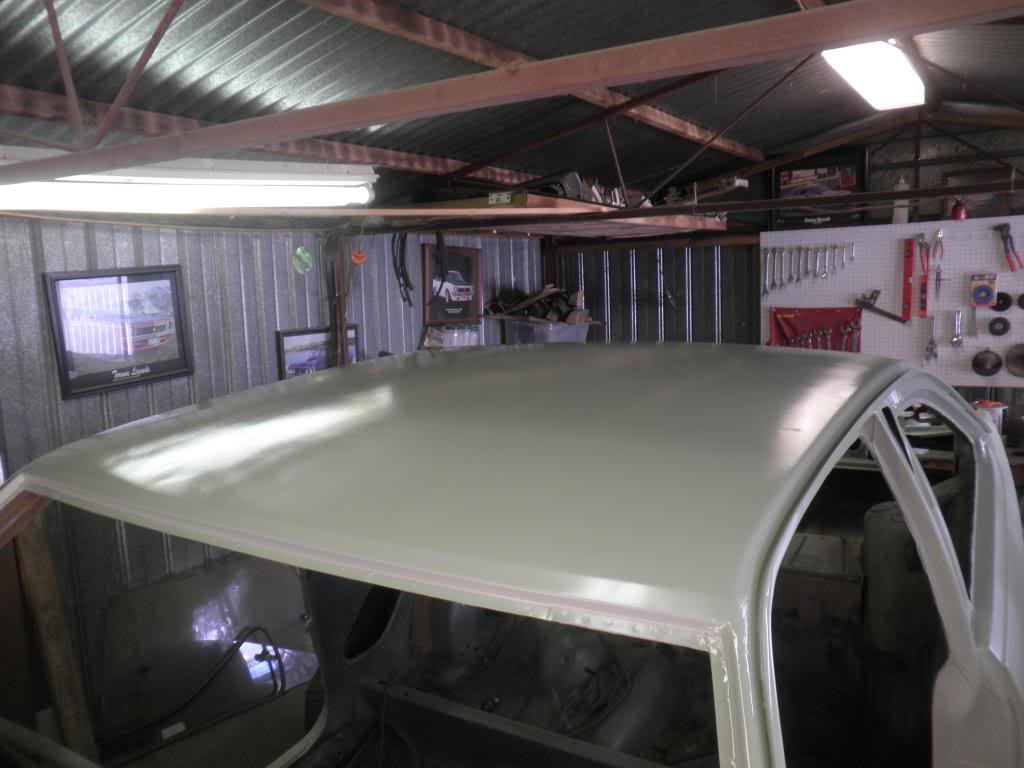
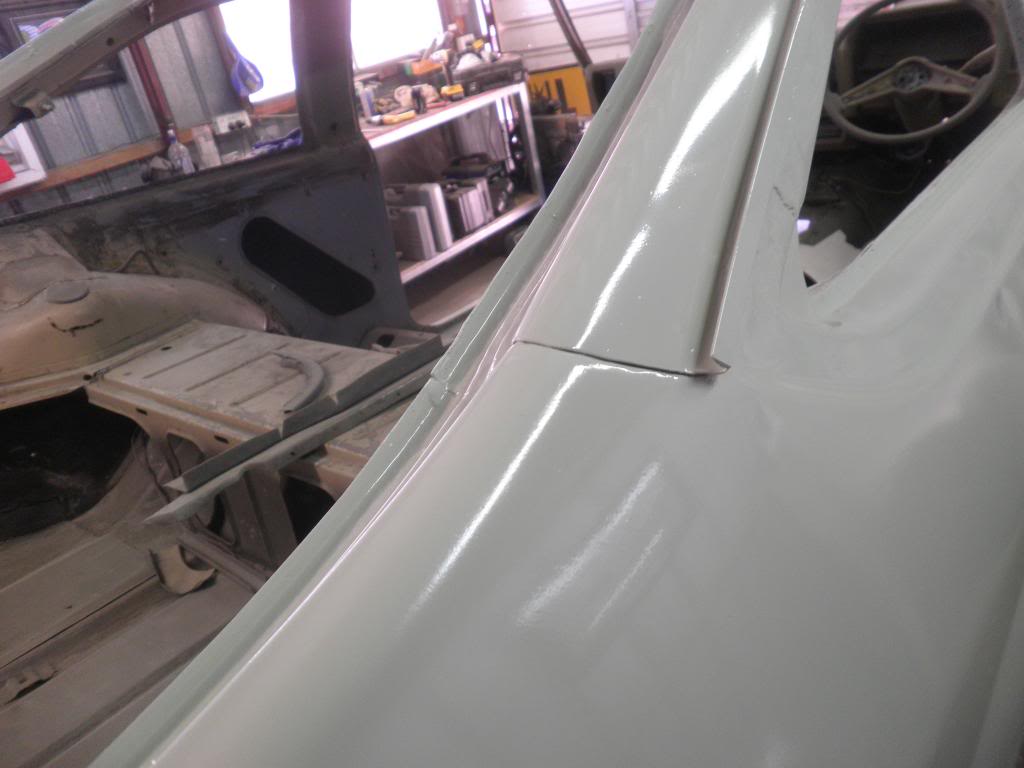
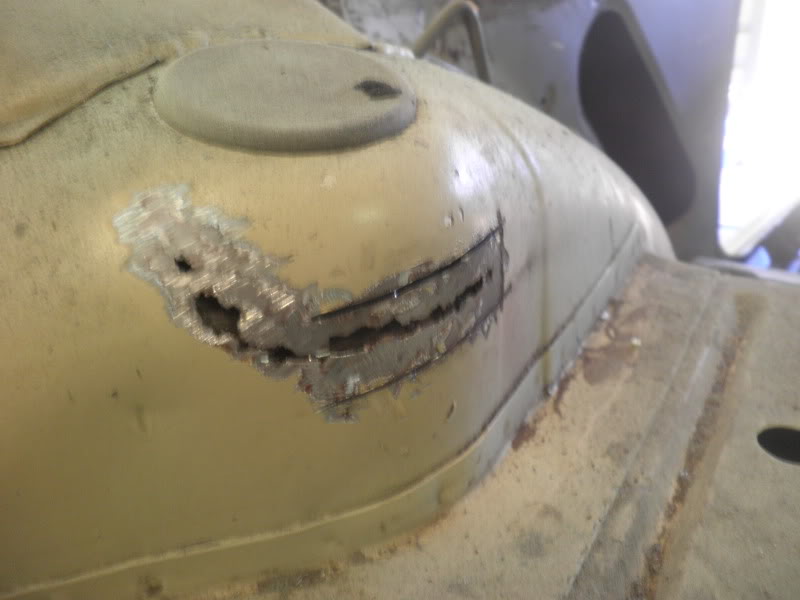
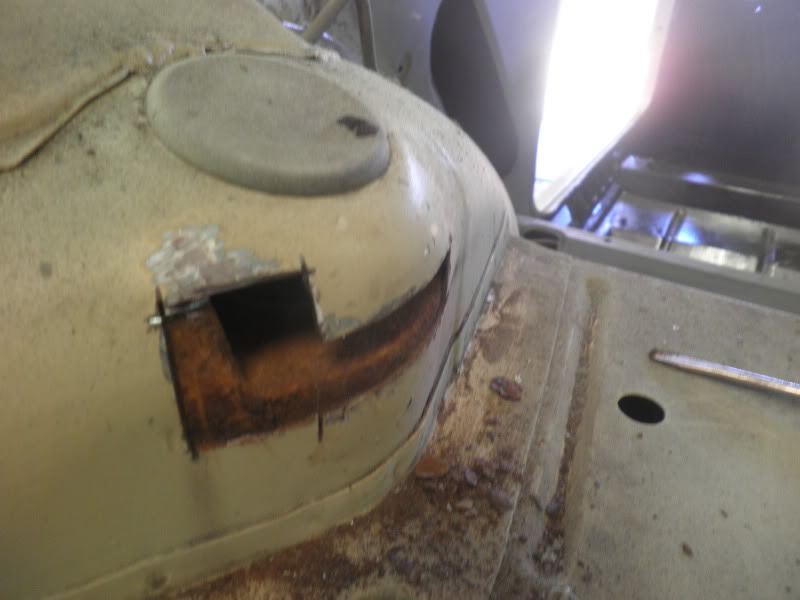
welded up a couple of rust holes.. i thought they were only the size of a 5c piece.. not worth cutting it all out

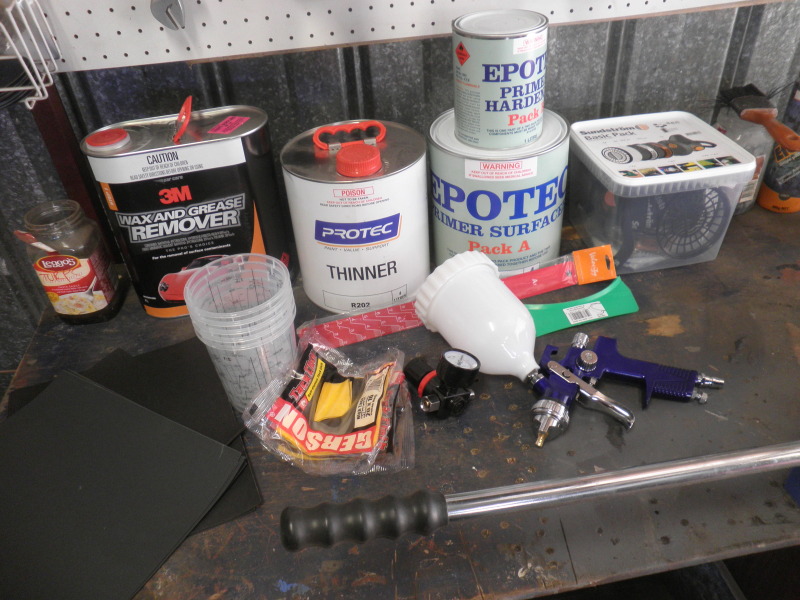
I actually used the whole 3 step KBS system for this, just to try it out and do it by the book.. I have to say its a pita.. Apply, wash, apply, wash, apply.. It's okay on bits that are removable..
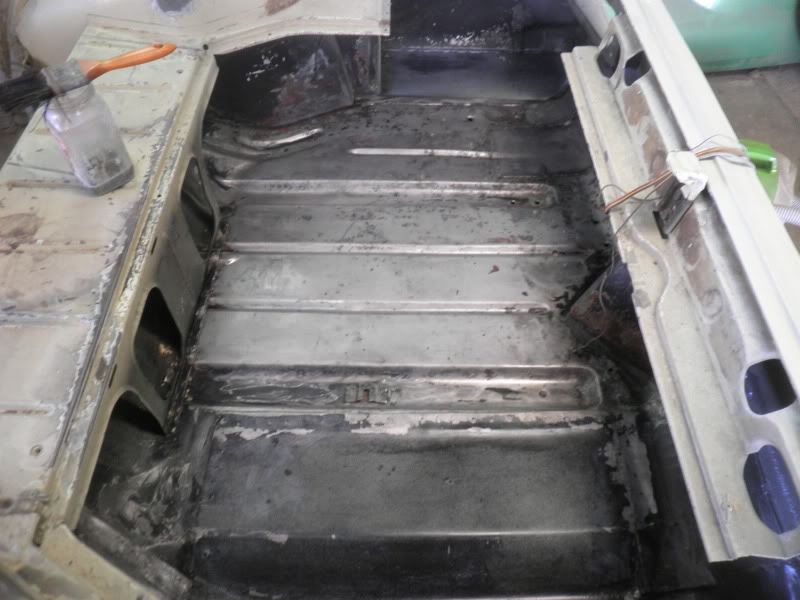
this is after the Rust Blast stage

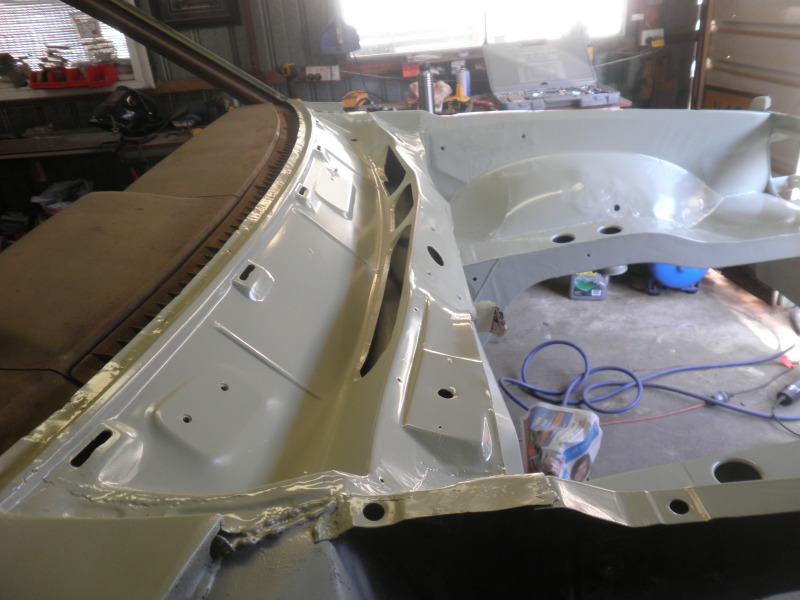
(oh, thank god for heat guns, made this tedious job nice and quick
 Best investment, no more waiting overnight for shit to dry
although the KBS Rust Seal applied very nicely I must say

that's all for today
Edited by UCANG, 09 June 2012 - 05:34 PM.