Greg2240 re pointers, I learnt everything from this site and other hot rod sites/ youtube etc. and I practiced all those methods. I'm happy to share what I learnt.
UCANG is back after 2 years
#126

Posted 03 November 2013 - 07:43 AM
Greg2240 re pointers, I learnt everything from this site and other hot rod sites/ youtube etc. and I practiced all those methods. I'm happy to share what I learnt.
#127

Posted 03 November 2013 - 03:08 PM
mirin the amount of pics you take/post on here too champ ... gotta love a indepth pic by pic rebuild.
#128

Posted 03 November 2013 - 04:48 PM
Thanks Dave,
small update of this weekends progress.
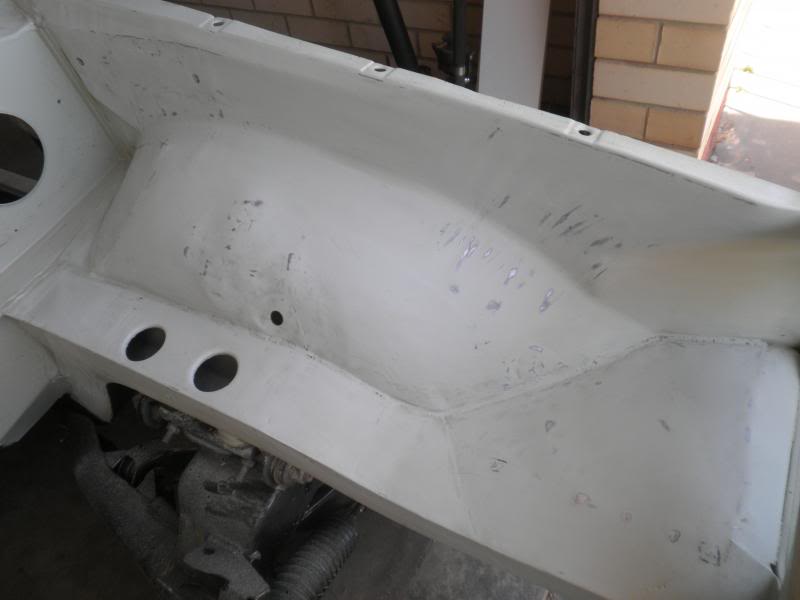
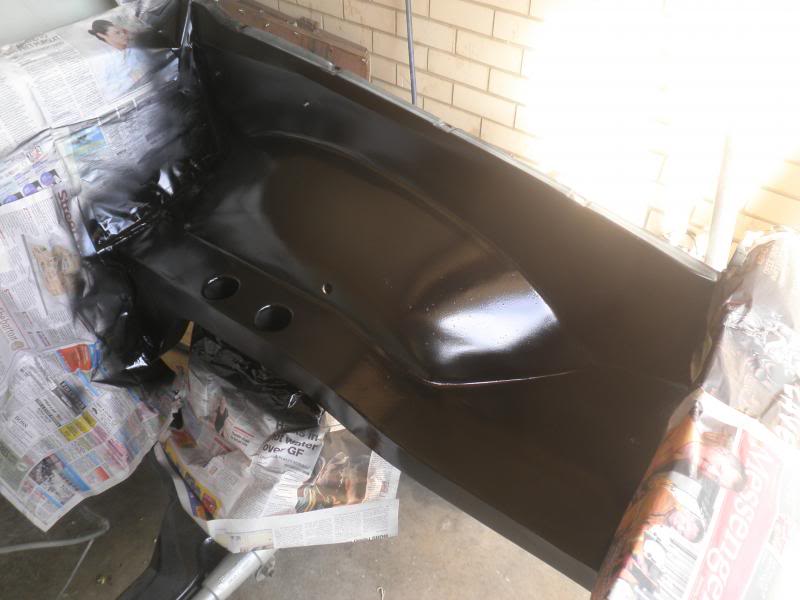
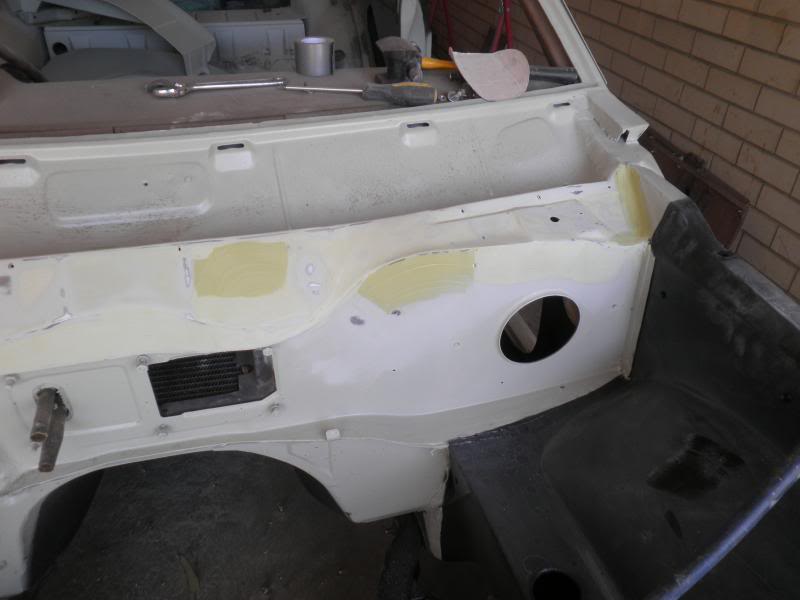
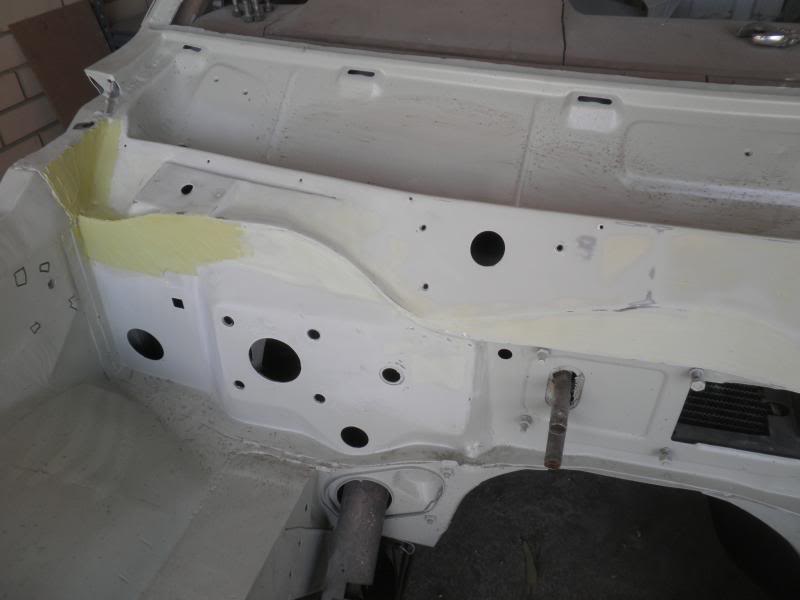
Filler work in the engine bay:
starting with roughening up the epoxy for the filler
Applied filler, sanded for hours and sealed it off with a new coat of epoxy. It's the same stuff, I'm using black so when i'm blocking back the high build later on, i can see each layer better.
I finished this area too and coated that.
#129

Posted 15 November 2013 - 05:24 PM
Well, today started off good, ended up shit. My new crappy primer gun (which replaced my old crappy primer gun due to dying) was fluttering all day. Must of been a re assembly issue after cleaning it as I didnt have this problem last week.. Oh well, it coated the filler work anyway, it's only going to get scuffed back and Hi buildeded.
So, the walkthrough:
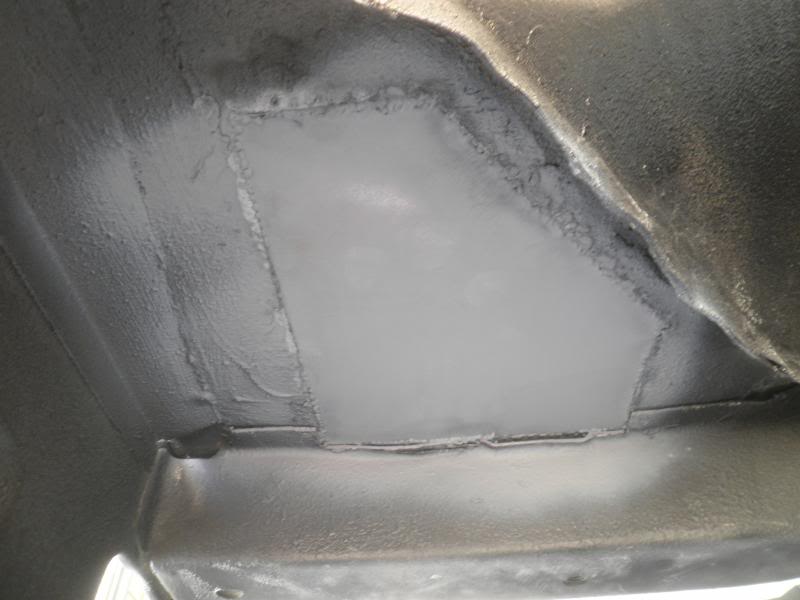
Wasn't happy with the battery tray. It had a massive oil can effect (you can push it down and it pops up.. I'm talking about nearly the whole battery tray area did it.) I used too much filler especially around the "high area". So I cut it all back, and shrunk it down using the torch and water method.
Much better, now to cut the rest of the filler out, and prime it. (i'm doing my filler work on top of the epoxy)
After a couple of days I finished the drivers side of the bay, final sanded with 180
Scuffed this area up with some 180, plus the surround areas that I didnt do any filler work, so I could prime the whole bay
And primed it all... Spewing about the fluttering gun. Oh well..
#131
 _Lamo_
Posted 19 November 2013 - 07:48 PM
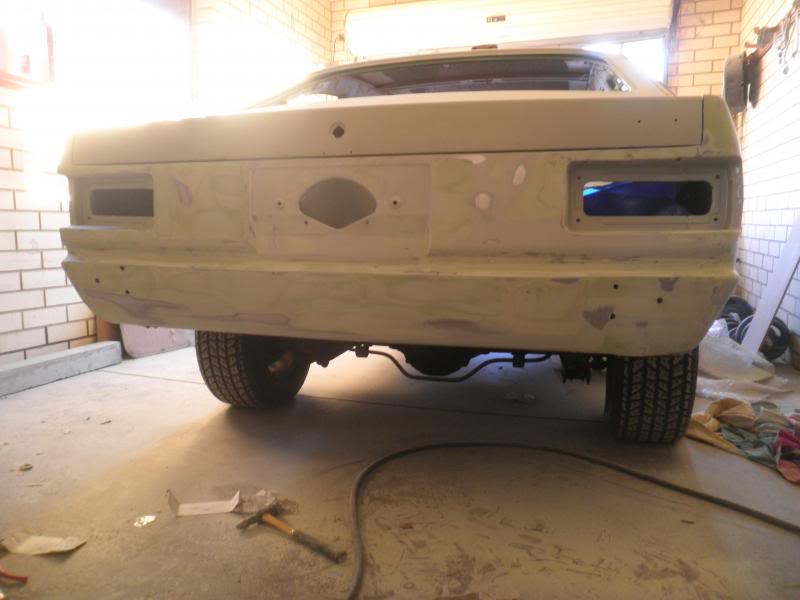
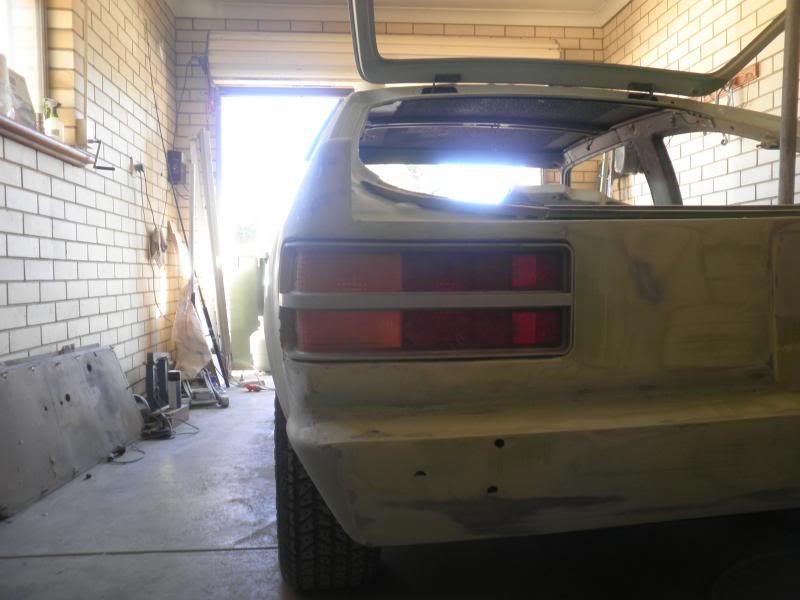
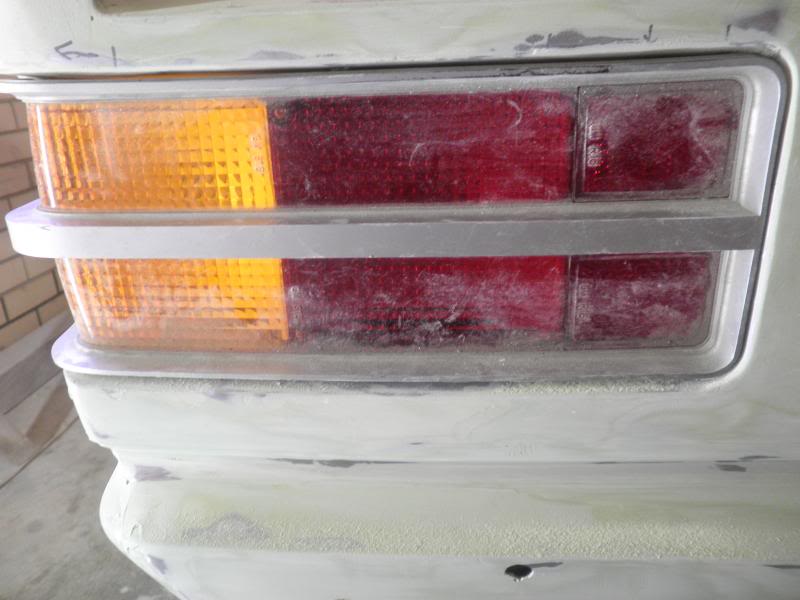
nice build so far. When you say you "Did a bit of tapping to adjust the tail light gap"- what do you mean? Did you attack it from inside the boot area with some sort of drift?
#132

Posted 19 November 2013 - 08:00 PM
Hey Liam, close, I did from inside the bucket coming in from the outside. It didn't need major re work, just any section that closed the gap too much and made it uneven, I slightly bashed back up.
I did all the hard gapping work while I was doing the metal work!!
Cheers
#133
 _Lamo_
Posted 19 November 2013 - 08:32 PM
Ahhh gotcha. Ta.
#134
 _willybigears_
Posted 19 November 2013 - 09:50 PM
Great build thread only wish I could do bodywork like that.
I'm also doing a UC hatch but not quite to the extent you are going to. Mine isn't too bad body wise except the rear beaver, its caved in and had 4 inches ( yeah you did read that right) of bog covering the damage. Good bog work I must say but fark its a pain.
I got a guy coming to do that repair as I don't have a mig or any idea how to do that. Check out your C pillars, mine were both rooted but are now done anyway keep the thread going mate its gping tyo look sweet and don't change the front .
Cheers from bigears
#135
 _LCOOLJ_
Posted 21 November 2013 - 07:16 PM
#137
 _Lamo_
Posted 21 November 2013 - 11:22 PM
Note: the finger is strategically placed, to block out the light from the window
Riiiiiiiiiight......
It looks really smooth, UCANG.
#139

Posted 08 December 2013 - 04:01 PM
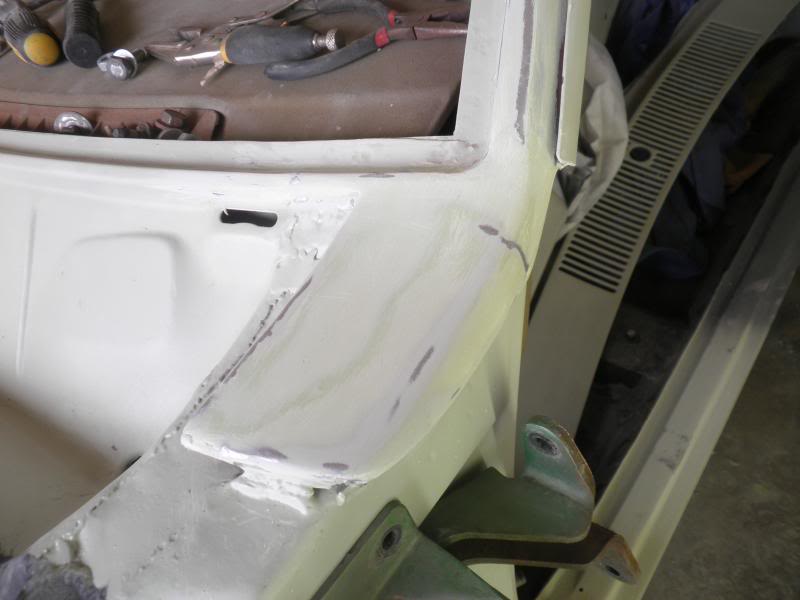
Passenger A pillar work
Battery tray redo.
The metal was so brittle and stretched, I decided to cut it out and weld a new piece in. Welded in very slowly and cool to prevent warpage. Much happy now
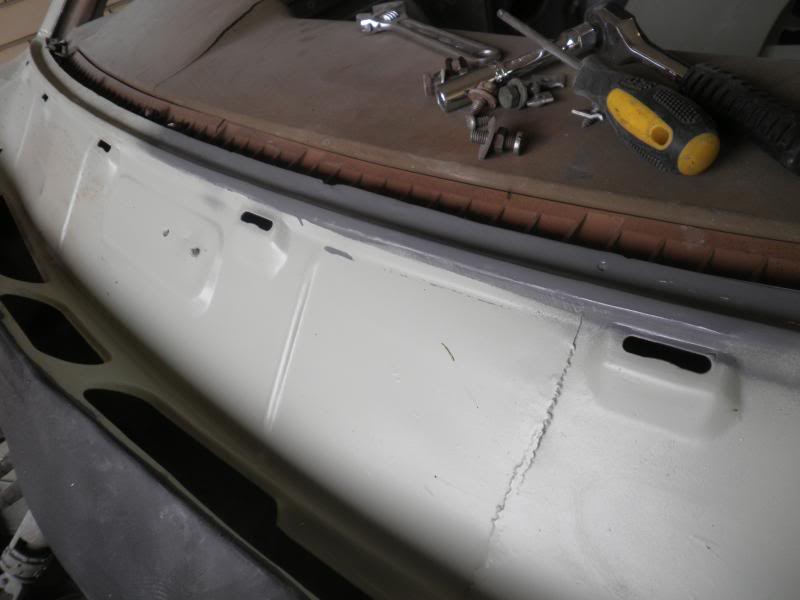
Windscreen bottom rail smoothing
Last bit of filler work on the passenger door. (where the skin welds into frame)
Drivers rear quarter filler work
Hammer and dollying all these little dents from an accident or garage wall I presume?
Ready for skim of filler
Still work in progress
Cheers
#141
 _willybigears_
Posted 22 January 2014 - 01:18 PM
#142

Posted 07 March 2014 - 01:33 PM
Where was I?
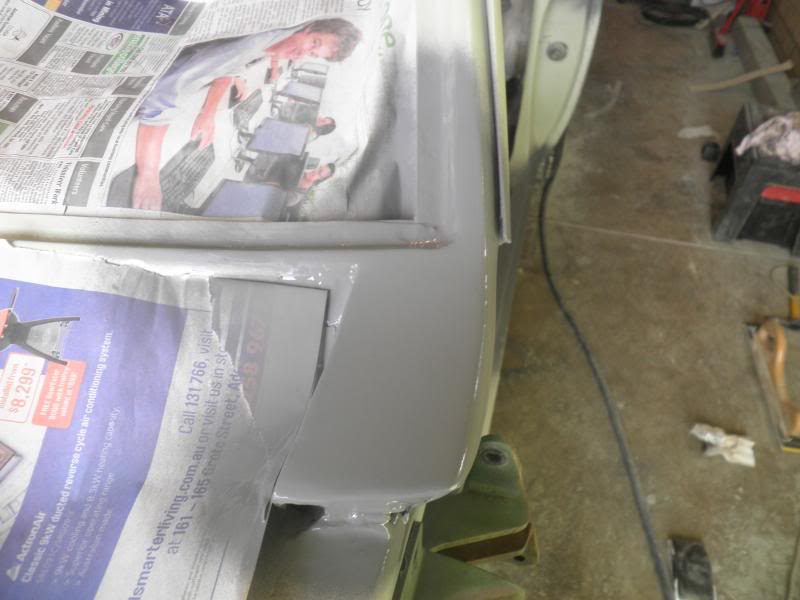
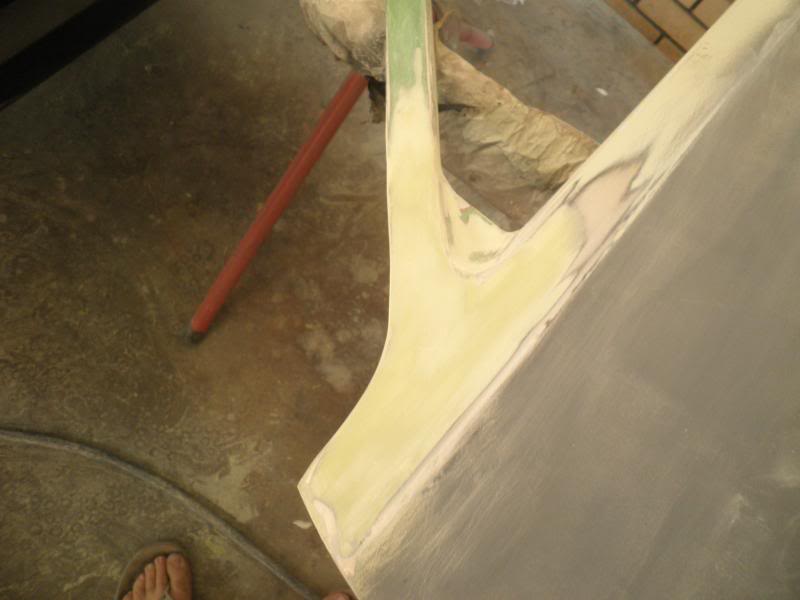
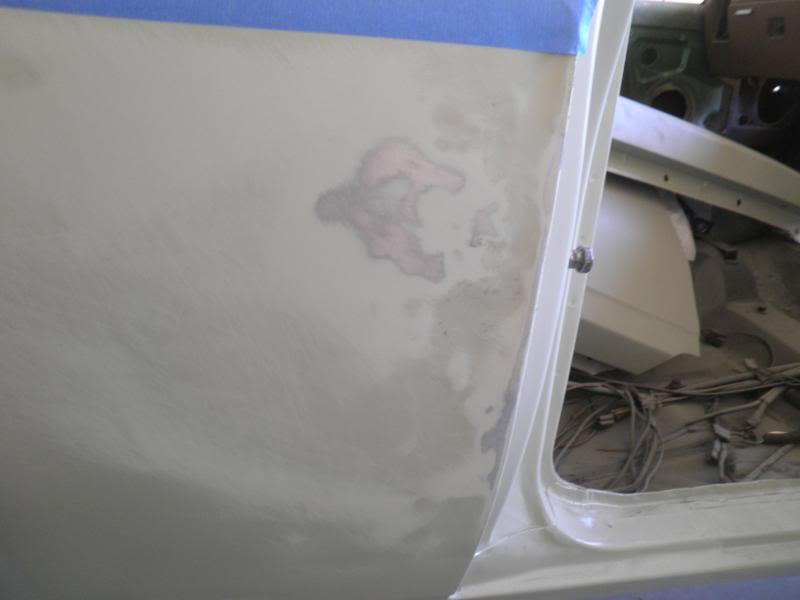
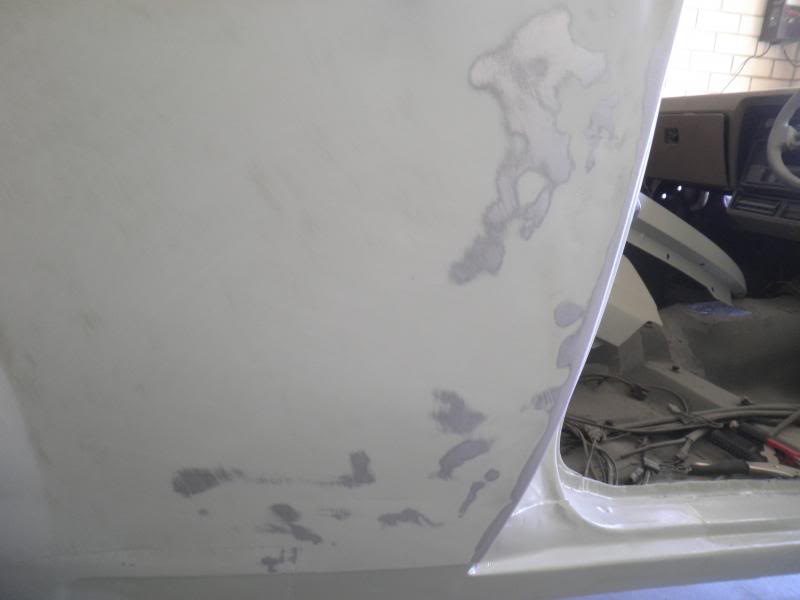
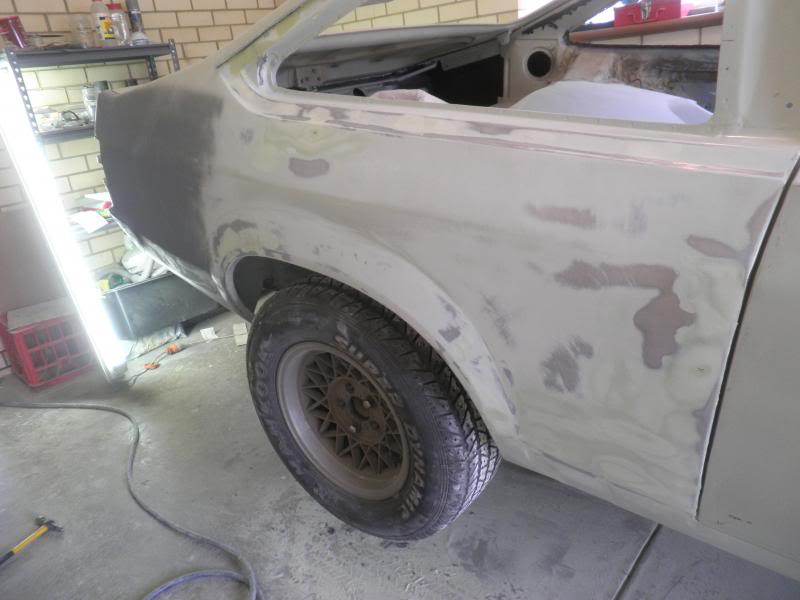
Finished filler work on front panels. On one of the guards, I wasnt quite happy with my metal finishing work in the front most bottom curved area, as you can see I decided to strip off all the filler and re work the metal until it was ready for a very fine skim of filler. I ended up happy with the result.
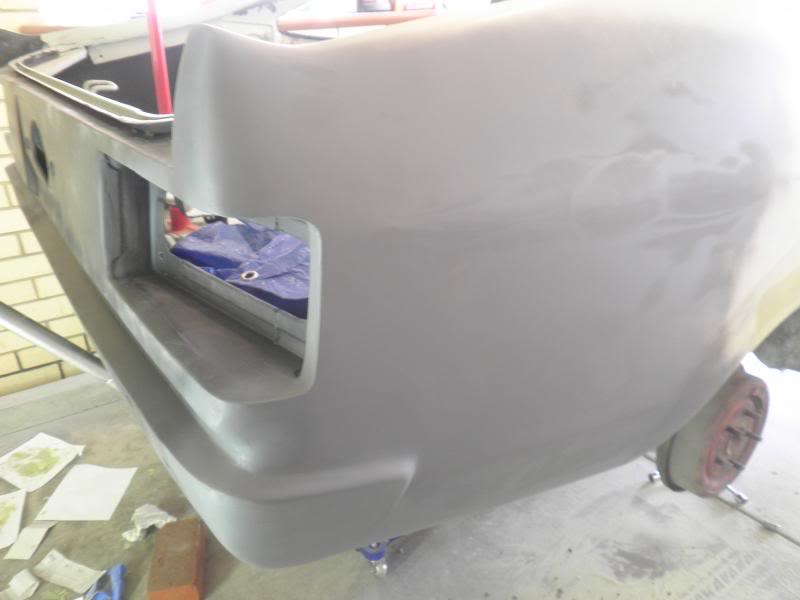
Only very minor spots on the hatch needed filler. So did that.
Both C pillars got some treatment
The roof completed.
Started working on the stone tray, but noticed the epoxy flying off when using the air gun, so the adhesion must of been an issue (probably didnt give it enough tooth) So i bare metalled it again, ready for some epoxy. Plus im half way through stripping the majorly crazy cracked bonnet.
Once I strip the bonnet, i'll go around and scuff my front guards, stone tray, and roof / c pillars and blow a coat of epoxy. Once that's done I'll need to do some filler work on the bonnet and stone tray then I will be ready for high build on the whole car I reckon!
#143

Posted 07 March 2014 - 01:47 PM
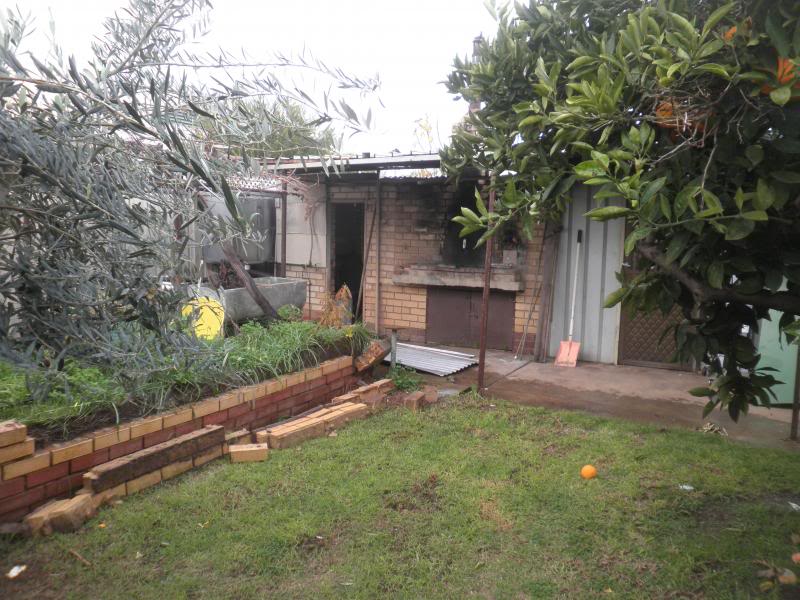
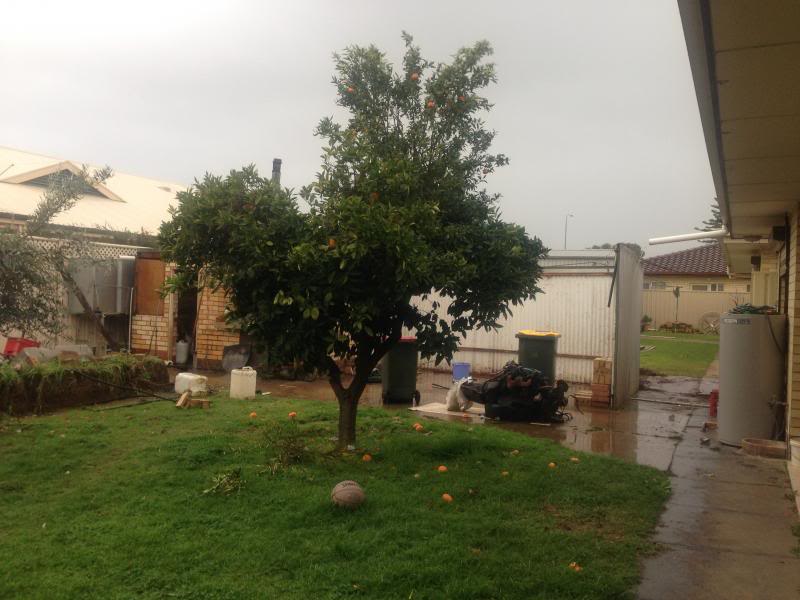
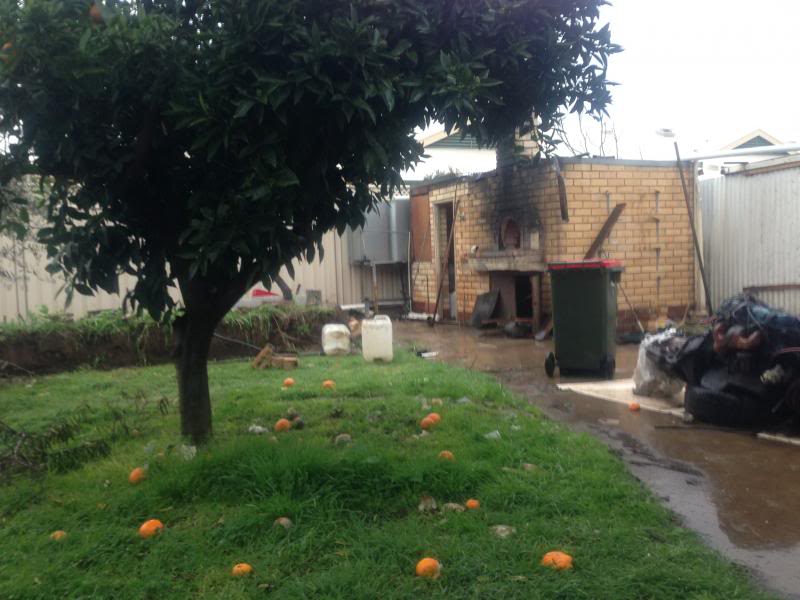
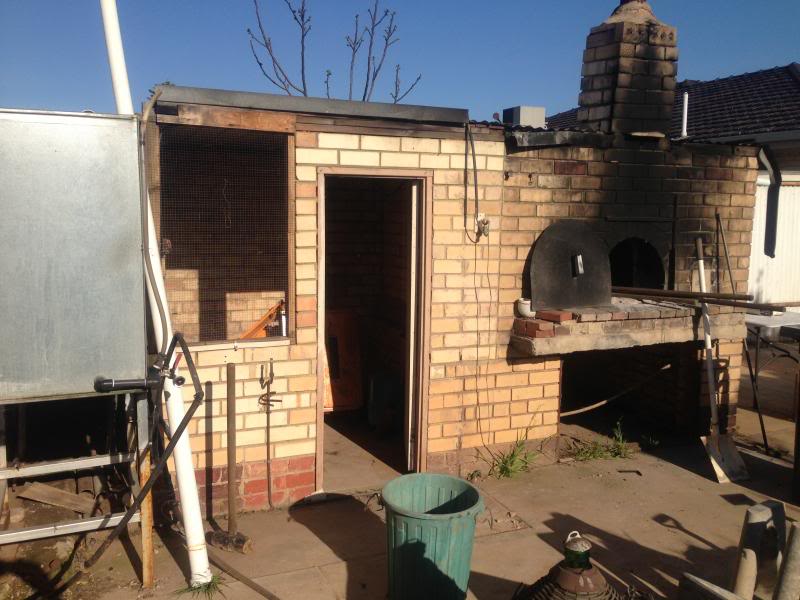
While I'm at it, might as well post some progress on my new shed (which should be here either next week or the week after).
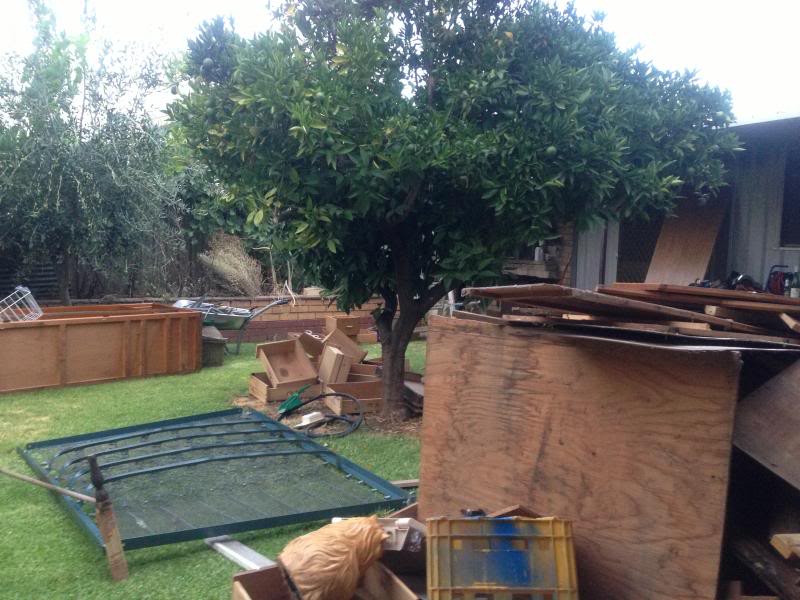
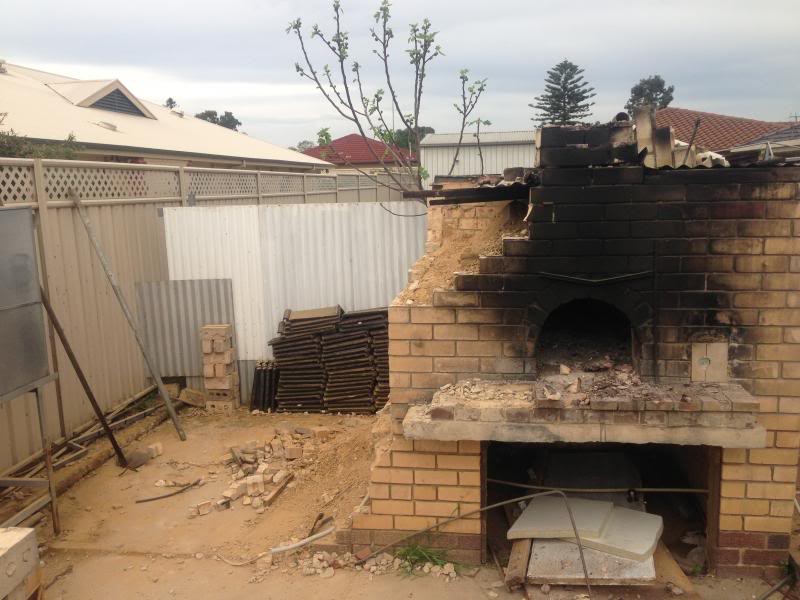
Starting from here. All the old crap inside during renos was thrown out (the backyard seemed to be the spot).
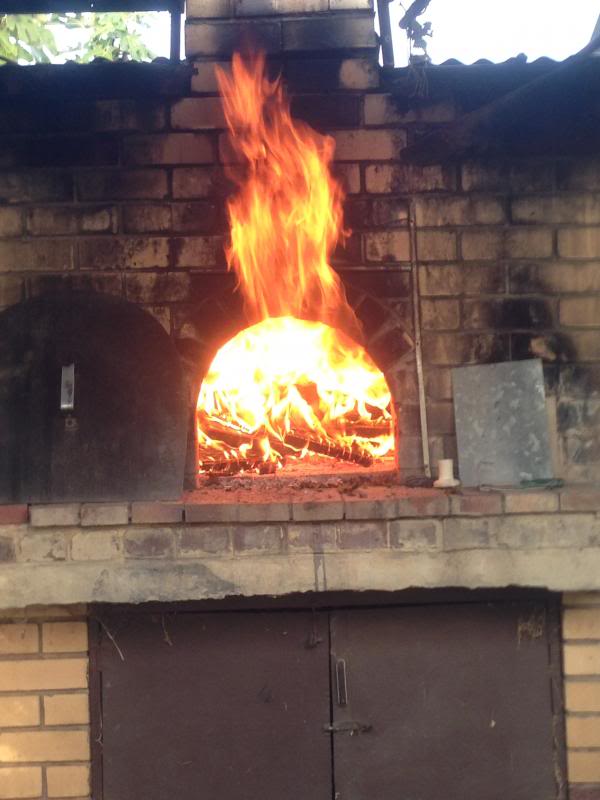
Now before I go preparing the shed site, I might as well give the wood oven its final job. Burn wood!! Saved me alot of coin in dumping fees ![]()
Sort of gives you an idea on the amount of crap needed to demolished
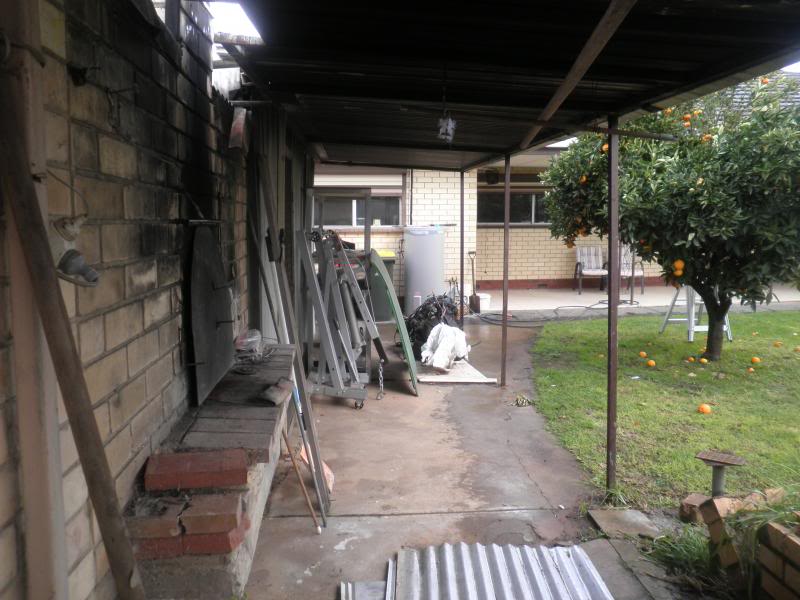
Dodgy little bread preparation shed and leaky veranda (made from second hand items mind you) removed
Time to get rid of the bricked avairy
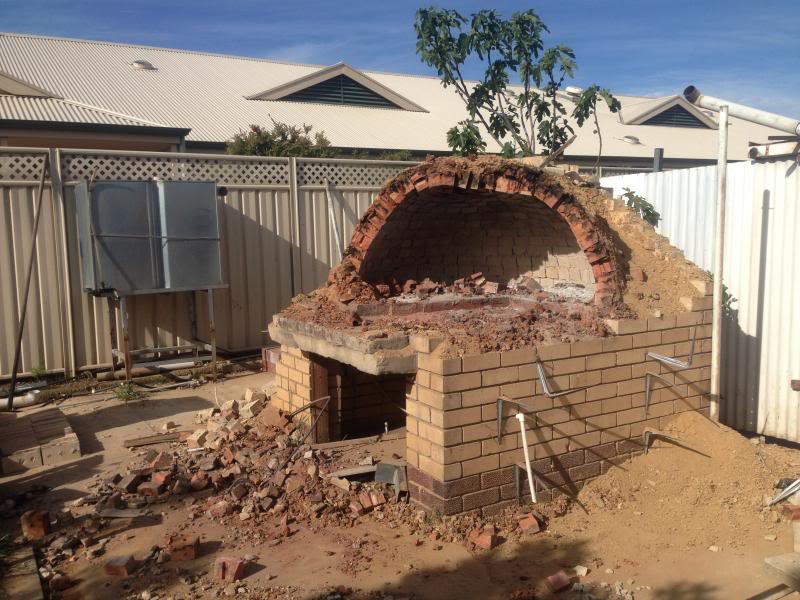
Now the oven
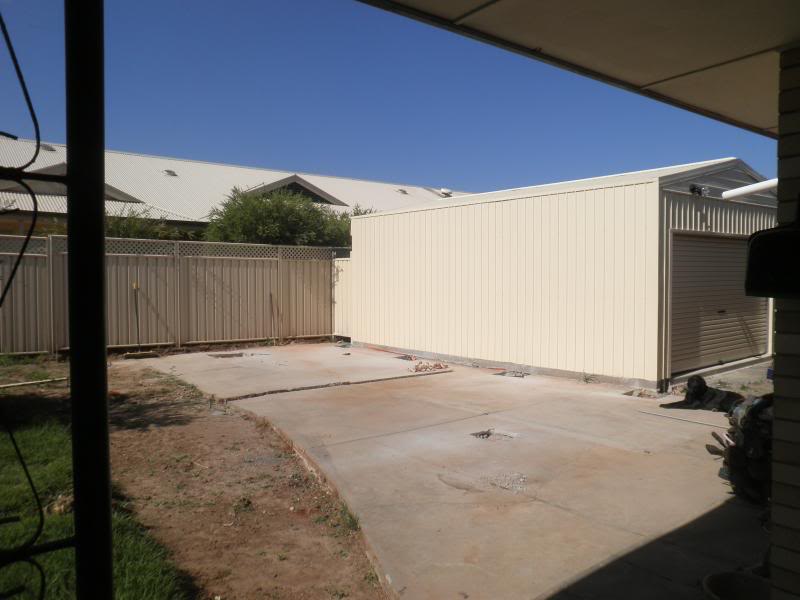
And how it sits now. All rubble removed, holes cut for the posts, strip cut for the re routing of storm water, and ready for delivery
#144
 _ott308_
Posted 07 March 2014 - 01:48 PM
Nice work!! Is that black primer? Is it good to work with?
#145

Posted 07 March 2014 - 01:58 PM
Thanks ott308. Yeah its the same epoxy I use but in black. I love the stuff, but I'm not a big fan of the colour, harder to see in the mixing cups and so forth. But I guess when it comes down to the blocking of the high build, I'd see the benefit of having a contrasting colour down in the layers.
#146

Posted 07 March 2014 - 04:44 PM
awesome stuff. progress is good.
also the timeline shots of the demolition makes it look quick and easy o.0
#147
 _Red One_
Posted 08 March 2014 - 12:07 AM
Mate, total respect for you and your build.
I am going to revisit some of your pages as reference.
Cheers,,
#148

Posted 10 March 2014 - 04:24 PM
Cheers fellaz!
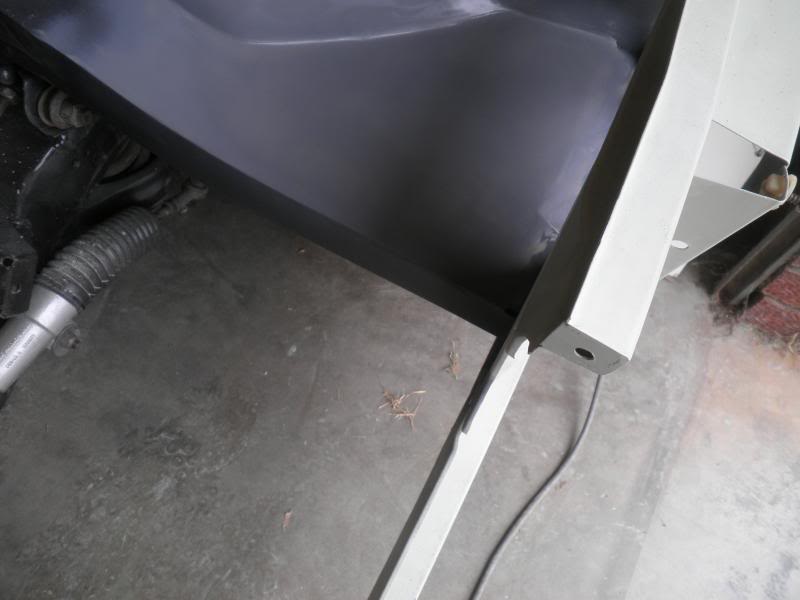
I layed some epoxy down on all my filler work to finally seal it up. This includes the battery tray, A pillars, Roof and channels, hatch channel, hatch lid, C pillars, front guards.
Also stripped the bonnet and stone tray and blew over a couple of coats. They just need filler work, another coat of epotec, then onto 2k high build.
Some pics...
So squishy!
#149
 _greenmachine215_
Posted 10 March 2014 - 09:07 PM
Got a colour picked out yet?
#150

Posted 10 March 2014 - 09:32 PM
YEAHHH BAYBAY! This rate you'll have it ready for all torana day! Would be nice to see someone else win a prize instead of the usuals
Got a colour picked out yet?
Haha nice one, and I'm pretty sure I know what car you're talking about too!
Are you going to come home to ATD this year then? Being a fancy QLDer now and all!
Still going with the green (keep it at least in the same colour family from stock). I've always been partial to Barbados. Lina Mint and Julep is nice too.. Maybe a hybrid of a more green than yellow Barbados.. We will see.
To keep my answer less long winded, I should of just said "Green" haha
1 user(s) are reading this topic
0 members, 1 guests, 0 anonymous users


