Jump to content


Photo
* * * * * 1 votes

UCANG is back after 2 years


  • Please log in to reply
259 replies to this topic

#101 76lxhatch

76lxhatch

    That was easy!

  • Members
  • PipPipPipPipPipPipPip
  • 7,156 posts
  • Location:Unzud
  • Car:SS
  • Joined: 04-August 08
Garage View Garage

Posted 21 November 2012 - 05:57 PM

Sweet, making good progress

#102 _toddyz airbrushing_

_toddyz airbrushing_
  • Guests

Posted 22 November 2012 - 11:37 PM

its good to see people having a go, not just boggin the hell out of it n passin it on to some poor bugger. great work

#103 UCANG

UCANG

    Forum Fan

  • Members
  • PipPipPipPip
  • 448 posts
  • Name:Ang
  • Location:Adelaide, South Australia
  • Car:UC Hatch, UC Sedan, VL Turbo, ForFour Brabus, 2010 Fatboy
  • Joined: 28-January 06

Posted 23 November 2012 - 06:22 PM

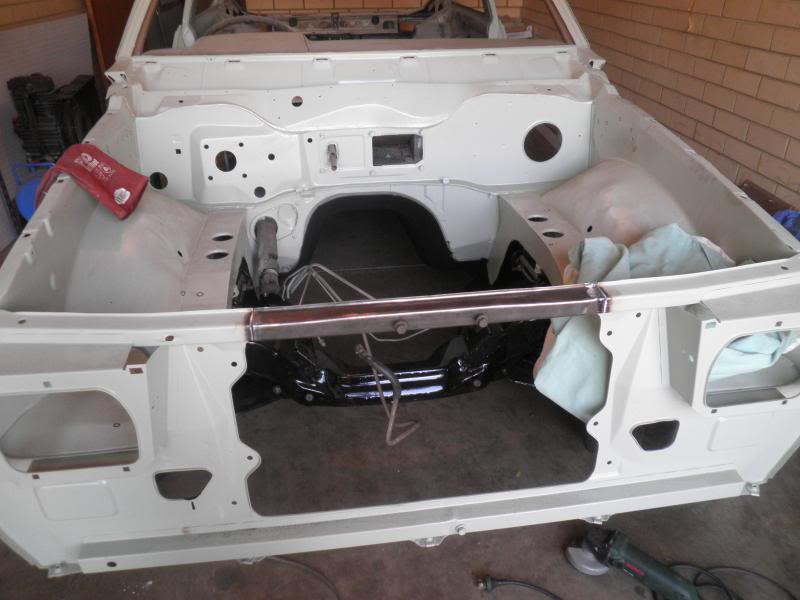
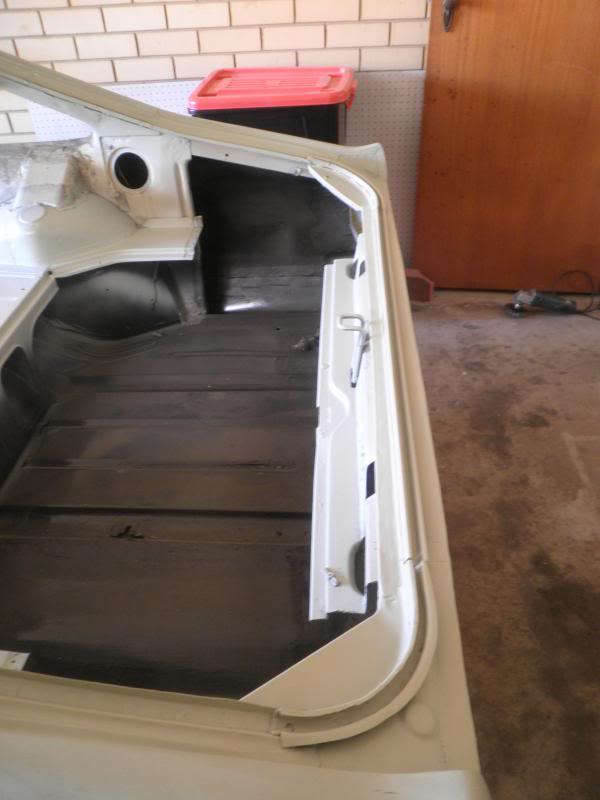
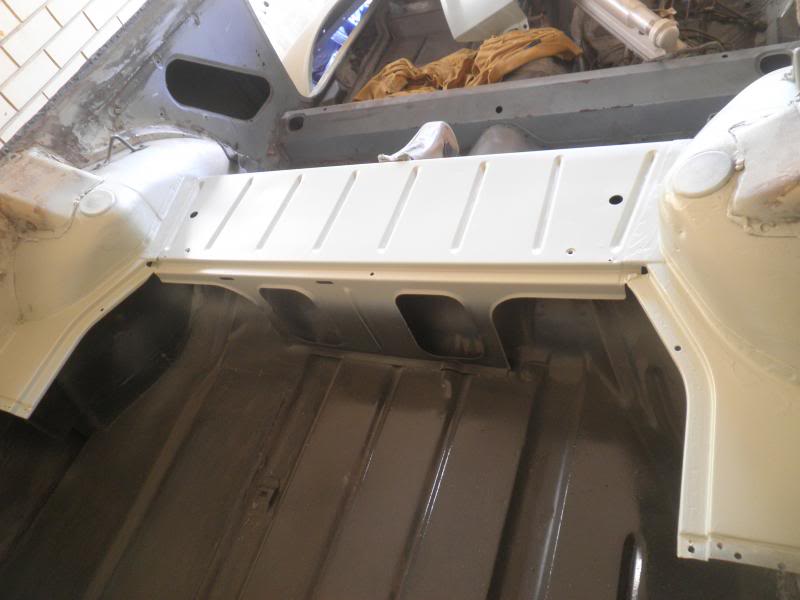
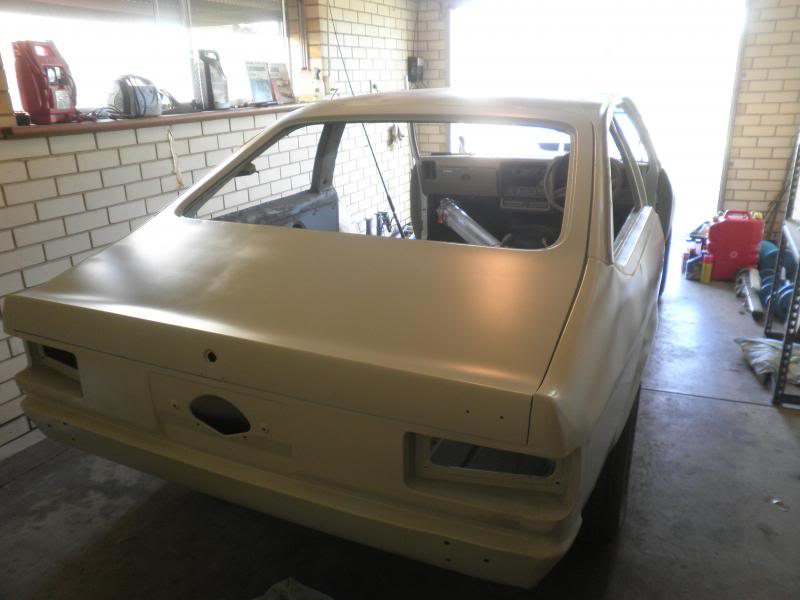
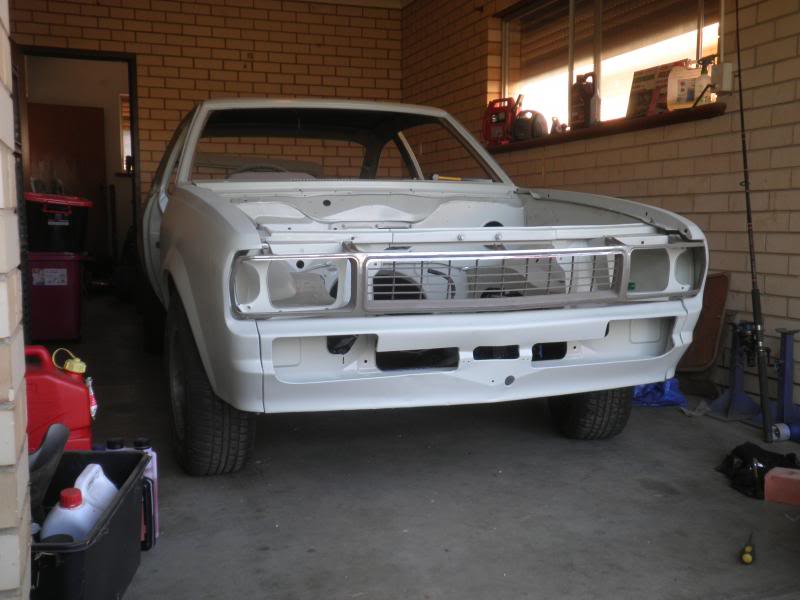
Not much to show. Both front guards/ floorpan and boot seam sealed.
Body deadener has been applied to the front inner guards.
Half of the underneath of the car was cleaned and stone guarded also. (I only did half because I dont have a rotisserie!)

I'm organizing the front suspension bushes and balljoints im needing then will work on that next, then bolt it back up to the car.

Posted Image
Posted Image
Posted Image

#104 torana_nick

torana_nick

    Forum Fixture

  • Members
  • PipPipPipPipPip
  • 759 posts
  • Name:Nick
  • Location:victoria
  • Car:LH Torana Project
  • Joined: 11-December 11

Posted 24 November 2012 - 02:28 PM

Coming up realy nice mate, how was cleaning the underneath? It's almost to where I am upto and I am dreading it...
What method did you use to clean it?

#105 UCANG

UCANG

    Forum Fan

  • Members
  • PipPipPipPip
  • 448 posts
  • Name:Ang
  • Location:Adelaide, South Australia
  • Car:UC Hatch, UC Sedan, VL Turbo, ForFour Brabus, 2010 Fatboy
  • Joined: 28-January 06

Posted 24 November 2012 - 04:32 PM

Thanks torana nick, it's not hard (depending on condition of your underneath). Thankfully mine was only dusty and a bit oily. I jacked the car up got underneath and scraped all the build up. Then a combination of degreaser and soapy water with a stuff brush and went to town. Then washed it all off and treated it with some rust converter which pretty much aided as a final cleaner (extra insurance I guess, I didn't have surface rust). I then coated it with body deadner. Ill do the back half next.

If my floor pan was in average condition I would of brought out the wire brush on the grinder then went to town that way. Or cleaned it up with rust converter (if light surface rust) and kbs/ por underneath.

Hope that helps, cheers

#106 UCANG

UCANG

    Forum Fan

  • Members
  • PipPipPipPip
  • 448 posts
  • Name:Ang
  • Location:Adelaide, South Australia
  • Car:UC Hatch, UC Sedan, VL Turbo, ForFour Brabus, 2010 Fatboy
  • Joined: 28-January 06

Posted 07 April 2013 - 11:03 PM

Long time since update. Not too much to show, been renovating new house and preparing old house for sale.

First thing for 2013 though, was the purchase of a standard bore 308 trimatic blue. Got it complete for $300. I wanted something so I can rip down and build it myself so this was perfect. Trimatic pattern so I can fit an aussie 4 speed or something along those lines.


Next I redid the front end. Ive only got as far as clean, de-spatter, paint, new balljoints and bushes and bolt back to the car. I had to stick the old dirty springs in there so I could bolt the wheels on so it can be rolling to the new house. I still need to finish the steering rack, new shockers and springs, complete the HQ brake conversion - but all in due time.


and the last load of pics is it leaving the house. 4 years it came on a trailer in its sad original state, and now its leaving in a somewhat nicer straight state :)

PC300015_zps92c166d8.jpg

P1270017_zps6995eea6.jpg

P1270018_zpse2350c7a.jpg

P1270020_zps1c4d633b.jpg

P1270021_zps6e6293fd.jpg

P3100023_zps62250656.jpg

P3100024_zpsc5315149.jpg

P3100025_zpsfa8d90dd.jpg

P3100026_zps2c828a0a.jpg

P3100027_zpsdd890327.jpg

P3100028_zps607079a2.jpg

P4070030_zpsef0d3128.jpg

P4070033_zpsa1763cc4.jpg

P4070034_zps088c039d.jpg


#107 sibhs

sibhs

    Lotsa Posts!

  • Members
  • PipPipPipPipPipPip
  • 2,703 posts
  • Name:Martin
  • Location:Perth
  • Car:LJ Coupe S
  • Joined: 27-July 12

Posted 07 April 2013 - 11:59 PM

Just read your thread Ang, great work and learnt a few more tricks for my build.


Once you're in the new house it's time to pull your finger out and get back into it.


Love your work.


Marty


#108 UCANG

UCANG

    Forum Fan

  • Members
  • PipPipPipPip
  • 448 posts
  • Name:Ang
  • Location:Adelaide, South Australia
  • Car:UC Hatch, UC Sedan, VL Turbo, ForFour Brabus, 2010 Fatboy
  • Joined: 28-January 06

Posted 20 May 2013 - 05:54 PM

P5190001_zps9dca5a65.jpg

welding up some holes

P5190002_zpsed22a0ff.jpg

bit of hammer and dolly work down here. Much improved.

P5190003_zps4fc6c87f.jpg

P5190004_zps6db4c41e.jpg

other guard, not too bad nick

P5200007_zpsffe7f669.jpg

getting the hang of this hammer and dolly work. Not perfect (im no pro), but much better.

P5200009_zpsa70f9d43.jpg


#109 UCANG

UCANG

    Forum Fan

  • Members
  • PipPipPipPip
  • 448 posts
  • Name:Ang
  • Location:Adelaide, South Australia
  • Car:UC Hatch, UC Sedan, VL Turbo, ForFour Brabus, 2010 Fatboy
  • Joined: 28-January 06

Posted 02 June 2013 - 07:18 PM

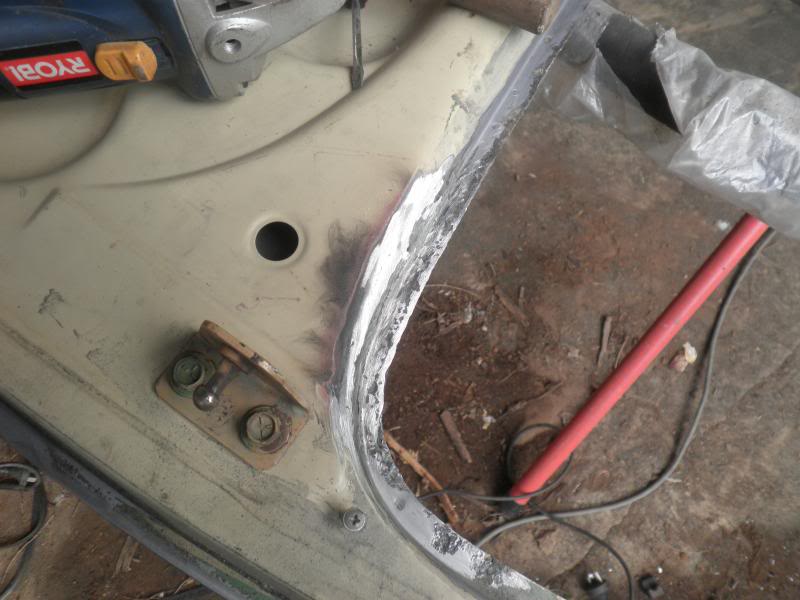
Bit of a repair needed here

P5260001_zps0430416b.jpg

Done

P5260002_zps467420fe.jpg

Goodbye antenna hole

P6020003_zpsb4050650.jpg

Epoxy time!

P6020004_zpsdc5831bd.jpg

P6020005_zpsf679be4e.jpg

P6020006_zps0b7ef3c6.jpg


Cheers


#110 UCANG

UCANG

    Forum Fan

  • Members
  • PipPipPipPip
  • 448 posts
  • Name:Ang
  • Location:Adelaide, South Australia
  • Car:UC Hatch, UC Sedan, VL Turbo, ForFour Brabus, 2010 Fatboy
  • Joined: 28-January 06

Posted 10 June 2013 - 04:39 PM

So better keep busy while I don't have a shed at the new house.


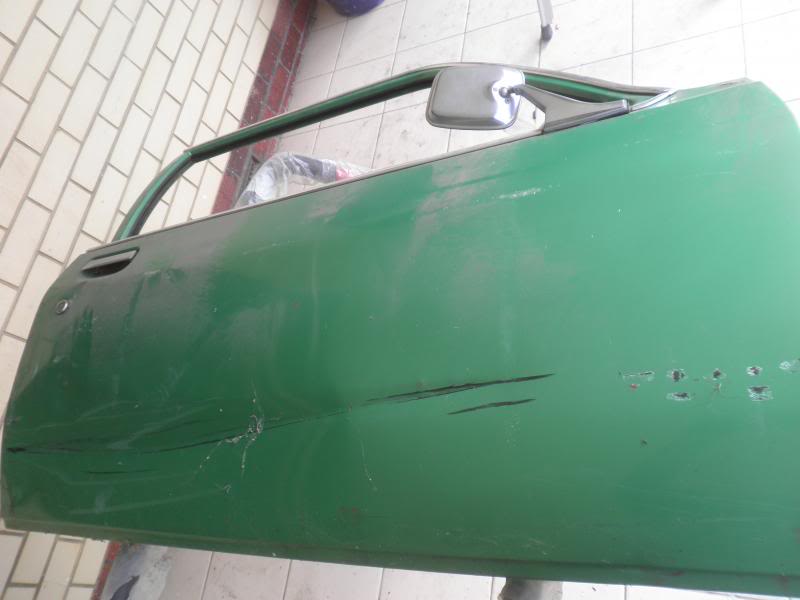
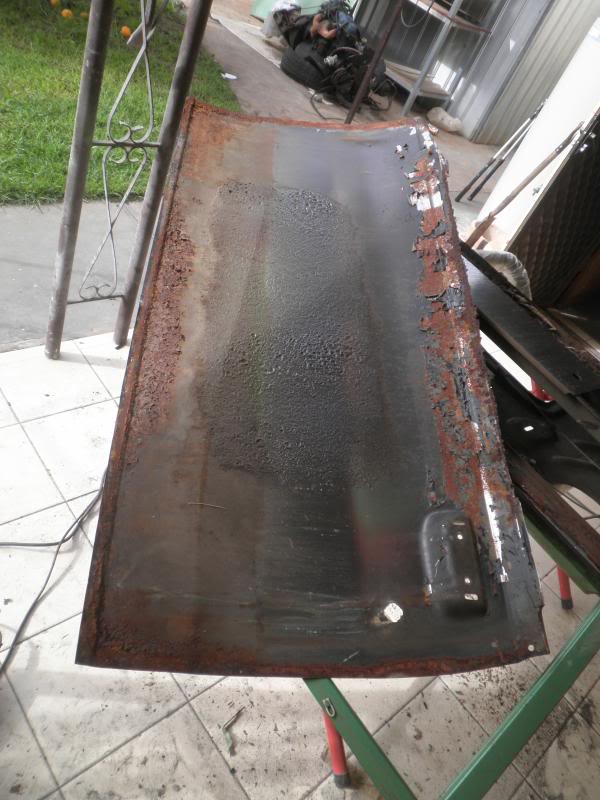
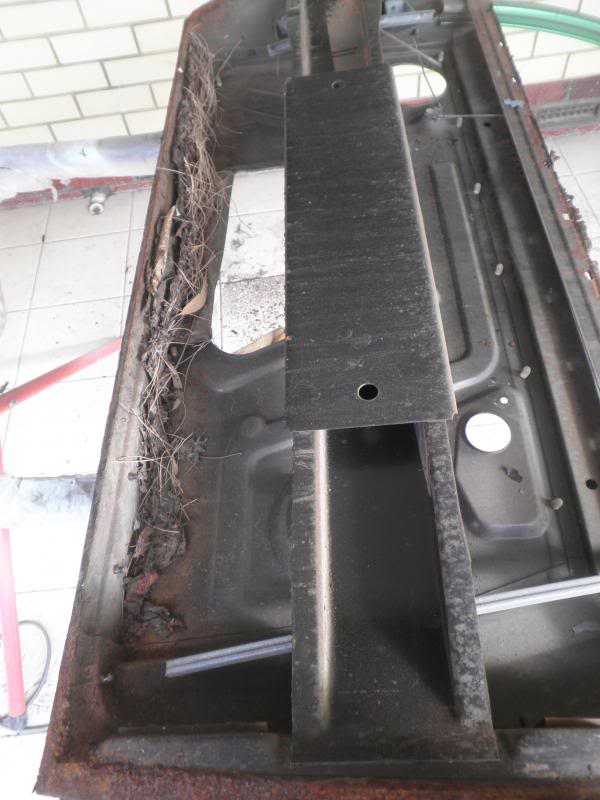
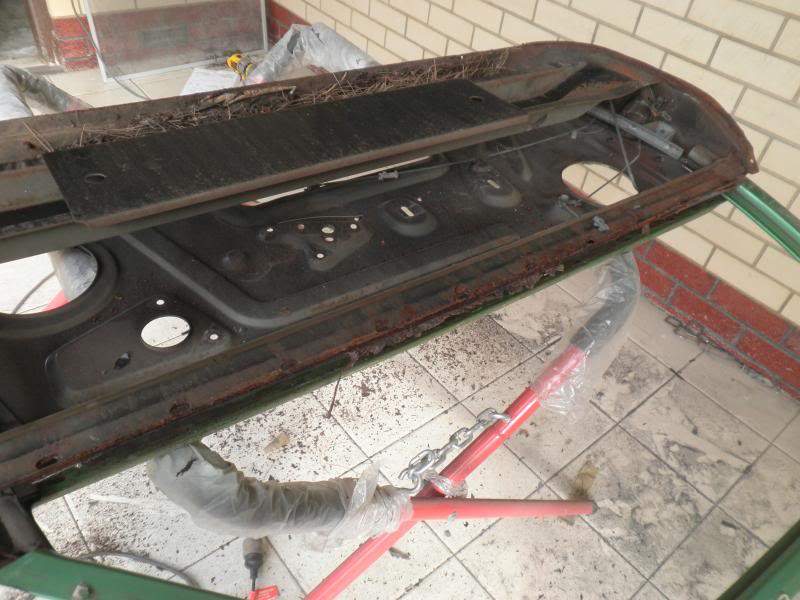
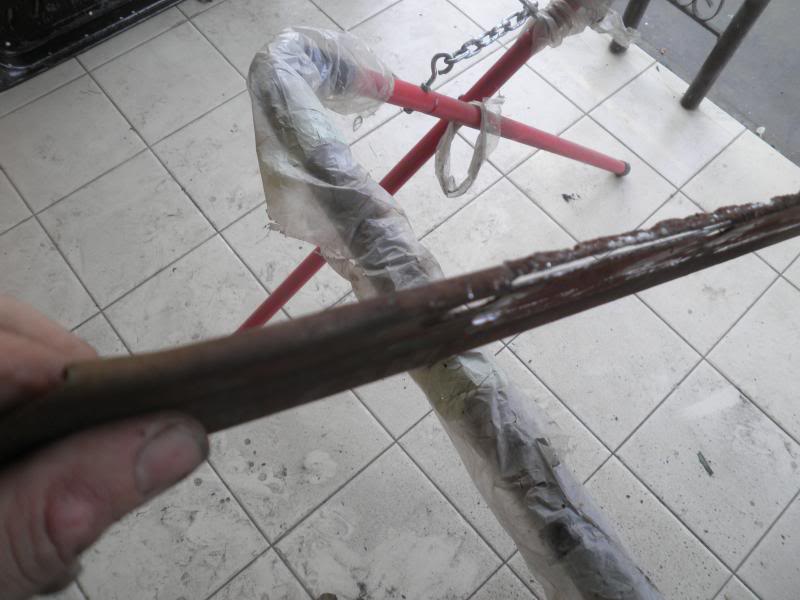
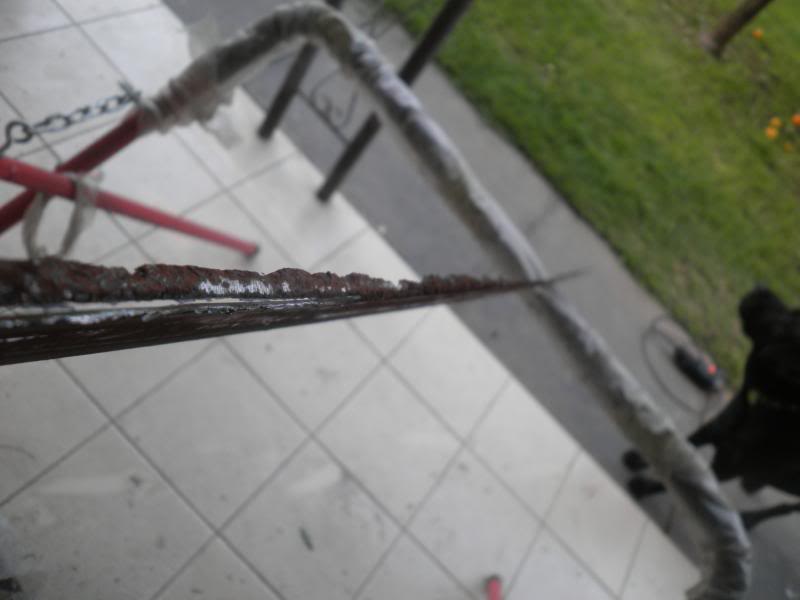
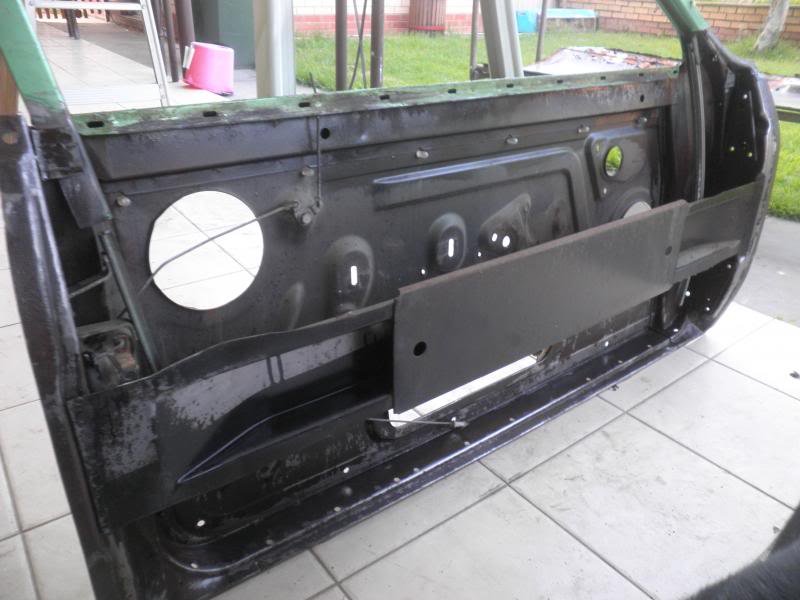
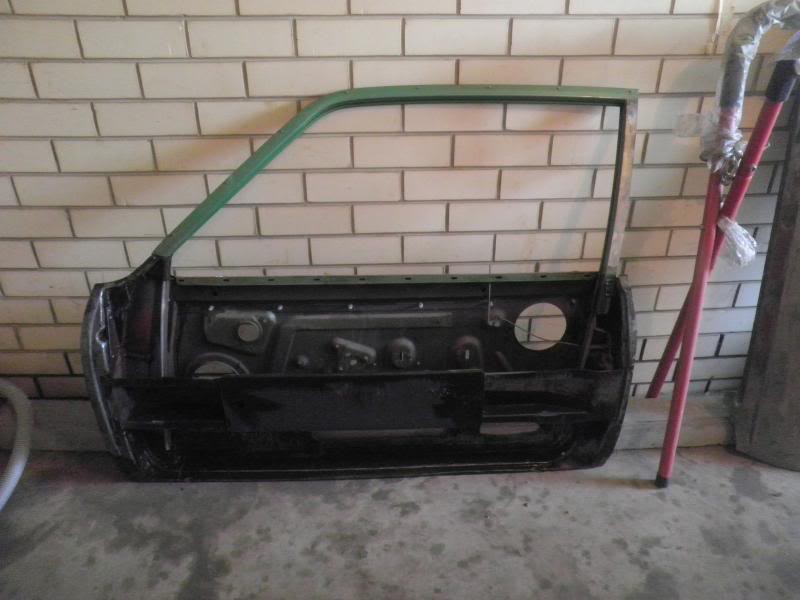
Started to work on the drivers door (this is the worst, and it needs a whole new skin) So I unpicked it,and cleaned her up.

P6090001_zps1f8b4ad5.jpg

P6090002_zpsd47da2b4.jpg

P6090003_zps6216a5c1.jpg

P6090004_zps00b4e01a.jpg

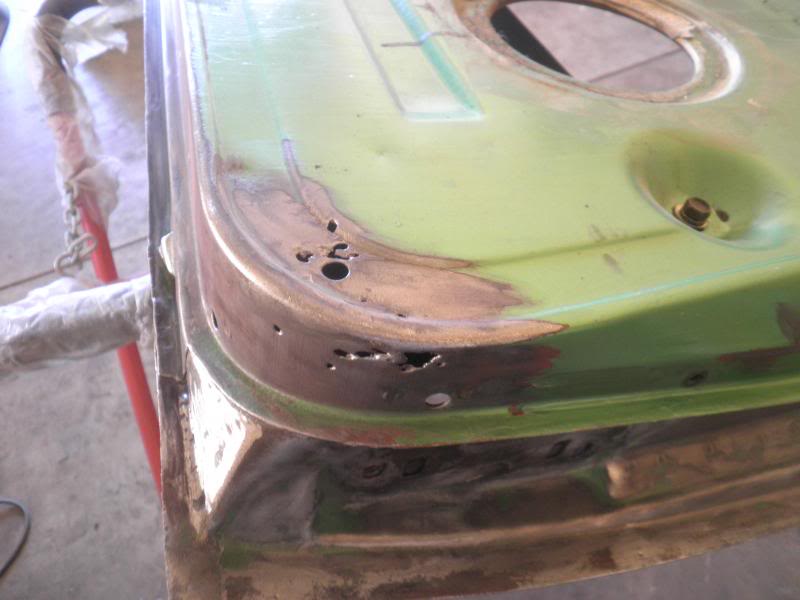
The skin spot welds onto this bit, as you can see its a bit munty

P6090005_zps88df500e.jpg

stupid blur

P6090006_zpse7034a26.jpg

Inner all cleaned up

P6090007_zps47176c53.jpg

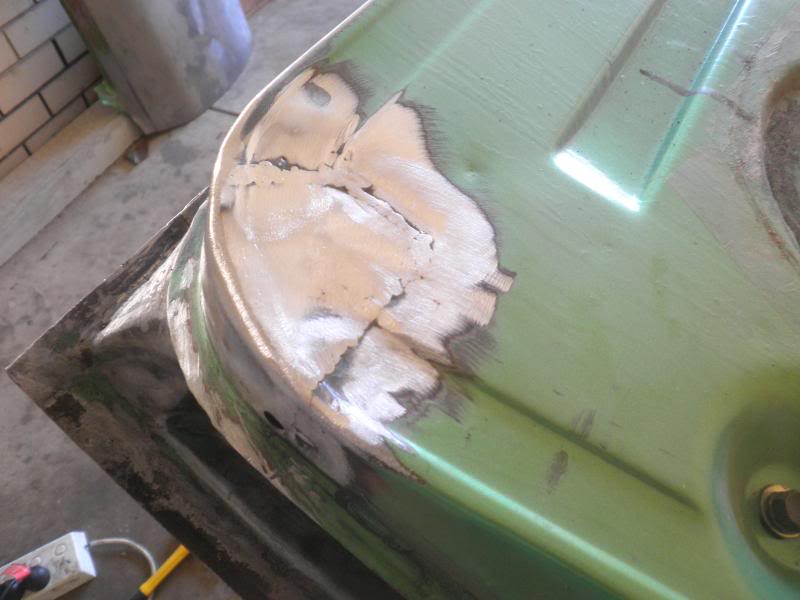
That section all fixed

P6100008_zpseca3e33d.jpg

Welded back onto the frame

P6100009_zps2a46deb3.jpg

Epoxy some parts

P6100013_zpsef0f2194.jpg

P6100014_zps88f40df4.jpg

P6100011_zpsfbd9374d.jpg

P6100012_zps57e566dd.jpg


Thanks


#111 UCANG

UCANG

    Forum Fan

  • Members
  • PipPipPipPip
  • 448 posts
  • Name:Ang
  • Location:Adelaide, South Australia
  • Car:UC Hatch, UC Sedan, VL Turbo, ForFour Brabus, 2010 Fatboy
  • Joined: 28-January 06

Posted 16 June 2013 - 04:26 PM

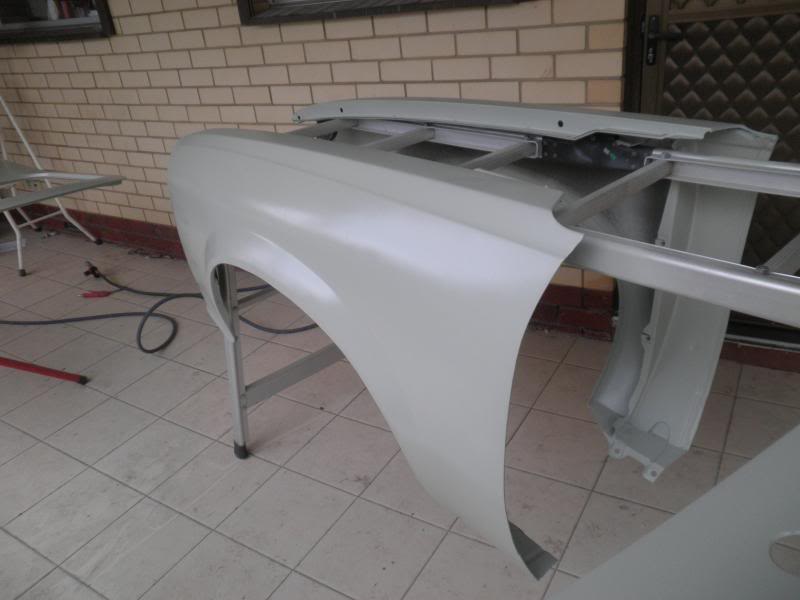
Starting to put some panels on to check gaps and see where i'm at.

P6160002_zps44440c03.jpg

P6160001_zps3db31ecf.jpg


#112 UCANG

UCANG

    Forum Fan

  • Members
  • PipPipPipPip
  • 448 posts
  • Name:Ang
  • Location:Adelaide, South Australia
  • Car:UC Hatch, UC Sedan, VL Turbo, ForFour Brabus, 2010 Fatboy
  • Joined: 28-January 06

Posted 12 October 2013 - 07:34 PM

Well, bit of an update is overdue. This year pretty much a write off as the new house renos have been top priority, but still finding time to work on her!


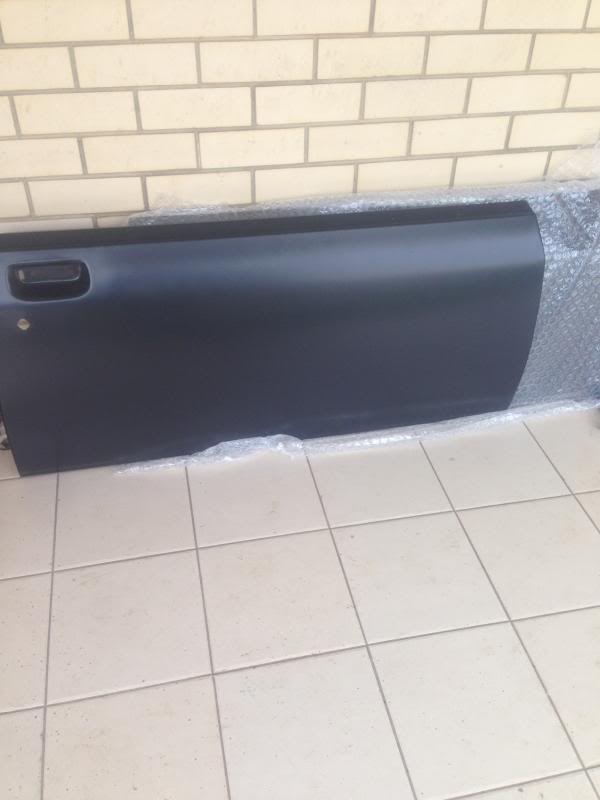
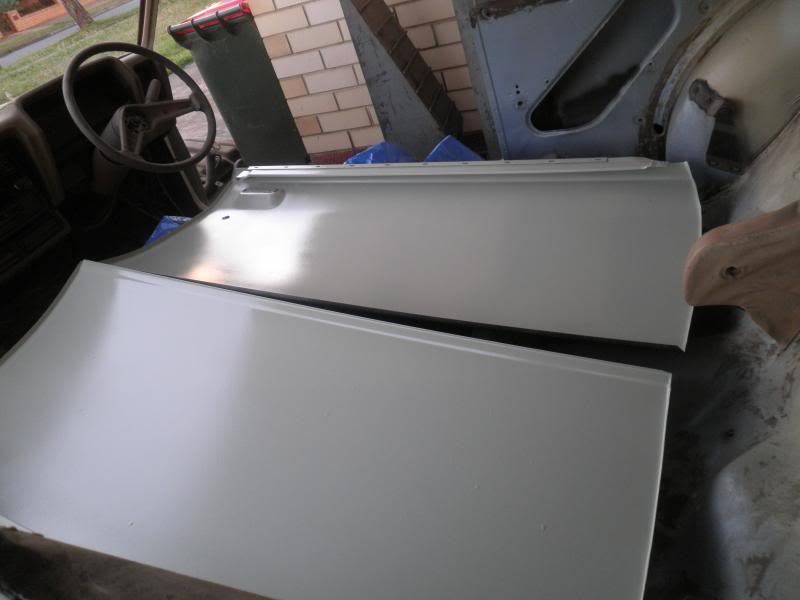
Got my new door skins, I decided to go for both sides, Retro rods were so good, i got 2 for the price of one at Rares (pretty much).

IMG_1979_zps864ecab9.jpg

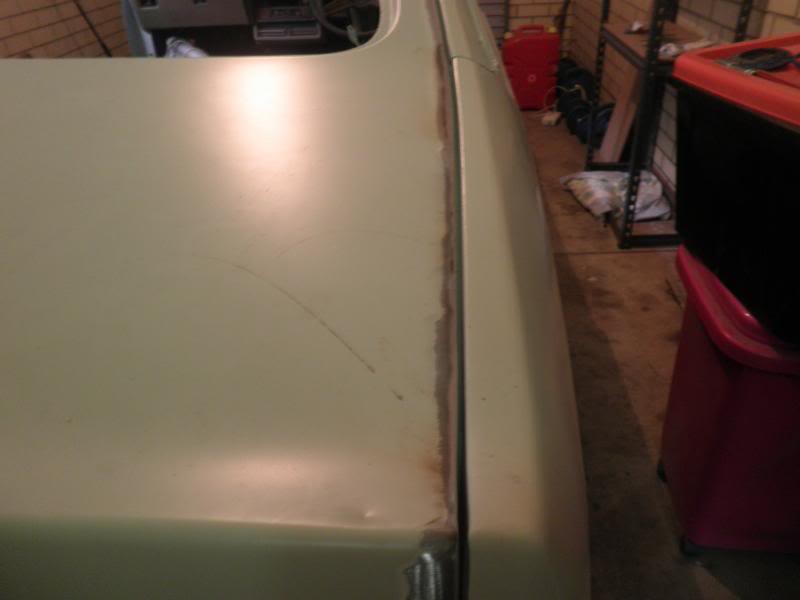
Fixed the gap on the hatch lid, sorry this is the only photo i took.

P6230001_zps4fcbab21.jpg

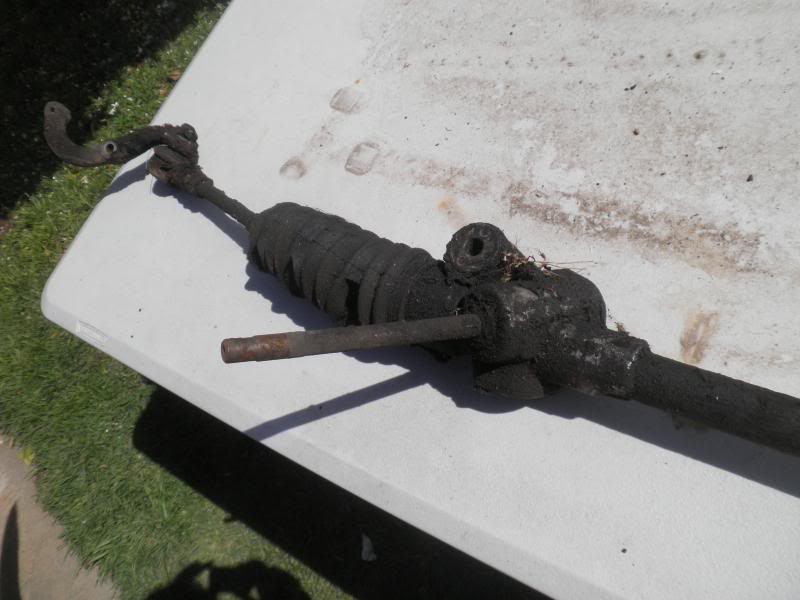
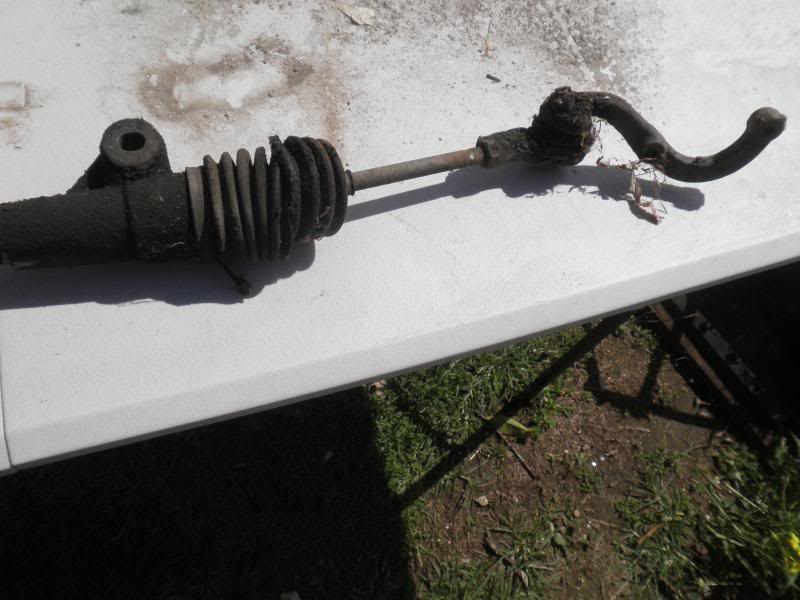
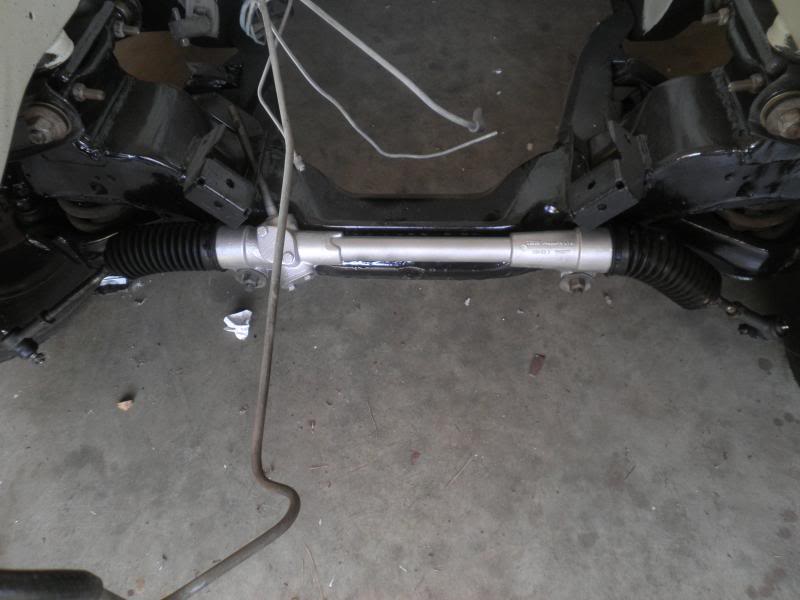
Cleaning and putting some new parts on the steering rack:

P9150018_zpse0d971c9.jpg

P9150019_zps31582220.jpg

P9150020_zpsdf5d578b.jpg

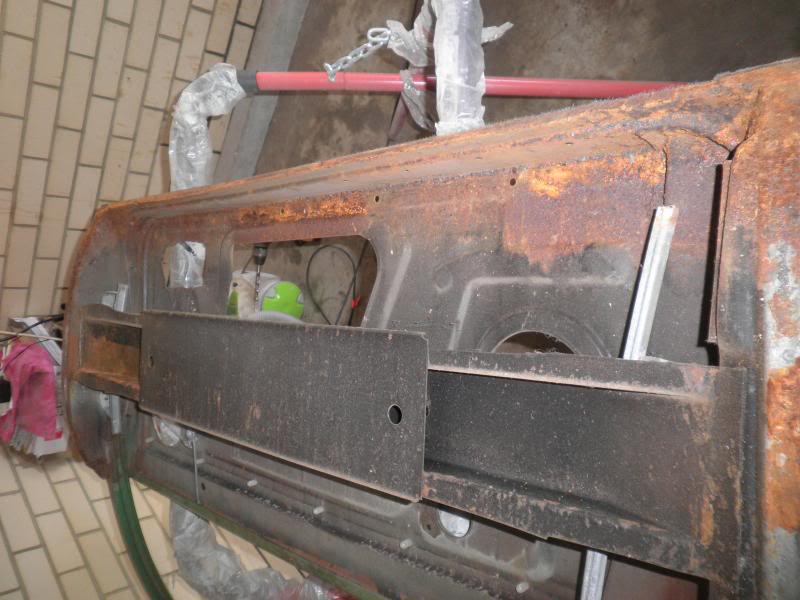
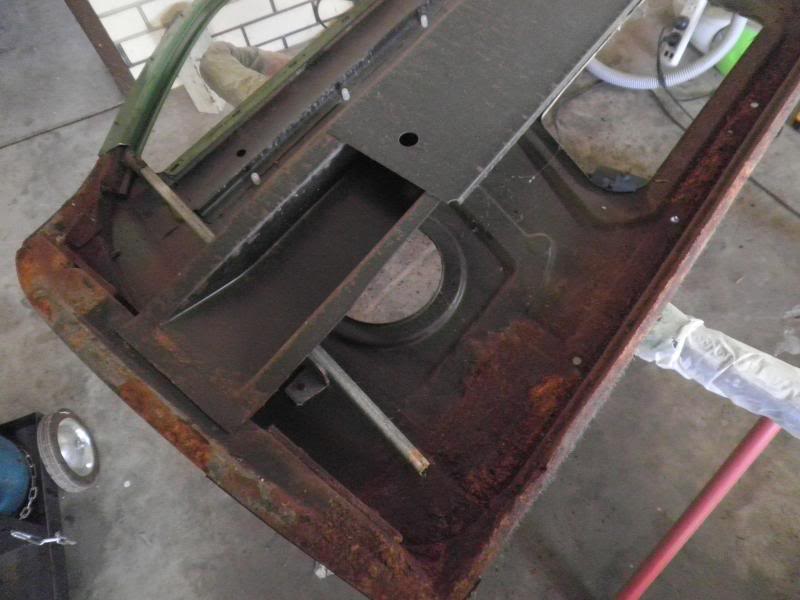
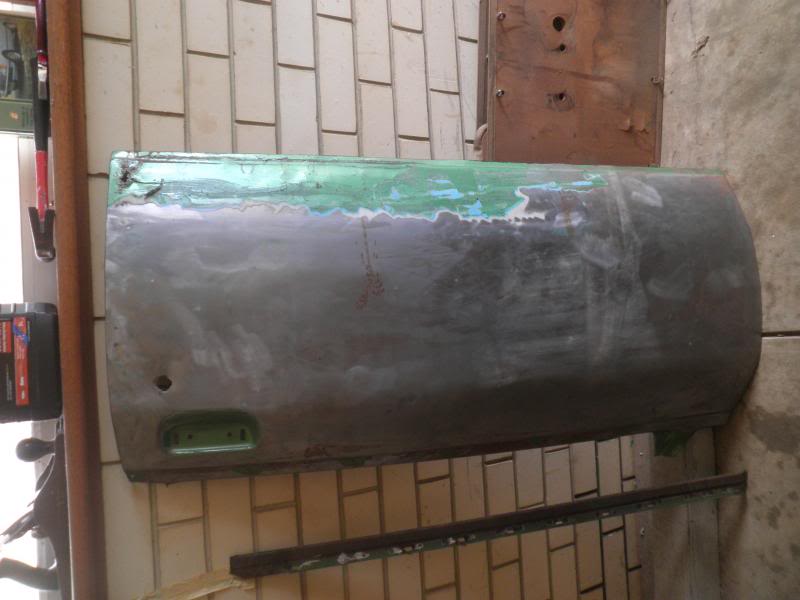
Removing skin of other door:

PA060023_zps9a1ecf3d.jpg

PA060022_zps927cea77.jpg

PA060021_zps5e5aee8a.jpg

cleaned up ready for epoxy

PA060024_zpscde99b49.jpg

found rust

PA120031_zps9e4dcc9b.jpg

PA120032_zpsa188a95e.jpg

PA120033_zpsf70c4692.jpg

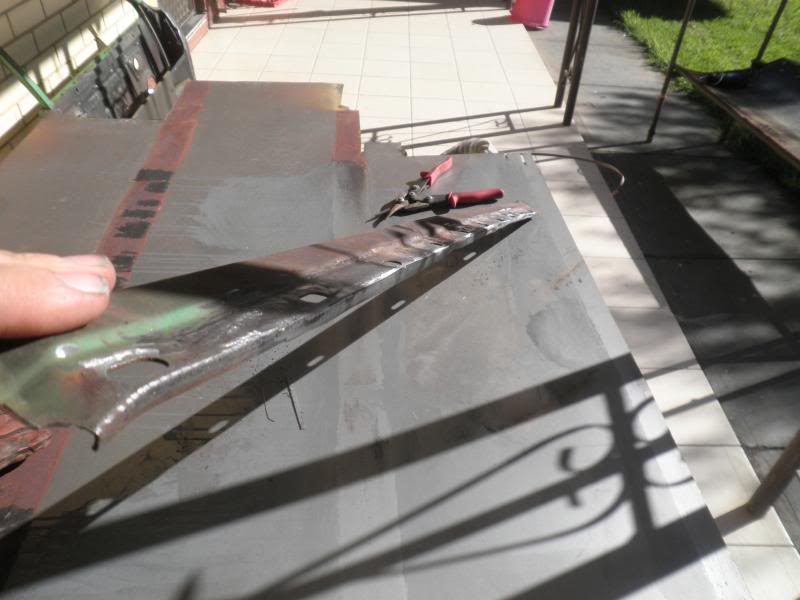
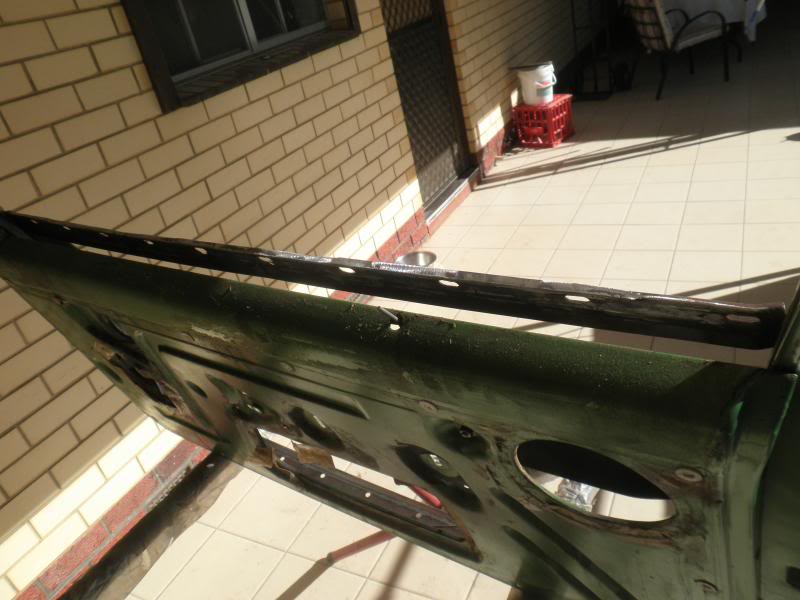
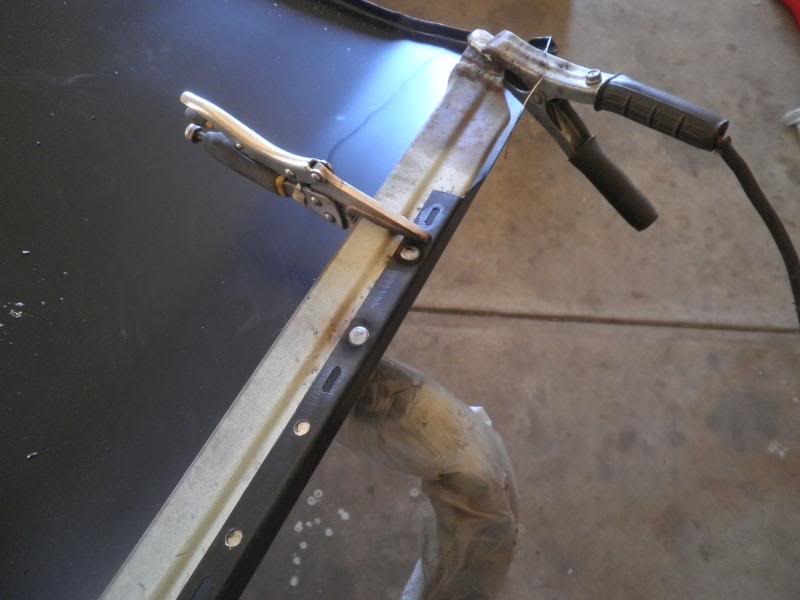
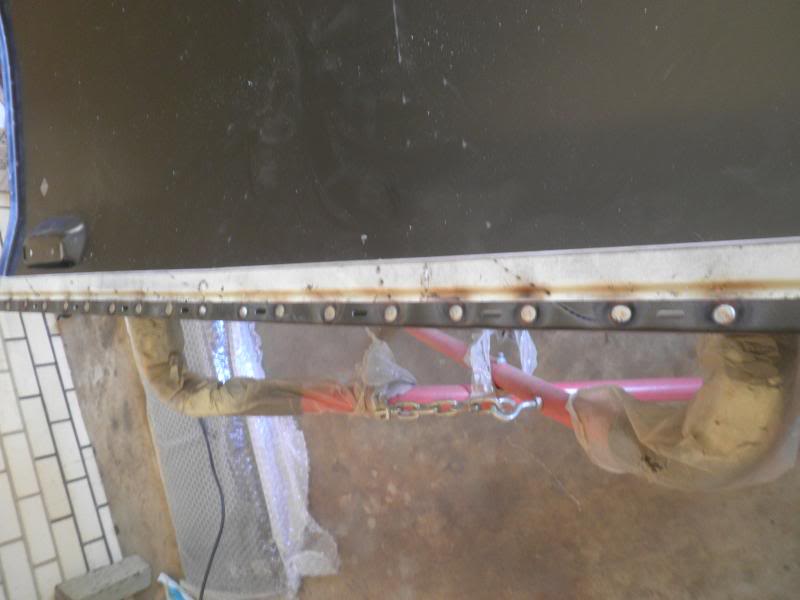
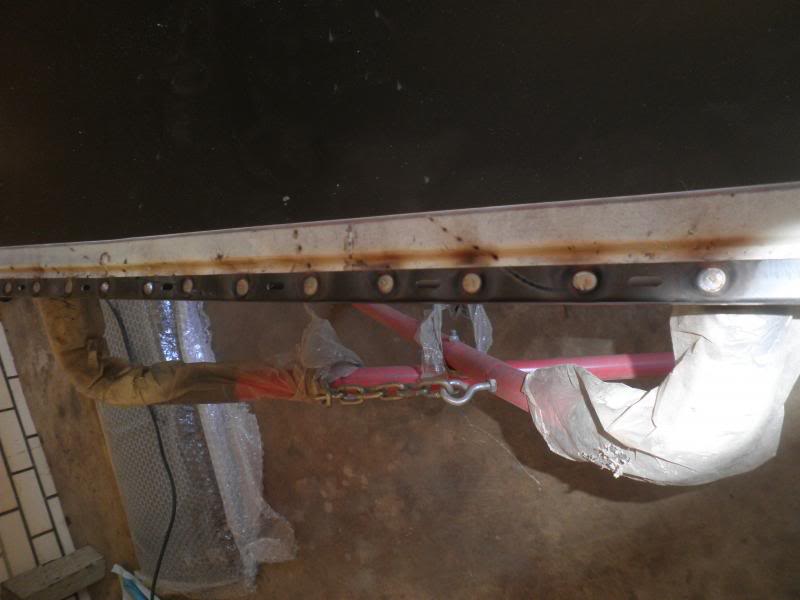
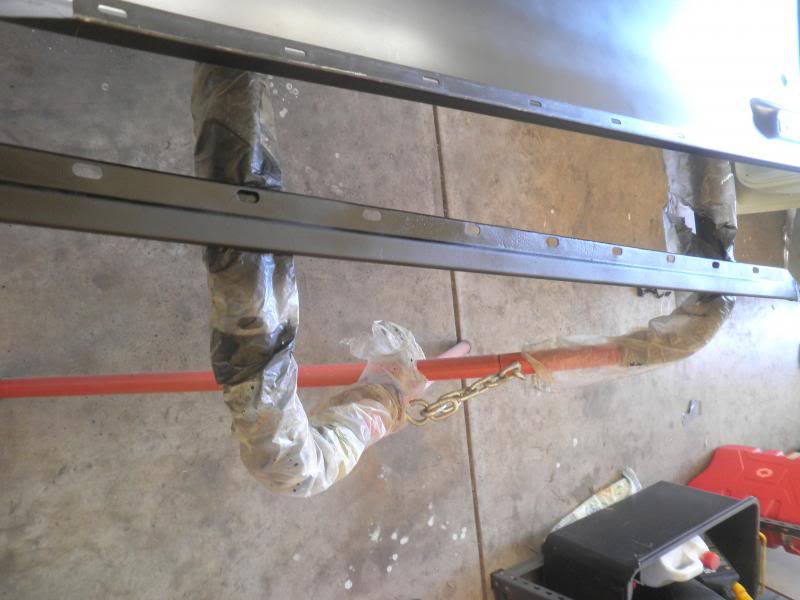
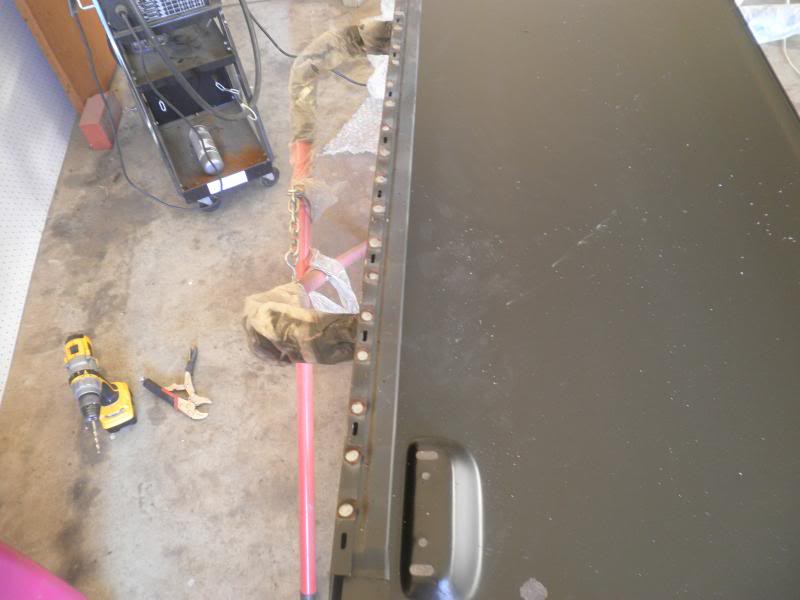
Realised that the weather strip mounter needs to be spot welded to the skin first, then attached either side of the door. Makes sense, because with this part left on the door then the skin put on after, will make it very difficult to weld it to that bit of frame and grind down smooth.

PA120025_zps323dd2d8.jpg

PA120027_zps29d67490.jpg

PA120026_zpsd64a2c37.jpg

other side all cleaned up and zinc primed and welded on

PA120028_zps503d72a1.jpg

PA120030_zps1fefaacc.jpg

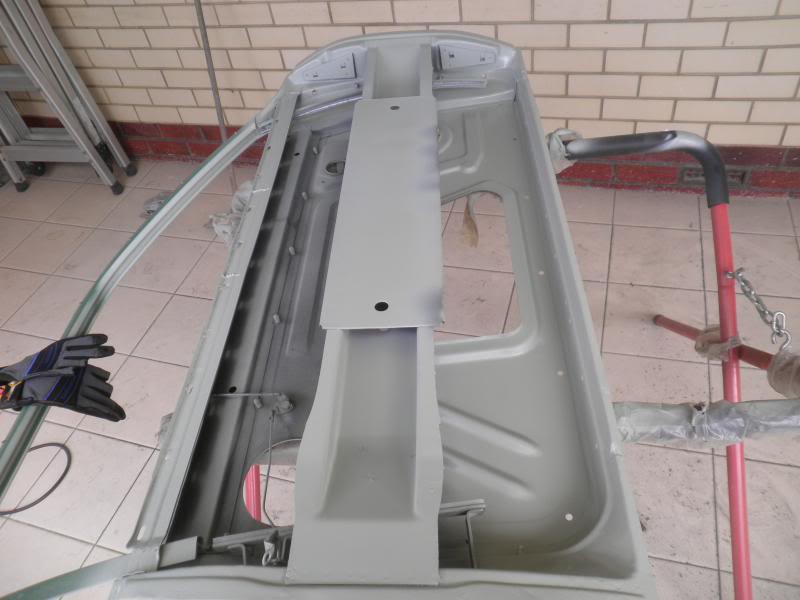
epoxied the inner door frame (and underside edges)

PA120034_zpsc89c2d7f.jpg

and scuffed the inside of the skins and epoxied. The black coating seemed pretty good, but best to be safe than sorry

PA120036_zps76f94e94.jpg


#113 LXdamo

LXdamo

    Still Lurking

  • Members
  • PipPipPipPipPip
  • 521 posts
  • Name:Damo
  • Location:ADL/PER/ZNE
  • Car:bits here bits there.....
  • Joined: 22-December 05

Posted 13 October 2013 - 11:55 AM

Nice work there Ang,

Will be like a new car from the inside out when your done!

Sounds like you need to get to and build a shed though!!


#114 UCANG

UCANG

    Forum Fan

  • Members
  • PipPipPipPip
  • 448 posts
  • Name:Ang
  • Location:Adelaide, South Australia
  • Car:UC Hatch, UC Sedan, VL Turbo, ForFour Brabus, 2010 Fatboy
  • Joined: 28-January 06

Posted 13 October 2013 - 12:16 PM

Haha yeah working on it! The garage isn't cutting it I'm afraid. Half way through demolishing a brick pizza oven, because that's where the shed is going!

#115 LXdamo

LXdamo

    Still Lurking

  • Members
  • PipPipPipPipPip
  • 521 posts
  • Name:Damo
  • Location:ADL/PER/ZNE
  • Car:bits here bits there.....
  • Joined: 22-December 05

Posted 13 October 2013 - 01:29 PM

Good work!

The local pizza bar does good enough pizza's without cooking your own.


Will have to catch up with you sooner or later and have a look in person.

If you get time call in to my place one afternoon and have a squiz at some progress.Just give us a buzz here first.


#116 _greenmachine215_

_greenmachine215_
  • Guests

Posted 14 October 2013 - 04:51 PM

Yewww nice door skins they should last another 35 years good to see you haven't shelved it away like some people (Damo)

Good to see it coming together again! And your doing it all yourself so there shouldn't be any farkups that you payed some clown to do!

#117 kingsly

kingsly

    Forum Member

  • Members
  • PipPipPip
  • 235 posts
  • Location:Adelaide
  • Joined: 10-July 08

Posted 15 October 2013 - 03:18 PM

looking solid ang,


#118 UCANG

UCANG

    Forum Fan

  • Members
  • PipPipPipPip
  • 448 posts
  • Name:Ang
  • Location:Adelaide, South Australia
  • Car:UC Hatch, UC Sedan, VL Turbo, ForFour Brabus, 2010 Fatboy
  • Joined: 28-January 06

Posted 20 October 2013 - 04:58 PM

Yeah thanks fellas.


And Damo, i'll have to take you up on your offer!


Anyway a bit more progress this weekend.


So the door skins are on. As you can see in some of the pics I have been trial fitting and getting lines to line up and setting some gaps.

PA190001_zps5a08e4d4.jpg

PA190003_zpsdfb93823.jpg

PA190002_zpsbca1e146.jpg

PA200005_zps6f2d76eb.jpg

PA200006_zps1443dde4.jpg

I actually hammer and dollied the edge instead of cutting and welding. I like it.

PA200007_zps82e8ac5d.jpg

PA200008_zps938b643a.jpg

PA200009_zps9a830799.jpg

A bit of temporary zinc primer to stop any flash rusting of my work

PA200010_zpsf59212ad.jpg

PA200011_zps25e88a75.jpg

PA200012_zps514235ba.jpg

PA200013_zps22392537.jpg

PA190004_zps7bb2f27f.jpg


#119 kingsly

kingsly

    Forum Member

  • Members
  • PipPipPip
  • 235 posts
  • Location:Adelaide
  • Joined: 10-July 08

Posted 20 October 2013 - 06:49 PM

i actually like the look of the fat hotwires under that thing.


#120 UCANG

UCANG

    Forum Fan

  • Members
  • PipPipPipPip
  • 448 posts
  • Name:Ang
  • Location:Adelaide, South Australia
  • Car:UC Hatch, UC Sedan, VL Turbo, ForFour Brabus, 2010 Fatboy
  • Joined: 28-January 06

Posted 20 October 2013 - 06:58 PM

14" ones these are, I've seen heaps of mad torries with restored hotwires ( shiny chrome and black) and they look very good. Bit low and should look good!

#121 UCANG

UCANG

    Forum Fan

  • Members
  • PipPipPipPip
  • 448 posts
  • Name:Ang
  • Location:Adelaide, South Australia
  • Car:UC Hatch, UC Sedan, VL Turbo, ForFour Brabus, 2010 Fatboy
  • Joined: 28-January 06

Posted 28 October 2013 - 05:06 PM

You can see the tape. This is where I need to build up in that area.

PA260001_zpsee4b0366.jpg

Done

PA260002_zps3a5651e9.jpg

Chasing out some highs and lows from the panel beating

PA260003_zpsf1cd55eb.jpg

Other side

PA260004_zpsa4e2c6bb.jpg

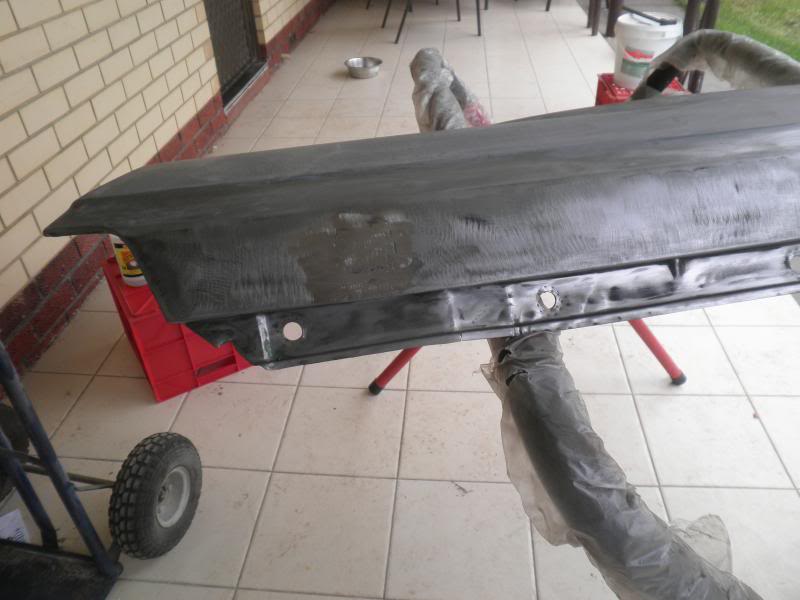
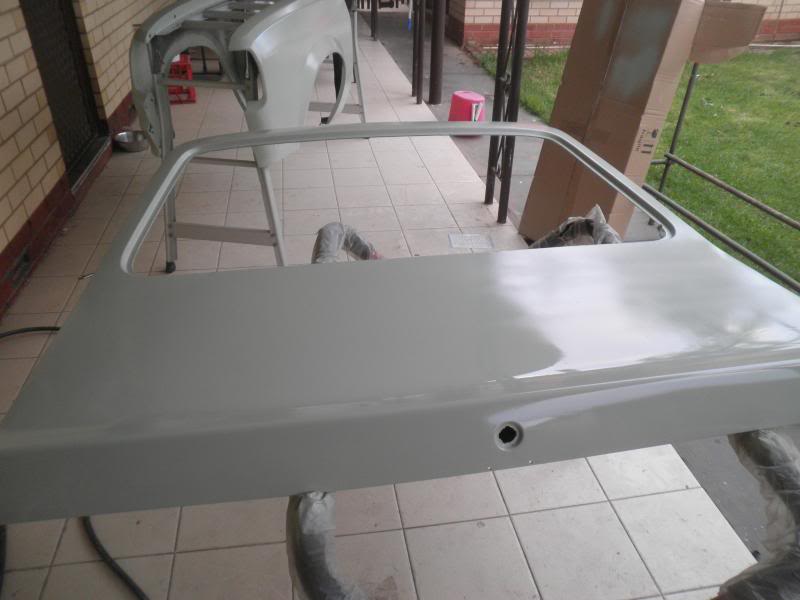
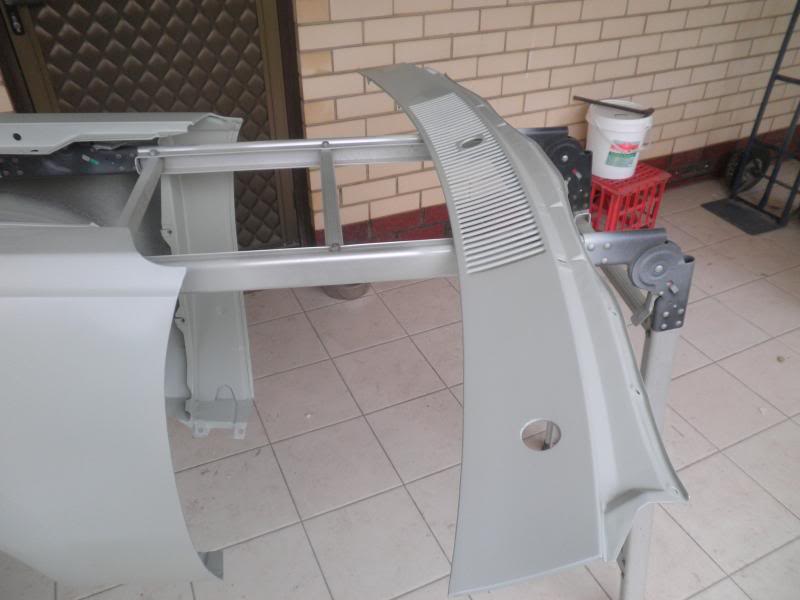
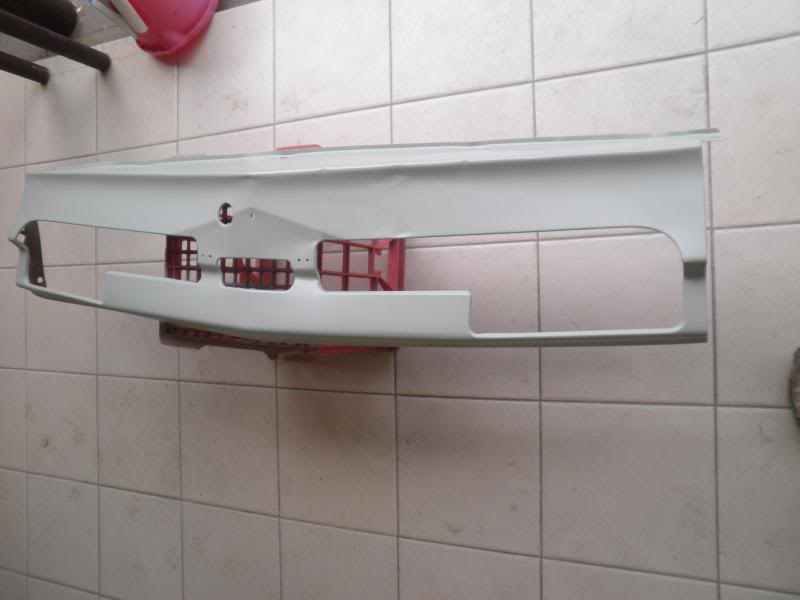
End result. I cleaned up all the zinc spray primer and epoxied my repairs.

PA280005_zpsceb56b44.jpg


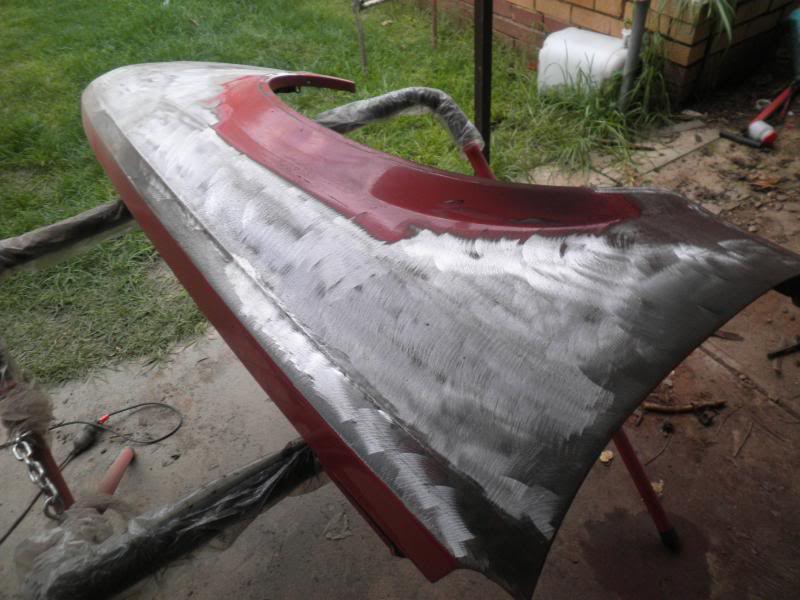
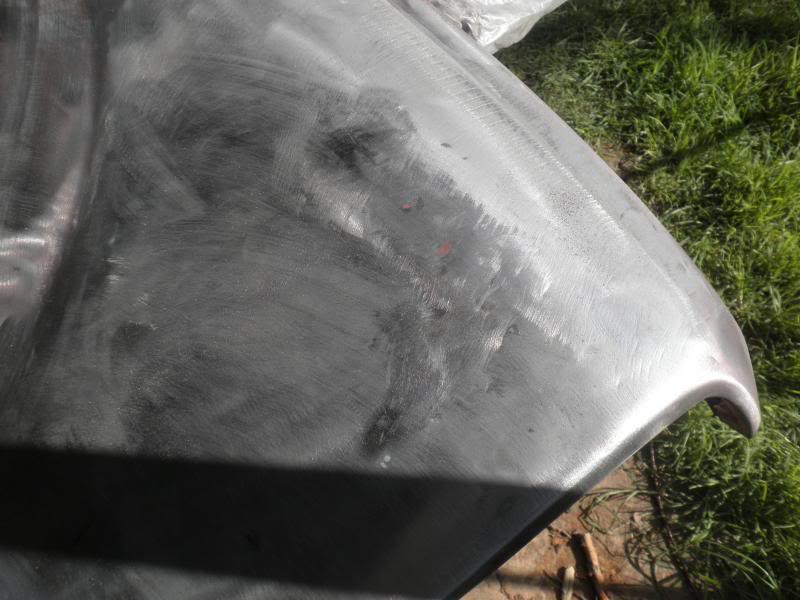
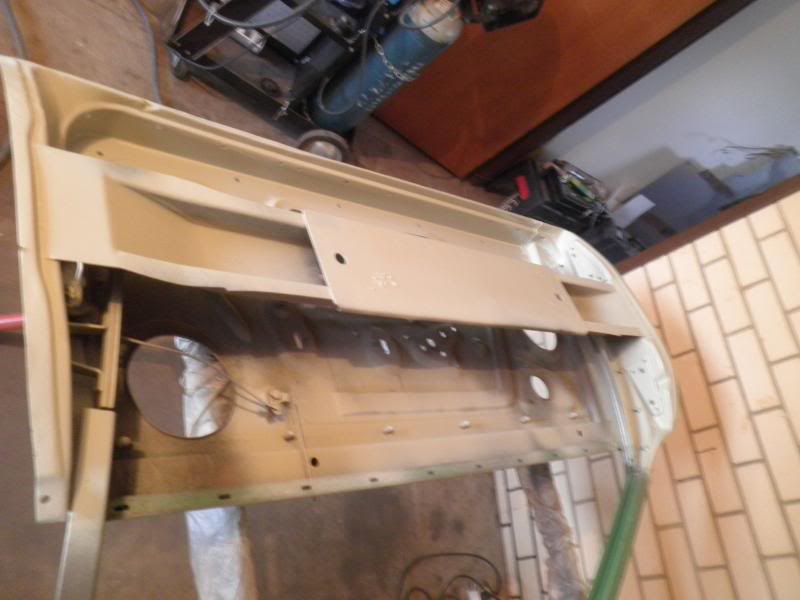
Theres still one more panel left to paint strip, repair and epoxy, and thats the bonnet. But i'm going to do that some other time. My next steps for this build, is the filler work. I'm looking forward to it, as its only been metal work since 2009.


I'll keep who evers interested posted.


Cheers


#122 lxsstorana

lxsstorana

    Forum Fixture

  • Members
  • PipPipPipPipPip
  • 2,499 posts
  • Name:Mick
  • Location:Eastwood, Sydney
  • Car:SS Hatchback
  • Joined: 23-March 06

Posted 28 October 2013 - 05:10 PM

Nice Work. :spoton: 


#123 _greenmachine215_

_greenmachine215_
  • Guests

Posted 28 October 2013 - 06:33 PM

There should nt be much work in the way of filler mate, you've basically eliminated the need wih all your metal work, perhaps a skim here and there,but it's a solid looking car now.

#124 _greg2240_

_greg2240_
  • Guests

Posted 01 November 2013 - 10:17 PM

Sure you don't want to put an lx front on it? (please), :P , wouldn't mind more pointers as your work seems very professional, doin well mate


#125 _greenmachine215_

_greenmachine215_
  • Guests

Posted 01 November 2013 - 11:00 PM

Sure you don't want to put an lx front on it?

It's only a matter of time before he turns, and finishes the job of properly :-P


0 user(s) are reading this topic

0 members, 0 guests, 0 anonymous users